| Time of Day
|
Event
|
Image
|
Morning
The Rebellion Begins: Rise of Muramasa
|
Muramasa (Zanpakutō spirit) brings Hyōrinmaru to the other members of his rebellion.
|

|
Morning
The Rebellion Begins: Rise of Muramasa
|
Ichigo Kurosaki notices Zangetsu can hear something he cannot.
|
|
Afternoon
The Rebellion Begins: Rise of Muramasa
|
Renji Abarai and Byakuya Kuchiki spar with each other.
|
|
Afternoon
The Rebellion Begins: Rise of Muramasa
|
Senbonzakura Kageyoshi harms Byakuya, to his surprise.
|
|
Late Afternoon
The Rebellion Begins: Rise of Muramasa
|
Tōshirō Hitsugaya fails to communicate with Hyōrinmaru in his inner world.
|
|
Late Afternoon
The Rebellion Begins: Rise of Muramasa
|
Rangiku Matsumoto reveals Haineko is not responding to her, which Isane Kotetsu reveals is happening with Itegumo as well.
|
|
Early Evening
The Rebellion Begins: Rise of Muramasa
|
Katen Kyōkotsu, Sōgyo no Kotowari, and Minazuki seemingly take Genryūsai Shigekuni Yamamoto hostage.
|
|
Night
The Rebellion Begins: Rise of Muramasa
|
The captains and lieutenants of the Gotei 13, as well as Rukia Kuchiki, are summoned to Sōkyoku Hill.
|
|
Night
The Rebellion Begins: Rise of Muramasa
|
Chōjirō Sasakibe arrives and collapses from severe injuries.
|
|
Night
The Rebellion Begins: Rise of Muramasa
|
Muramasa confronts the assembled Shinigami.
|
|
Night
The Rebellion Begins: Rise of Muramasa
|
Kokujō Tengen Myō'ō attacks Sajin Komamura when he attempts to attack Muramasa.
|
|
Night
The Rebellion Begins: Rise of Muramasa
|
Tenken manifests before Komamura and severely injures him with a single attack.
|
|
Night
The Rebellion Begins: Rise of Muramasa
|
Several Shinigami try and fail to release their Zanpakutō.
|
|
Night
The Rebellion Begins: Rise of Muramasa
|
The Zanpakutō spirits wreak havoc in the Seireitei.
|
|
Night
The Rebellion Begins: Rise of Muramasa
|
The Zanpakutō Spirits confront the assembled Shinigami.
|
|
| Night
|
The Shinigami learn of Yamamoto being sealed away.
|
|
| Night
|
The Shinigami begin clashing with the Zanpakutō spirits.
|
|
| Night
|
Gonryōmaru and Kazeshini attack Rukia and Renji.
|
|
| Night
|
Byakuya intervenes and prevents Gonryōmaru from attacking Rukia further by immobilizing him with Bakudō #61. Rikujōkōrō.
|
|
Night
Byakuya Kuchiki vs. Senbonzakura
|
Byakuya encounters and begins fighting Senbonzakura.
|
File:Ep231ByakuyaSenbonzakura.png
|
Night
Byakuya Kuchiki vs. Senbonzakura
|
Senbonzakura releases Senbonzakura and briefly overwhelms Byakuya with it.
|
|
Night
Byakuya Kuchiki vs. Senbonzakura
|
Byakuya and Senbonzakura's fight enters the sewers, where Byakuya defeats Senbonzakura with Hadō #4. Byakurai.
|
|
| Night
|
Byakuya deduces who Muramasa is based on what happened to Senbonzakura.
|
|
| Night
|
Sode no Shirayuki attacks Rukia and Renji with Tsugi no mai, Hakuren.
|
|
| Night
|
A wounded Rukia manages to escape to the Human World via Senkaimon, but Sode no Shirayuki follows her there.
|
|
| Night
|
Ichigo finds Rukia while patrolling Karakura Town.
|
|
Night
Ichigo Kurosaki vs. Sode no Shirayuki
|
Sode no Shirayuki attacks Ichigo, forcing him to engage in combat with her.
|
|
Night
Ichigo Kurosaki vs. Sode no Shirayuki
|
Ichigo notices Sode no Shirayuki is using Rukia's techniques.
|
|
Night
Ichigo Kurosaki vs. Sode no Shirayuki
|
Sode no Shirayuki distracts Ichigo and escapes via Senkaimon.
|
|
| Morning
|
Kisuke Urahara sends Yoruichi Shihōin to investigate what happened in Soul Society after Ichigo brings Rukia to him.
|
|
| Morning
|
Shunsui Kyōraku, Jūshirō Ukitake, and Retsu Unohana explain what happened to Yoruichi.
|
|
| Afternoon
|
Rukia wakes up and reveals the events of the previous night to Ichigo, Urahara, Orihime Inoue, Yasutora Sado, and Uryū Ishida.
|
|
| Afternoon
|
Yoruichi returns and reveals what she learned to the group.
|
|
| Afternoon
|
Urahara ponders the nature of Muramasa's power because of how Benihime has not been affected.
|
|
| Night
|
Rukia leaves for Soul Society without telling anyone, prompting Kurōdo, Noba, and Ririn to go to Ichigo for help.
|
|
| Night
|
Yoruichi decides to bring Ichigo with her to Soul Society in order to ensure Rukia's safety.
|
|
| Early Morning
|
Mayuri deduces the Zanpakutō spirits have completely left the bodies of their wielders, a feat which is supposed to be impossible.
|
|
| Late Morning
|
Rukia arrives at the 6th Division Barracks.
|
|
| Late Morning
|
Renji reassures Rukia of Byakuya's safety after revealing they have sent a search party looking for him.
|
|
| Late Morning
|
Rukia encounters Sode no Shirayuki attacking several unseated Shinigami.
|
|
| Late Morning
|
Ichigo and Yoruichi arrive in Soul Society.
|
|
Late Morning
Rukia Kuchiki vs. Sode no Shirayuki
|
Sode no Shirayuki begins to fight Rukia and quickly proves to be a formidable opponent.
|
File:Ep232SodeUsesTsukishiro.png
|
Late Morning
Rukia Kuchiki vs. Sode no Shirayuki
|
Rukia recalls attaining her Shikai and wonders why Sode no Shirayuki is filled with hatred toward her.
|
|
Late Morning
Rukia Kuchiki vs. Sode no Shirayuki
|
Ichigo arrives in his Bankai and saves Rukia from Tsugi no mai, Hakuren.
|
|
Late Morning
Rukia Kuchiki vs. Sode no Shirayuki
|
Sode no Shirayuki begins to overwhelm Ichigo.
|
|
Late Morning
Rukia Kuchiki vs. Sode no Shirayuki
|
Rukia regains her resolve to defeat Sode no Shirayuki.
|
|
Late Morning
Rukia Kuchiki vs. Sode no Shirayuki
|
Rukia binds herself to Sode no Shirayuki with Bakudō #61. Rikujōkōrō to prevent the latter from escaping.
|
|
Late Morning
Rukia Kuchiki vs. Sode no Shirayuki
|
Rukia severely injures herself and nearly defeats Sode no Shirayuki by firing Hadō #73. Sōren Sōkatsui at point-blank range.
|
|
| Late Morning
|
Muramasa saves Sode no Shirayuki and confronts Ichigo.
|
|
| Late Morning
|
Senbonzakura converses with Hōzukimaru and Ruri'iro Kujaku about their motivations.
|
|
| Late Morning
|
Muramasa explains his motivations and beliefs to Ichigo, and reveals he lured Ichigo here to free Zangetsu from his control.
|
|
Late Morning
Ichigo Kurosaki vs. Muramasa
|
Ichigo begins to battle Muramasa.
|
|
Late Morning
Ichigo Kurosaki vs. Muramasa
|
Muramasa turns the tables on Ichigo by using his Illusions on him.
|
File:233World begins.png
|
Late Morning
Ichigo Kurosaki vs. Muramasa
|
Muramasa pulls Zangetsu out of Ichigo's body.
|
|
Late Morning
Ichigo Kurosaki vs. Zangetsu
|
Ichigo is forced to fight Zangetsu, who quickly overwhelms him.
|
|
| Late Morning
|
Unohana, Isane, and Nemu Kurotsuchi discuss Mayuri's findings. Unohana agrees to undergo Mayuri's examination, and they are informed of Ichigo's current battle.
|
|
Late Morning
Hollow Ichigo vs. Zangetsu
|
Hollow Ichigo takes over Ichigo's body and begins to overpower Zangetsu.
|
|
Late Morning
Hollow Ichigo vs. Zangetsu
|
Hollow Ichigo completely takes over Ichigo's body.
|
|
Late Morning
Hollow Ichigo vs. Zangetsu
|
Hollow Ichigo seemingly defeats Zangetsu with a powerful Cero and prepares to fight Muramasa.
|
|
Late Morning
Ichigo Kurosaki vs. Muramasa
|
Ichigo manages to free his body from Hollow Ichigo's control, but falls unconscious from the effort.
|
|
| Late Morning
|
A Riteitai updates Shunsui on the current status of the Zanpakutō spirit search.
|
|
| Late Morning
|
Several Shinigami search for the Zanpakutō spirits.
|
|
| Late Morning
|
Shunsui, Ukitake, and Unohana discuss current events, and Unohana reveals her agreement to undergo Mayuri's examination.
|
|
| Late Morning
|
Two Shinigami update Shūhei Hisagi on their search for the Zanpakutō spirits.
|
|
| Late Morning
|
Kazeshini appears and cuts the two Shinigami down, causing Hisagi to realize who he is.
|
|
| Late Morning
|
Renji searches for Byakuya and encounters his Zanpakutō spirit, Zabimaru.
|
|
| Late Morning
|
Rukia wakes up, and Isane explains to her what is happening at the moment.
|
|
Late Morning
Ichigo Kurosaki vs. Muramasa
|
Ichigo wakes up in his inner world.
|
|
Late Morning
Ichigo Kurosaki vs. Muramasa
|
Muramasa infiltrates Ichigo's inner world, and Ichigo attacks him.
|
|
| Late Morning
|
Saru and Hebi reveal themselves, and prove to be very belligerent and stubborn toward each other.
|
|
| Late Morning
|
Saru and Hebi reveal they were told to follow their instinct and prepare to fight Renji.
|
|
Late Morning
Ichigo Kurosaki vs. Muramasa
|
Muramasa draws Hollow Ichigo out from the depths of Ichigo's soul.
|
|
Late Morning
Shūhei Hisagi vs. Kazeshini
|
Kazeshini proves to be a considerably difficult opponent for Hisagi.
|
|
Late Morning
Shūhei Hisagi vs. Kazeshini
|
Kazeshini reveals he left Hisagi because Hisagi does not understand what Kazeshini truly wants.
|
|
Late Morning
Renji Abarai vs. Zabimaru
|
Renji fights Saru and Hebi, who belittle his power and argue with each other.
|
|
Late Morning
Hollow Ichigo vs. Muramasa
|
Muramasa attempts to awaken Hollow Ichigo's true instincts and turn him against Ichigo, but Hollow Ichigo remains unaffected and attacks Muramasa instead.
|
|
Late Morning
Hollow Ichigo vs. Muramasa
|
Muramasa clashes with Hollow Ichigo and resolves to enlist him.
|
|
| Late Morning
|
Shunsui and Ukitake ponder how a Shinigami defeating their manifested Zanpakutō spirit could result in them losing their Zanpakutō forever.
|
|
Late Morning
Renji Abarai vs. Zabimaru
|
Saru and Hebi repeatedly overpower Renji.
|
|
Late Morning
Renji Abarai vs. Zabimaru
|
Saru and Hebi reveal they left Renji because they have grown tired of his weakness.
|
|
Late Morning
Renji Abarai vs. Zabimaru
|
Renji tries and fails to release his Shikai.
|
|
Late Morning
Shūhei Hisagi vs. Kazeshini
|
Kazeshini overwhelms Hisagi with his sneaky fighting style.
|
|
Late Morning
Shūhei Hisagi vs. Kazeshini
|
Hisagi resolves to kill Kazeshini because he no longer wants to deal with him, but Kazeshini catches him off-guard.
|
|
Late Morning
Hollow Ichigo vs. Muramasa
|
Muramasa continues to fight Hollow Ichigo and notes there are no mistakes in his fighting style because Hollow Ichigo relies solely on instinct.
|
|
Late Morning
Hollow Ichigo vs. Muramasa
|
Hollow Ichigo explains his true instinct of taking over Ichigo's body to Muramasa, who decides to destroy him because Hollow Ichigo intends to stand in his way.
|
|
Late Morning
Renji Abarai vs. Zabimaru
|
Saru and Hebi continue to overpower Renji, who they believe is refusing to fight seriously.
|
|
Late Morning
Renji Abarai vs. Zabimaru
|
Saru reveals they consider Renji a weakling because he is unwilling to kill his own Zanpakutō spirit.
|
|
Late Morning
Hollow Ichigo vs. Muramasa
|
Muramasa resorts to immobilizing Hollow Ichigo with his Spiritual Threads upon realizing he cannot keep up with him otherwise.
|
File:235Tentacles constrict.png
|
Late Morning
Renji Abarai vs. Zabimaru
|
Hebi mercilessly beats Renji, who contemplates why he is weak.
|
|
Late Morning
Ichigo Kurosaki vs. Muramasa
|
Ichigo frees Hollow Ichigo by severing Muramasa's Spiritual Threads with a Getsuga Tenshō, and reveals he did so because Hollow Ichigo is a part of him.
|
|
Late Morning
Ichigo Kurosaki vs. Muramasa
|
Ichigo forces Muramasa out of his inner world through sheer willpower.
|
|
Late Morning
Renji Abarai vs. Zabimaru
|
Renji regains his resolve to fight Saru and Hebi, and successfully releases his Shikai.
|
|
Late Morning
Shūhei Hisagi vs. Kazeshini
|
Kazeshini defeats Hisagi, but is confronted by Izuru Kira.
|
|
Late Morning
Ichigo Kurosaki vs. Zangetsu
|
Ichigo attacks Muramasa in the real world, but Zangetsu confronts him once more.
|
|
Late Morning
Ichigo Kurosaki vs. Zangetsu
|
Zangetsu activates his Bankai, Tensa Zangetsu, while Hollow Ichigo allows Ichigo to draw on his power in exchange for not donning his Hollow mask.
|
|
Late Morning
Renji Abarai vs. Zabimaru
|
Renji fights evenly against Saru and Hebi with his Shikai, and proclaims he will destroy them.
|
|
Late Morning
Shūhei Hisagi vs. Kazeshini
|
Izuru prepares to fight Kazeshini in order to protect Hisagi.
|
|
Late Morning
Shūhei Hisagi vs. Kazeshini
|
Izuru manages to hold his own against Kazeshini.
|
|
Late Morning
Shūhei Hisagi vs. Kazeshini
|
Izuru immobilizes Kazeshini with Bakudō #37. Tsuriboshi and escapes with Hisagi.
|
|
Late Morning
Ichigo Kurosaki vs. Zangetsu
|
Ichigo fights Zangetsu, who unleashes a powerful Getsuga Tenshō.
|
|
Late Morning
Ichigo Kurosaki vs. Zangetsu
|
Ichigo learns he cannot activate his Bankai without Zangetsu's spirit inside of his Zanpakutō.
|
|
Late Morning
Renji Abarai vs. Zabimaru
|
Upon realizing Renji can fight evenly against them with his Shikai, Saru and Hebi activate their Bankai, Hihiō Zabimaru.
|
|
Late Morning
Ichigo Kurosaki vs. Zangetsu
|
Zangetsu reveals he only wishes to find out who is stronger between himself and Ichigo.
|
|
Late Morning
Ichigo Kurosaki vs. Zangetsu
|
Ichigo resolves to defeat Zangetsu in order to prove his strength.
|
|
Late Morning
Renji Abarai vs. Zabimaru
|
Saru and Hihiō Zabimaru easily overpower Renji.
|
|
Late Morning
Renji Abarai vs. Zabimaru
|
Saru and Hebi deactivate their Bankai, believing Renji cannot defeat them.
|
|
Late Morning
Renji Abarai vs. Zabimaru
|
Realizing Saru and Hebi can predict his usual fighting style, Renji resorts to using Kidō.
|
|
Late Morning
Renji Abarai vs. Zabimaru
|
Hebi steals Renji's Zabimaru, which falls apart because of how much damage it has taken.
|
|
Late Morning
Renji Abarai vs. Zabimaru
|
Renji destroys the cables connecting the segments of his Shikai with Hadō #31. Shakkahō, allowing him to defeat Saru and Hebi with Higa Zekkō.
|
|
Late Morning
Ichigo Kurosaki vs. Zangetsu
|
Ichigo and Zangetsu continue to clash, with Zangetsu gradually overpowering Ichigo.
|
|
Late Morning
Ichigo Kurosaki vs. Zangetsu
|
Zangetsu decides to end the fight by firing another Getsuga Tenshō, but Ichigo manages to fire an even more powerful one with Hollow Ichigo's help, defeating Zangetsu in the process.
|
|
| Late Morning
|
Several Shinigami notice the resulting column of energy from Ichigo's strengthened Getsuga Tenshō.
|
|
| Late Morning
|
Muramasa escapes after learning why Ichigo was willing to defeat Zangetsu.
|
|
| Late Morning
|
Renji learns Saru and Hebi are still alive within his sword, and that they have come to their senses.
|
|
| Late Morning
|
Zangetsu explains to Ichigo how Muramasa brainwashes the Zanpakutō spirits.
|
|
| Late Morning
|
Muramasa realizes Ichigo may be instrumental in his plans.
|
|
| Early Evening
|
Ichigo discusses the true nature of Muramasa's brainwashing with Shunsui, Ukitake, and Unohana.
|
|
| Early Evening
|
Ichigo theorizes that they can only get their Zanpakutō spirits back by fighting and defeating them.
|
|
| Early Evening
|
Renji, Saru, and Hebi arrive, and Renji reveals Saru and Hebi do not remember anything about what happened.
|
|
| Early Evening
|
Gegetsuburi and Kazeshini argue over the strength of their masters.
|
|
| Early Evening
|
Haineko and Tobiume get in a fight over what they believe men want in a woman.
|
|
| Early Evening
|
Muramasa arrives and informs the other Zanpakutō spirits that he wants Ichigo captured alive, which they agree to do.
|
|
| Late Evening
|
Ichigo meets with Rukia about Byakuya's fate.
|
|
| Late Evening
|
Ikkaku Madarame arrives and asks Ichigo if he really managed to get his Zanpakutō spirit back.
|
|
| Late Evening
|
Byakuya enters the local archives after knocking out the Shinigami guarding it.
|
|
| Late Evening
|
Marechiyo Ōmaeda leads a group of Shinigami toward the archives on orders from Suì-Fēng to check if a Zanpakutō named Muramasa ever existed.
|
|
| Late Evening
|
Marechiyo discovers the unconscious Shinigami after he trips over one of them.
|
|
| Late Evening
|
Gegetsuburi and Hōzukimaru effortlessly defeat the Shinigami accompanying Marechiyo.
|
|
| Late Evening
|
Marechiyo meets Gegetsuburi face-to-face, and initially gets along very well with him.
|
|
| Late Evening
|
Marechiyo prepares to fight Gegetsuburi after the latter insults his sense of fashion.
|
|
| Late Evening
|
Accompanied by Ikkaku, Ichigo accidentally knocks Marechiyo unconscious when he kicks down a large chunk of a nearby wall.
|
|
Late Evening
Ikkaku Madarame vs. Hōzukimaru
|
Hōzukimaru attacks Ikkaku upon seeing him.
|
|
Late Evening
Ikkaku Madarame vs. Hōzukimaru
|
Ikkaku and Hōzukimaru perform their Tsuki-Tsuki Dance to prove Hōzukimaru's identity.
|
|
Late Evening
Ichigo Kurosaki vs. Gegetsuburi
|
Gegetsuburi attacks Ichigo while the latter is stunned by Ikkaku and Hōzukimaru's dance.
|
|
Late Evening
Ikkaku Madarame vs. Hōzukimaru
|
Ikkaku and Hōzukimaru begin fighting in earnest, with Ikkaku wondering why he is wounding Hōzukimaru so easily.
|
|
Late Evening
Ikkaku Madarame vs. Hōzukimaru
|
Hōzukimaru makes use of the sansetsukon form of his spear to catch Ikkaku off-guard.
|
|
Late Evening
Ikkaku Madarame vs. Hōzukimaru
|
Hōzukimaru activates his Bankai after Ikkaku proclaims the real fight is about to begin.
|
|
Late Evening
Ichigo Kurosaki vs. Gegetsuburi
|
Gegetsuburi attacks Ichigo when the smoke from Hōzukimaru's Bankai envelops them, and performs several more sneak attacks in rapid succession.
|
|
Late Evening'
Ichigo Kurosaki vs. Gegetsuburi
|
Ichigo defeats Gegetsuburi by cutting his Shikai in half with a Getsuga Tenshō, the force of which sends the two halves crashing into Gegetsuburi, who is knocked out.
|
|
Late Evening
Ikkaku Madarame vs. Hōzukimaru
|
Hōzukimaru effortlessly overpowers Ikkaku with his Bankai, but their fight is interrupted by the Onmitsukidō.
|
|
Late Evening
|
Hōzukimaru proclaims he is bored with their fight and makes his escape.
|
|
| Late Evening
|
The Onmitsukidō captures Gegetsuburi and bring him to the Shinigami Research and Development Institute.
|
|
| Late Evening
|
Ichigo pursues Hōzukimaru, but is engulfed by a mass of blade petals.
|
|
| Late Evening
|
Ichigo activates his Bankai to free himself, but notices Byakuya standing on a nearby tower before vanishing.
|
|
| Night
|
Unohana and Isane make preparations to tend to the large amount of patients.
|
|
| Night
|
Shunsui and Ukitake discuss how no one has fought the Zanpakutō spirit of a captain yet before wondering what has happened to Byakuya.
|
|
| Night
|
Rangiku meets up with Momo Hinamori.
|
|
| Night
|
Ichigo moves toward a forest in an attempt to figure out what is going on.
|
|
| Night
|
Muramasa limps through the Forest of Menos and effortlessly kills a Hollow before noticing a group of Gillians in the distance.
|
|
| Night
|
Haineko and Tobiume search for Hyōrinmaru in the forest.
|
|
| Night
|
Haineko and Tobiume are confronted by Senbonzakura, who asks them where Muramasa is before leaving.
|
|
| Night
|
Haineko and Tobiume notice Ichigo running through the forest, and decide to confront him.
|
|
| Night
|
Haineko and Tobiume attack Ichigo, who is annoyed by their bickering and runs off in search of Byakuya.
|
|
| Night
|
Haineko and Tobiume give chase, forcing Ichigo to prepare to fight them, but Rangiku and Momo appear and confront their Zanpakutō spirits, allowing Ichigo to continue his search.
|
|
| Night
|
Muramasa confronts the Gillians, who attack him.
|
|
| Night
|
Haineko reveals she left Rangiku because she did not like feeling old around her.
|
|
| Night
|
Tobiume reveals she left Momo because she does not wish to remain with someone as weak as Momo is.
|
|
Night
Rangiku Matsumoto vs. Haineko
|
Rangiku and Haineko clash several times, with Rangiku promising to defeat Haineko if she does not return voluntarily.
|
|
Night
Momo Hinamori vs. Tobiume
|
Tobiume claims Sōsuke Aizen left Momo because she is too weak, prompting Momo to angrily attack her.
|
|
Night
Rangiku Matsumoto vs. Haineko
|
Haineko releases her Zanpakutō and begins to overwhelm Rangiku with it.
|
|
Night
Momo Hinamori vs. Tobiume
|
Momo sends Tobiume crashing into Haineko with Bakudō #37. Tsuriboshi, causing them to begin arguing once more.
|
|
| Night
|
While searching for Byakuya, Ichigo is attacked by several ice dragons.
|
|
| Night
|
Hyōrinmaru appears and reveals Muramasa told him to remain far away from Ichigo before surrounding him with more ice dragons, which trap Ichigo in a column of ice.
|
|
| Night
|
Ichigo activates his Bankai to free himself, prompting Hyōrinmaru to realize Ichigo is not his master.
|
|
| Night
|
Hyōrinmaru reveals he does not remember his name or master, and uses Sennen Hyōrō to trap Ichigo.
|
|
| Night
|
Hitsugaya arrives and reveals Hyōrinmaru's identity and master to him.
|
|
| Night
|
Muramasa limps away from the Gillians after destroying all of them.
|
|
| Night
|
Muramasa encounters a Vasto Lorde.
|
|
Night
Momo Hinamori vs. Tobiume
|
Tobiume claims she is only trying to help Momo, who momentarily stops fighting.
|
|
Night
Momo Hinamori vs. Tobiume
|
Tobiume attacks Momo and reveals she wishes to destroy Momo's naive world.
|
|
Night
Rangiku Matsumoto vs. Haineko
|
Rangiku and Haineko continue to battle, with Haineko claiming Rangiku is past her "expiration date".
|
|
Night
Rangiku Matsumoto vs. Haineko
|
Haineko manages to visibly anger Rangiku, who lashes out at her.
|
|
Night
Momo Hinamori vs. Tobiume
|
Tobiume claims Momo does not have any friends, and that all of her coworkers are simply pretending to be her friends as part of their jobs.
|
|
Night
Rangiku Matsumoto vs. Haineko
|
Haineko surrounds Rangiku with her Shikai, prompting Rangiku to begin chanting the incantation for Hadō #31. Shakkahō.
|
|
Night
Momo Hinamori vs. Haineko
|
Momo uses Bakudō #9. Hōrin, but captures Haineko instead of Tobiume, to the latter's surprise.
|
|
Night
Rangiku Matsumoto vs. Tobiume
|
Rangiku fires Hadō #31. Shakkahō, which sends Tobiume flying away when it explodes upon hitting a nearby tree.
|
|
Night
Momo Hinamori vs. Tobiume
|
Momo binds Tobiume with Bakudō #9. Hōrin as well and merges the two spells, resulting in Haineko and Tobiume being bound to each other.
|
|
| Night
|
Rangiku and Momo reveal they fought Haineko and Tobiume individually in order to distract them.
|
|
| Night
|
Momo explains why she views growing old as a good thing.
|
|
| Night
|
Rangiku and Momo sigh in exasperation as Haineko and Tobiume continue to bicker.
|
|
| Night
|
Hyōrinmaru shocks Hitsugaya by claiming the latter is not powerful enough to be his master.
|
|
| Night
|
Hyōrinmaru reveals he is only choosing to follow Muramasa for now, and that his real goal is to find his true master.
|
|
Night
Tōshirō Hitsugaya vs. Hyōrinmaru
|
Hyōrinmaru begins to fight Hitsugaya in order to determine if the latter is his master.
|
File:239Hyorinmaru attacks.png
|
Night
Tōshirō Hitsugaya vs. Hyōrinmaru
|
Hitsugaya attempts to bind Hyōrinmaru with Bakudō #63. Sajō Sabaku, but Hyōrinmaru freezes and shatters it before summoning a storm.
|
|
Night
Tōshirō Hitsugaya vs. Hyōrinmaru
|
Hyōrinmaru proves he can overpower Hitsugaya's Kidō attacks.
|
|
Night
Tōshirō Hitsugaya vs. Hyōrinmaru
|
Hyōrinmaru completely overwhelms Hitsugaya with an ice dragon.
|
|
Night
Tōshirō Hitsugaya vs. Hyōrinmaru
|
Hyōrinmaru reveals he is searching for a place to call his own, causing Hitsugaya to recall his past where he was seeking the same thing.
|
|
Night
Tōshirō Hitsugaya vs. Hyōrinmaru
|
Hitsugaya successfully releases his Shikai, prompting Hyōrinmaru to wonder how it is possible for Hitsugaya to be using his power.
|
|
Night
Tōshirō Hitsugaya vs. Hyōrinmaru
|
Hitsugaya uses Ryūsenka, which encases himself and Hyōrinmaru in a huge amount of ice.
|
File:Hitsugaya fights Hyōrinmaru (spirit).jpg
|
Night
Tōshirō Hitsugaya vs. Hyōrinmaru
|
Within the ice, Hyōrinmaru finally remembers who Hitsugaya is.
|
|
| Night
|
Hyōrinmaru shatters the ice and acknowledges Hitsugaya as his master in his spirit form before carrying him to the ground.
|
|
| Night
|
Muramasa defeats and absorbs the Vasto Lorde.
|
|
Night
Byakuya's Betrayal: Revealed
|
Ichigo continues to search for Byakuya as Senbonzakura watches from afar.
|
|
Night
Byakuya's Betrayal: Revealed
|
Mayuri prepares to experiment on Gegetsuburi, though Marechiyo intervenes.
|
|
Night
Byakuya's Betrayal: Revealed
|
Despite Marechiyo's efforts to stop him, Mayuri has Nemu kill Gegetsuburi, who does not revert to his sword form.
|
|
Night
Byakuya's Betrayal: Revealed
|
Rangiku and Momo have several Shinigami transport Haineko and Tobiume to the 4th Division barracks.
|
|
Night
Byakuya's Betrayal: Revealed
|
Rangiku and Momo encounter Ichigo when the former crashes into the latter.
|
|
Night
Byakuya's Betrayal: Revealed
|
Ichigo informs Rangiku and Momo that Hyōrinmaru is taking care of Hitsugaya after their battle.
|
|
Night
Byakuya's Betrayal: Revealed
|
Muramasa emerges from a Garganta nearby.
|
|
Night
Byakuya's Betrayal: Revealed
|
After briefly conversing with Muramasa on their seemingly intertwined fates, Ichigo prepares to fight him.
|
|
Night
Byakuya's Betrayal: Revealed
|
Muramasa momentarily binds Ichigo, Rangiku, and Momo with his Spiritual Threads, but loses concentration when his mysterious illness begins acting up.
|
|
Night
Byakuya's Betrayal: Revealed
|
Ichigo attacks the weakened Muramasa, but Senbonzakura intercept him.
|
|
Night
Byakuya's Betrayal: Revealed
|
Senbonzakura activates his Bankai before engulfing Rangiku and Momo in a flood of blade petals.
|
|
Night
Byakuya's Betrayal: Revealed
|
Ichigo saves Rangiku and Momo by activating his Bankai and deflecting the blade petals with a Getsuga Tenshō.
|
|
Night
Byakuya's Betrayal: Revealed
|
Byakuya knocks out the Shinigami transporting Haineko and Tobiume, whom he frees.
|
|
Night
Byakuya's Betrayal: Revealed
|
Momo moves an unconscious Rangiku away from the battlefield.
|
|
Night
Byakuya's Betrayal: Revealed
|
Ichigo and Senbonzakura begin to battle, with Senbonzakura initially catching Ichigo off-guard with his speed.
|
|
Night
Byakuya's Betrayal: Revealed
|
Ichigo creates speed clones to confuse Senbonzakura.
|
|
Night
Byakuya's Betrayal: Revealed
|
After withstanding a Getsuga Tenshō, Senbonzakura traps Ichigo within Gōkei.
|
|
Night
Byakuya's Betrayal: Revealed
|
Ichigo survives the collapse of the blade petal sphere by donning his Hollow mask.
|
|
Night
Byakuya's Betrayal: Revealed
|
Senbonzakura uses Senkei, and he and Ichigo attack each other.
|
|
Night
Byakuya's Betrayal: Revealed
|
Initially believing he gathered enough Reiryoku to withstand Ichigo's attack, Senbonzakura is enraged when part of his mask shatters as a result of their clash.
|
|
Night
Byakuya's Betrayal: Revealed
|
Senbonzakura prepares to attack Ichigo once more, but Byakuya prevents him from doing so.
|
|
Night
Byakuya's Betrayal: Revealed
|
Though Ichigo initially believes Byakuya has arrived to fight Senbonzakura himself, Byakuya proves him wrong by firing Hadō #33. Sōkatsui at Ichigo.
|
|
Night
Byakuya's Betrayal: Revealed
|
Byakuya reveals he is joining the Zanpakutō spirits because he understands their motivation to follow their own path.
|
|
Night
Byakuya's Betrayal: Revealed
|
Byakuya, Senbonzakura, and Muramasa escape behind a flurry of blade petals.
|
|
Afternoon
Byakuya's Betrayal: Revealed
|
Ichigo informs Renji, Shunsui, Ukitake, Unohana, and Nanao Ise of Byakuya's betrayal.
|
|
Afternoon
Byakuya's Betrayal: Revealed
|
Rangiku and Momo visit Hitsugaya in the hospital.
|
|
Afternoon
Byakuya's Betrayal: Revealed
|
Ukitake and Unohana discuss how the Shinigami can regain their Zanpakutō spirits and what would happen if a Zanpakutō spirit were killed by anyone other than its master.
|
|
Afternoon
Byakuya's Betrayal: Revealed
|
Shunsui decides it would be best to inform the other Shinigami of Byakuya's betrayal instead of letting rumors circulate, and Ukitake states he will inform Rukia of it in person.
|
|
Late Afternoon
Byakuya's Betrayal: Revealed
|
Rukia learns of Byakuya's betrayal.
|
|
Early Evening
Byakuya's Betrayal: Revealed
|
Byakuya arrives at the cave of the Zanpakutō spirits.
|
|
Early Evening
Byakuya's Betrayal: Revealed
|
The Zanpakutō spirits refuse to believe Byakuya has truly defected to their side.
|
|
Early Evening
Byakuya's Betrayal: Revealed
|
Senbonzakura orders Byakuya to kill Sode no Shirayuki, an action which would prevent Rukia from ever using her Zanpakutō again, as a test of loyalty.
|
|
Early Evening
Byakuya's Betrayal: Revealed
|
Not believing Byakuya is willing to do this, the other Zanpakutō spirits prepare to attack him.
|
|
Early Evening
Byakuya Kuchiki vs. Sode no Shirayuki
|
To the surprise of the Zanpakutō spirits, Byakuya attacks Sode no Shirayuki with full force.
|
|
Early Evening
Byakuya Kuchiki vs. Sode no Shirayuki
|
Sode no Shirayuki attempts to catch Byakuya off-guard with her Zanpakutō techniques.
|
File:241Icy circle forms.png
|
Early Evening
Byakuya Kuchiki vs. Sode no Shirayuki
|
Byakuya binds Sode no Shirayuki with Bakudō #63. Rikujōkōrō before killing her.
|
|
Early Evening
Byakuya's Betrayal: Revealed
|
Muramasa accepts Byakuya's resolve and reveals he has a job for Byakuya to do.
|
|
Evening
Byakuya's Betrayal: Revealed
|
Rukia searches Byakuya's office for clues before falling asleep.
|
|
Night
Byakuya's Betrayal: Revealed
|
Rukia wakes up and feels an immense Reiatsu.
|
|
Night
Byakuya's Betrayal: Revealed
|
Rukia finds Byakuya standing in a ruined hallway.
|
|
Night
Byakuya's Betrayal: Revealed
|
Senbonzakura returns the broken Sode no Shirayuki to Rukia.
|
|
Night
Renji Abarai vs. Senbonzakura
|
Senbonzakura attempts to attack Rukia, but Renji intercepts his strike.
|
|
Night
Renji Abarai vs. Byakuya Kuchiki
|
Renji proclaims he must detain Byakuya as a material witness and attacks him, but Byakuya manages to briefly subdue him because Renji is currently unable to release his Shikai.
|
|
Night
Zabimaru vs. Byakuya Kuchiki & Senbonzakura
|
Saru and Hebi intervene, destroying a nearby wall and attacking Byakuya and Senbonzakura.
|
|
Night
Zabimaru vs. Senbonzakura
|
Saru kicks Senbonzakura through a nearby wall in order to begin settling their "unfinished business".
|
|
Night
Renji Abarai vs. Byakuya Kuchiki
|
Renji resumes his fight with Byakuya.
|
|
Night
Zabimaru vs. Senbonzakura
|
Saru and Hebi continue to fight relatively evenly against Senbonzakura.
|
|
Night
Renji Abarai vs. Byakuya Kuchiki
|
Without access to his Shikai, Renji is forced to fight in a more unorthodox manner.
|
|
Night
Zabimaru vs. Senbonzakura
|
Saru and Hebi manage to briefly overwhelm Senbonzakura with their teamwork in battle.
|
|
Night
Renji Abarai vs. Byakuya Kuchiki
|
Renji continues to pressure Byakuya through pragmatic use of Kidō and Zanjutsu, and proclaims he will force Byakuya to tell him everything.
|
|
Night
Zabimaru vs. Senbonzakura
|
Saru and Hebi activate their Bankai.
|
|
Night
Renji Abarai vs. Byakuya Kuchiki
|
Renji continues to clash with Byakuya while promising to make the latter explain his actions to Ichigo, Rukia, and the captains.
|
|
Night
Renji Abarai vs. Byakuya Kuchiki
|
Hihiō Zabimaru fires Hikotsu Taihō, destroying the building they are in and engulfing Senbonzakura in a large beam of red energy.
|
|
Night
Zabimaru vs. Senbonzakura
|
Senbonzakura activates his Bankai before engulfing Saru and Hebi in a swarm of blade petals, defeating them.
|
|
Night
Renji Abarai vs. Byakuya Kuchiki
|
Byakuya fires Hadō #4. Byakurai at Renji from behind, defeating him.
|
|
| Night
|
Kazeshini, Gonryōmaru, Hōzukimaru, Tenken, and Ruri'iro Kujaku arrive to help Byakuya.
|
|
| Night
|
Ichigo, Suì-Fēng, Yumichika Ayasegawa, Izuru, Ikkaku, and the Onmitsukidō confront Byakuya and the Zanpakutō spirits.
|
|
| Night
|
The Keigun prepare to attack the Zanpakutō spirits.
|
|
| Night
|
Kazeshini begins attacking the Keigun, prompting the other Zanpakutō spirits to follow suit.
|
|
| Night
|
Izuru intercepts Kazeshini in order to stop his rampage.
|
|
| Night
|
Ikkaku and Hōzukimaru decide to finish the fight they started earlier.
|
|
| Night
|
Suì-Fēng attacks Gonryōmaru, but decides to fight Tenken as well when he attacks her.
|
|
| Night
|
Yumichika and Ruri'iro Kujaku move to a rooftop far away and exchange polite conversation with each other.
|
|
| Night
|
Ruri'iro Kujaku takes offense to Yumichika referring to him as Fuji Kujaku and promises to kill him if Yumichika does so again.
|
|
Night
Ichigo Kurosaki vs. Senbonzakura
|
After confirming Rukia and Renji are okay, Ichigo attempts to attack Byakuya, only for Senbonzakura to intercept him.
|
|
| Night
|
As Renji prepares to fight Byakuya once more, Saru and Hebi reveal they are still conscious and able to fight.
|
|
Night
Ichigo Kurosaki vs. Senbonzakura
|
Ichigo and Senbonzakura both activate their Bankai after the latter realizes Shikai will not be enough.
|
|
| Night
|
Ruri'iro Kujaku critiques Yumichika's appearance, much to the annoyance of the latter.
|
|
Night
Suì-Fēng vs. Tenken & Gonryōmaru
|
Suì-Fēng kicks Gonryōmaru into a building and uses Utsusemi to dodge a surprise attack from Tenken.
|
|
Night
Suì-Fēng vs. Tenken & Gonryōmaru
|
Angered by Suì-Fēng not knowing who he is because of Chōjirō's lack of a presence within his own division, Gonryōmaru creates a storm.
|
|
Night
Izuru Kira vs. Kazeshini
|
Izuru manages to dodge Kazeshini's kusarigama while only getting his sleeve cut, prompting Kazeshini to claim he is a coward for running away.
|
|
Night
Izuru Kira vs. Kazeshini
|
After theorizing that Kazeshini is the manifestation of Hisagi's darkest impulses, Izuru attacks him.
|
|
Night
Izuru Kira vs. Kazeshini
|
When Kazeshini attempts to attack him from afar, Izuru fires Hadō #31. Shakkahō to deflect Kazeshini's kusarigama.
|
|
Night
Ikkaku vs. Hōzukimaru: Final Fight
|
Hōzukimaru battles Ikkaku and seemingly overpowers him.
|
|
Night
Ikkaku vs. Hōzukimaru: Final Fight
|
Ikkaku successfully releases his Shikai and begins to fight evenly against Hōzukimaru.
|
|
Night
Ikkaku vs. Hōzukimaru: Final Fight
|
After crashing into a building, Hōzukimaru activates his Bankai and begins to overwhelm Ikkaku once more.
|
|
Night
Ikkaku vs. Hōzukimaru: Final Fight
|
After knocking Ikkaku into a lake with his guandao, Hōzukimaru reveals he left Ikkaku because of how he acts like a "badass" without having the skills of one.
|
|
Night
Ikkaku vs. Hōzukimaru: Final Fight
|
Ikkaku resumes his battle, but Hōzukimaru cuts Hōzukimaru in half.
|
|
Night
Ikkaku vs. Hōzukimaru: Final Fight
|
Despite having had his Shikai cut in half, Ikkaku continues to fight effectively, and eventually shatters Hōzukimaru's guandao.
|
|
Night
Ikkaku vs. Hōzukimaru: Final Fight
|
Hōzukimaru resorts to using the central blade and activates the special ability of his Bankai.
|
|
Night
Ikkaku vs. Hōzukimaru: Final Fight
|
Hōzukimaru attacks Ikkaku and nearly overpowers him.
|
|
Night
Ikkaku vs. Hōzukimaru: Final Fight
|
Ikkaku regains his resolve and defeats Hōzukimaru in an explosion of Reiatsu.
|
|
| Night
|
After congratulating Ikkaku, Hōzukimaru collapses as Ikkaku does the same.
|
|
| Night
|
Isane and Tetsuzaemon Iba meet up and decide to provide backup for the other Shinigami, but Ashisogi Jizō confronts them.
|
|
| Night
|
Isane and Iba express shock at Ashisogi Jizō's appearance.
|
|
Night
Isane Kotetsu & Tetsuzaemon Iba vs. Ashisogi Jizō
|
When Ashisogi Jizō begins to emit poisonous gas from its mouth, Isane knocks it into a nearby building with Hadō #1. Shō, and Iba cuts the building in half.
|
|
Night
Isane Kotetsu & Tetsuzaemon Iba vs. Ashisogi Jizō
|
Isane and Iba decide to inform Mayuri, but are confronted by Haineko and Tobiume.
|
|
Night
Suì-Fēng vs. Tenken & Gonryōmaru
|
Gonryōmaru's storm causes rain to begin falling, which Suì-Fēng notes might diminish the power of Tenken's fire-based abilities.
|
|
Night
Suì-Fēng vs. Tenken & Gonryōmaru
|
Angered by Suì-Fēng's belittling of his power, Gonryōmaru begins attacking her with powerful bolts of lightning.
|
|
Night
Suì-Fēng vs. Tenken & Gonryōmaru
|
When Gonryōmaru slams a large sphere of electricity into her, Suì-Fēng activates Shunkō and destroys the sphere, dispersing the storm clouds in the process.
|
|
Night
Suì-Fēng vs. Tenken & Gonryōmaru
|
Suì-Fēng punches Gonryōmaru away and prepares to battle Tenken head-on.
|
|
| Night
|
Suzumebachi interrupts the battle by attacking Suì-Fēng.
|
|
| Night
|
Suzumebachi appears before Suì-Fēng and criticizes her for worshiping Yoruichi.
|
|
Night
Yumichika Ayasegawa vs. Ruri'iro Kujaku
|
Ruri'iro Kujaku easily overwhelms Yumichika with his powerful physical attacks.
|
|
Night
Yumichika Ayasegawa vs. Ruri'iro Kujaku
|
After discussing what he perceives to be Ikkaku's defeat with Yumichika, Ruri'iro Kujaku releases his Zanpakutō and slams Yumichika into a wall with his vines.
|
|
Night
Isane Kotetsu & Tetsuzaemon Iba vs. Ashisogi Jizō
|
Haineko and Tobiume attack Isane and Iba, with Isane countering Haineko's Shikai by firing Hadō #31. Shakkahō at it.
|
|
Night
Isane Kotetsu & Tetsuzaemon Iba vs. Ashisogi Jizō
|
As Haineko and Tobiume argue over their roles in the fight, Ashisogi Jizō emerges from the rubble and attacks Isane with its Paralyzing Retractable Blades, leaving her unable to move her legs.
|
|
| Night
|
Hyōrinmaru stands by Hitsugaya's beside and assures him that his friends will not be defeated so easily.
|
|
Night
Isane Kotetsu & Tetsuzaemon Iba vs. Ashisogi Jizō
|
Tobiume prepares to throw a fireball at Isane, only for Momo to appear and attack her bell.
|
|
Night
Isane Kotetsu & Tetsuzaemon Iba vs. Ashisogi Jizō
|
As Rangiku confronts Haineko, Ashisogi Jizō releases poisonous gas, prompting the lieutenants to flee.
|
|
Night
Isane Kotetsu & Tetsuzaemon Iba vs. Ashisogi Jizō
|
Momo tries to buy time by firing Hadō #31. Shakkahō, but this only angers Ashisogi Jizō, who activates its Bankai and continues to pursue the lieutenants.
|
|
| Night
|
After Konjiki Ashisogi Jizō passes by them, Rangiku, Momo, Iba, and Isane collapse as its poison takes effect.
|
|
Night
Ichigo Kurosaki vs. Senbonzakura
|
Senbonzakura overwhelms Ichigo with his Bankai, but Ichigo frees himself with a Getsuga Tenshō as Byakuya looks on, having defeated Renji, Saru, and Hebi.
|
|
Night
Izuru Kira vs. Kazeshini
|
Izuru continues to clash evenly with Kazeshini, who admits he has good reflexes.
|
|
Night
Izuru Kira vs. Kazeshini
|
Izuru implies he has been deflecting Kazeshini's attacks because he regained his Shikai, which startles Kazeshini.
|
|
Night
Izuru Kira vs. Kazeshini
|
Kazeshini tries to attack Izuru head-on in order to prevent him from releasing his Shikai, but Izuru blows him away with Hadō #58. Tenran.
|
|
Night
Izuru Kira vs. Kazeshini
|
Izuru defeats Kazeshini by slashing him across the chest.
|
|
| Night
|
After revealing he has not yet regained his Shikai, Izuru binds Kazeshini with Bakudō #63. Sajō Sabaku and prepares to go help the other Shinigami.
|
|
| Night
|
Wabisuke confronts Izuru and incapacitates him after greatly increasing the weight of his sword.
|
|
Night
Ichigo Kurosaki vs. Senbonzakura
|
Ichigo notices Izuru's predicament and tries to go help him, but Senbonzakura prevents him from leaving.
|
|
| Night
|
As Wabisuke prepares to kill Izuru, Kenpachi Zaraki arrives and destroys the building they are standing on with his Reiatsu.
|
|
| Night
|
Combatants around the Seireitei notice Kenpachi's arrival.
|
|
| Night
|
Wabisuke tries to attack Kenpachi, but is surprised when Wabisuke has no effect upon striking Kenpachi.
|
|
| Night
|
Kenpachi kills Wabisuke with a single attack.
|
|
Night
Yumichika Ayasegawa vs. Ruri'iro Kujaku
|
Ruri'iro Kujaku points out his similarities with Yumichika and why the latter feels inadequate in the 11th Division.
|
|
| Night
|
Yachiru Kusajishi explains why Kenpachi where Kenpachi has been for all this time.
|
|
| Night
|
After telling Yachiru to leave, Kenpachi decides to fight Byakuya.
|
|
| Night
|
Senbonzakura attempts to engage Kenpachi, who removes his eyepatch in response.
|
|
| Night
|
Kenpachi attacks Senbonzakura and blows away almost all of the other combatants with a huge explosion of yellow Reiatsu.
|
|
Night
Yumichika Ayasegawa vs. Ruri'iro Kujaku
|
Ruri'iro Kujaku notes Kenpachi's power and bids Yumichika farewell as the flowers on the vines begin to bloom.
|
|
| Night
|
Kenpachi stands in a crater as Byakuya reveals he withstood the explosion.
|
|
| Night
|
After regaining his resolve, Yumichika frees himself from the vines.
|
|
| Night
|
Kenpachi tells Byakuya he will defeat him at all costs as Yumichika says the same thing to Ruri'iro Kujaku.
|
|
| Night
|
Rukia and Renji emerge from the rubble and wonder where Ichigo is.
|
|
Night
Ichigo Kurosaki vs. Senbonzakura
|
Ichigo resumes his battle with Senbonzakura.
|
|
| Night
|
Tenken frees Gonryōmaru after the latter is trapped under a piece of rubble.
|
|
Night
Suì-Fēng vs. Suzumebachi
|
Suì-Fēng narrowly dodges a surprise attack from Suzumebachi and decides to change the location of their battle in order to fight more effectively.
|
|
Night
Kenpachi Zaraki vs. Byakuya Kuchiki
|
Kenpachi decides to attack first in the interest of time and clashes with Byakuya, creating a shockwave.
|
|
Night
Kenpachi Zaraki vs. Byakuya Kuchiki
|
Kenpachi sends a surging wave of yellow energy toward Byakuya, who remains unharmed.
|
|
Night
Kenpachi Zaraki vs. Byakuya Kuchiki
|
Kenpachi surprises Byakuya by keeping up with his Shunpo.
|
File:Zaraki vs Byakuya.jpg
|
Night
Kenpachi Zaraki vs. Byakuya Kuchiki
|
Though Byakuya manages to wound his forearm, Kenpachi catches Byakuya's sword and attacks him at point-blank range.
|
|
Night
Yumichika Ayasegawa vs. Ruri'iro Kujaku
|
A considerably weakened Yumichika clashes fights relatively evenly against Ruri'iro Kujaku.
|
|
Night
Kenpachi Zaraki vs. Byakuya Kuchiki
|
Byakuya reveals he dodged Kenpachi's attack at the last second, though not without injury, and engulfs Kenpachi in his Shikai.
|
|
Night
Yumichika Ayasegawa vs. Ruri'iro Kujaku
|
Ruri'iro Kujaku offers to let Yumichika use his Shikai or to not use Shikai himself in order to make their fight more even, but Yumichika declines.
|
|
Night
Yumichika Ayasegawa vs. Ruri'iro Kujaku
|
Ruri'iro Kujaku unleashes his Shikai once more, but Yumichika counters by binding the vines with Bakudō #4. Hainawa, which prevents them from reaching him.
|
|
Night
Yumichika Ayasegawa vs. Ruri'iro Kujaku
|
Yumichika moves behind Ruri'iro Kujaku and notes he would not have won if the latter had fought a normal fight before defeating Ruri'iro Kujaku.
|
|
| Night
|
Yumichika explains his aesthetic to Ruri'iro Kujaku before collapsing.
|
|
Night
Kenpachi Zaraki vs. Byakuya Kuchiki
|
Kenpachi withstands Byakuya's attack and proclaims he is ready to battle, prompting Byakuya to finally resolve to fight him.
|
|
| Night
|
Rukia and Renji arrive at the site of Kenpachi and Byakuya's battle, with Rukia running ahead despite Renji's warning.
|
|
Night
Ichigo Kurosaki vs. Senbonzakura
|
Ichigo dodges several streams of blade petals before slamming a Getsuga Tenshō into Senbonzakura and running off to confront Byakuya.
|
|
| Night
|
Before Kenpachi and Byakuya can continue their battle, Konjiki Ashisogi Jizō crashes through a nearby wall and floods the battlefield with poisonous gas.
|
|
| Night
|
Renji catches up to Rukia, but moves in front of her as they are engulfed by the poisonous gas.
|
|
Night
Ichigo Kurosaki vs. Senbonzakura
|
As Ichigo arrives at the site of Kenpachi and Byakuya's fight, Senbonzakura attacks him and pushes him into the cloud of poisonous gas.
|
|
| Night
|
Ichigo tries to prevent Byakuya and Senbonzakura from leaving before collapsing as the poison takes effect.
|
|
Night
Suì-Fēng vs. Suzumebachi
|
Suì-Fēng sacrifices her arm upon realizing she cannot dodge Suzumebachi's attack.
|
|
Night
Suì-Fēng vs. Suzumebachi
|
Suì-Fēng tries and fails to strike Suzumebachi, who attests this to being the smaller combatant between them.
|
|
Night
Suì-Fēng vs. Suzumebachi
|
Suzumebachi dodges another attack from Suì-Fēng and claims Yoruichi is the one holding Suì-Fēng back.
|
|
Night
Suì-Fēng vs. Suzumebachi
|
Suì-Fēng angrily attacks Suzumebachi several times in rapid succession, but Suzumebachi easily outmaneuvers her and creates another Hōmonka on Suì-Fēng's cheek.
|
|
Night
Suì-Fēng vs. Suzumebachi
|
Suzumebachi moves in for the final blow, but Suì-Fēng activates Shunkō and concentrates it around her cheek, preventing Suzumebachi's stinger from penetrating it.
|
|
Night
Suì-Fēng vs. Suzumebachi
|
Suì-Fēng takes advantage of Suzumebachi's surprise and cuts off her stinger, ending the fight.
|
|
| Night
|
Ashisogi Jizō deactivates its Bankai and inspects an unconscious Ichigo.
|
|
| Night
|
Yachiru begins playing a game of tag with Ashisogi Jizō, much to the latter's annoyance.
|
|
| Night
|
Kenpachi confronts Ashisogi Jizō over his fight being interrupted.
|
|
Night
Rescue the Captain-Commander
|
Mayuri causes Ashisogi Jizō to self-destruct and claims it is his duty to punish Ashisogi Jizō for its betrayal, angering Kenpachi.
|
|
| Night
|
Suì-Fēng begins to collapse, but Yoruichi arrives and helps her.
|
|
Dawn
Rescue the Captain-Commander
|
Mayuri attempts to "treat" a poisoned Ichigo, who refuses to have Mayuri do anything to him.
|
|
Dawn
Rescue the Captain-Commander
|
Nemu restrains Ichigo as Kenpachi tells Mayuri to leave Ichigo able to fight him.
|
|
Dawn
Rescue the Captain-Commander
|
Mayuri expresses confusion at Kenpachi and Yachiru remaining unaffected by the poisonous gas.
|
|
Dawn
Rescue the Captain-Commander
|
Shunsui, Ukitake, and Unohana arrive, with Unohana promising the 4th Division will take care of the wounded now.
|
|
Dawn
Rescue the Captain-Commander
|
Unohana reveals the 4th Division has already analyzed the contents of the poison and successfully treated its victims, angering Mayuri.
|
|
Dawn
Rescue the Captain-Commander
|
Unohana explains what happened to Rangiku, Momo, Iba, and Isane.
|
|
Dawn
Rescue the Captain-Commander
|
Harunobu Ogidō arrives and reveals they have found Izuru, Ikkaku, and Yumichika lying unconscious in different locations.
|
|
Dawn
Rescue the Captain-Commander
|
Mayuri reveals he intentionally self-destructed Ashisogi Jizō in order to understand the secret behind the brainwashing of the Zanpakutō spirits despite knowing he would lose his Zanpakutō forever.
|
|
Dawn
Rescue the Captain-Commander
|
Byakuya returns to Muramasa, who states he has done well.
|
|
Early Morning
Rescue the Captain-Commander
|
Yoruichi and Suì-Fēng appear before the other Shinigami, with Yoruichi revealing she knows where Yamamoto is being held captive.
|
|
Early Morning
Rescue the Captain-Commander
|
Muramasa brings Byakuya to the cavern where Yamamoto is sealed within a large barrier, which is guarded by Katen Kyōkotsu, Sōgyo no Kotowari, and Minazuki.
|
|
Early Morning
Rescue the Captain-Commander
|
Muramasa explains how Yamamoto has been sealed away.
|
|
Early Morning
Rescue the Captain-Commander
|
Yamamoto notices Byakuya and sends flames streaming past him as a warning.
|
|
Late Morning
Rescue the Captain-Commander
|
Yoruichi discusses the current situation with Shunsui and Ukitake.
|
|
Late Morning
Rescue the Captain-Commander
|
Kenpachi, Yachiru, Shunsui, and Ukitake agree to accompany Yoruichi and Ichigo on their mission to rescue Yamamoto.
|
|
Late Morning
Rescue the Captain-Commander
|
Haineko and Tobiume discuss their motivations and shortcomings.
|
|
Late Morning
Rescue the Captain-Commander
|
A heavily wounded Kazeshini returns to the cave before collapsing.
|
|
Late Morning
Rescue the Captain-Commander
|
As Haineko, Tobiume, Gonryōmaru, and Tenken run over to Kazeshini and wonder what happened to him, Muramasa, Senbonzakura and Byakuya arrive.
|
|
Late Morning
Rescue the Captain-Commander
|
Muramasa speaks with Kazeshini about why Byakuya is part of their group.
|
|
Late Morning
Rescue the Captain-Commander
|
Muramasa asks the Zanpakutō spirits to be patient for a little longer before leaving alongside Byakuya and Senbonzakura.
|
|
Afternoon
Rescue the Captain-Commander
|
Ichigo, Yoruichi, Shunsui, Ukitake, Kenpachi, and Yachiru arrive at the entrance to the cave of the Zanpakutō spirits.
|
|
Afternoon
Rescue the Captain-Commander
|
After discussing how Muramasa likely placed Yamamoto in a special containment field and the difficulty of navigating the cave system, the group splits up.
|
|
| Afternoon
|
The Zanpakutō spirits sense the intrusion of the Shinigami.
|
|
| Afternoon
|
Kenpachi quickly gets lost in the dark caves.
|
|
| Afternoon
|
Ichigo and Yoruichi leap between stalactites and discuss their lack of knowledge about Byakuya's motivations for joining the Zanpakutō spirits.
|
|
| Afternoon
|
Haineko and Tobiume attack and seemingly impale Yoruichi.
|
|
| Afternoon
|
Yoruichi reveals she used Utsusemi before easily overpowering Haineko and Tobiume as Ichigo moves on to free Yamamoto.
|
|
| Afternoon
|
Shunsui and Ukitake arrive at a series of steps, at the top of which the taller woman of Katen Kyōkotsu steps out.
|
|
| Afternoon
|
Sōgyo no Kotowari confront Ukitake as Shunsui walks away.
|
|
| Afternoon
|
After lulling Ukitake into a false sense of security, Sōgyo no Kotowari attack him with spinning fans.
|
|
| Afternoon
|
The taller woman of Katen Kyōkotsu reveals they have grown tired of Shunsui's arrogance as the masked girl reveals herself behind Shunsui.
|
|
| Afternoon
|
Tenken and Gonryōmaru confront Kenpachi, with Gonryōmaru claiming he will get revenge for Kenpachi blowing him away last time.
|
|
Afternoon
Trapped by the Flames
|
Minazuki lures Ichigo down a tunnel toward Yamamoto's location.
|
|
Afternoon
Trapped by the Flames
|
Kazeshini confronts Ichigo and binds him with his kusarigama chains before attempting to attack him.
|
File:246Kazeshini turns.png
|
Afternoon
Trapped by the Flames
|
Ichigo activates his Bankai and defeats Kazeshini with a Getsuga Tenshō.
|
|
Afternoon
Trapped by the Flames
|
Ichigo arrives at Yamamoto's barrier and prepares to destroy it.
|
|
Afternoon
Yoruichi Shihōin vs. Haineko & Tobiume
|
Yoruichi faces off against Haineko and Tobiume, whom she easily overwhelms.
|
|
Afternoon
Shunsui Kyōraku vs. Katen Kyōkotsu
|
Shunsui clashes with both halves of Katen Kyōkotsu and notes it is not easy to please a woman.
|
|
Afternoon
Jūshirō Ukitake vs. Sōgyo no Kotowari
|
Ukitake chases after Sōgyo no Kotowari and promises he will stop playing if they do not give their fans to him.
|
|
Afternoon
Jūshirō Ukitake vs. Sōgyo no Kotowari
|
Sōgyo no Kotowari seemingly agree to hand their fans over.
|
|
Afternoon
Jūshirō Ukitake vs. Sōgyo no Kotowari
|
Sōgyo no Kotowari fire electricity from their fans, which Ukitake narrowly dodges, and run away while proclaiming Ukitake fell for it.
|
|
Afternoon
Kenpachi Zaraki vs. Tenken & Gonryōmaru
|
Kenpachi fights Tenken and Gonryōmaru, who Kenpachi and Yachiru note are not taking this battle seriously.
|
|
Afternoon
Kenpachi Zaraki vs. Tenken & Gonryōmaru
|
Deducing Tenken and Gonryōmaru were not planning on winning from the start, Kenpachi proclaims he is bored with this battle as his Reiatsu erupts around him.
|
|
Afternoon
Trapped by the Flames
|
Muramasa attacks Ichigo from behind, though his attack is easily deflected, and asks Ichigo if he is ready to settle their differences.
|
|
Afternoon
Trapped by the Flames
|
Ichigo agrees to do so and fires a Getsuga Tenshō at Muramasa.
|
|
Afternoon
Yoruichi Shihōin vs. Haineko & Tobiume
|
Yoruichi notes the strange behavior of Haineko and Tobiume before deciding to test them.
|
|
Afternoon
Shunsui Kyōraku vs. Katen Kyōkotsu
|
Shunsui points out how Katen Kyōkotsu appears to be holding him off and making it difficult for him to strike back instead of actually fighting effectively.
|
|
Afternoon
Jūshirō Ukitake vs. Sōgyo no Kotowari
|
Ukitake chases Sōgyo no Kotowari all the way to a waterfall.
|
|
Afternoon
Jūshirō Ukitake vs. Sōgyo no Kotowari
|
When Sōgyo no Kotowari fires a barrage of spikes at him, Ukitake deflects them with a surge of water created by firing Hadō #31. Shakkahō into the waterfall.
|
|
Afternoon
Jūshirō Ukitake vs. Sōgyo no Kotowari
|
Sōgyo no Kotowari attempt a direct attack, only for Ukitake to grab their arms and knocks their fans away.
|
File:Ukitake grabs Sogyo no Kotowari.png
|
Afternoon
Jūshirō Ukitake vs. Sōgyo no Kotowari
|
Sōgyo no Kotowari kick Ukitake in the face and run away, causing Ukitake to realize they are stalling for time.
|
|
Afternoon
Trapped by the Flames
|
Muramasa blocks and destroys the Getsuga Tenshō before telling Ichigo to hit him with everything he has got, prompting Ichigo to don his Hollow mask.
|
|
Afternoon
Yoruichi Shihōin vs. Haineko & Tobiume
|
Haineko and Tobiume begin using their powers in conjunction against Yoruichi.
|
|
Afternoon
Yoruichi Shihōin vs. Haineko & Tobiume
|
When Yoruichi attempts to escape the battle, Haineko and Tobiume prevent her from doing so, proving her theory of the Zanpakutō spirits keeping the other Shinigami busy true.
|
|
Afternoon
Trapped by the Flames
|
Ichigo clashes with Muramasa, who tells him to unleash his true Getsuga Tenshō.
|
|
Afternoon
Shunsui Kyōraku vs. Katen Kyōkotsu
|
Katen Kyōkotsu attacks Shunsui to prevent him from progressing, but Shunsui evades them and moves on.
|
|
Afternoon
Jūshirō Ukitake vs. Sōgyo no Kotowari
|
Sōgyo no Kotowari confront Ukitake one last time, only for Ukitake to dodge their attack and move past them.
|
|
Afternoon
Kenpachi Zaraki vs. Tenken & Gonryōmaru
|
After noting what is happening around the cave, Kenpachi continues to battle Tenken and Gonryōmaru as Yachiru watches happily.
|
|
Afternoon
Yoruichi Shihōin vs. Haineko & Tobiume
|
Yoruichi binds Haineko and Tobiume to a wall with Bakudō #30. Shitotsu Sansen before leaving.
|
|
Afternoon
Trapped by the Flames
|
Ichigo continues to build up Reiryoku as Shunsui, Ukitake, and Yoruichi realize Muramasa is waiting for him to use his most powerful attack.
|
|
Afternoon
Trapped by the Flames
|
Ichigo unleashes an exceedingly powerful Getsuga Tenshō, which Muramasa struggles to hold back before redirecting at the barrier around Yamamoto.
|
|
Afternoon
Trapped by the Flames
|
The barrier shatters, allowing Muramasa to enter Yamamoto's inner world.
|
|
Afternoon
Trapped by the Flames
|
As Yamamoto moves to the other Shinigami, who have arrived in the same cavern, Muramasa reveals he had been planning to access Yamamoto's memories all along.
|
|
Afternoon
Trapped by the Flames
|
When Katen Kyōkotsu and Sōgyo no Kotowari confront him, Muramasa reveals he only set the Zanpakutō Rebellion in motion in order to access Yamamoto's mind.
|
|
Afternoon
Trapped by the Flames
|
Enraged, Katen Kyōkotsu and Sōgyo no Kotowari attempt to attack Muramasa, only to be incinerated by Ryūjin Jakka, whom Muramasa freed while accessing Yamamoto's memories.
|
File:Katen Kyokotsu & Sogyo no Kotowari Attempted Attack.jpg
|
Afternoon
Trapped by the Flames
|
Muramasa bids the Shinigami farewell and leaves as the flames of Ryūjin Jakka mask his departure and trap the Shinigami.
|
File:Ryujin Jakka and Shinigami.png
|
Afternoon
Trapped by the Flames
|
Ryūjin Jakka attacks the Shinigami with tendrils of fire and prevents Ichigo from escaping.
|
|
Afternoon
Trapped by the Flames
|
Muramasa, Senbonzakura, and Byakuya arrive in Karakura Town, which Yamamoto reveals is where the thing that Muramasa seeks is hidden.
|
|
Afternoon
Trapped by the Flames
|
After Byakuya and Senbonzakura leave to ensure nothing stands in their way, Muramasa's illness flares up, causing him to realize he does not have much time left.
|
|
Afternoon
Trapped by the Flames
|
When Ichigo points out a nearby hole filled with rocks that they could escape through, Yoruichi activates Shunkō and destroys the rocks, but Haineko and Tobiume attacks her once more, blocking the hole in the process.
|
|
Afternoon
Kenpachi Zaraki vs. Tenken
|
Having defeated Gonryōmaru, Kenpachi continues to clash with Tenken, whose fire abilities he easily counters.
|
|
Afternoon
Kenpachi Zaraki vs. Tenken.
|
Kenpachi goads Tenken into activating his Bankai, Kokujō Tengen Myō'ō, before attacking him.
|
|
| Afternoon
|
After attacking from afar, Haineko and Tobiume confront Yoruichi once more and promise to not hold back this time.
|
|
Afternoon
Trapped by the Flames
|
Ichigo, Shunsui, and Ukitake attempt to break through the flame barrier, but to no avail.
|
|
Afternoon
Trapped by the Flames
|
Yamamoto reveals Muramasa is searching for his master, Kōga Kuchiki, who once started a rebellion within the Seireitei before being sealed away.
|
|
| Afternoon
|
Muramasa arrives at a lake with an island in the center.
|
|
| Afternoon
|
When Orihime appears nearby, Muramasa attacks her.
|
|
| Afternoon
|
Muramasa binds Orihime with his Spiritual Threads, but falls unconscious when his illness strikes once more.
|
|
| Afternoon
|
Muramasa wakes up to find Orihime healing him with Sōten Kisshun.
|
|
| Afternoon
|
Muramasa is angered by Orihime's attempt to help him, but is forced to dodge several Heilig Pfeil when Uryū and Sado arrive.
|
|
Afternoon
Trapped by the Flames
|
Ichigo nearly makes it through Ryūjin Jakka's flames by firing a Getsuga Tenshō at the second layer through an opening, but is eventually pushed back.
|
|
Afternoon
Trapped by the Flames
|
Ichigo dons his Hollow mask and tries to fly out of the flames, but Ryūjin Jakka traps him in a ball of fire.
|
|
Afternoon
Trapped by the Flames
|
Hitsugaya appears and releases Hyōrinmaru, saving Ichigo.
|
|
Afternoon
Trapped by the Flames
|
Yamamoto and Ichigo explain the situation to Hitsugaya and Hyōrinmaru.
|
|
Afternoon
Trapped by the Flames
|
Hitsugaya and Hyōrinmaru activate their Bankai, allowing them to temporarily freeze Ryūjin Jakka's flames.
|
File:248Daiguren Hyorinmaru fires.png
|
Afternoon
Trapped by the Flames
|
Ichigo makes his escape through the frozen flames as Yamamoto prepares to punish Ryūjin Jakka for its disobedience.
|
|
Afternoon
Kenpachi Zaraki vs. Tenken
|
Kenpachi continues to battle Kokujō Tengen Myō'ō, who easily overwhelms him.
|
|
Afternoon
Kenpachi Zaraki vs. Tenken
|
After realizing Kokujō Tengen Myō'ō is tougher than he thought, Kenpachi begins to fight evenly against him.
|
|
| Afternoon
|
Yoruichi easily overwhelms Haineko and Tobiume before deciding to explain Muramasa's true intentions to them.
|
|
| Afternoon
|
Yamamoto, Shunsui, Ukitake, Hitsugaya, and Hyōrinmaru prepare to subdue Ryūjin Jakka.
|
|
Afternoon
Uryū Ishida & Yasutora Sado vs. Muramasa
|
Uryū and Sado begin to battle Muramasa.
|
|
Afternoon
Uryū Ishida & Yasutora Sado vs. Muramasa
|
Muramasa uses his Illusions to distract Uryū while attacking him from behind.
|
|
Afternoon
Uryū Ishida & Yasutora Sado vs. Muramasa
|
Sado forces Muramasa into the air and Uryū fires a barrage of arrows at him, but Senbonzakura appears and protects Muramasa with his Shikai.
|
|
Afternoon
Uryū Ishida vs. Senbonzakura
|
Senbonzakura begins attacking Uryū.
|
|
Afternoon
Yasutora Sado vs. Muramasa
|
Muramasa uses his Illusions on Sado to lure him into a false sense of security by recreating his hometown in Mexico before attacking him while disguised Oscar Joaquín de la Rosa.
|
|
Afternoon
Yasutora Sado vs. Muramasa
|
Muramasa knocks Sado out by strangling him with his Spiritual Threads.
|
|
Afternoon
Uryū Ishida vs. Senbonzakura
|
Senbonzakura activates his Bankai to protect himself from a rain of Heilig Pfeil.
|
|
Afternoon
Uryū Ishida vs. Senbonzakura & Muramasa
|
Senbonzakura forces Uryū to move near Muramasa, who attempts to use his Illusions on him, only for Orihime to protect Uryū with Santen Kesshun.
|
|
| Afternoon
|
Muramasa momentarily drops his guard when Orihime asks him why he is filled with sadness.
|
|
| Afternoon
|
Muramasa regains his composure and exerts his red-black Reiatsu, only for Rukia to appear and fire Hadō #33. Sōkatsui at him.
|
|
| Afternoon
|
After cutting through the blast, Muramasa reveals he has trapped Ichigo within Ryūjin Jakka's flames before summoning several Hollows.
|
|
Afternoon
Uryū Ishida vs. Senbonzakura
|
Uryū continues to clash evenly with Senbonzakura.
|
|
| Afternoon
|
Rukia and Sado begin fighting the Hollows.
|
|
| Afternoon
|
Muramasa arrives on the island in the center of the lake and begins to chant an incantation.
|
|
Afternoon
Uryū Ishida vs. Senbonzakura
|
While continuing to clash with Senbonzakura, Uryū sees the island crackling with blue electricity and realizes he must do something.
|
|
Afternoon
Uryū Ishida vs. Senbonzakura
|
When Senbonzakura attempts a direct attack, Uryū blocks his sword with a Seele Schneider.
|
|
| Afternoon
|
Muramasa finishes chanting the incantation, causing the tree on the island to crack and shatter like glass as Rukia realizes it was a barrier.
|
|
Afternoon
Uryū Ishida vs. Senbonzakura
|
Uryū uses the Seele Schneider to absorb Senbonzakura's blade petals before firing it at Senbonzakura, breaking part of his mask and sending him flying away.
|
|
| Afternoon
|
Rukia attempts to interfere with Muramasa's release of Kōga, but Muramasa prevents her from doing so.
|
|
Afternoon
Uryū Ishida vs. Senbonzakura
|
When Uryū attempts to attack Muramasa, Senbonzakura reappears and attacks him, forcing Uryū to redirect his attack.
|
|
| Afternoon
|
Muramasa explains who Kōga is to Rukia as the seal finally shatters.
|
|
| Afternoon
|
Ichigo arrives and attacks Muramasa, though he is pushed back.
|
|
| Afternoon
|
Kōga finally awakens.
|
|
| Afternoon
|
Ichigo and Rukia attempt to attack Kōga, who simply blows them back with an explosion of Reiatsu.
|
|
| Afternoon
|
Muramasa joyously greets Kōga, who stabs Muramasa in the stomach with his broken sword.
|
|
| Afternoon
|
Kōga reveals he stabbed Muramasa because the latter did not come to his aid when he called his name, shocking Muramasa, who states he never heard Kōga's call.
|
|
| Afternoon
|
Refusing to believe Muramasa, Kōga pulls his sword out and prepares to kill Muramasa.
|
|
| Afternoon
|
Byakuya appears and blocks Kōga's finishing blow before criticizing him for attacking his own Zanpakutō spirit.
|
File:Byakuya blocks Kōga's attack..jpg
|
| Afternoon
|
After they separate, Kōga deduces Byakuya is a member of the Kuchiki Clan based on his kenseikan and scarf, prompting Byakuya to reveal his name and position as the 28th Head of the Kuchiki Clan.
|
|
| Afternoon
|
Senbonzakura explains to Ichigo and Rukia why Byakuya faked his betrayal.
|
|
| Afternoon
|
Byakuya reveals he is here to kill Kōga for disgracing the Kuchiki Clan.
|
|
| Afternoon
|
Muramasa tries to offer his power to Kōga even after being stabbed by him, only for Kōga to completely reject him by shattering the blade of his sword.
|
|
| Afternoon
|
Muramasa finally breaks down and is engulfed by a vortex of Reiatsu, which dozens of Gillians emerge from.
|
|
| Afternoon
|
Byakuya prepares to destroy the Gillians, but Ichigo and Rukia intervene so he can battle Kōga and defend the honor of his clan.
|
|
Afternoon
Byakuya Kuchiki vs. Kōga Kuchiki
|
After picking up one of the spears used to seal him, Kōga begins battling Byakuya.
|
|
Afternoon
Byakuya Kuchiki vs. Kōga Kuchiki
|
Kōga proves to be highly proficient in fighting with a spear instead of a sword.
|
|
Afternoon
Byakuya Kuchiki vs. Kōga Kuchiki
|
Eventually, Byakuya and Kōga begin using Kidō against each other in rapid succession.
|
|
Afternoon
Byakuya Kuchiki vs. Kōga Kuchiki
|
Kōga encases Byakuya in a large chunk of ice with Hyōga Seiran, but Byakuya shatters it by releasing his Shikai.
|
|
Afternoon
Byakuya Kuchiki vs. Kōga Kuchiki
|
Kōga binds Byakuya with his Spiritual Threads, but Byakuya cuts them with Senbonzakura before seemingly bifurcating Kōga.
|
File:252Byakuya bifurcates.png
|
Afternoon
Byakuya Kuchiki vs. Kōga Kuchiki
|
Kōga reveals he is using his Illusions on Byakuya.
|
|
Afternoon
Byakuya Kuchiki vs. Kōga Kuchiki
|
Kōga uses his Illusions to repeatedly attack Byakuya.
|
|
Afternoon
Byakuya Kuchiki vs. Kōga Kuchiki
|
Kōga claims he was able to activate his Illusions because Byakuya let his guard down when Kōga snapped Muramasa, but Byakuya reveals he challenged Kōga with his mind wide open in order to kill him.
|
|
Afternoon
Byakuya Kuchiki vs. Kōga Kuchiki
|
Kōga traps Byakuya with two more spears before encasing him in ice from the waist down with Hyōga Seiran.
|
|
Afternoon
Byakuya Kuchiki vs. Kōga Kuchiki
|
Kōga attempts to kill Byakuya while he cannot defend himself.
|
|
Afternoon
Byakuya Kuchiki vs. Kōga Kuchiki
|
Senbonzakura releases himself in order to save Byakuya by blocking the spear with blade petals.
|
|
Afternoon
Byakuya Kuchiki vs. Kōga Kuchiki
|
After Senbonzakura promises to act as his eyes and limbs in order to overcome the power of Kōga's Illusions, Byakuya breaks free and activates his Bankai.
|
|
Afternoon
Byakuya Kuchiki vs. Kōga Kuchiki
|
Byakuya activates Senkei and prepares to resume his battle with Kōga.
|
|
Afternoon
Byakuya Kuchiki vs. Kōga Kuchiki
|
Byakuya and Kōga clash in an explosion of Reiatsu.
|
|
Afternoon
Byakuya Kuchiki vs. Kōga Kuchiki
|
Kōga binds Byakuya with his Spiritual Threads once more, only for Senbonzakura to cut the threads with Senkei blades.
|
File:252Senkei blades cut.png
|
Afternoon
Byakuya Kuchiki vs. Kōga Kuchiki
|
Senbonzakura and Byakuya explain to Kōga how he cannot hope to defeat them because he does not have Muramasa at his side.
|
|
Afternoon
Byakuya Kuchiki vs. Kōga Kuchiki
|
As a final act of respect toward Kōga for once being a member of the Kuchiki Clan, Byakuya activates Shūkei: Hakuteiken.
|
|
Afternoon
Byakuya Kuchiki vs. Kōga Kuchiki
|
Byakuya and Kōga clash for the last time in an explosion of Reiatsu.
|
|
| Afternoon
|
Mayuri discovers a way to restore the defeated Zanpakutō spirits to their manifested forms.
|
|
Afternoon
Return of the Zanpakutō Spirits
|
Streams of darkness burst out of Muramasa's body and condense into Gillians as he screams in pain.
|
|
Afternoon
Return of the Zanpakutō Spirits
|
Rukia explains how Muramasa exceeded his own limitations by absorbing so many Hollows in order to remain manifested.
|
|
Afternoon
Return of the Zanpakutō Spirits
|
When Muramasa's Reiatsu attracts hundreds of Hollows, Ichigo prepares to attack them, only for Uryū to destroy them with hundreds of Heilig Pfeil.
|
|
Afternoon
Return of the Zanpakutō Spirits
|
When a Gillian fires a Cero at the assembled group of Ichigo, Rukia, Orihime, Sado, and Uryū, Orihime deflects it with Santen Kesshun.
|
|
Afternoon
Return of the Zanpakutō Spirits
|
Muramasa's body is torn apart before reforming into a small, black-red sphere, which begins absorbing all the Hollows in the area.
|
|
Afternoon
Return of the Zanpakutō Spirits
|
After his final clash with Kōga, Byakuya stumbles forward as Senbonzakura catches him.
|
|
Afternoon
Return of the Zanpakutō Spirits
|
Kōga calls out to Muramasa in desperation before falling into the lake and drowning.
|
File:Koga dies.jpg
|
Afternoon
Return of the Zanpakutō Spirits
|
The sphere explodes, revealing Muramasa has transformed into a horrific Hollow hybrid.
|
|
Afternoon
Return of the Zanpakutō Spirits
|
After exerting his powerful Reiatsu, Muramasa begins attacking the group, easily overwhelming them in the process.
|
|
Afternoon
Return of the Zanpakutō Spirits
|
Sado briefly unbalances Muramasa, allowing Ichigo to attack him.
|
|
Afternoon
Return of the Zanpakutō Spirits
|
After pushing Ichigo back, Muramasa proves he has completely transformed into a Hollow by firing a Cero, which Byakuya blocks with Senbonzakura.
|
File:Muramasa Cero.jpg
|
Afternoon
Return of the Zanpakutō Spirits
|
Orihime attempts to reason with Muramasa.
|
|
Afternoon
Return of the Zanpakutō Spirits
|
Muramasa attacks Orihime without warning and shatters Santen Kesshun when she summons it to defend herself.
|
|
Afternoon
Return of the Zanpakutō Spirits
|
Ichigo continue to battle Muramasa, eventually utilizing his Hollow mask to keep up with him.
|
|
Afternoon
Return of the Zanpakutō Spirits
|
Ichigo nearly cuts Muramasa in half with a Hollow mask-enhanced Getsuga Tenshō, but Muramasa repairs his body with High-Speed Regeneration.
|
File:253Muramasa regenerates.png
|
Afternoon
Return of the Zanpakutō Spirits
|
Uryū, Sado, Rukia, and Byakuya destroy the swarms of large Hollows in order to keep them away from Ichigo and Muramasa.
|
|
Afternoon
Return of the Zanpakutō Spirits
|
Ichigo hits Muramasa with a point-blank Getsuga Tenshō.
|
|
Afternoon
Return of the Zanpakutō Spirits
|
Muramasa transforms into a large, dome-like structure, engulfing Ichigo in the process.
|
|
Afternoon
Return of the Zanpakutō Spirits
|
The dome-like structure begins summoning Gillians as a Garganta opens overhead due to the spike in energy from the Hollows.
|
|
Afternoon
Return of the Zanpakutō Spirits
|
A Gillian attempts to fire a Cero at Rukia and Orihime, but Sode no Shirayuki appears and uses Tsugi no mai, Hakuren, freezing and shattering the Gillian.
|
|
Afternoon
Return of the Zanpakutō Spirits
|
Sode no Shirayuki reveals she did not come alone as several other Shinigami and their Zanpakutō spirits appear behind her.
|
File:Zanpakuto Shinigami United.png
|
Afternoon
Return of the Zanpakutō Spirits
|
Sode no Shirayuki reveals Mayuri reversed their brainwashing, which is why they are now on the side of the Shinigami.
|
|
Afternoon
Return of the Zanpakutō Spirits
|
The Zanpakutō spirits begin attacking the Gillians, angering some of their masters.
|
|
Afternoon
Return of the Zanpakutō Spirits
|
Suì-Fēng destroys a Gillian that was about to fire a Cero at Sado and Orihime before attempting to attack the dome, only for Uryū to block her path with Heilig Pfeil.
|
|
Afternoon
Return of the Zanpakutō Spirits
|
Uryū and Orihime explain how Suì-Fēng's attack could have caused major damage to Karakura Town and injured Ichigo, who is still inside the dome.
|
|
Afternoon
Return of the Zanpakutō Spirits
|
Hitsugaya tells Suì-Fēng to focus on defeating the Hollows instead of fighting with the Humans.
|
|
Afternoon
Return of the Zanpakutō Spirits
|
The Shinigami and Zanpakutō spirits continue to cut down the Gillians.
|
|
Afternoon
Return of the Zanpakutō Spirits
|
The Zanpakutō spirits discuss Muramasa's betrayal and their feelings about it with their Shinigami.
|
|
Afternoon
Return of the Zanpakutō Spirits
|
Renji reunites with Byakuya and attempts to explain his feelings about Byakuya's faked betrayal.
|
|
Afternoon
Return of the Zanpakutō Spirits
|
When Izuru, Marechiyo, and Gegetsuburi are surrounded by Gillians due to the latter two arguing, Komamura saves them with his Bankai.
|
|
Afternoon
Return of the Zanpakutō Spirits
|
Uryū attempts to attack the dome, which simply absorbs his Heilig Pfeil.
|
|
Afternoon
Return of the Zanpakutō Spirits
|
A massive Garganta opens in the sky and begins spewing black ooze, which morphs into Gillians.
|
|
Afternoon
Return of the Zanpakutō Spirits
|
Dozens of Gillians appear within the Garganta.
|
|
Afternoon
Return of the Zanpakutō Spirits
|
The Shinigami and Zanpakutō spirits express surprise upon seeing Byakuya and Senbonzakura attempting to hold back the expansion of the Garganta with Reiryoku-infused blade petals.
|
|
Afternoon
Return of the Zanpakutō Spirits
|
Hitsugaya realizes they can force the Gillians back by exerting an immense amount of Reiatsu.
|
|
Afternoon
Return of the Zanpakutō Spirits
|
The Shinigami and Zanpakutō spirits begin exerting their Reiatsu and continue to attack the Gillians.
|
|
Afternoon
Return of the Zanpakutō Spirits
|
The Shinigami and Zanpakutō spirits combine their Reiatsu by exerting all of it at once, eventually forcing the Garganta to close.
|
|
Afternoon
Return of the Zanpakutō Spirits
|
As the Shinigami and Zanpakutō spirits prepare to deal with the remaining Gillians, Ichigo's friends voice their concern for him while the dome continues to grow in size.
|
|
| Afternoon
|
After falling through a red-black vortex for an extended period of time, Ichigo emerges within Kōga's inner world.
|
|
| Afternoon
|
Muramasa confronts Ichigo and admits he does not know how this is possible before preparing to battle Ichigo once more.
|
|
Afternoon
Ichigo Kurosaki vs. Muramasa
|
Ichigo and Muramasa begin clashing, with Muramasa revealing he is fighting Ichigo in order to gain access to his power.
|
|
Afternoon
Ichigo Kurosaki vs. Muramasa
|
As he and Ichigo continue to battle, Muramasa binds Ichigo with his Spiritual Threads.
|
File:255Tentacles coil.png
|
Afternoon
Ichigo Kurosaki vs. Muramasa
|
The Spiritual Threads disappear when their reflection is disturbed by a pillar falling into it, causing Ichigo to realize the real power is contained in the reflected image.
|
|
Afternoon
Ichigo Kurosaki vs. Muramasa
|
Ichigo disperses the rest of the Spiritual Threads and informs Muramasa that his technique will no longer work on him before attacking Muramasa once more.
|
|
Afternoon
Ichigo Kurosaki vs. Muramasa
|
Muramasa reveals he has placed Ichigo under his Illusions and begins to overpower him.
|
File:Ichigo surrounded by illusions of Muramasa.png
|
Afternoon
Ichigo Kurosaki vs. Muramasa
|
Zangetsu persuades Ichigo to truly connect with him in order to overcome Muramasa's Illusions.
|
|
Afternoon
Ichigo Kurosaki vs. Muramasa
|
Ichigo begins to fight effectively against Muramasa and easily overpowers him.
|
|
Afternoon
Ichigo Kurosaki vs. Muramasa
|
Kōga's inner world begins to degrade due to the maelstrom of anger of the Hollows whom Muramasa absorbed.
|
|
Afternoon
Ichigo Kurosaki vs. Muramasa
|
Ichigo continues to overpower Muramasa, who reveals he is still fighting because he was proud of Kōga's power.
|
|
Afternoon
Ichigo Kurosaki vs. Muramasa
|
Ichigo tells Muramasa a Zanpakutō spirit should have its own free will as Muramasa begins to Hollowfy once more.
|
|
| Afternoon
|
The Shinigami and Zanpakutō spirits finish off the last of the Gillians in the real world.
|
|
Afternoon
Ichigo Kurosaki vs. Muramasa
|
Muramasa prevents his Hollowfication before clashing with Ichigo for the last time.
|
|
| Afternoon
|
As the dome cracks and explodes, Muramasa sinks through the water and recalls how Kōga rejected him before being saved by Ichigo.
|
|
| Afternoon
|
In the real world, Ichigo kneels next to a dying Muramasa and comforts him in his final moments.
|
|
| Afternoon
|
Muramasa thanks Ichigo for understanding him before dying.
|
|
| Afternoon
|
As it begins to rain, the Zanpakutō spirits return to their swords.
|
|
| Afternoon
|
Byakuya thanks Ichigo for his assistance before leaving.
|
|

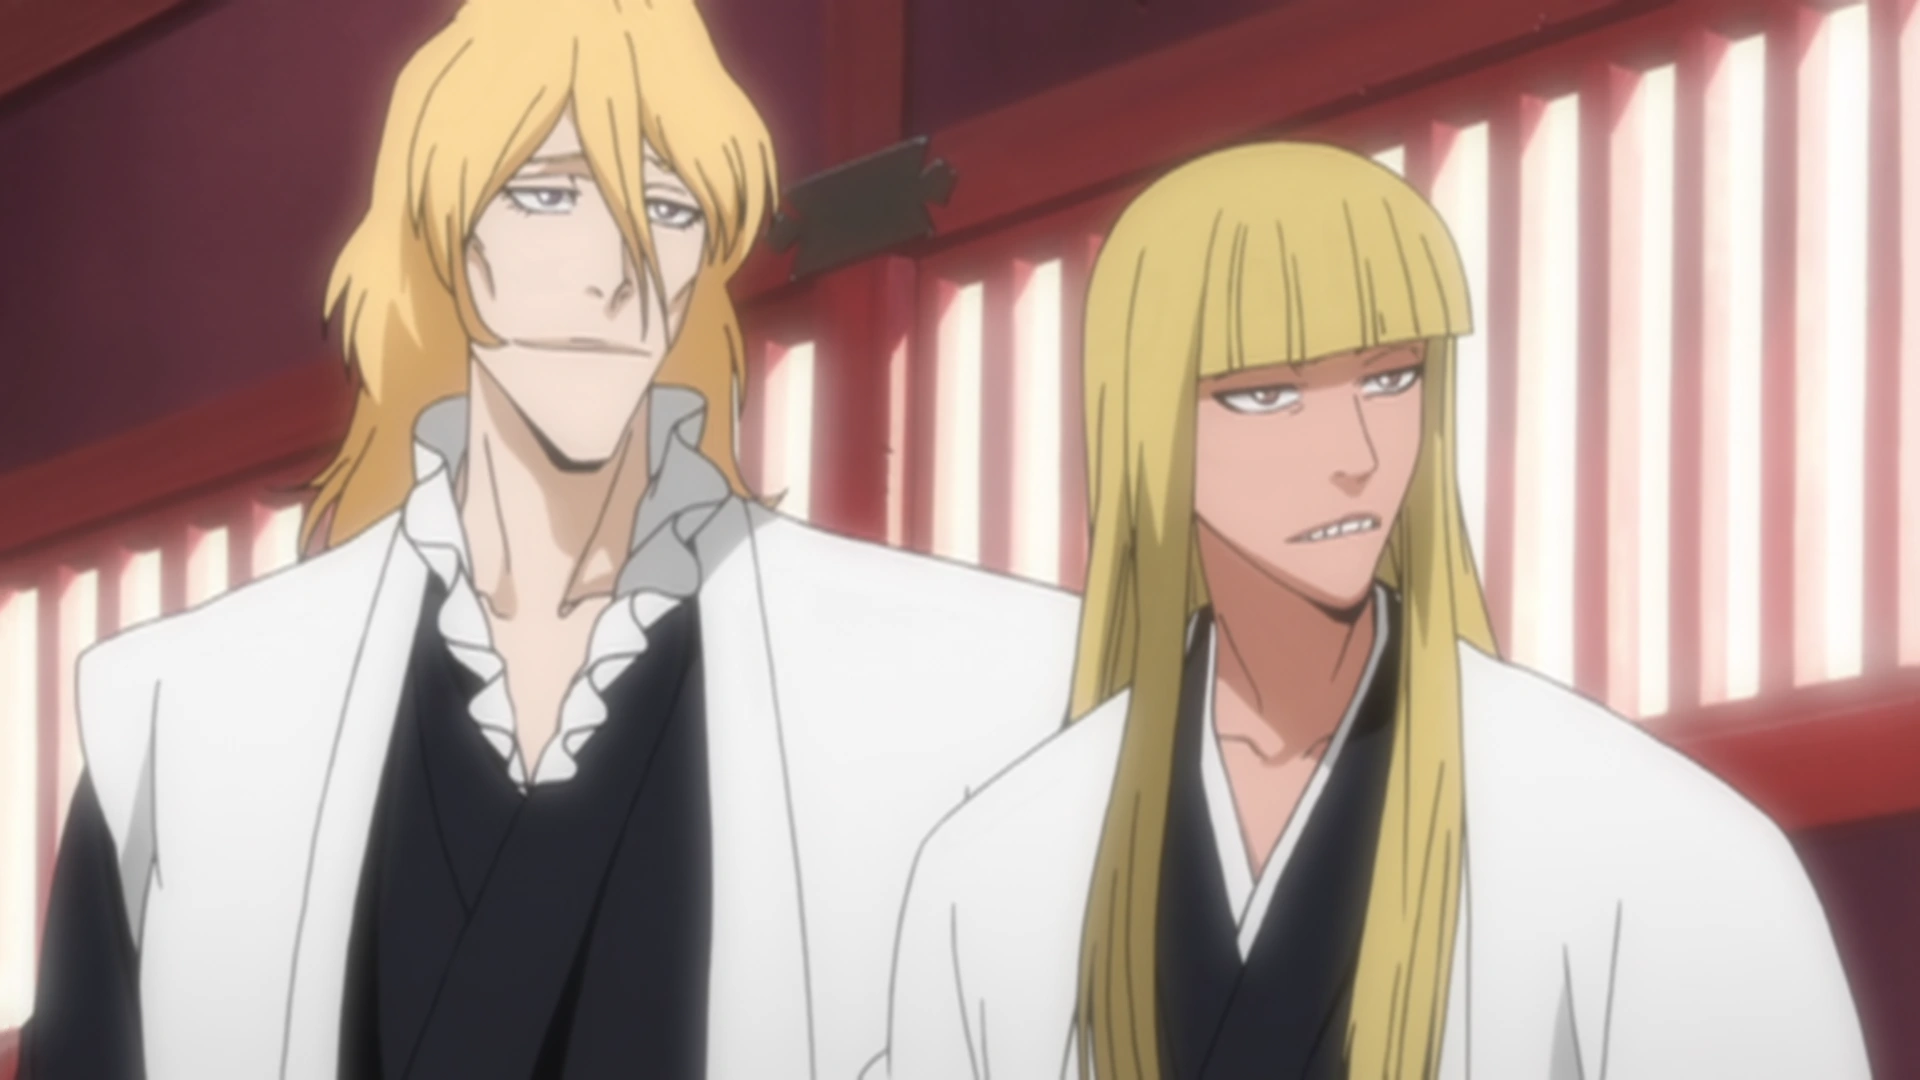

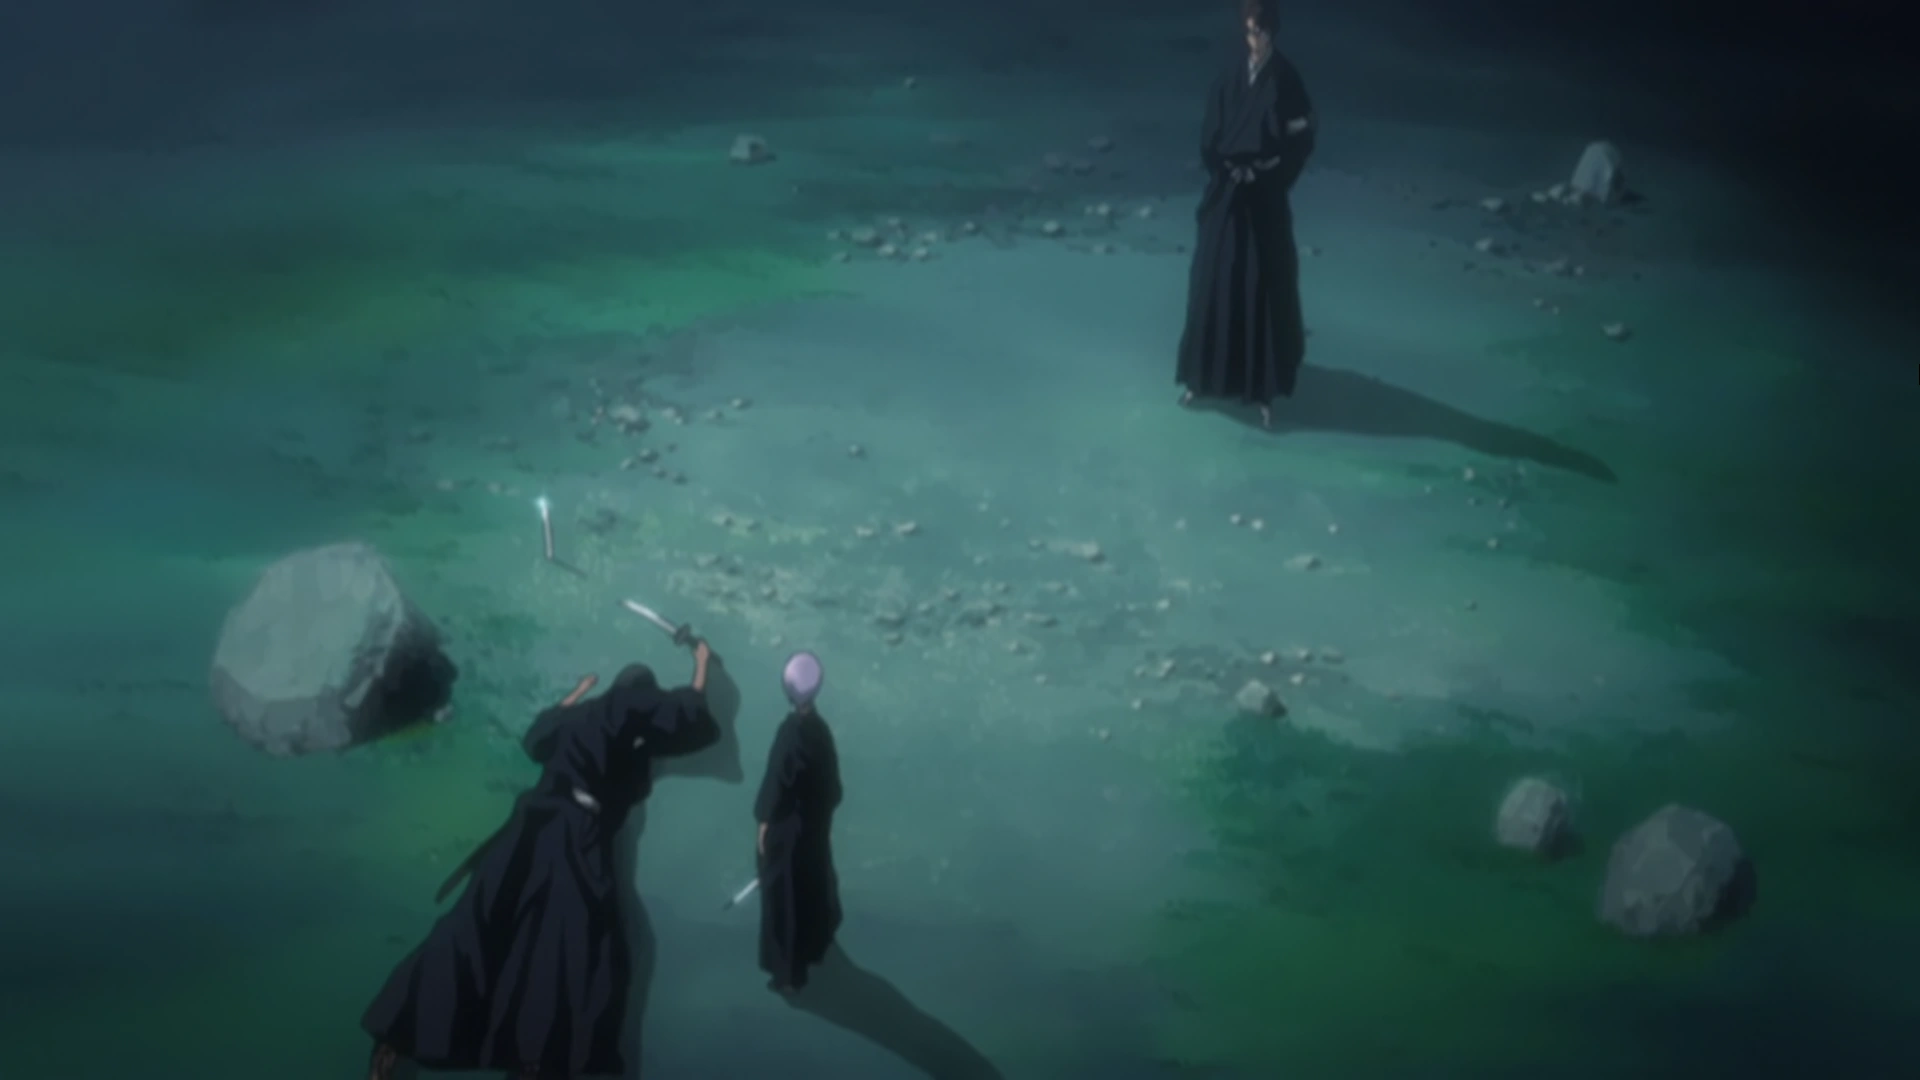
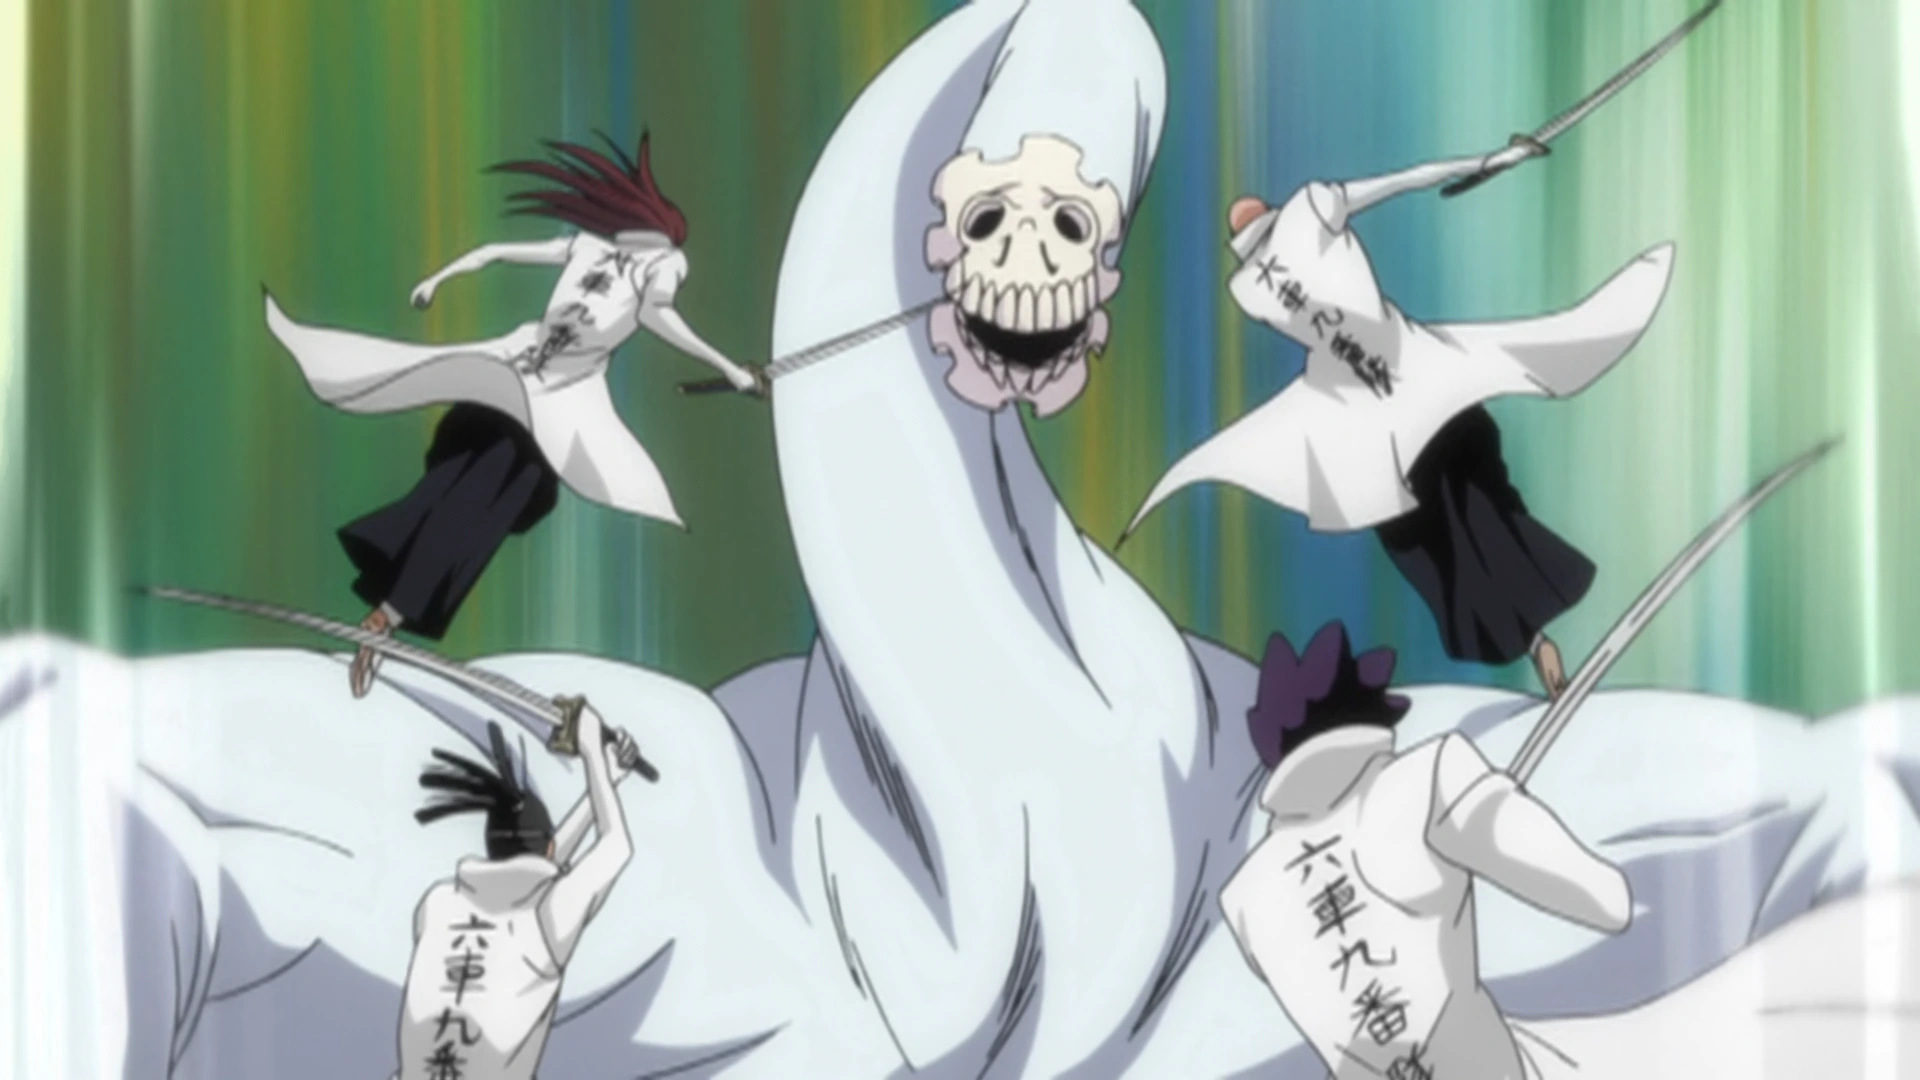
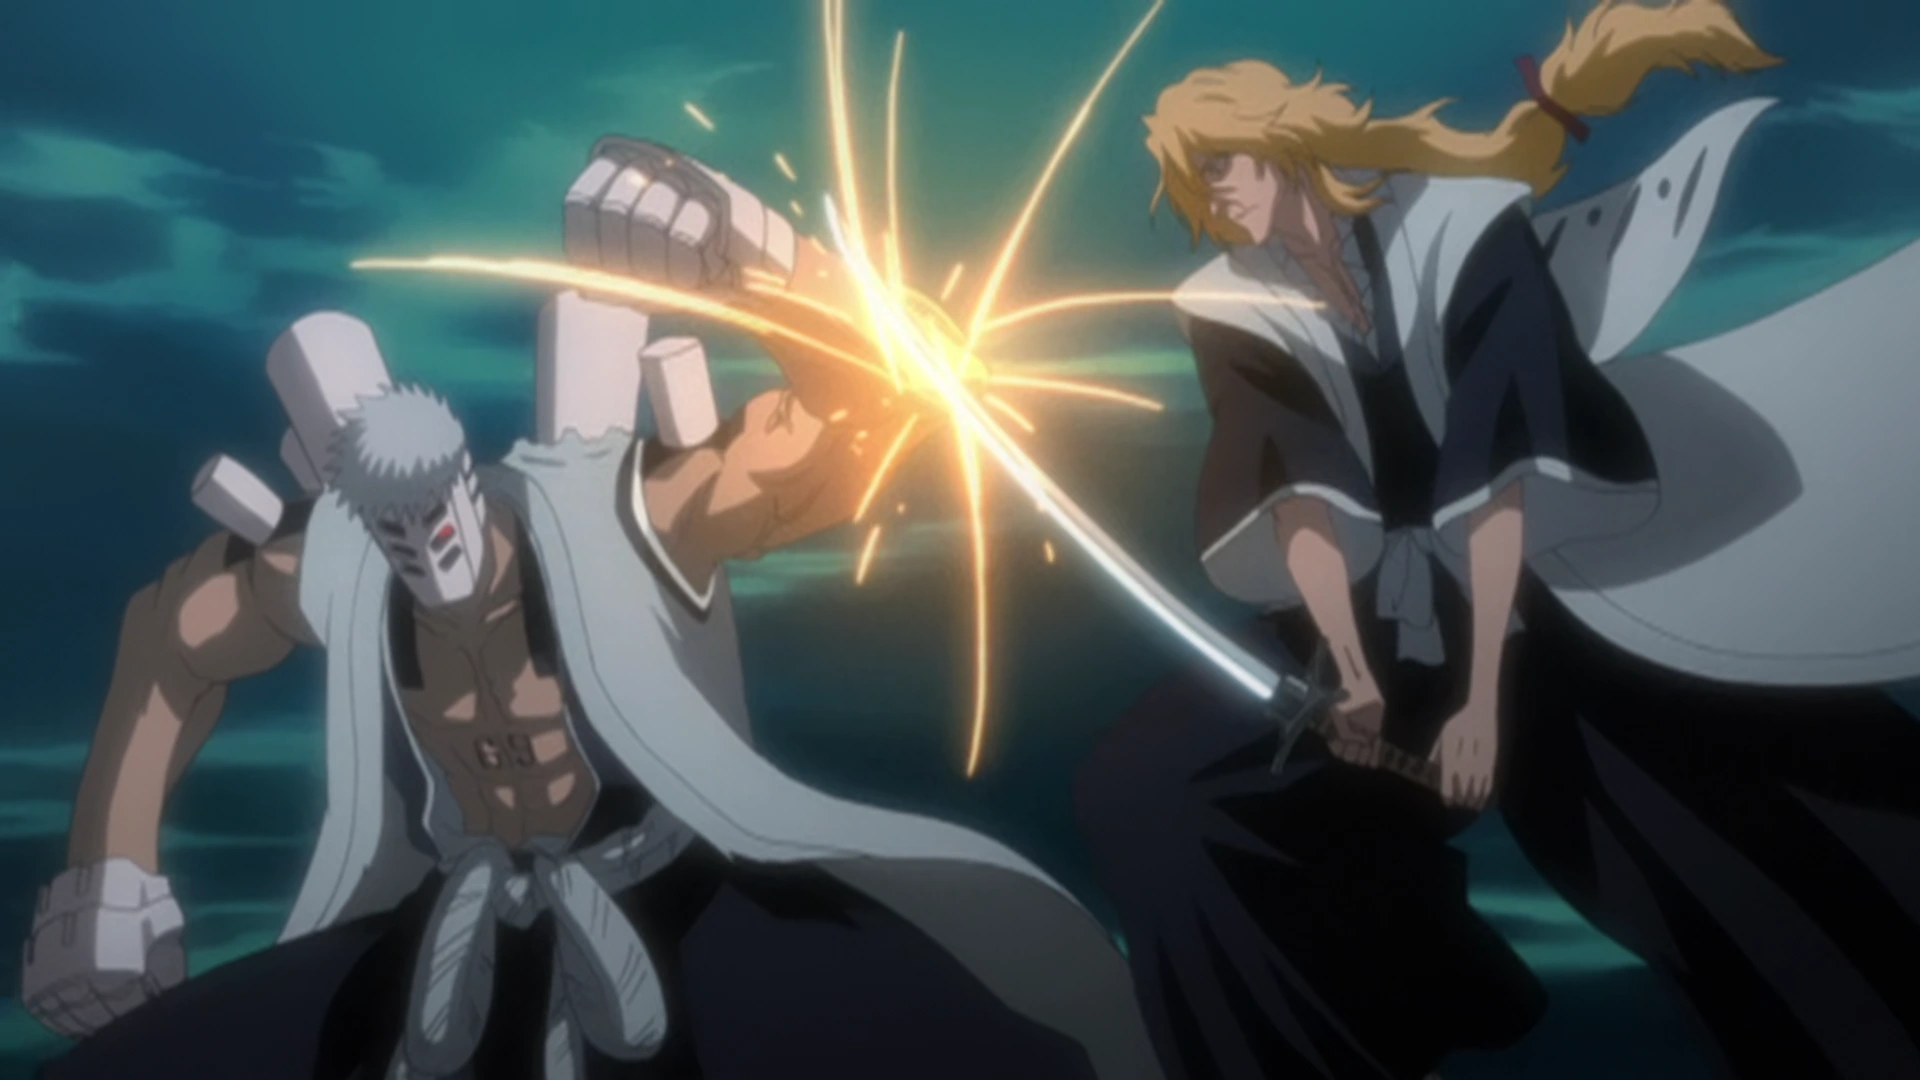
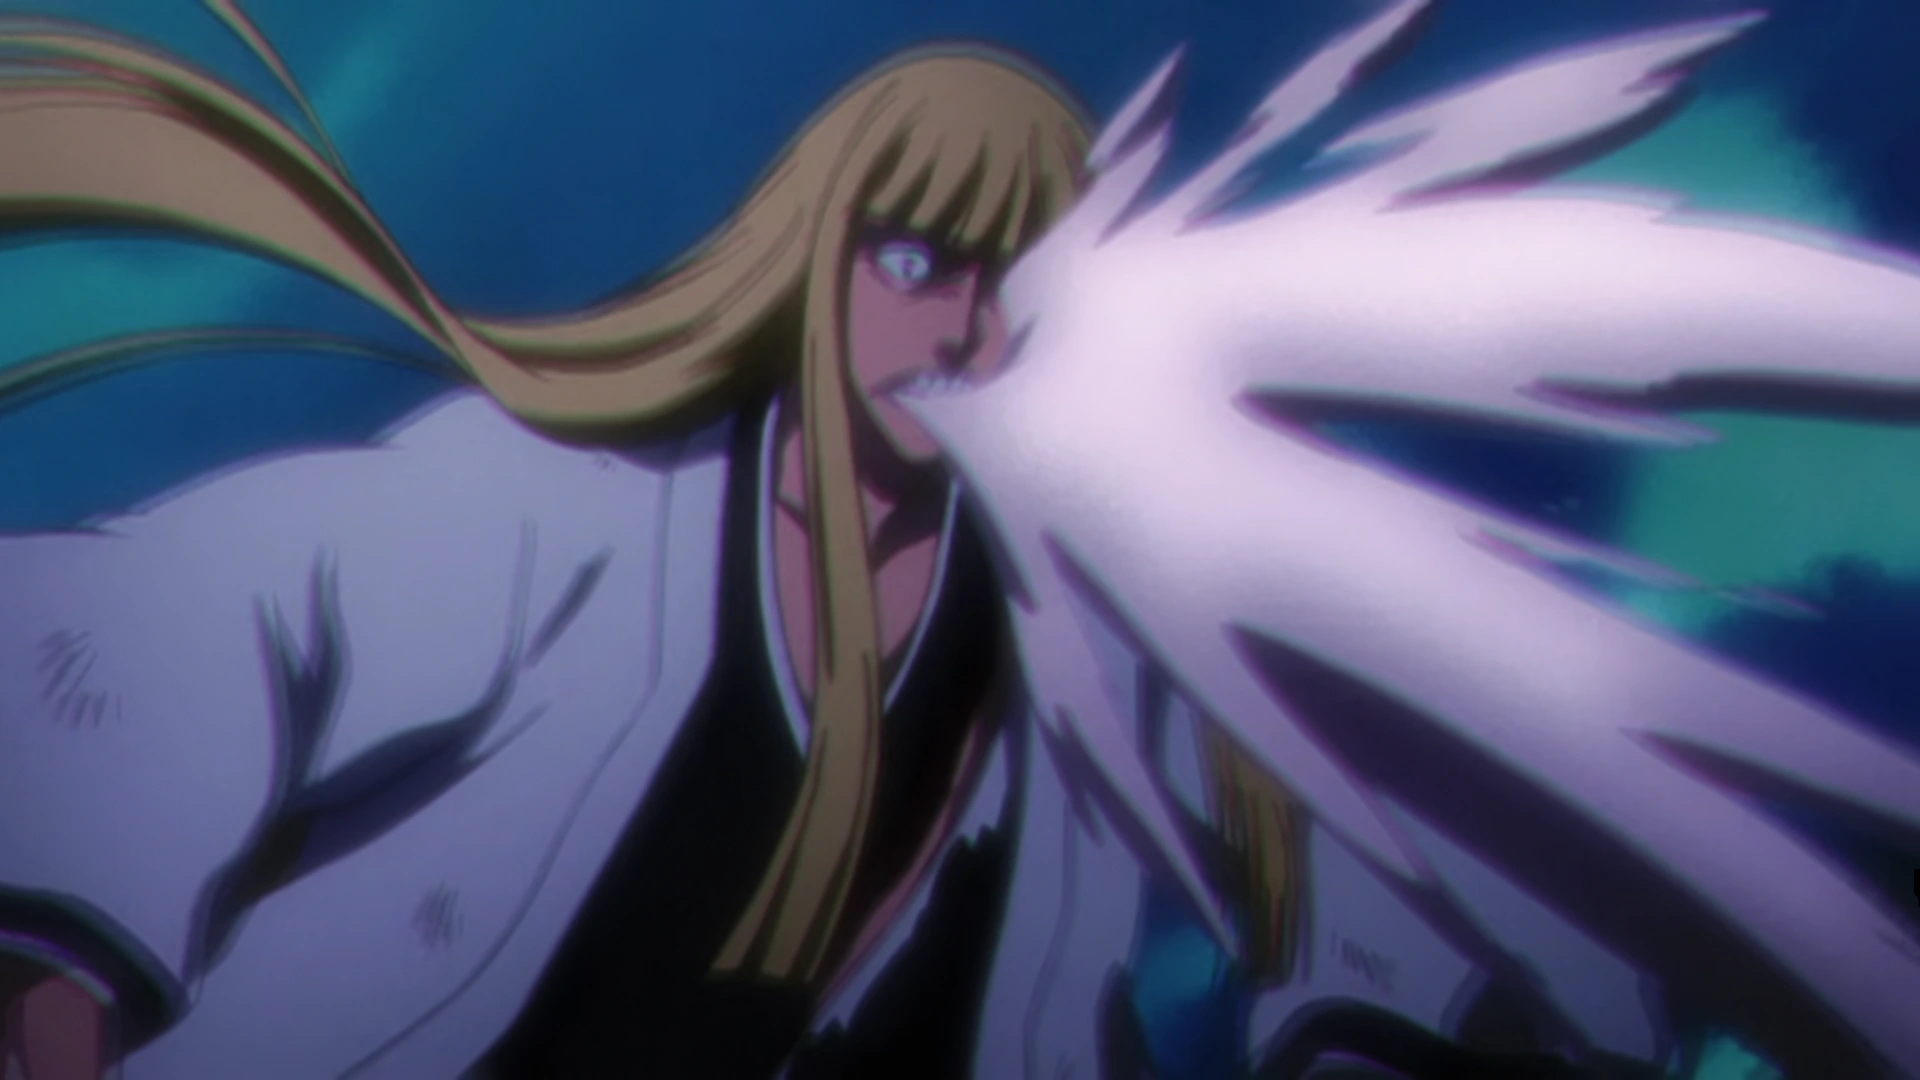
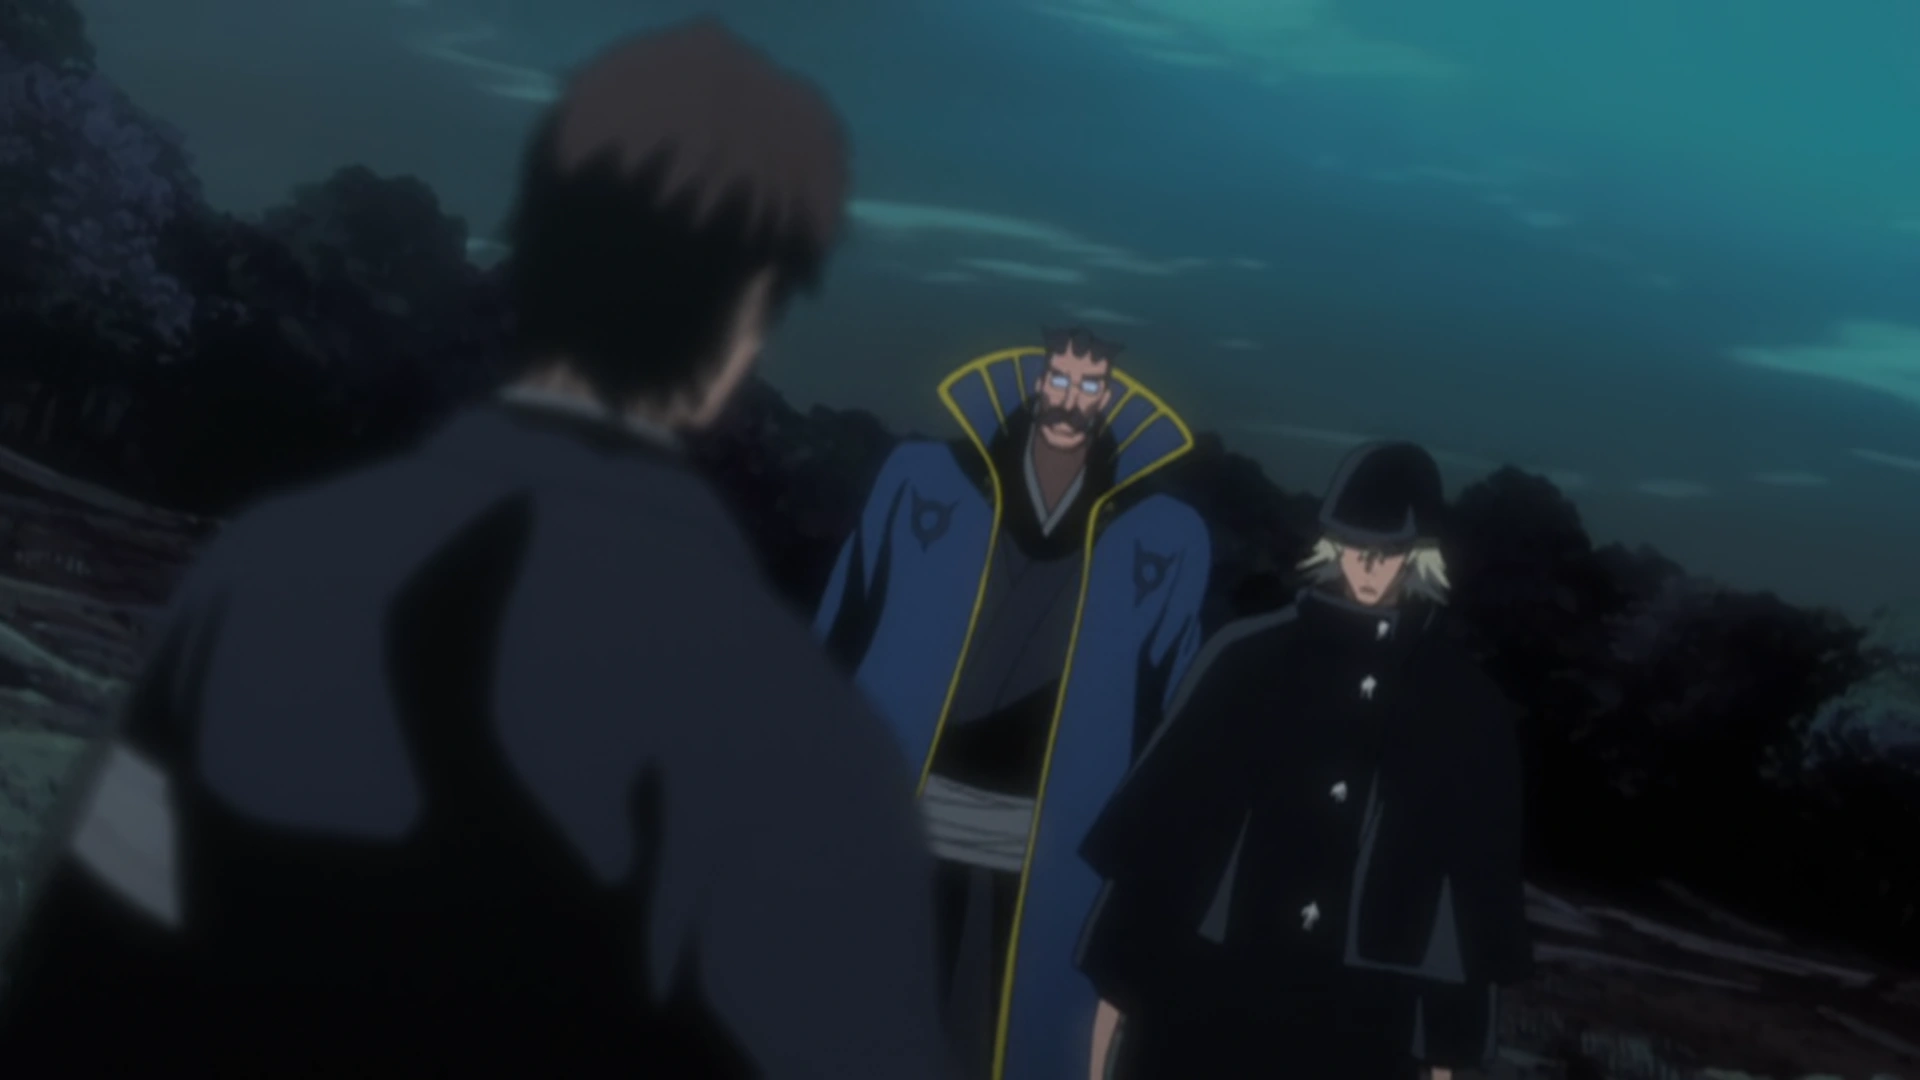
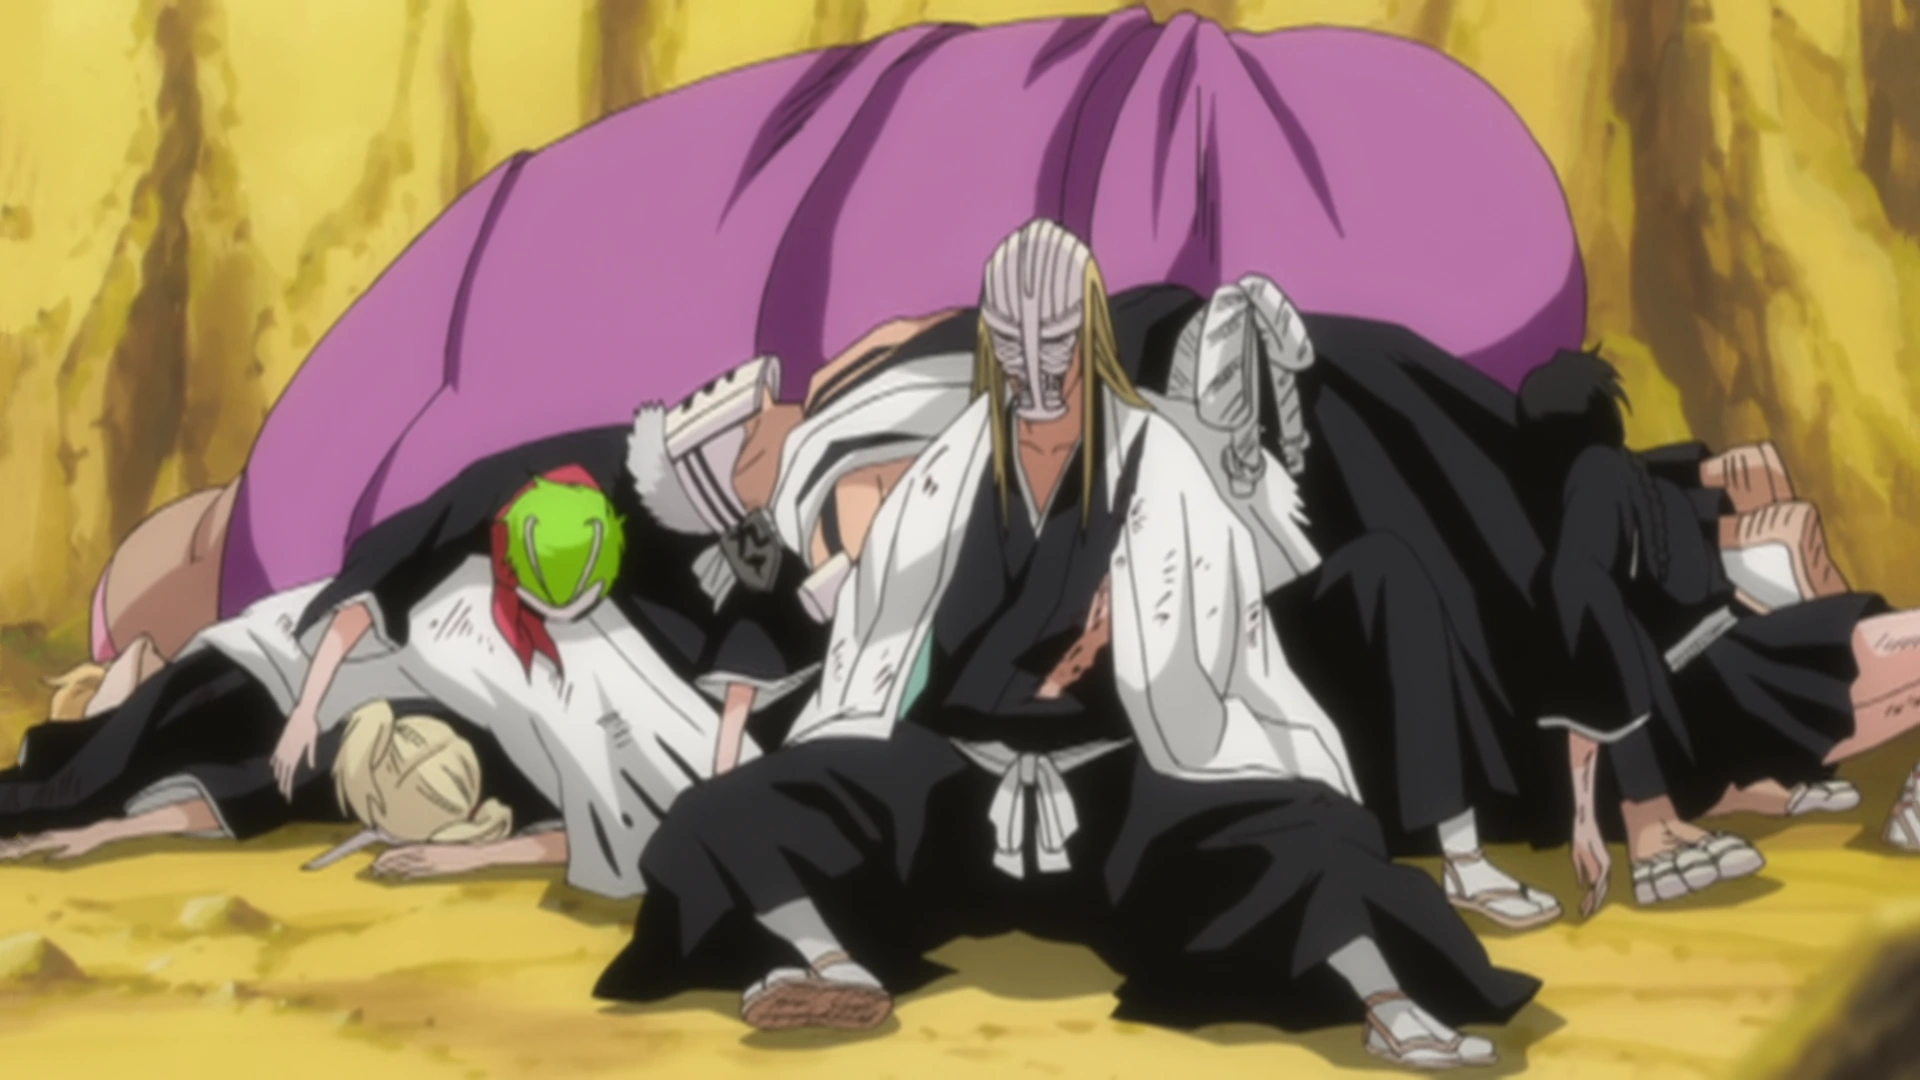
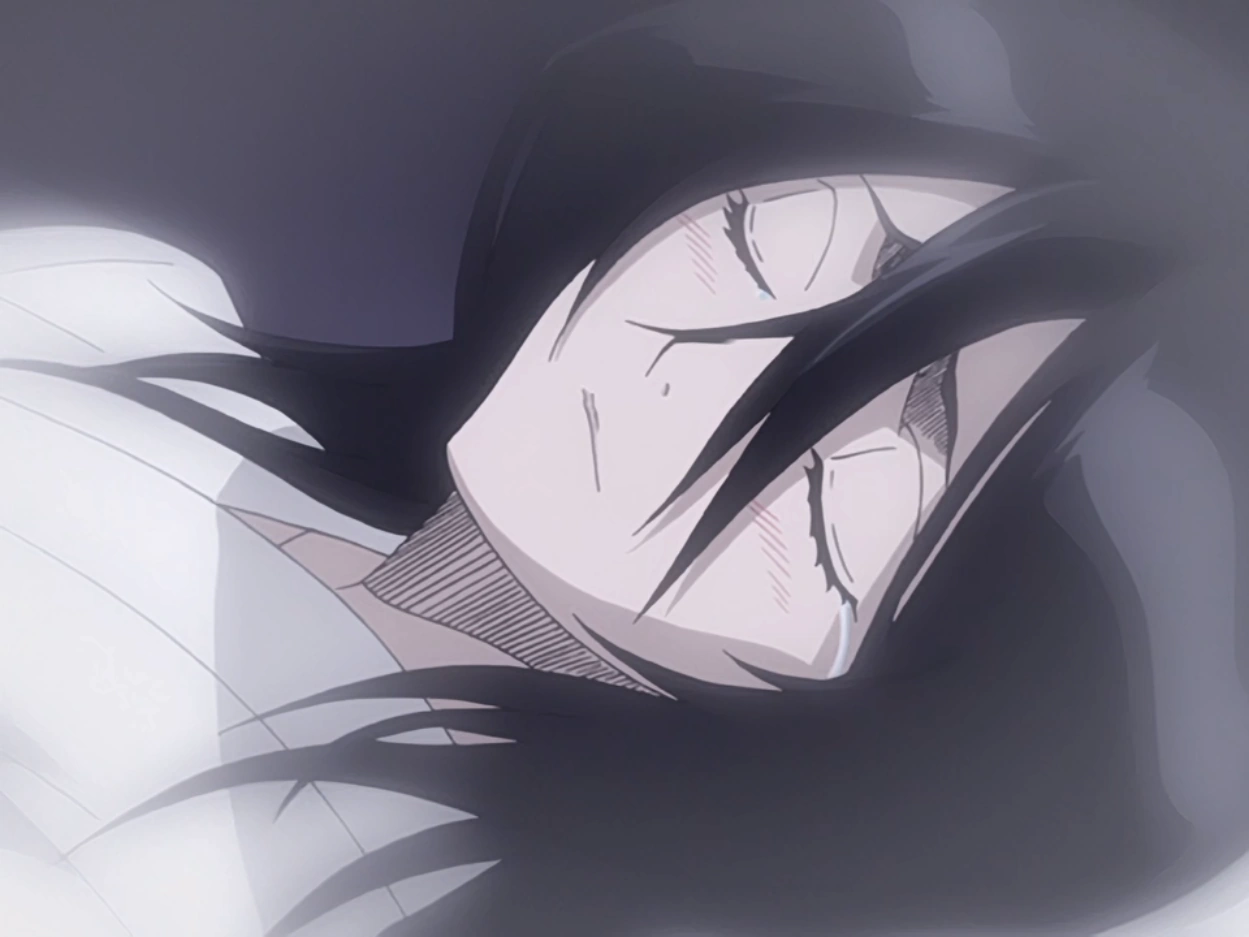
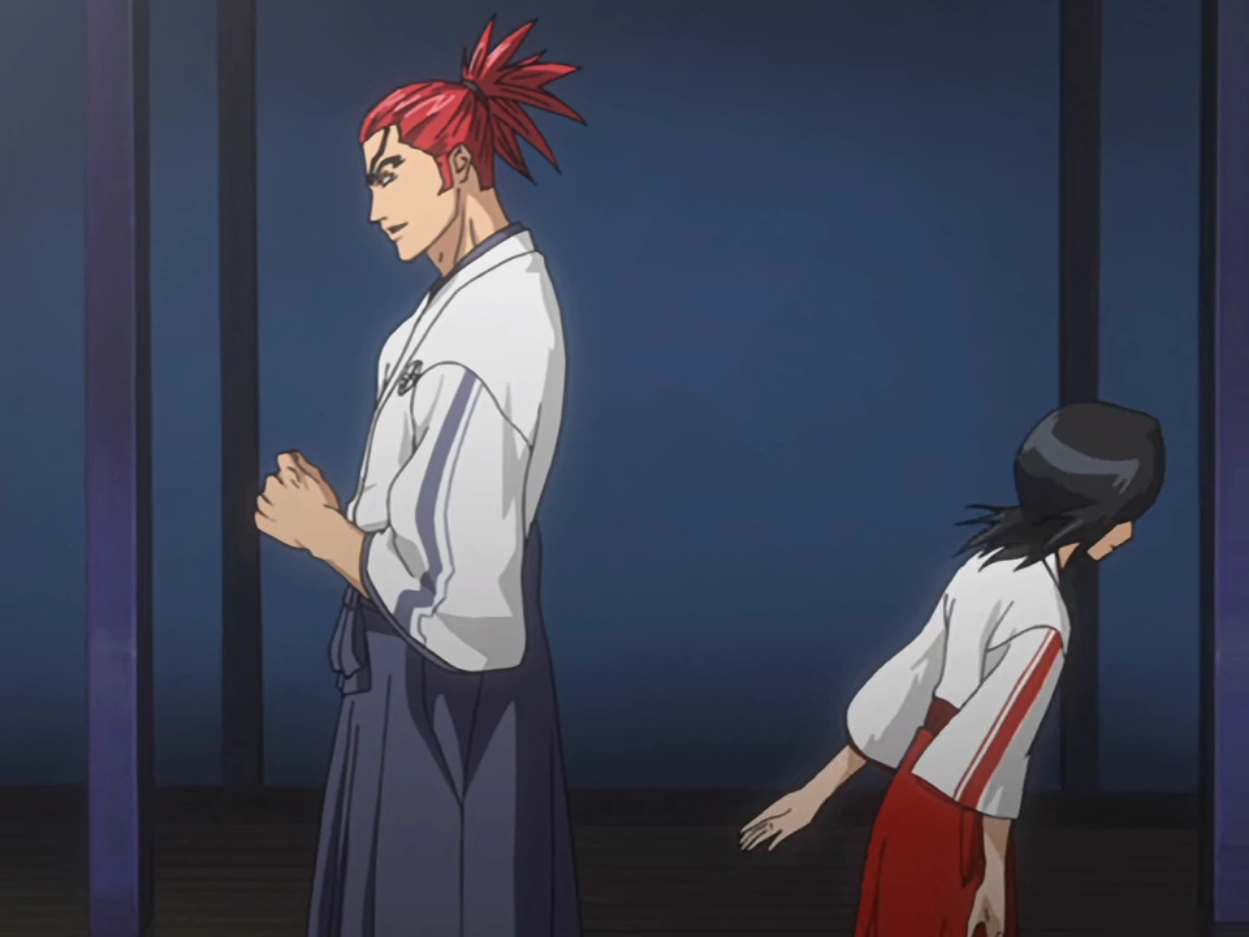
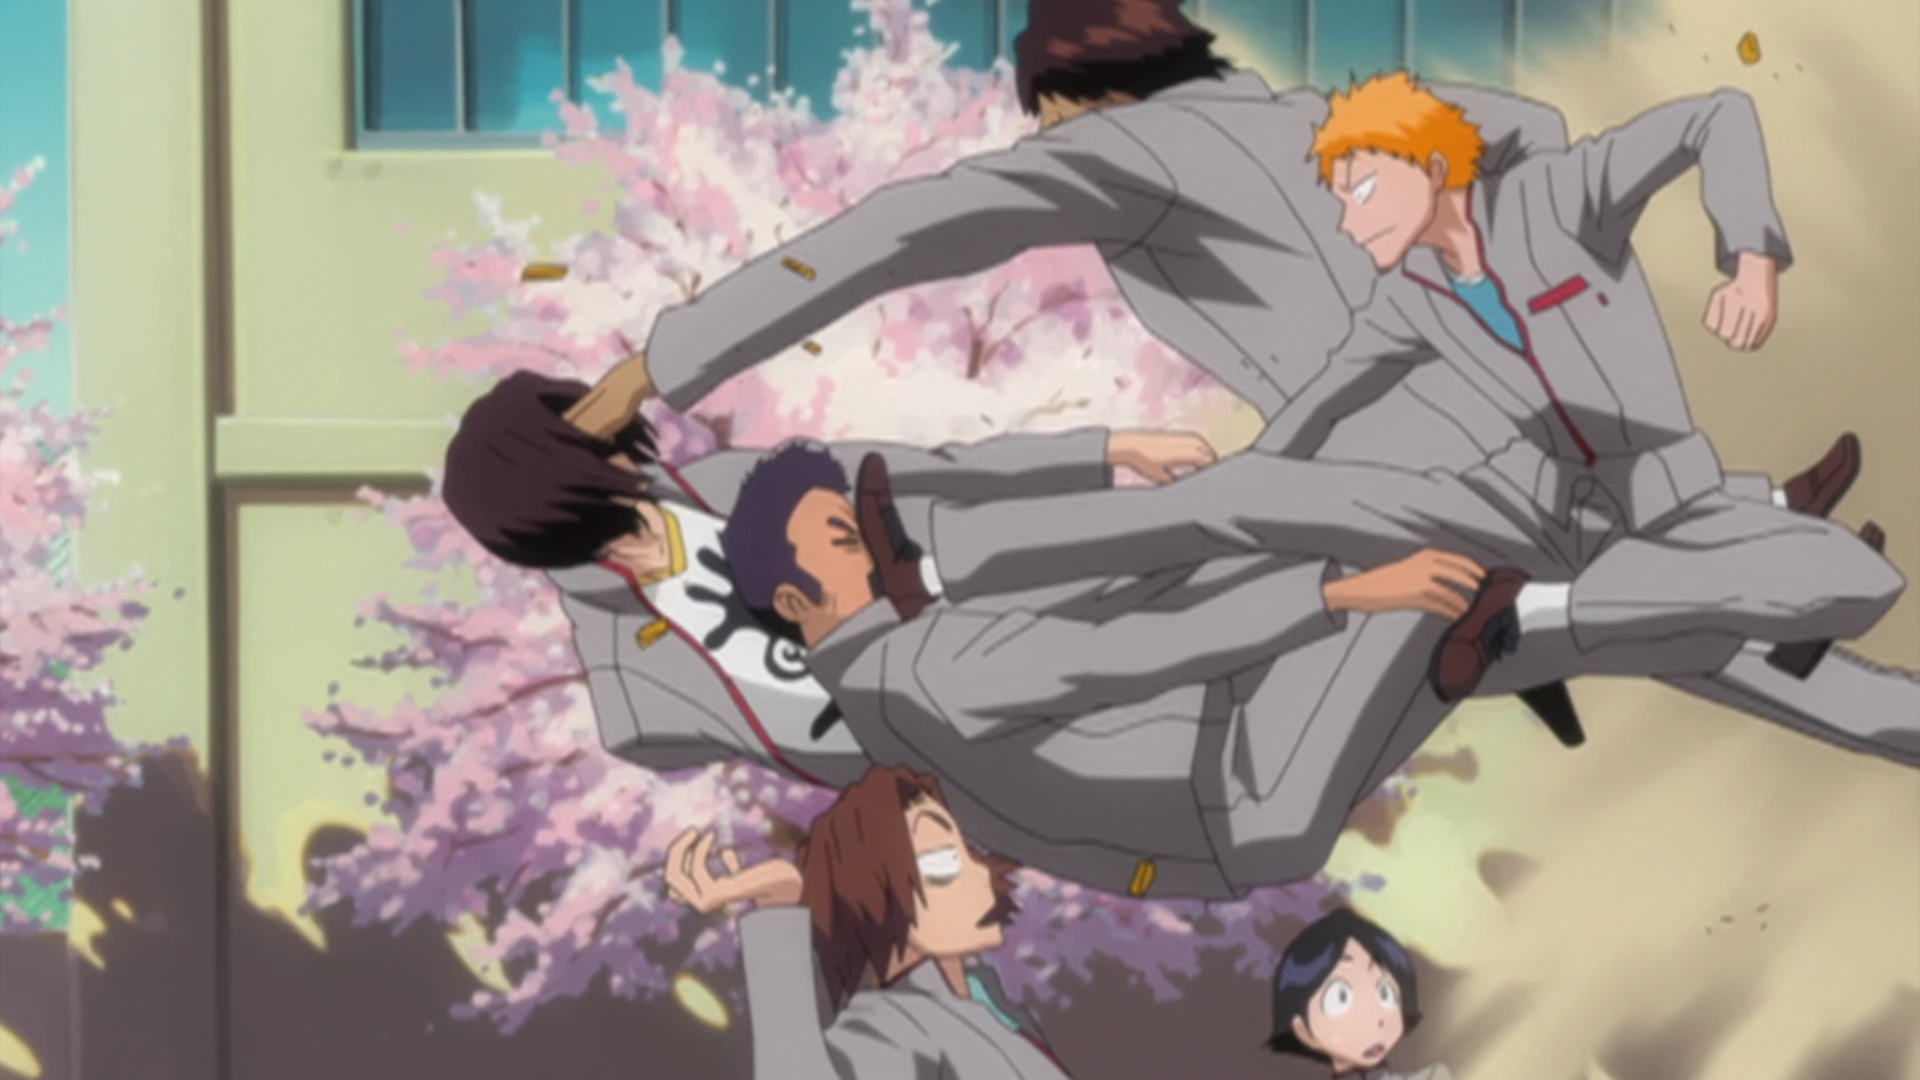
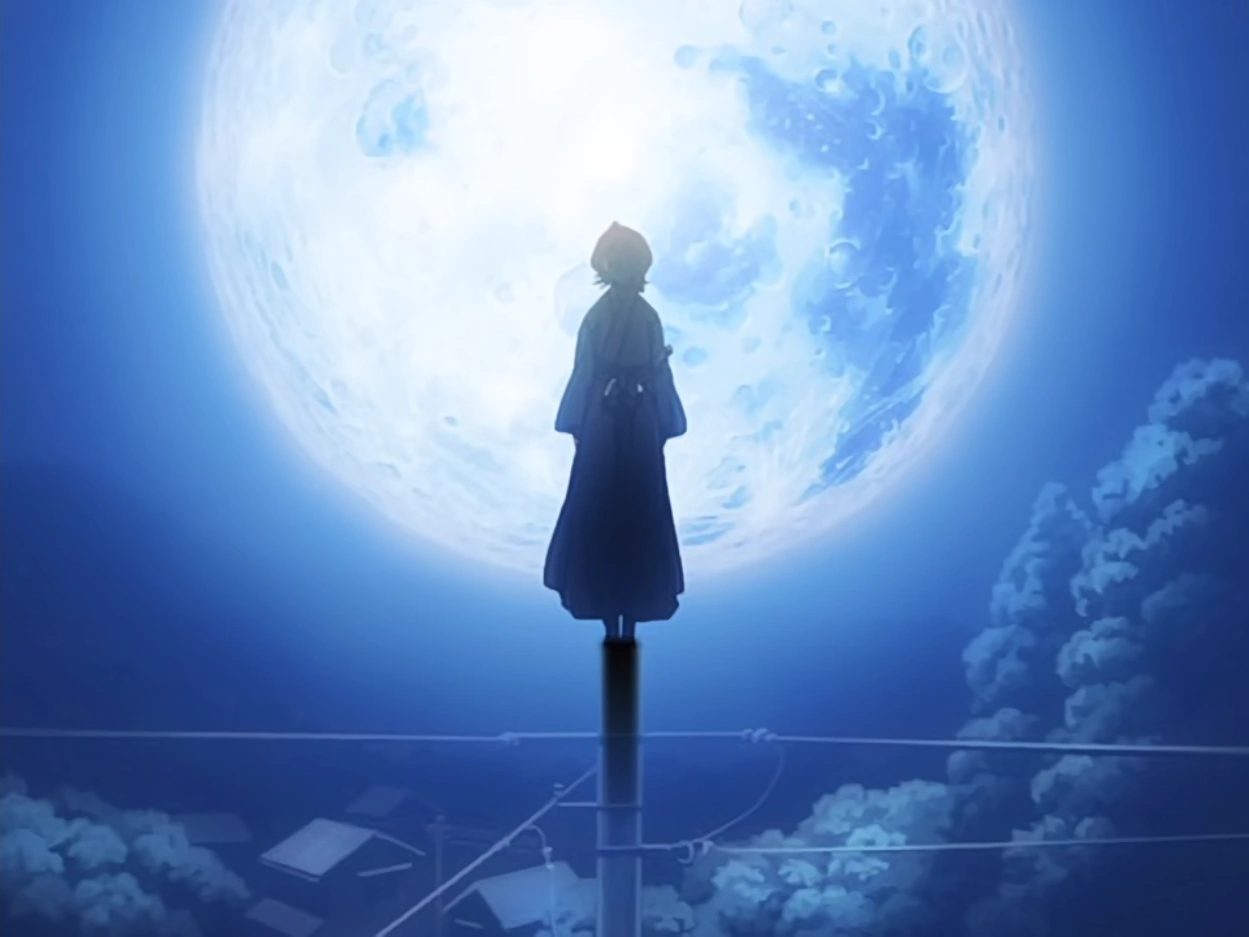
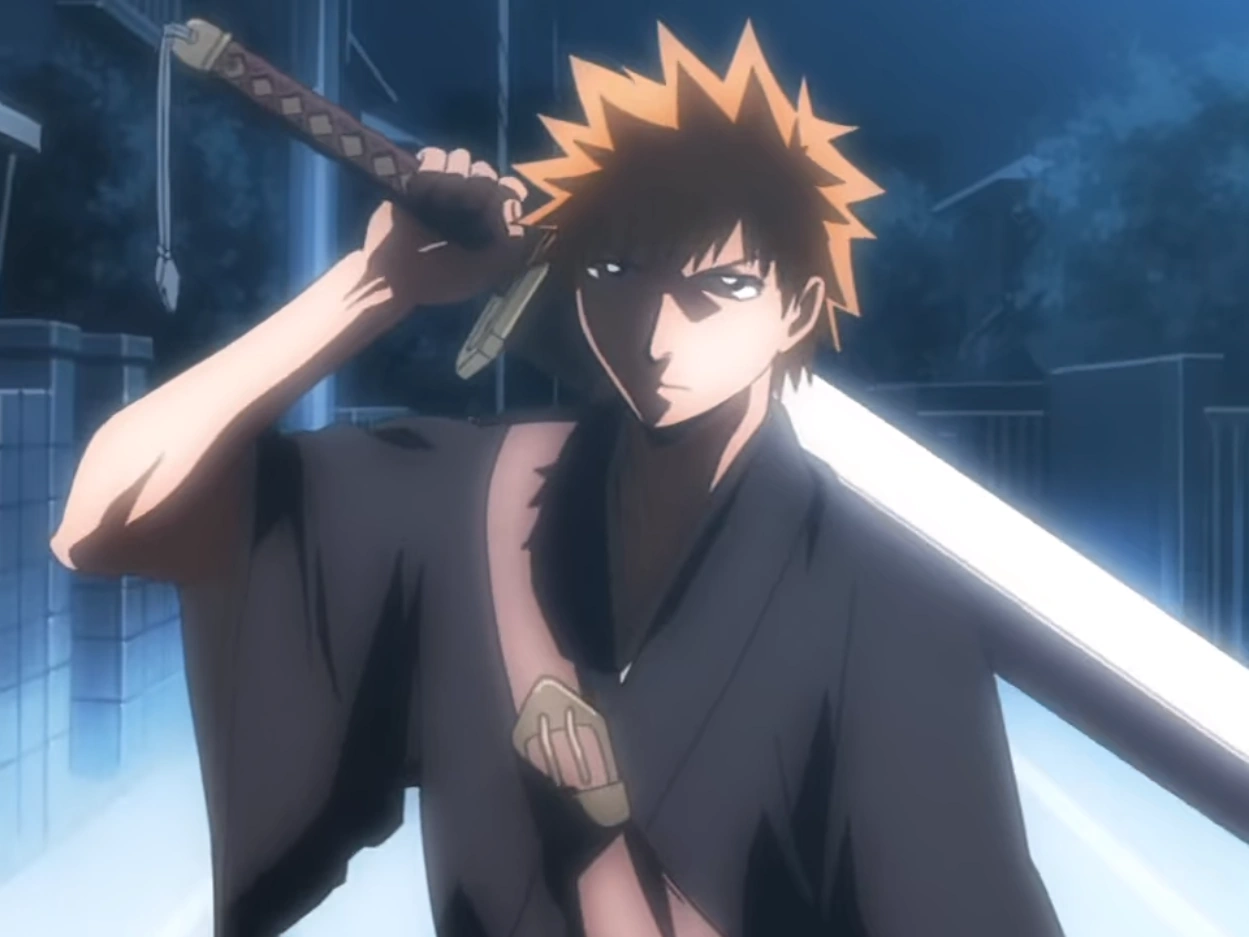
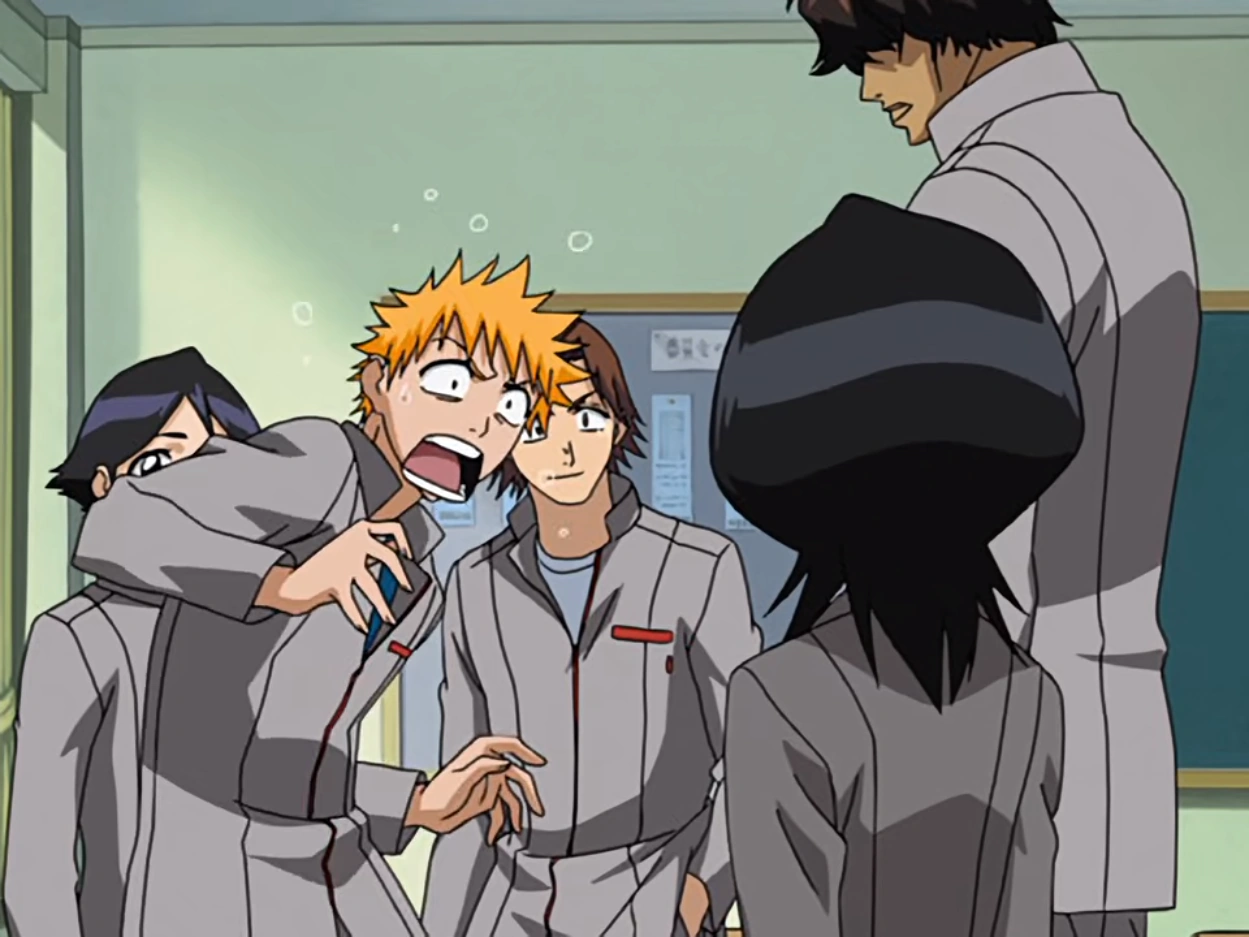
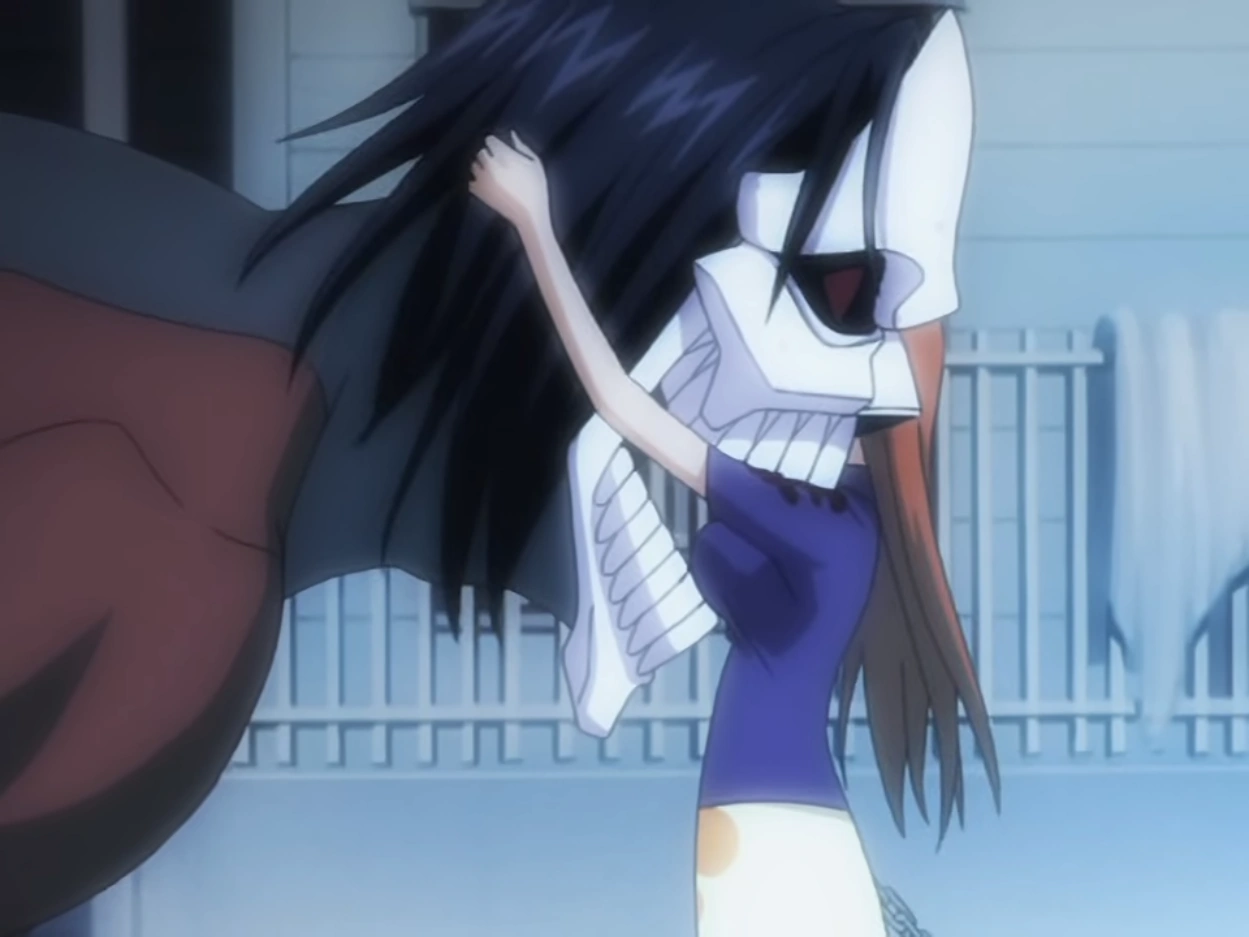
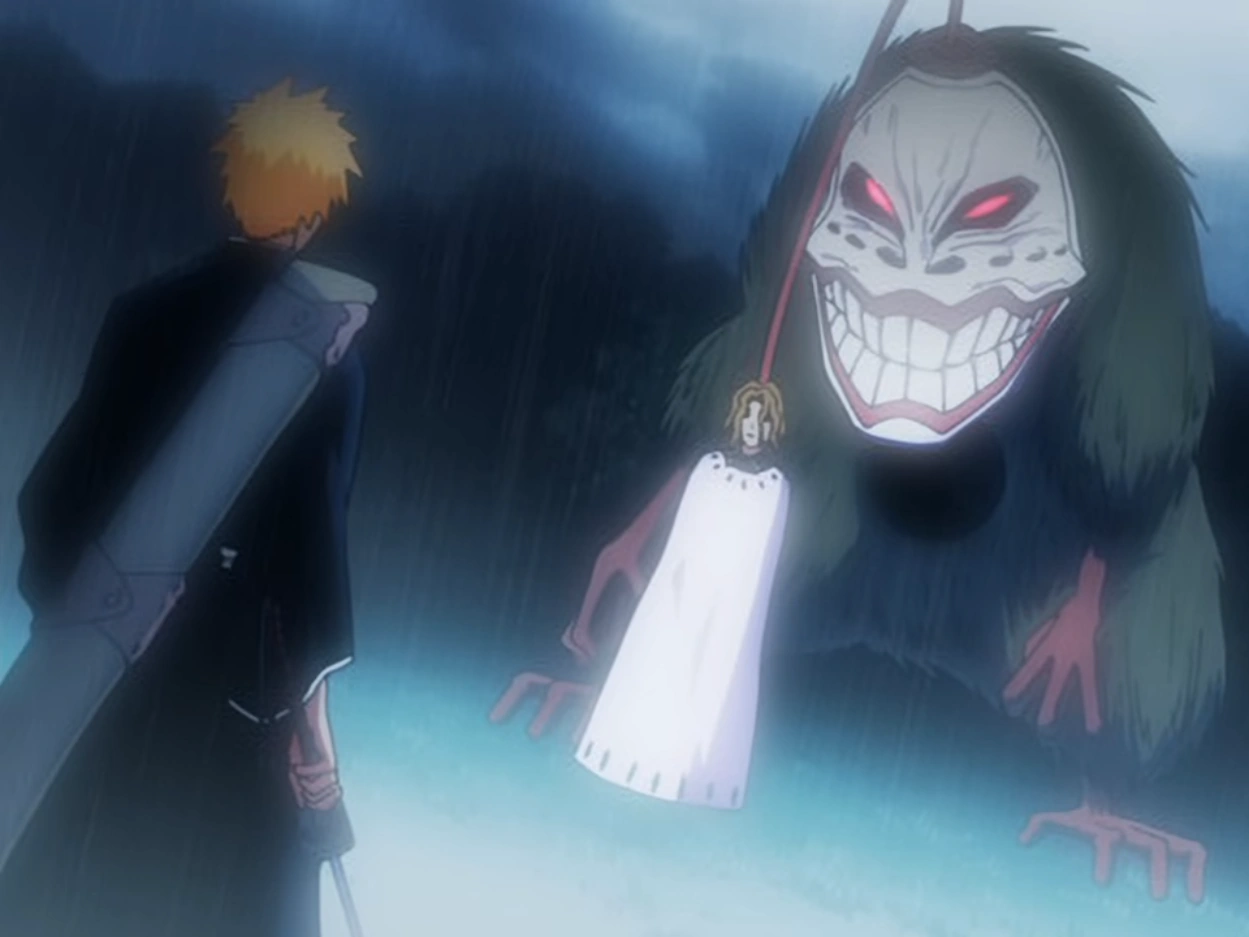


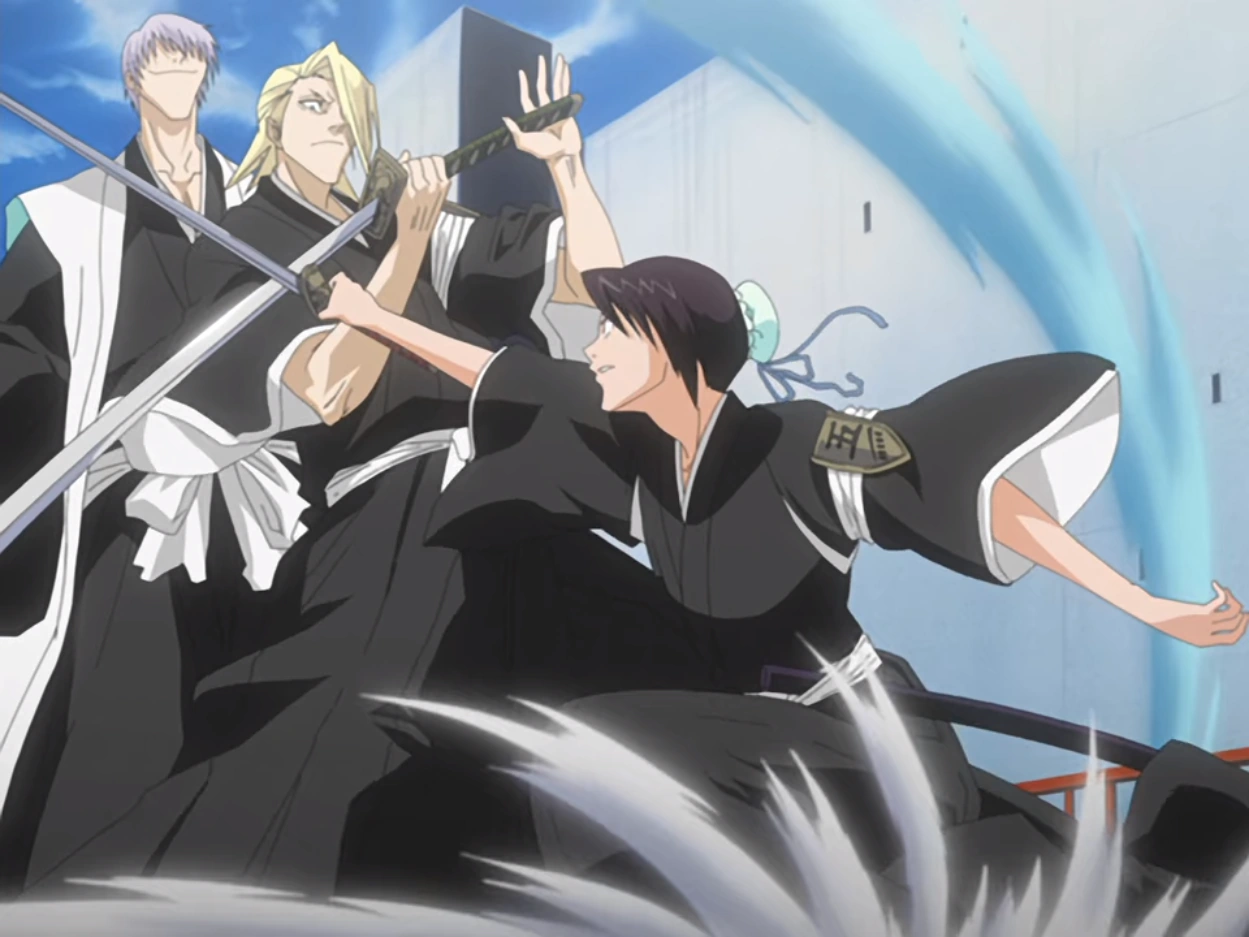
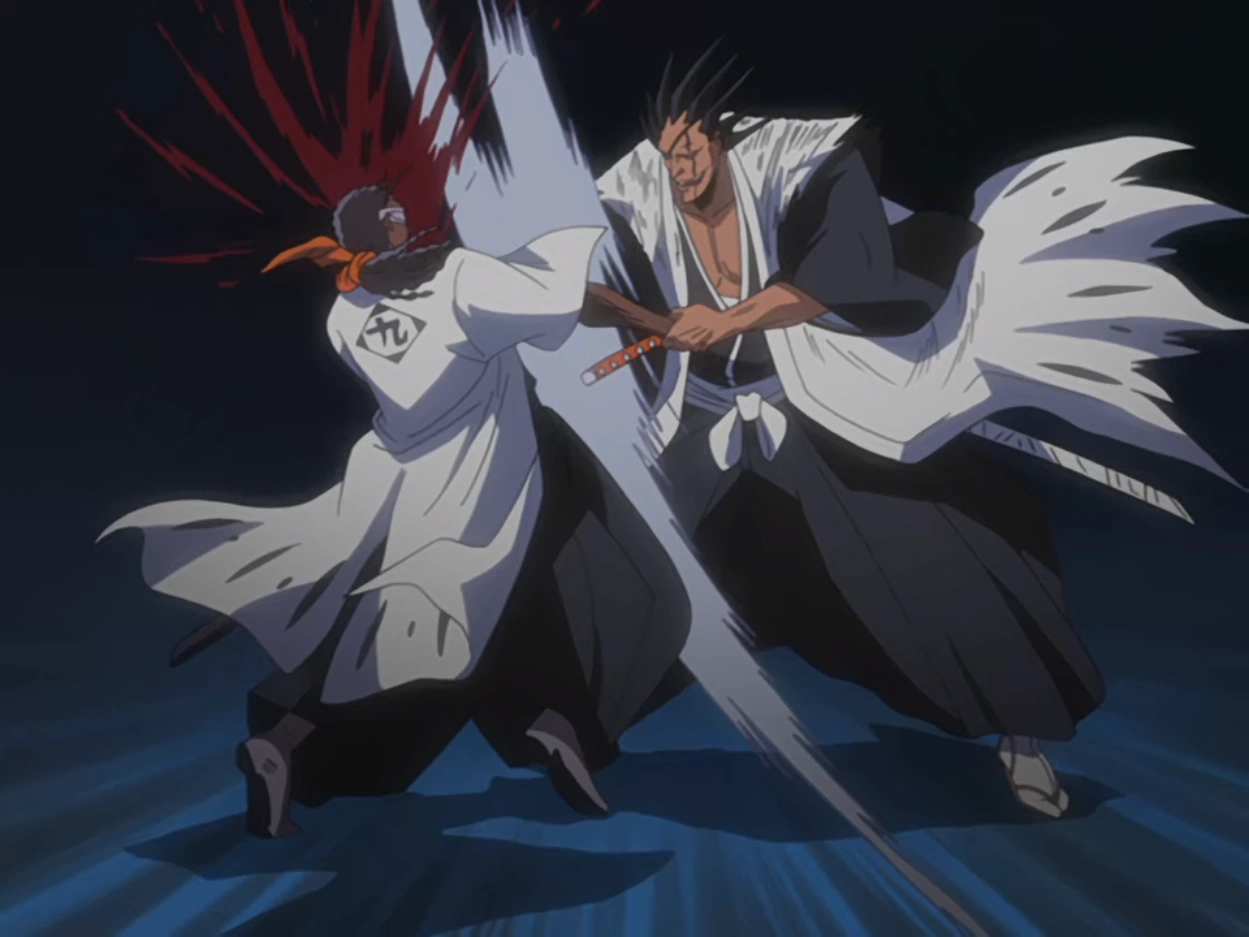
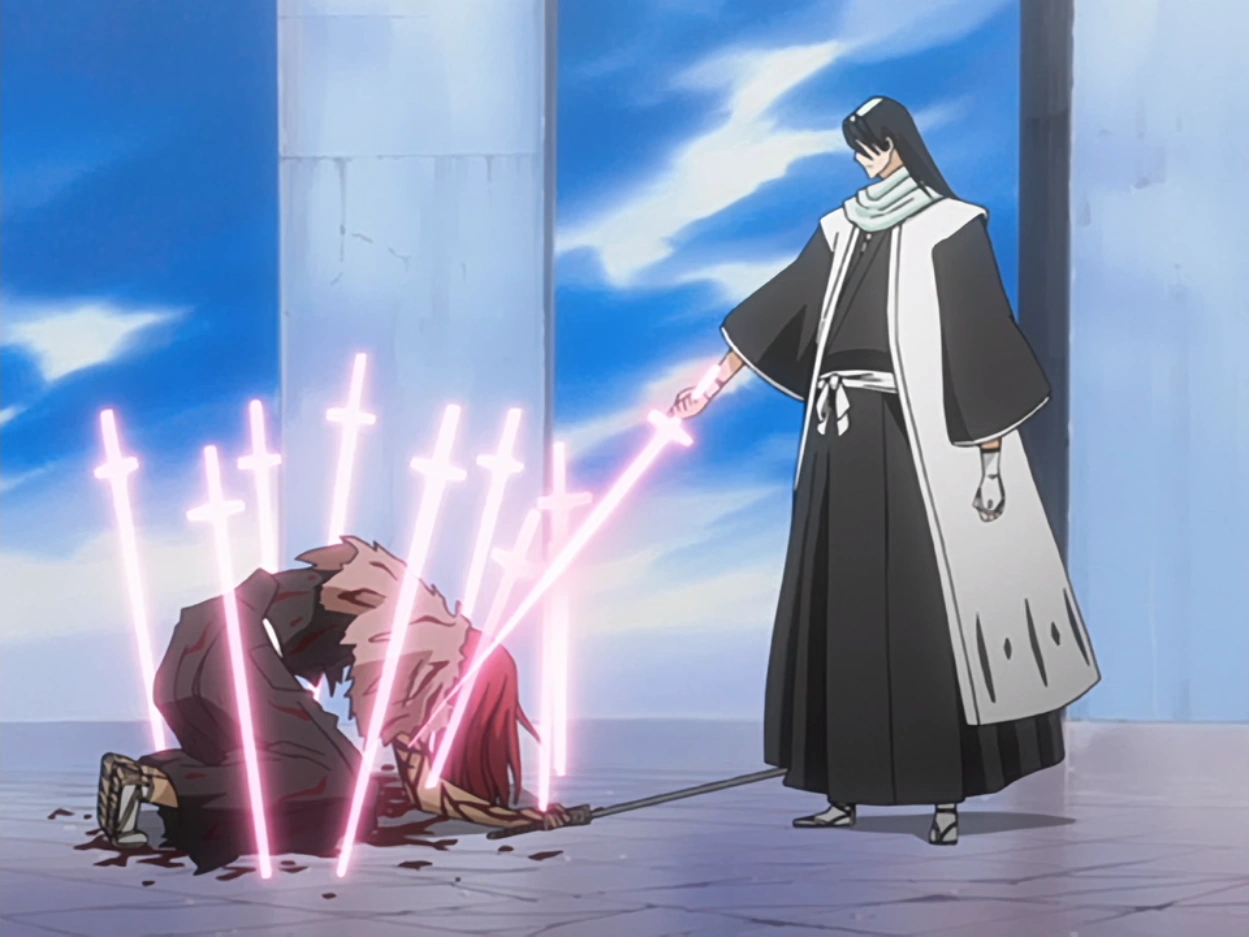
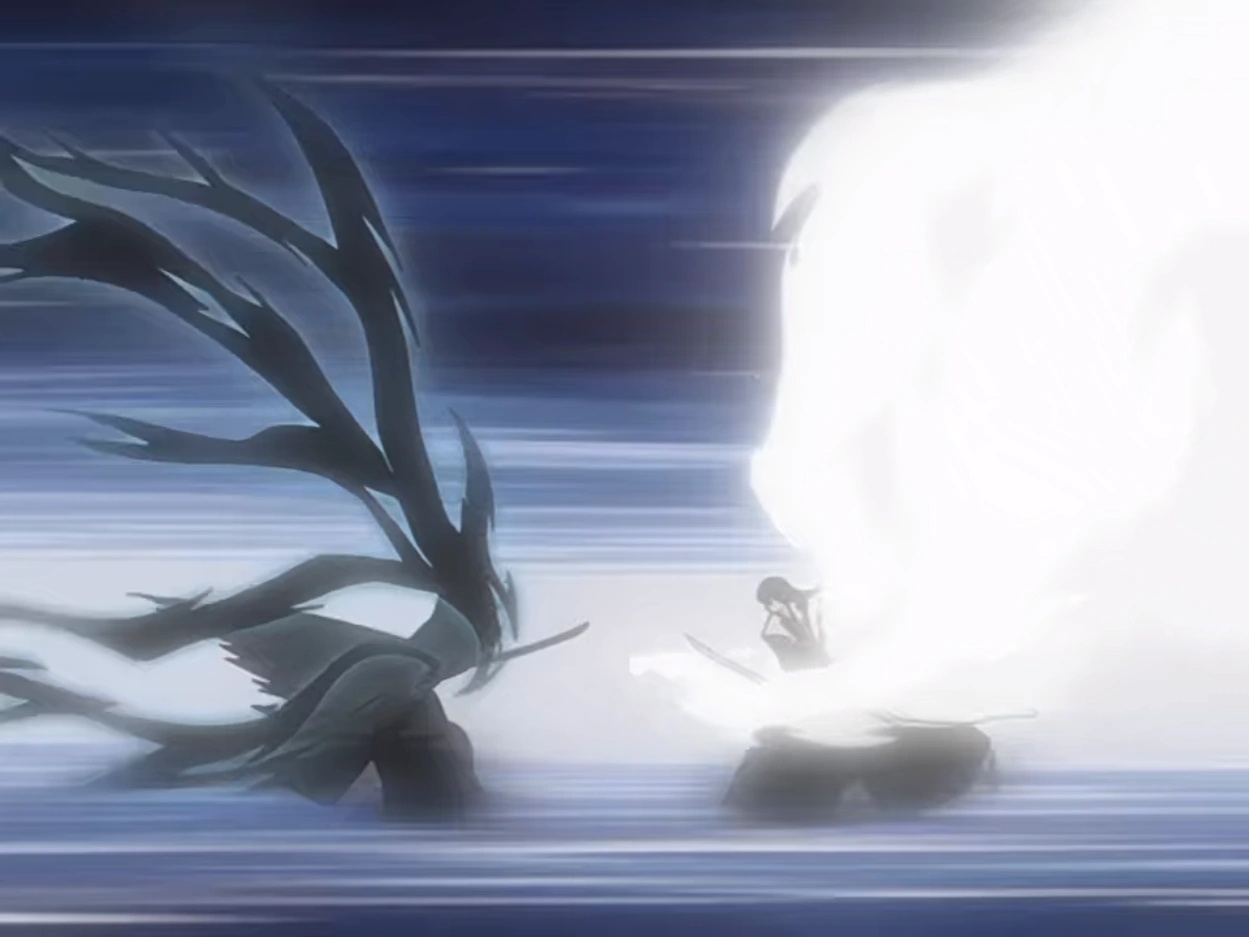
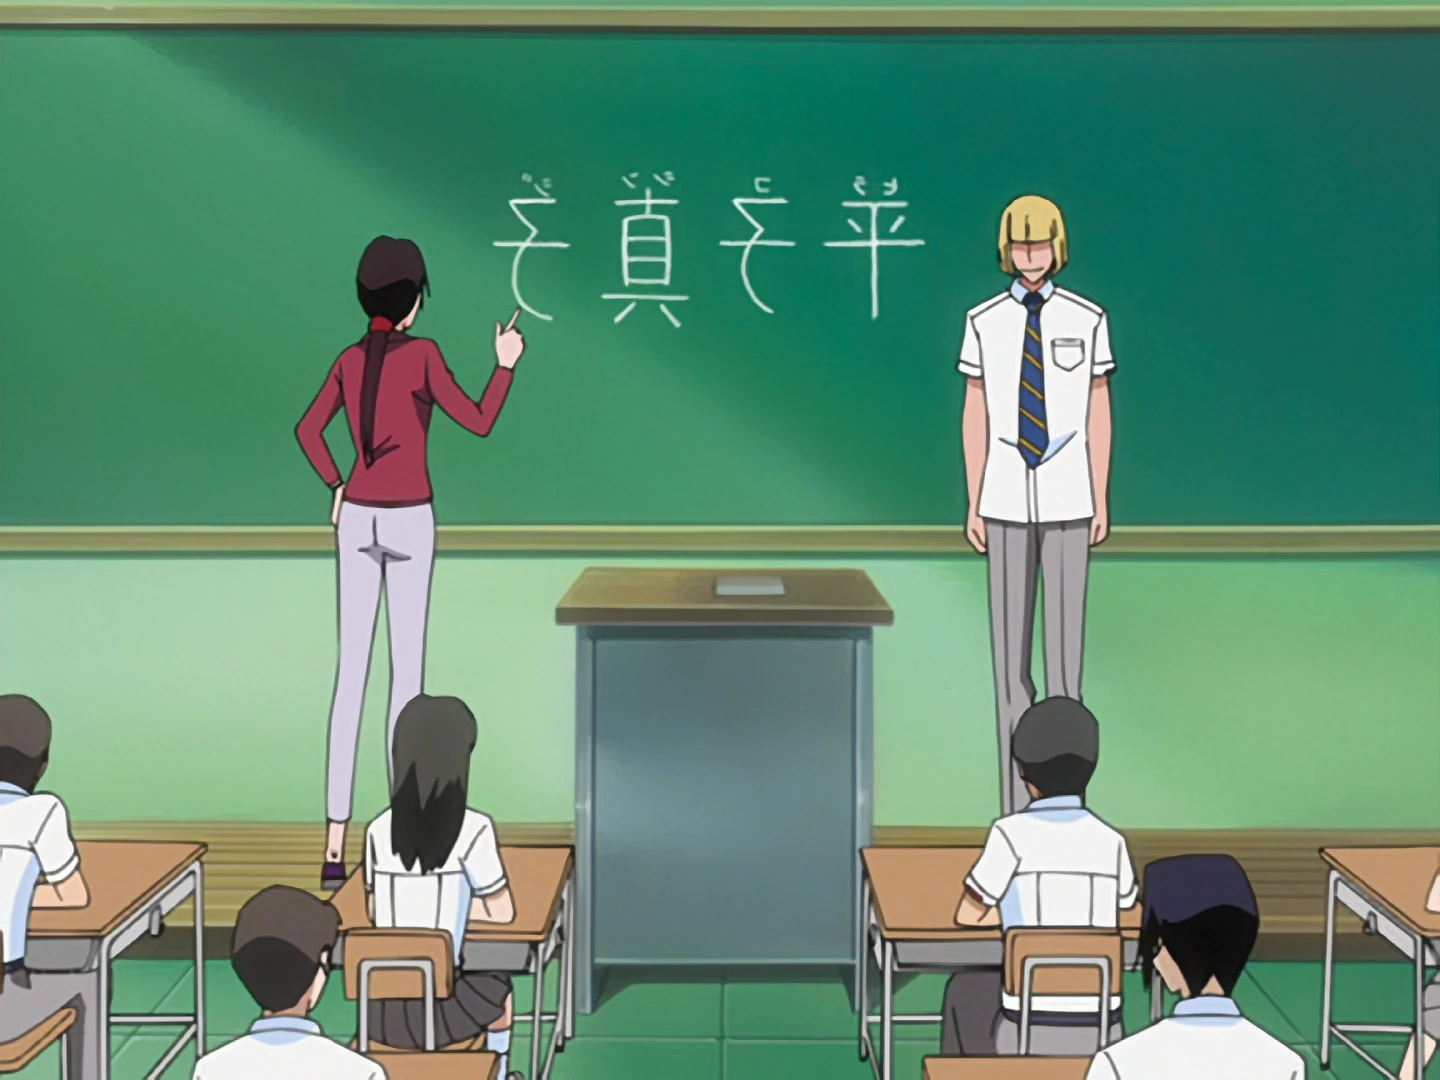
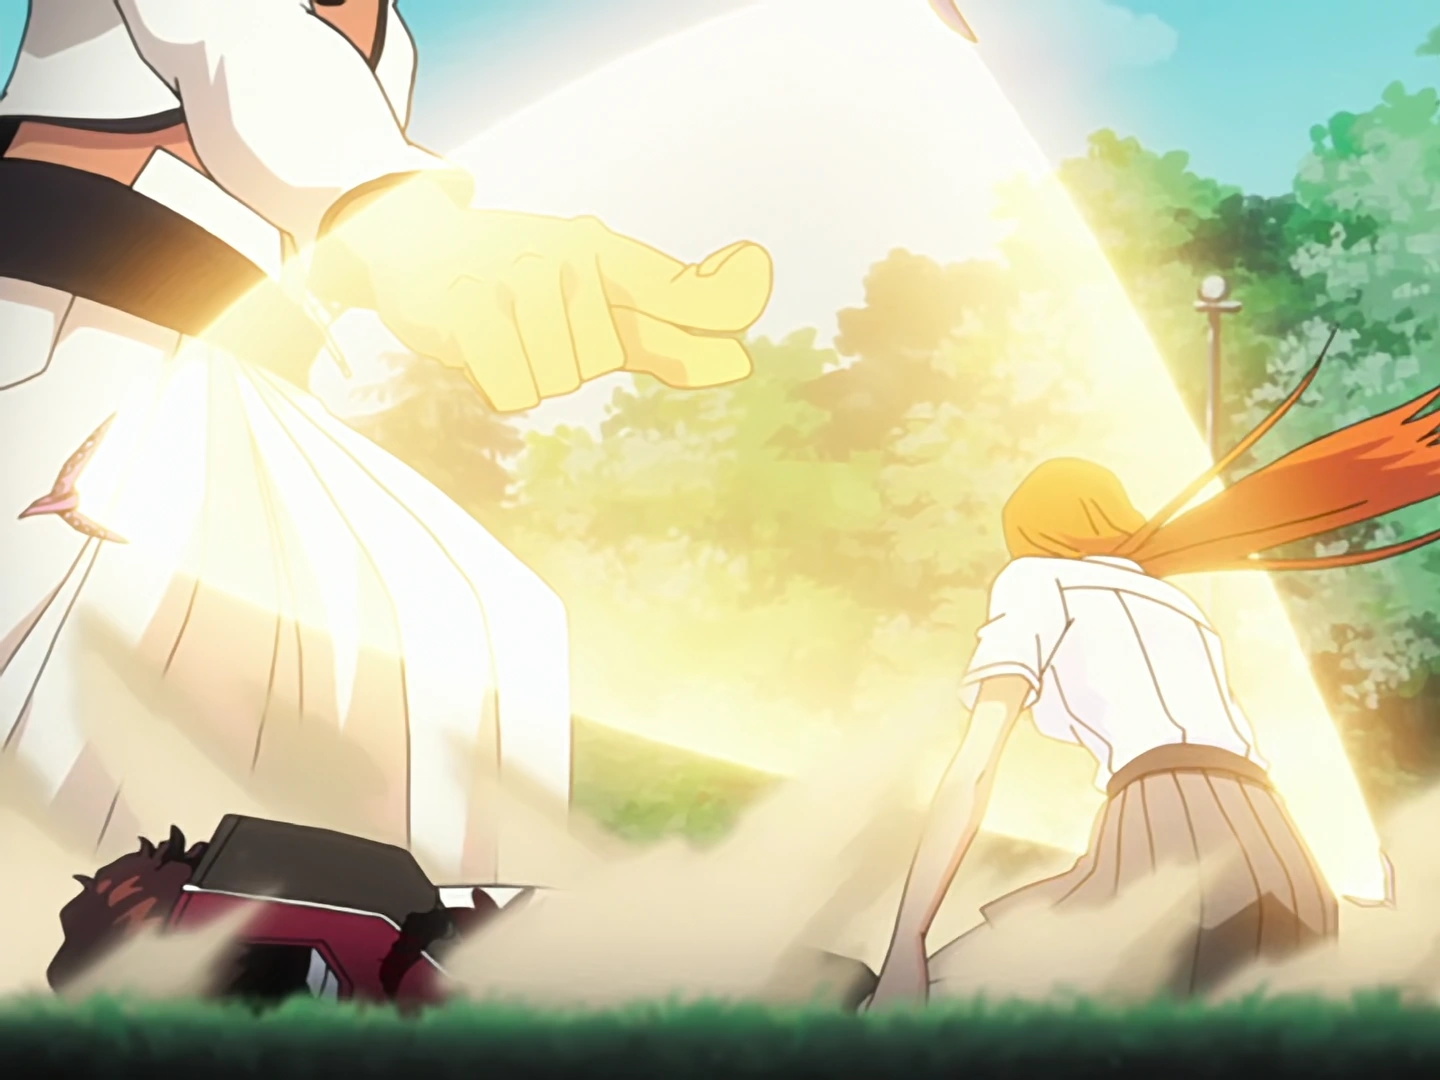
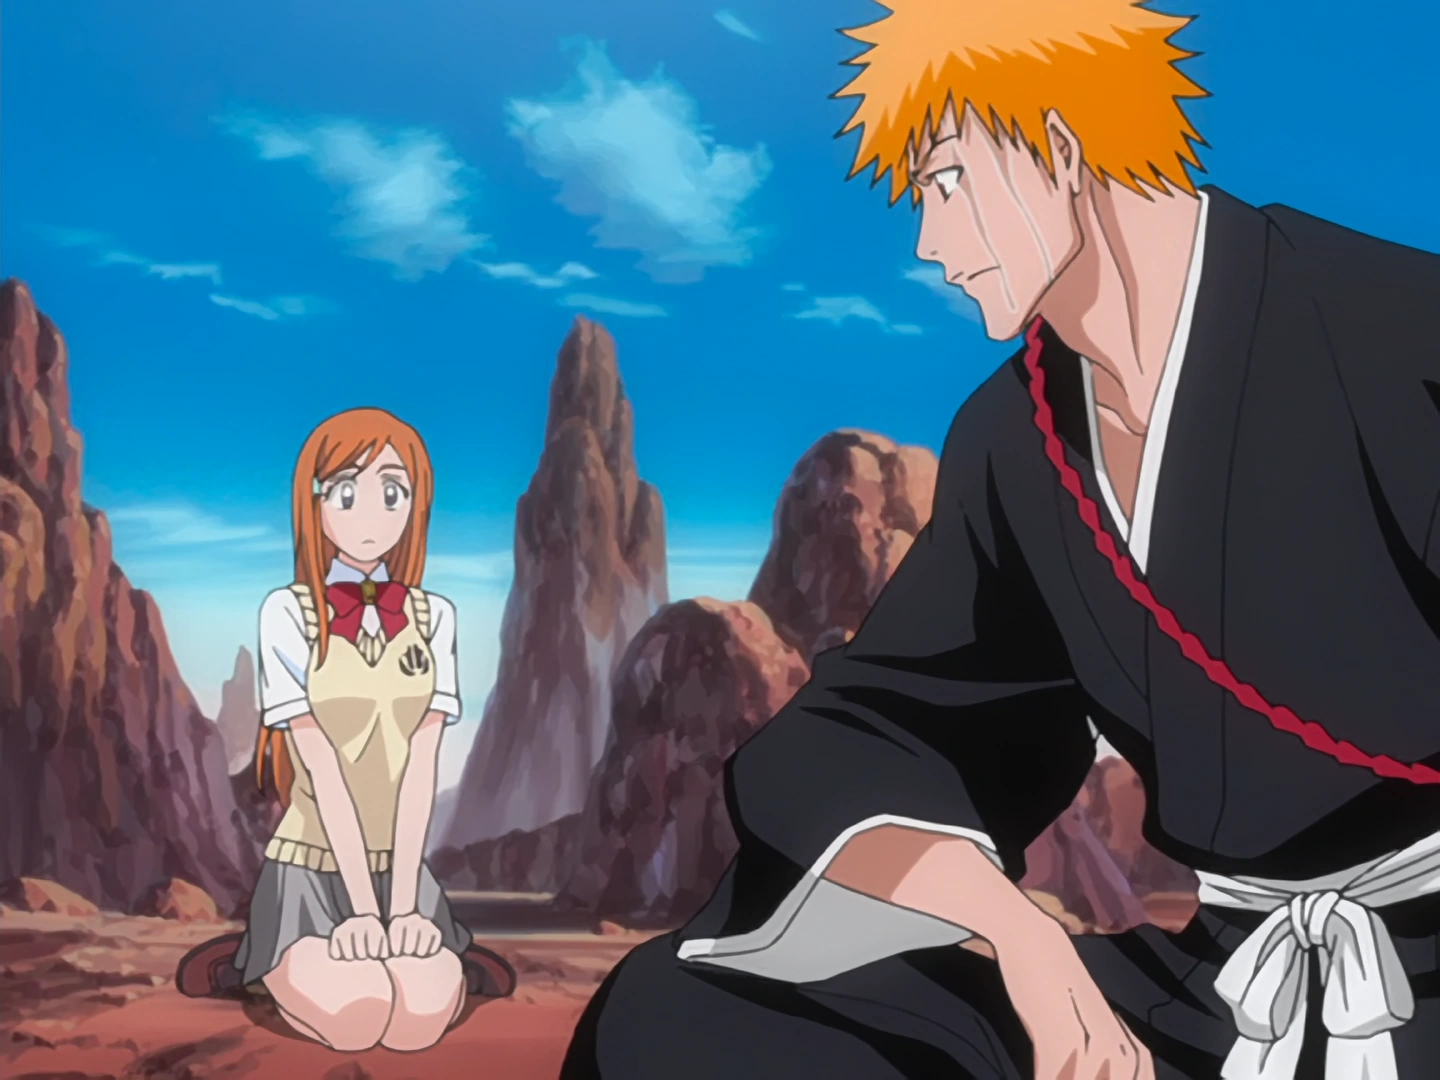
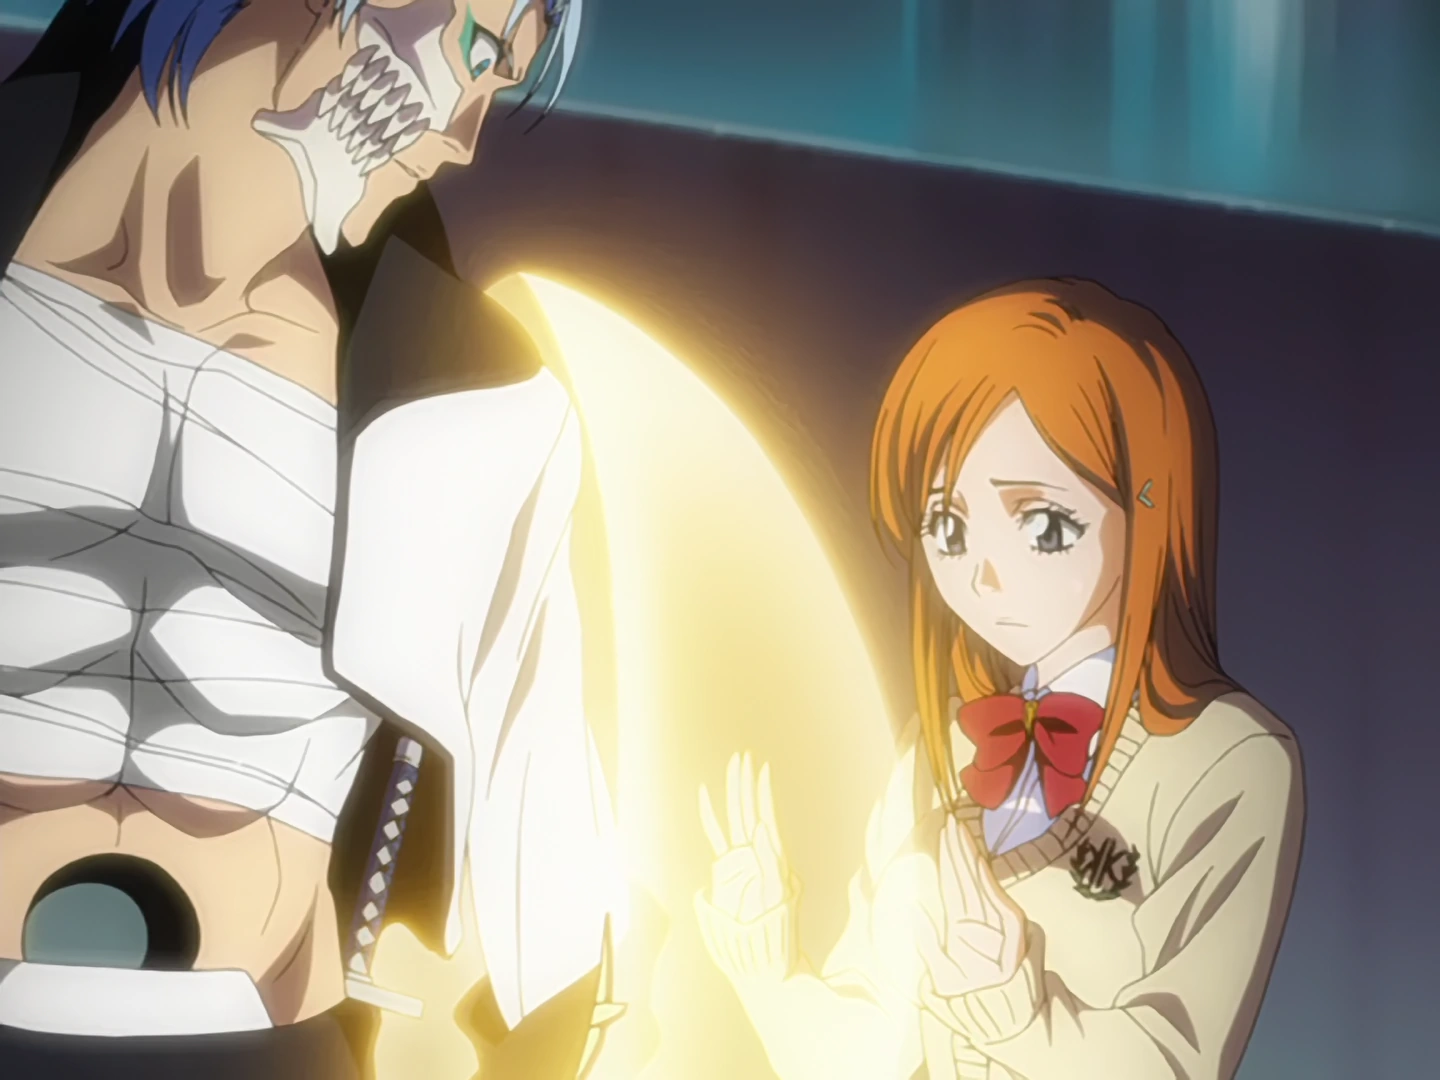
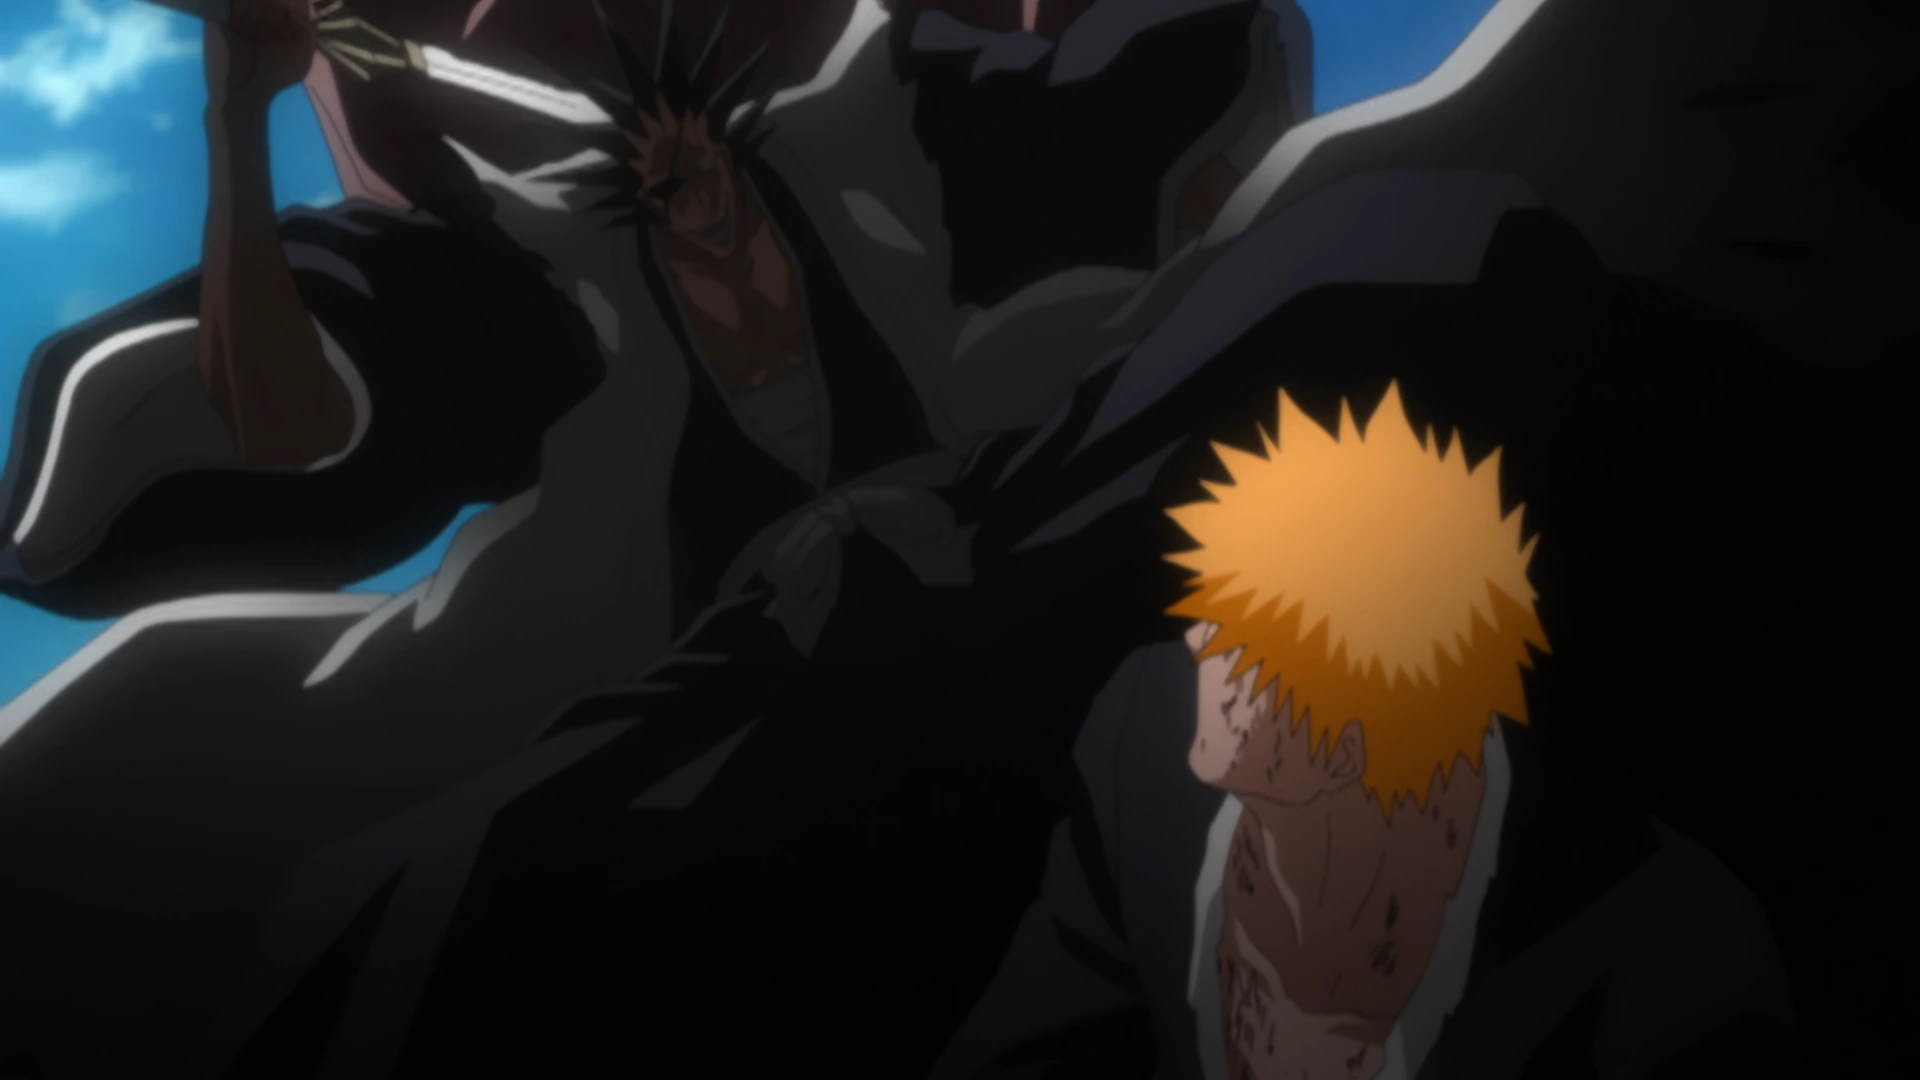

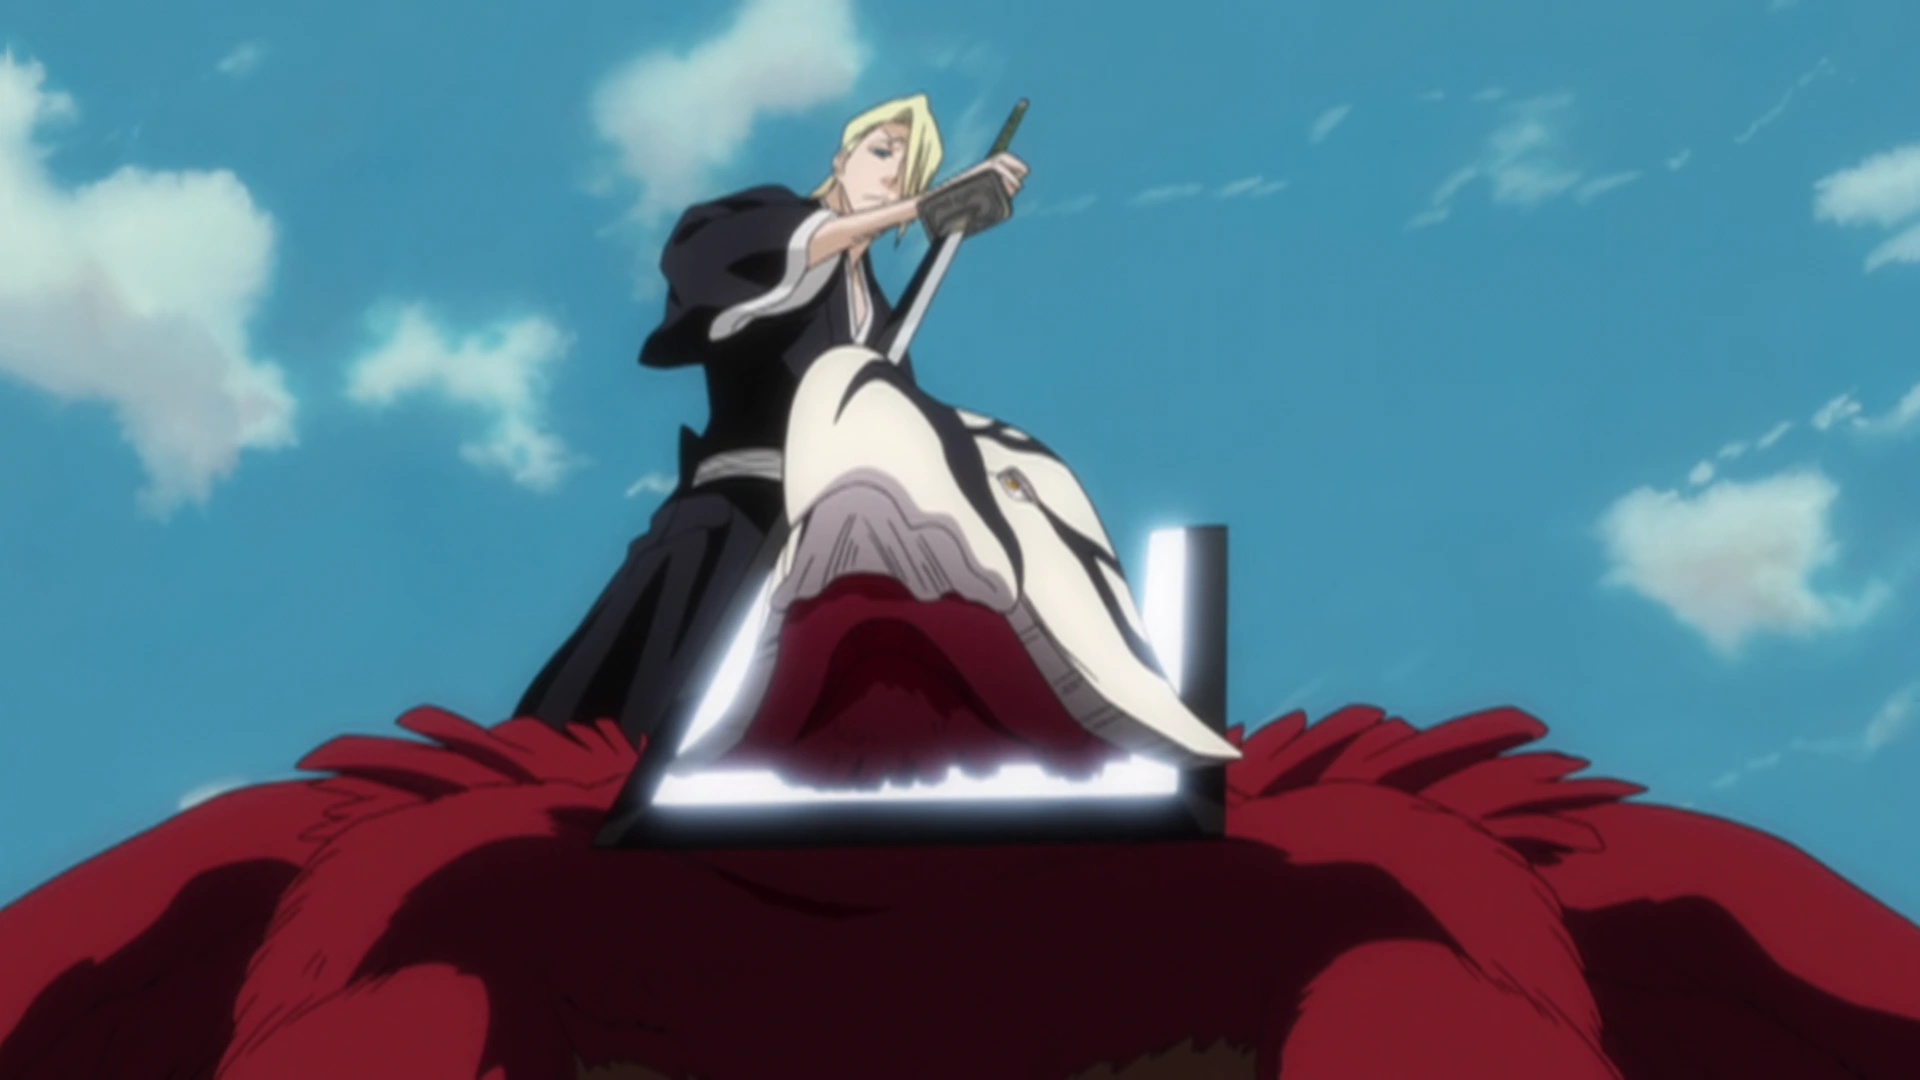
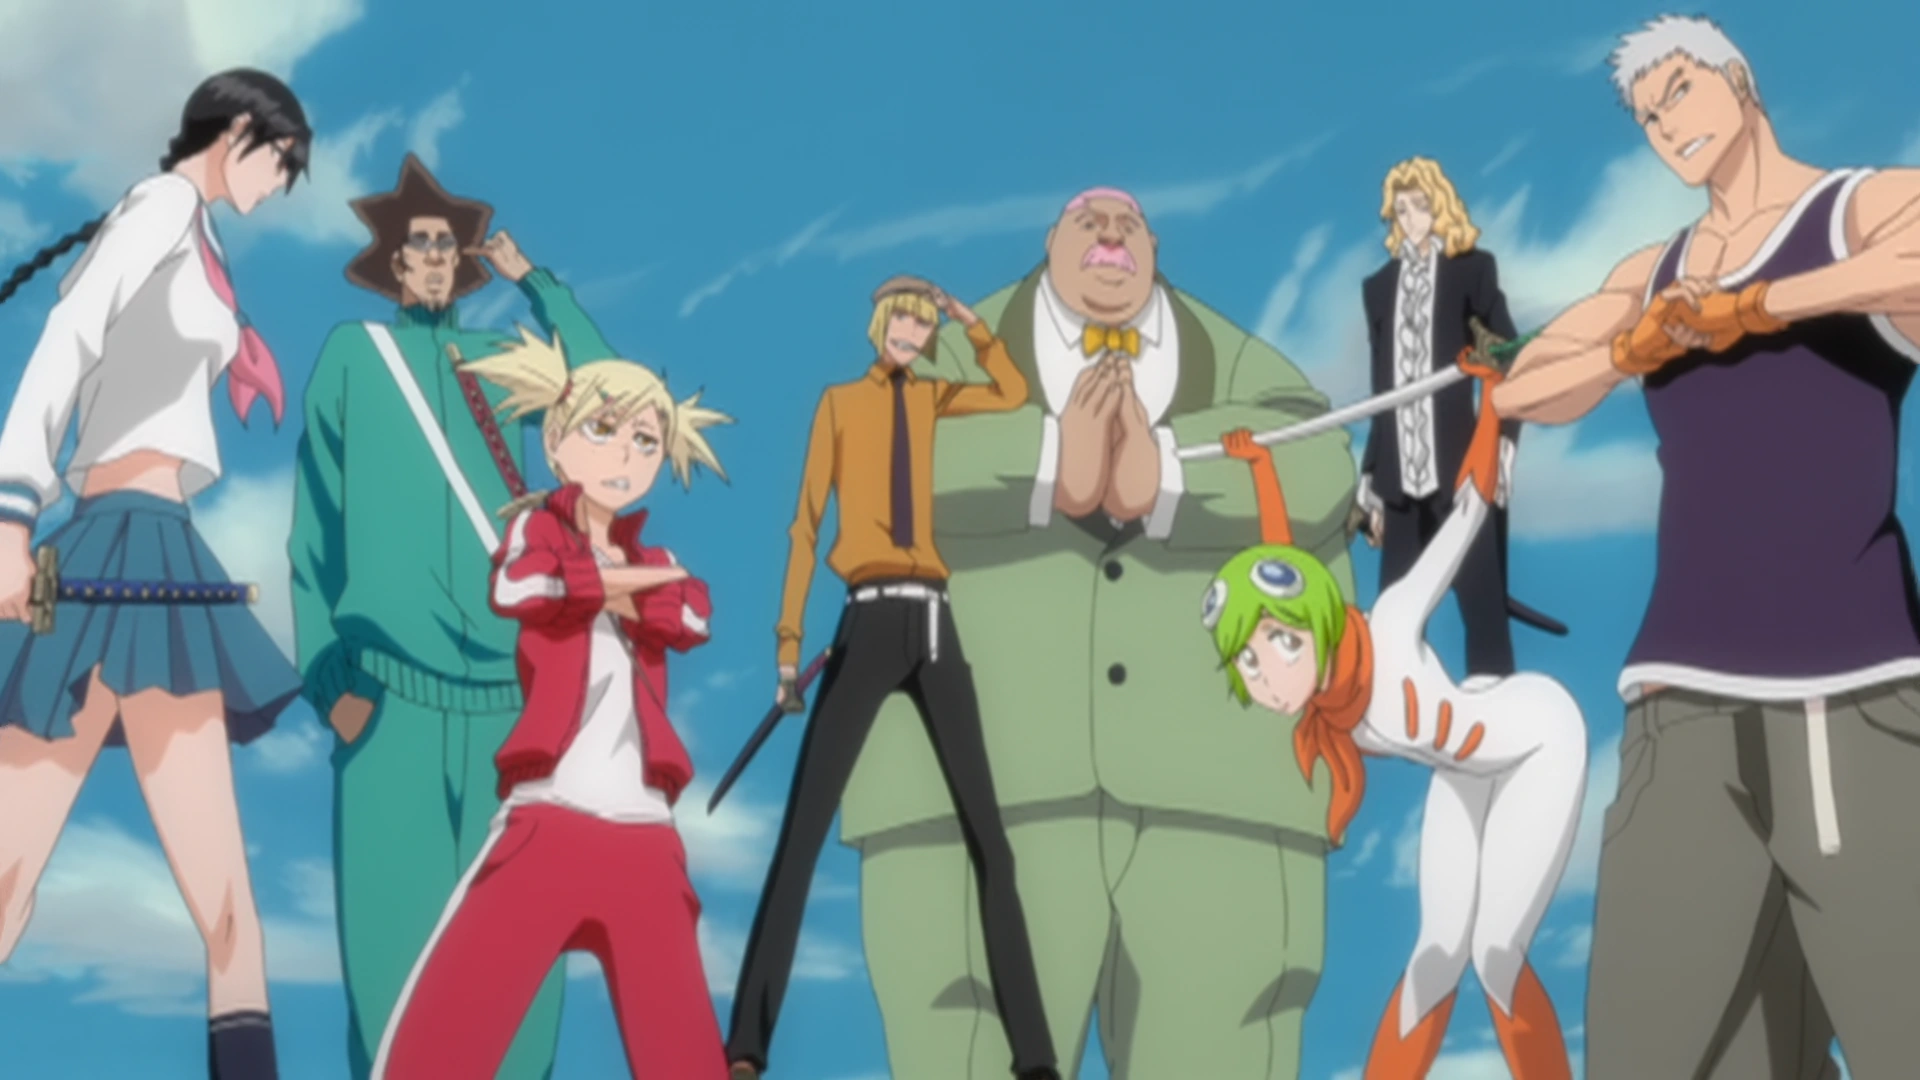
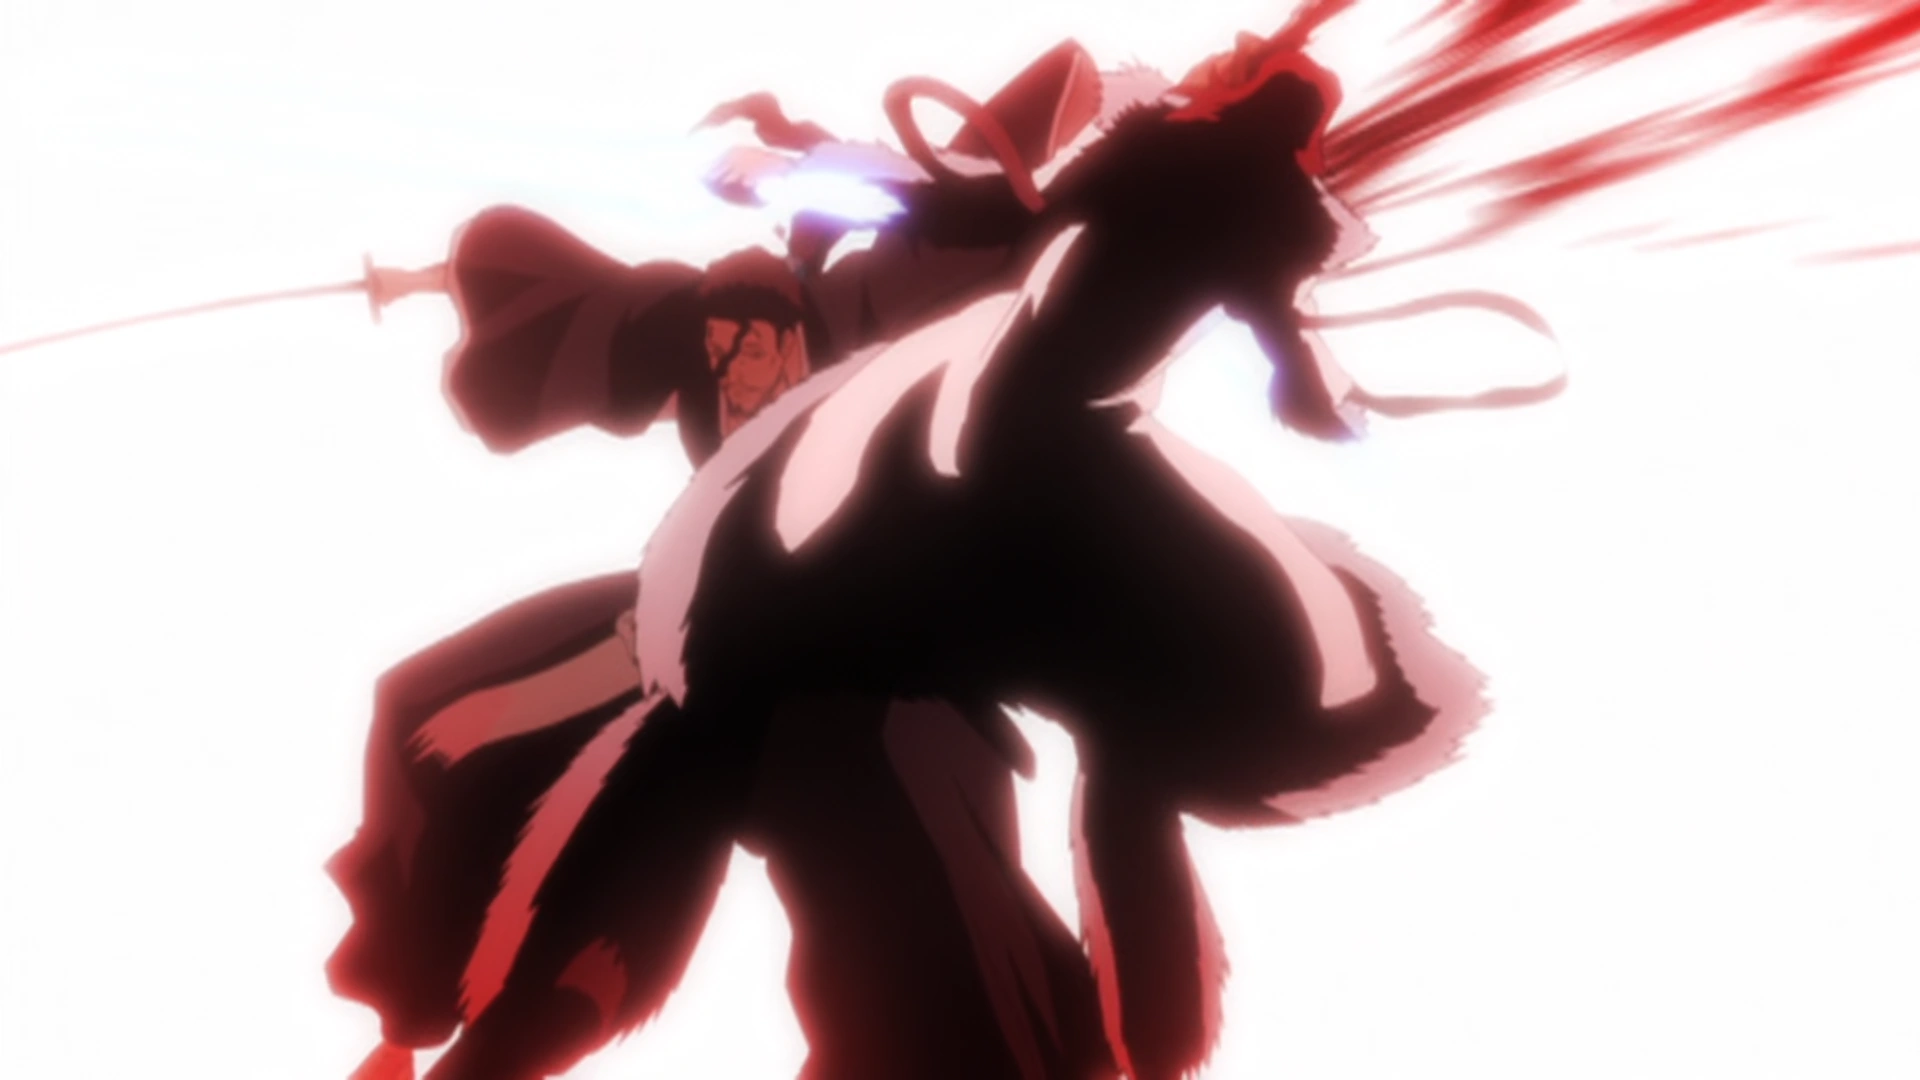
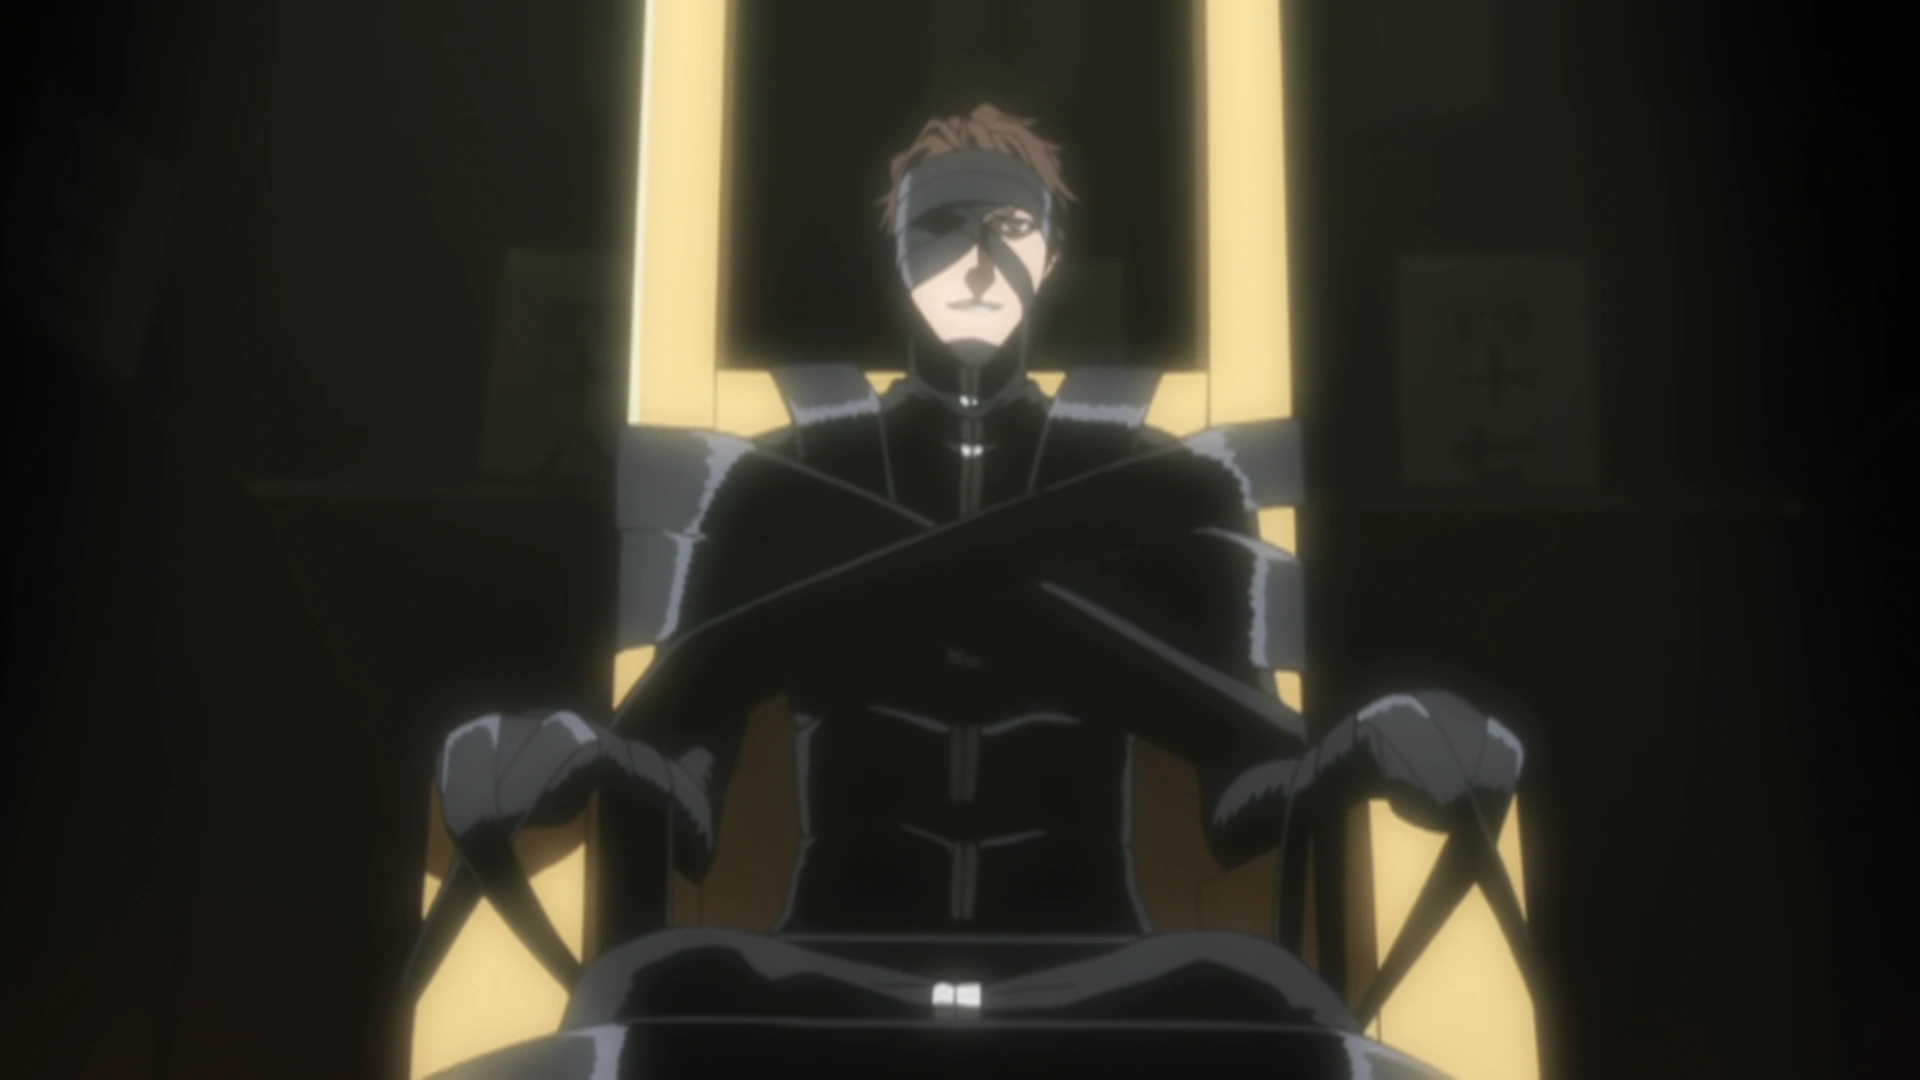
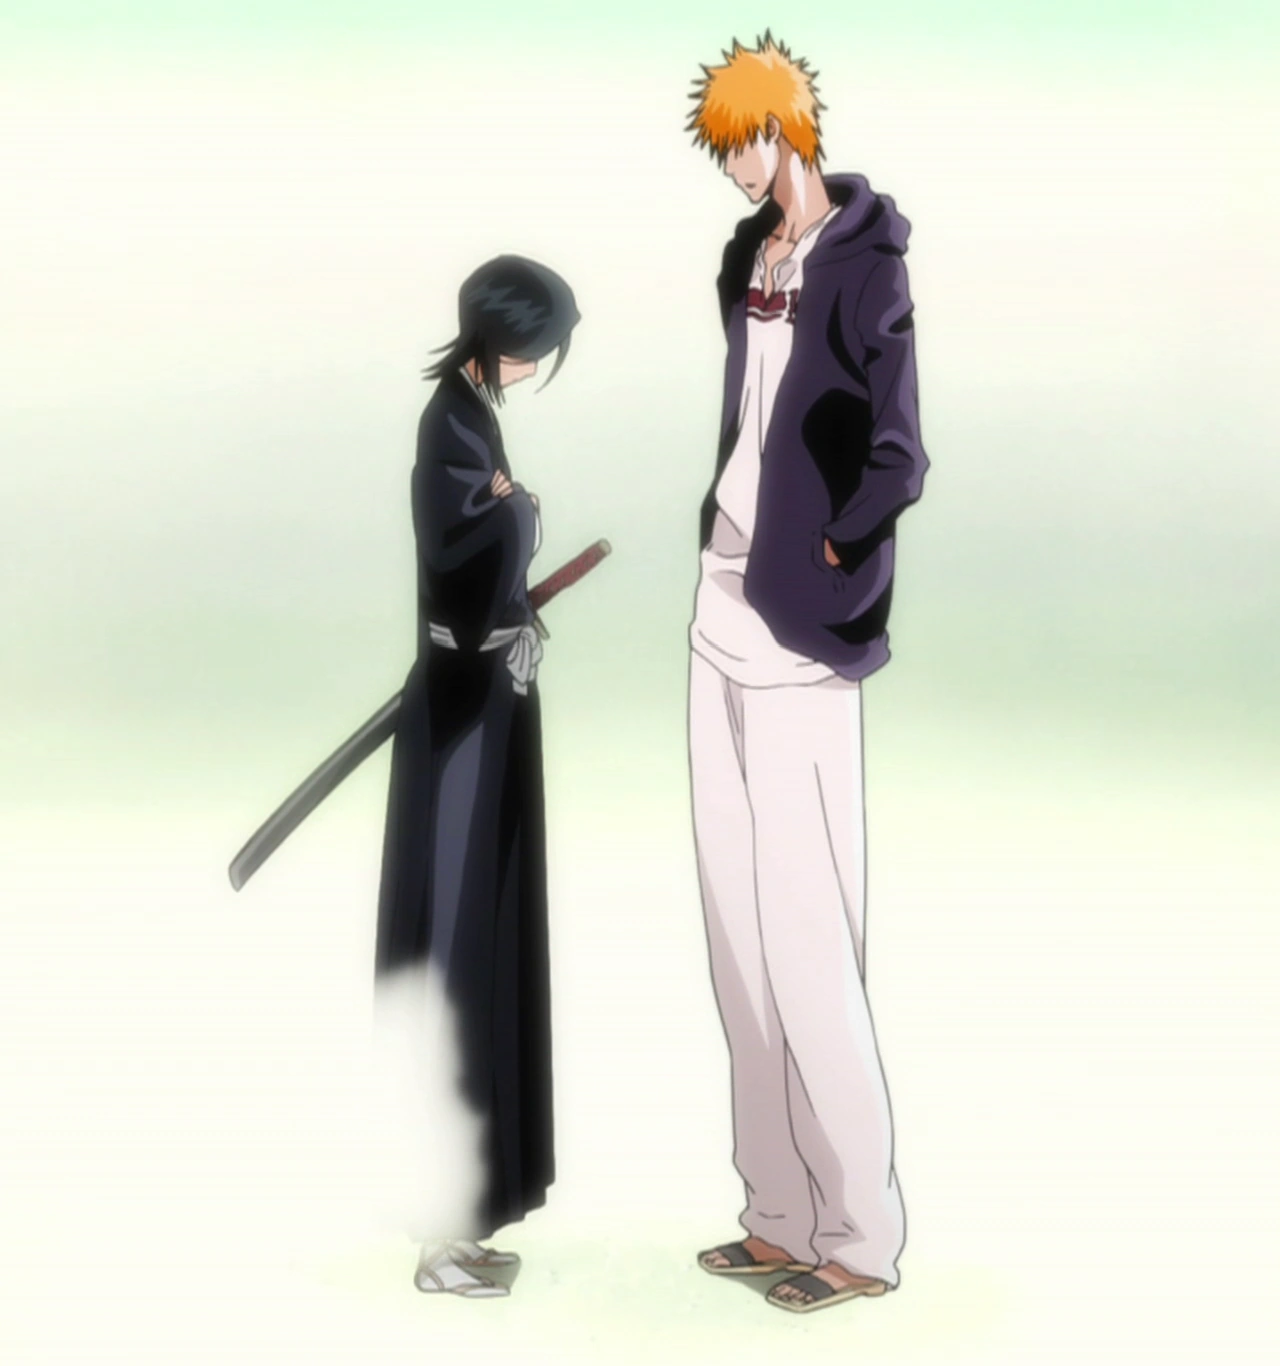
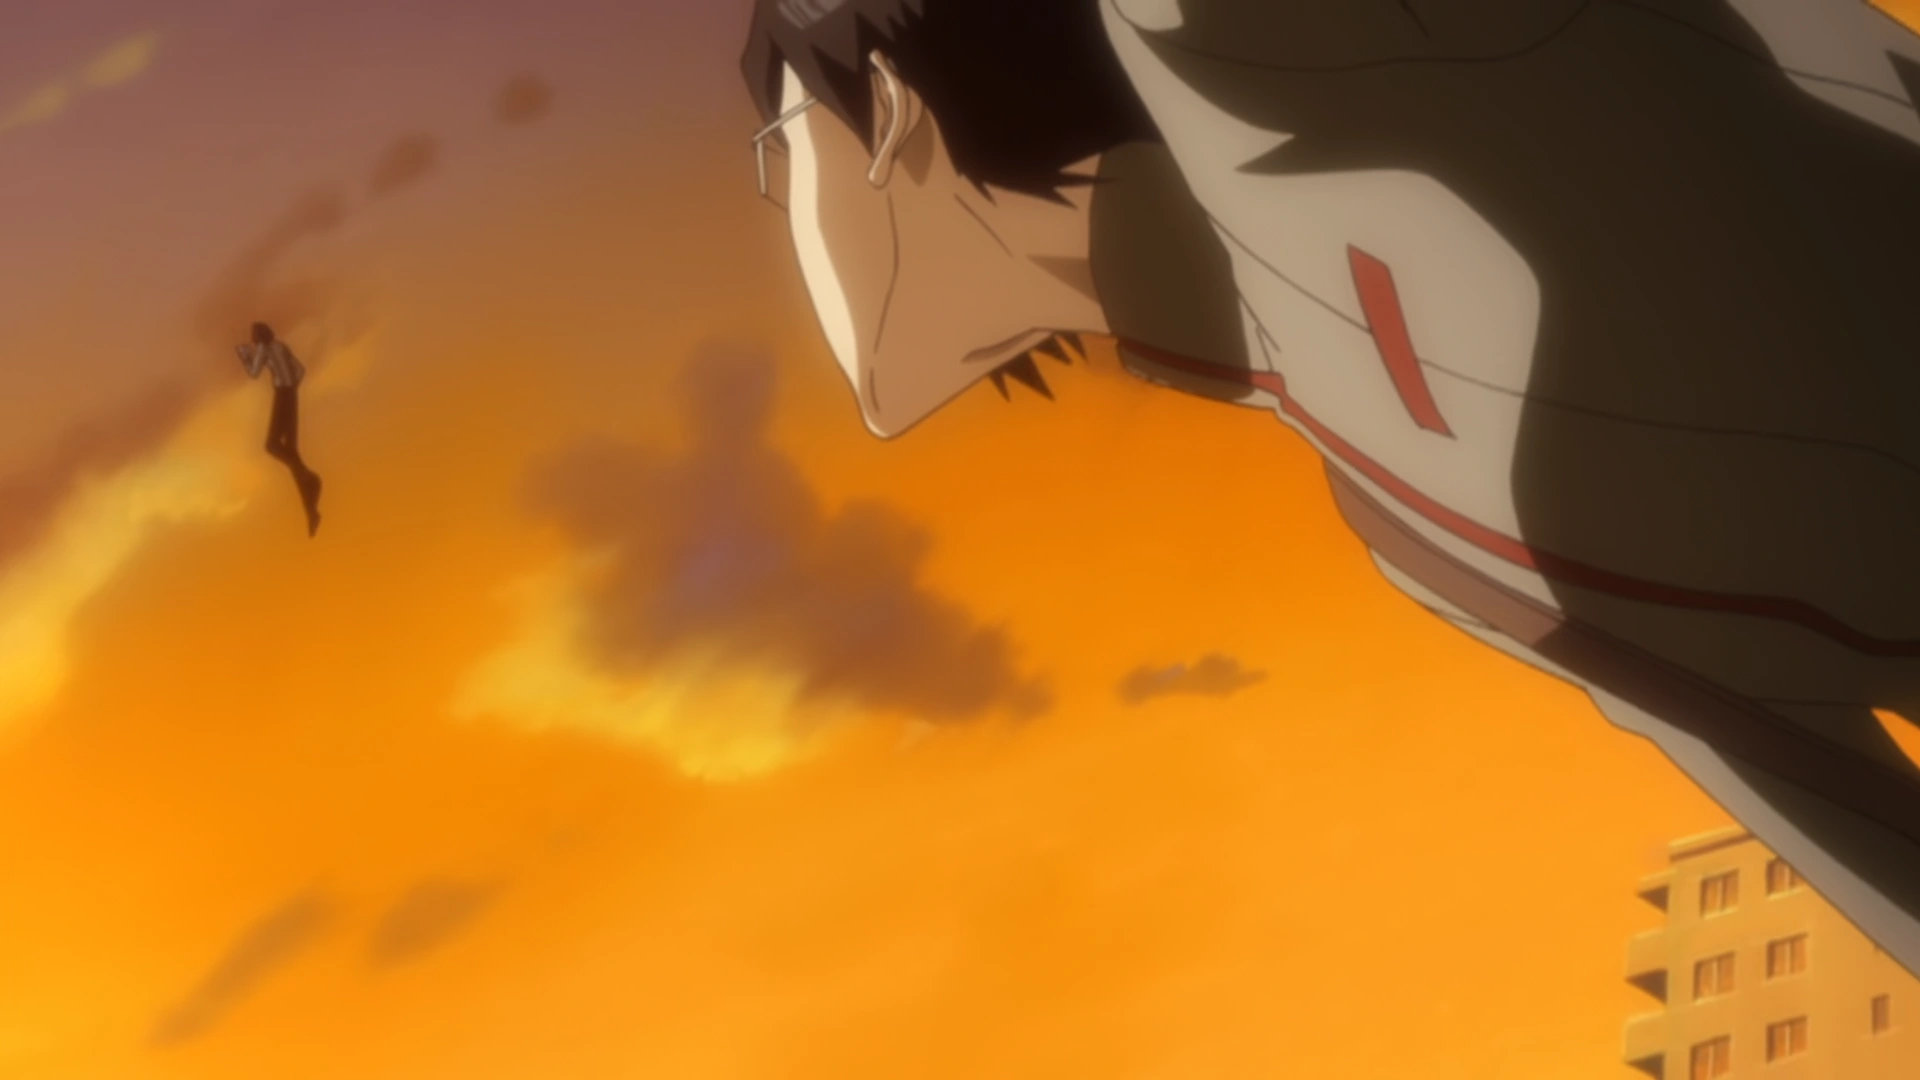
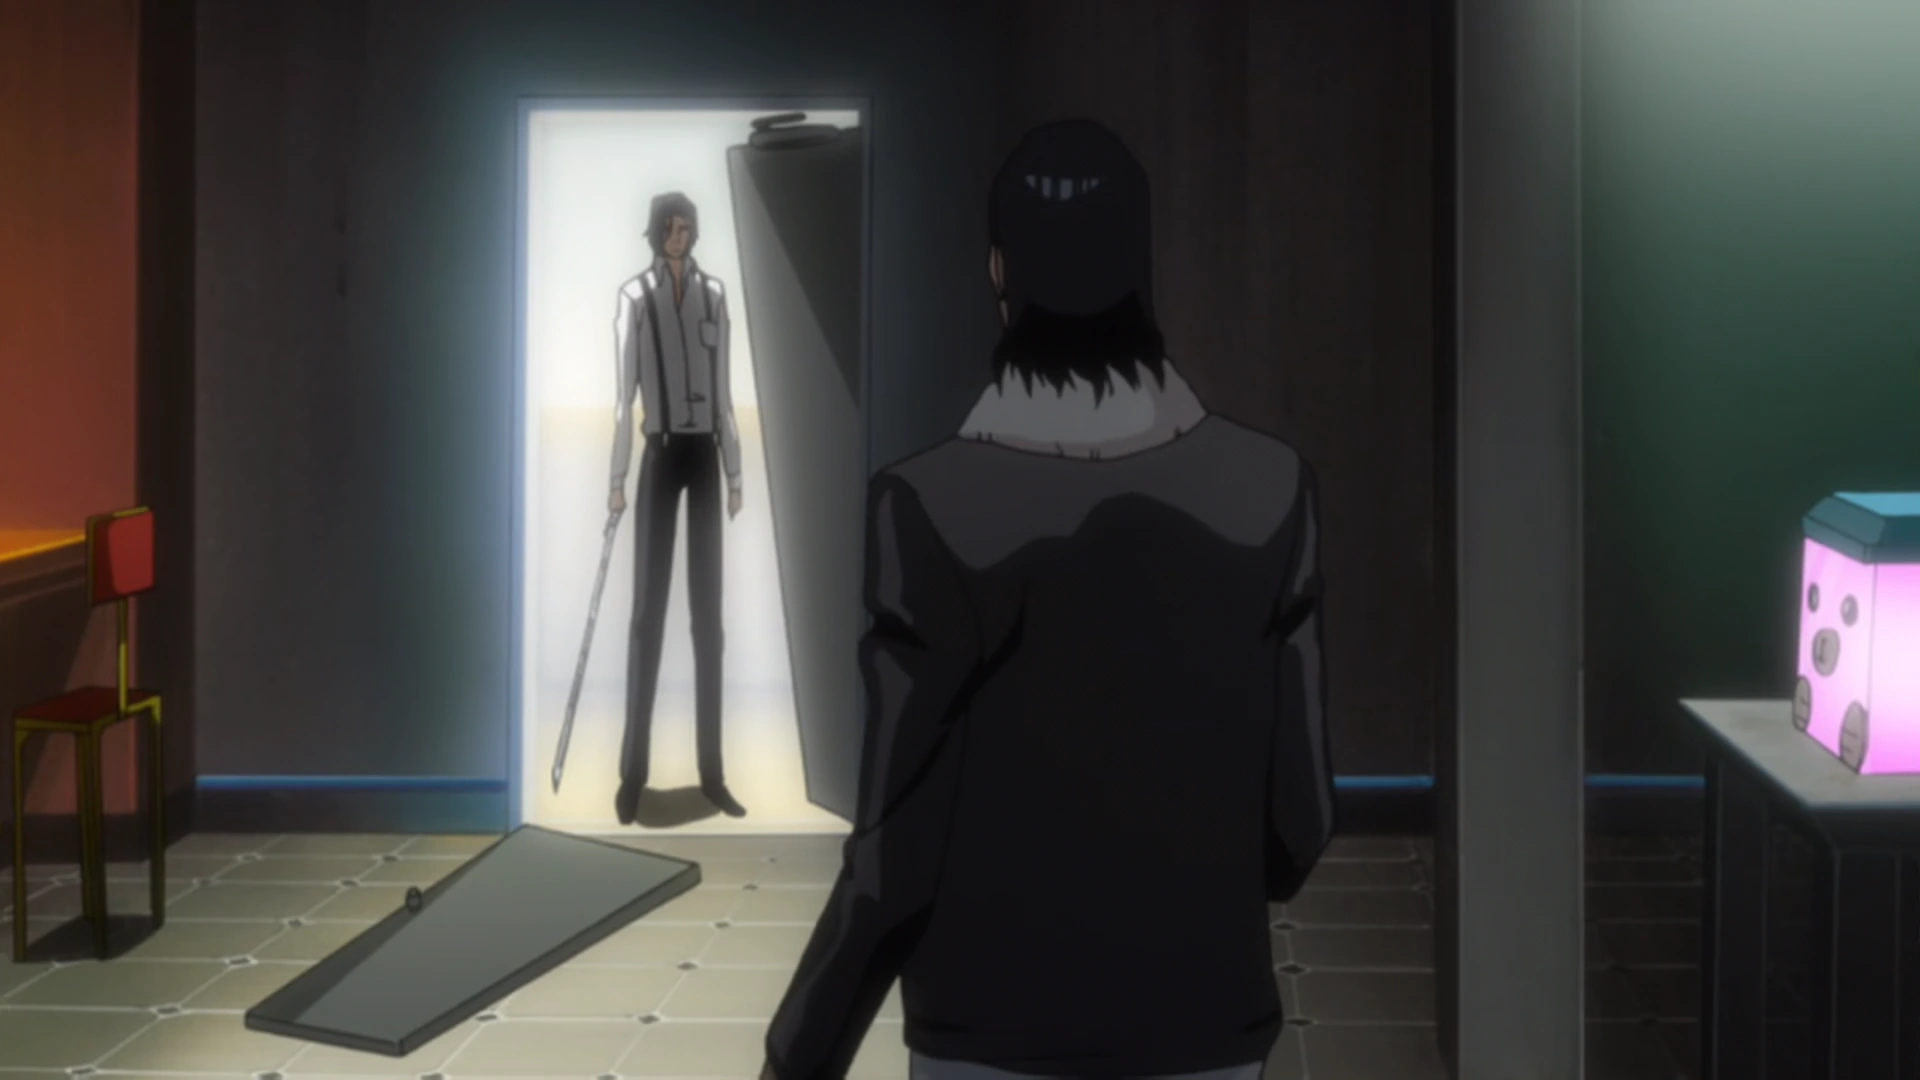
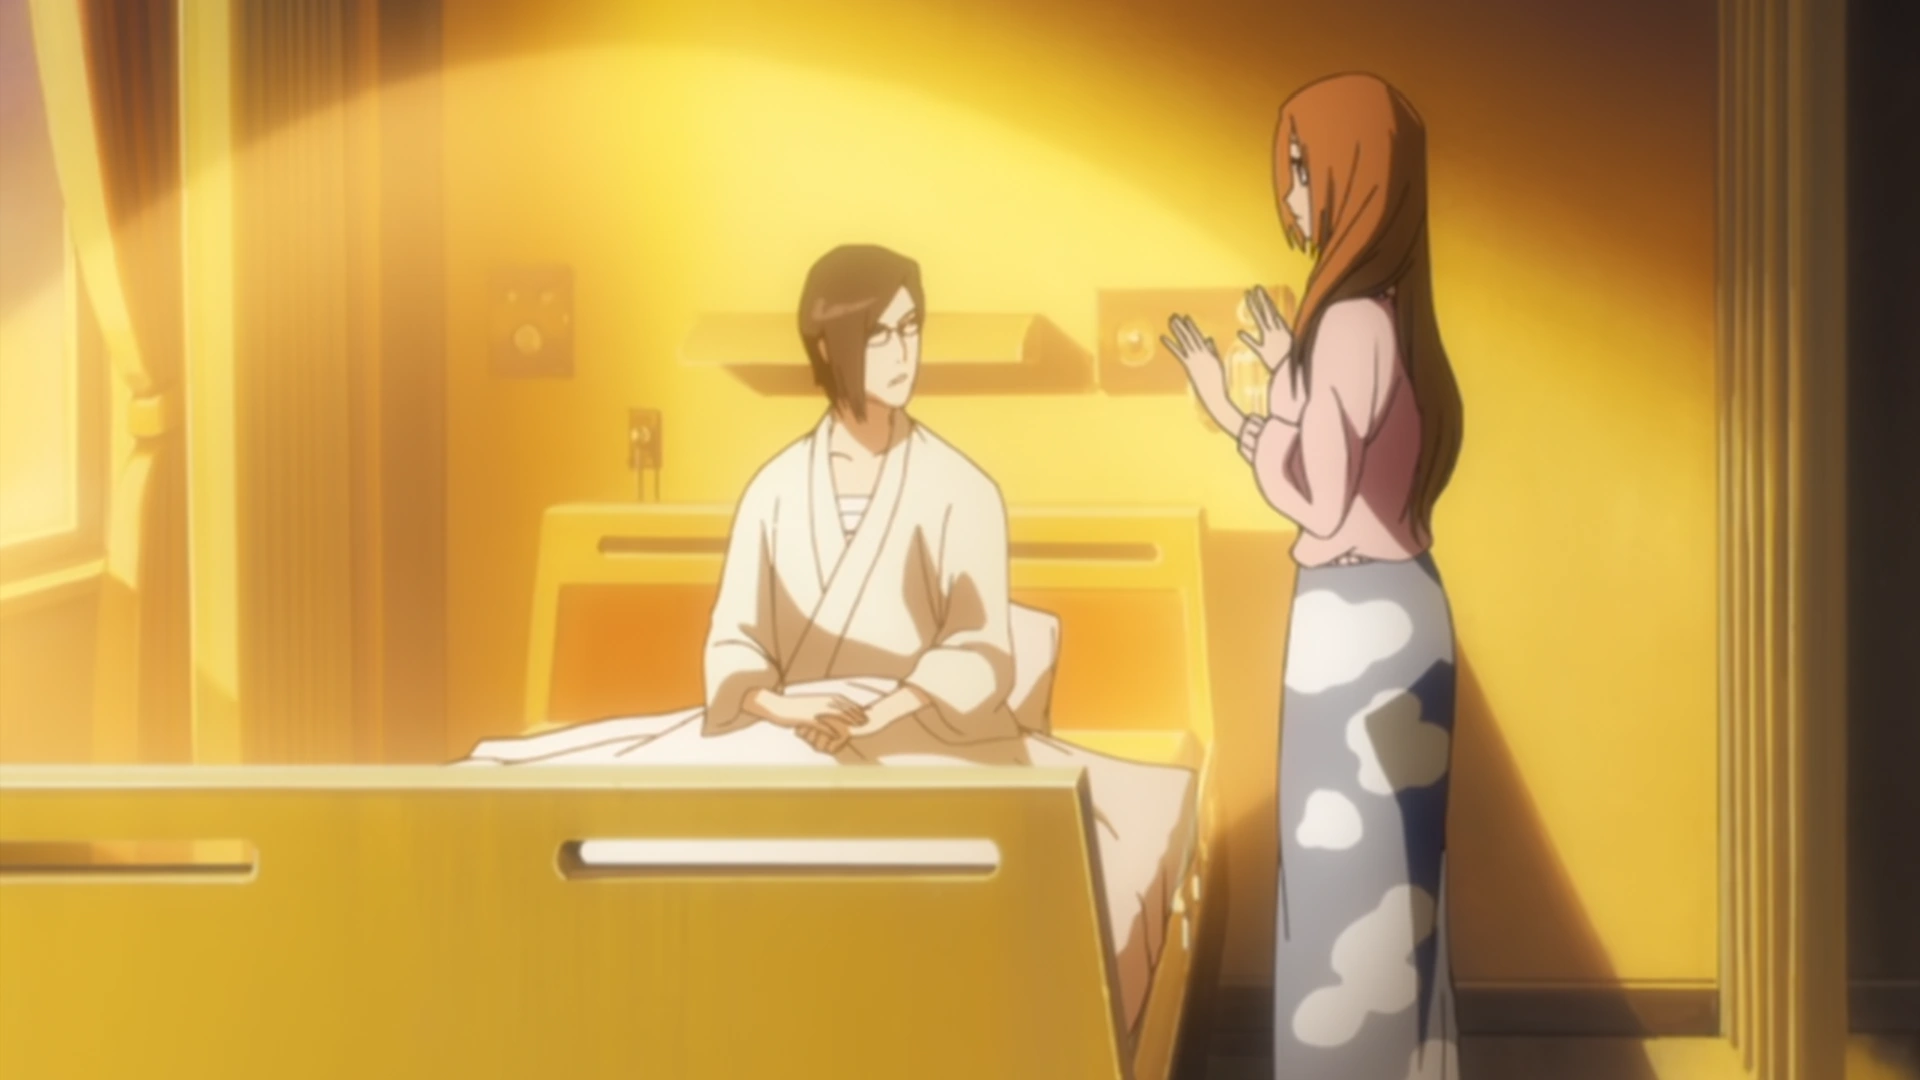
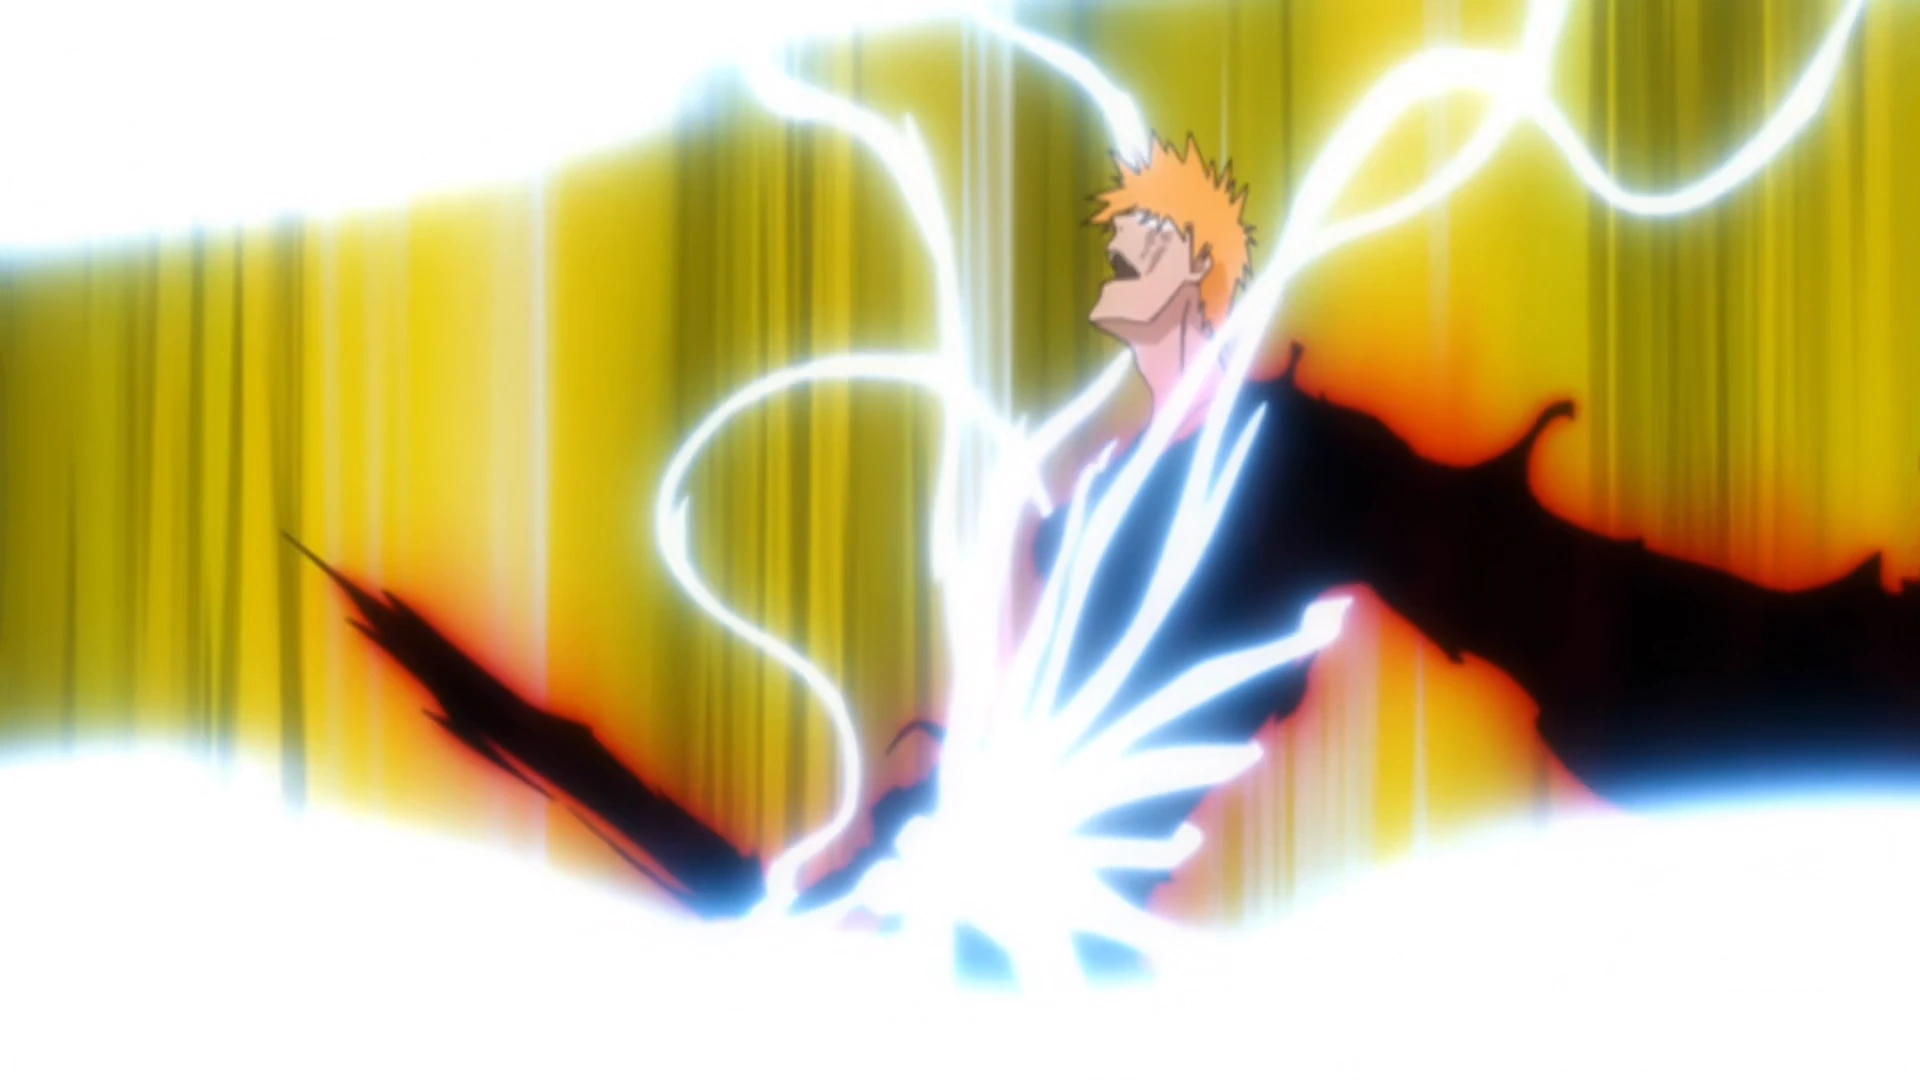
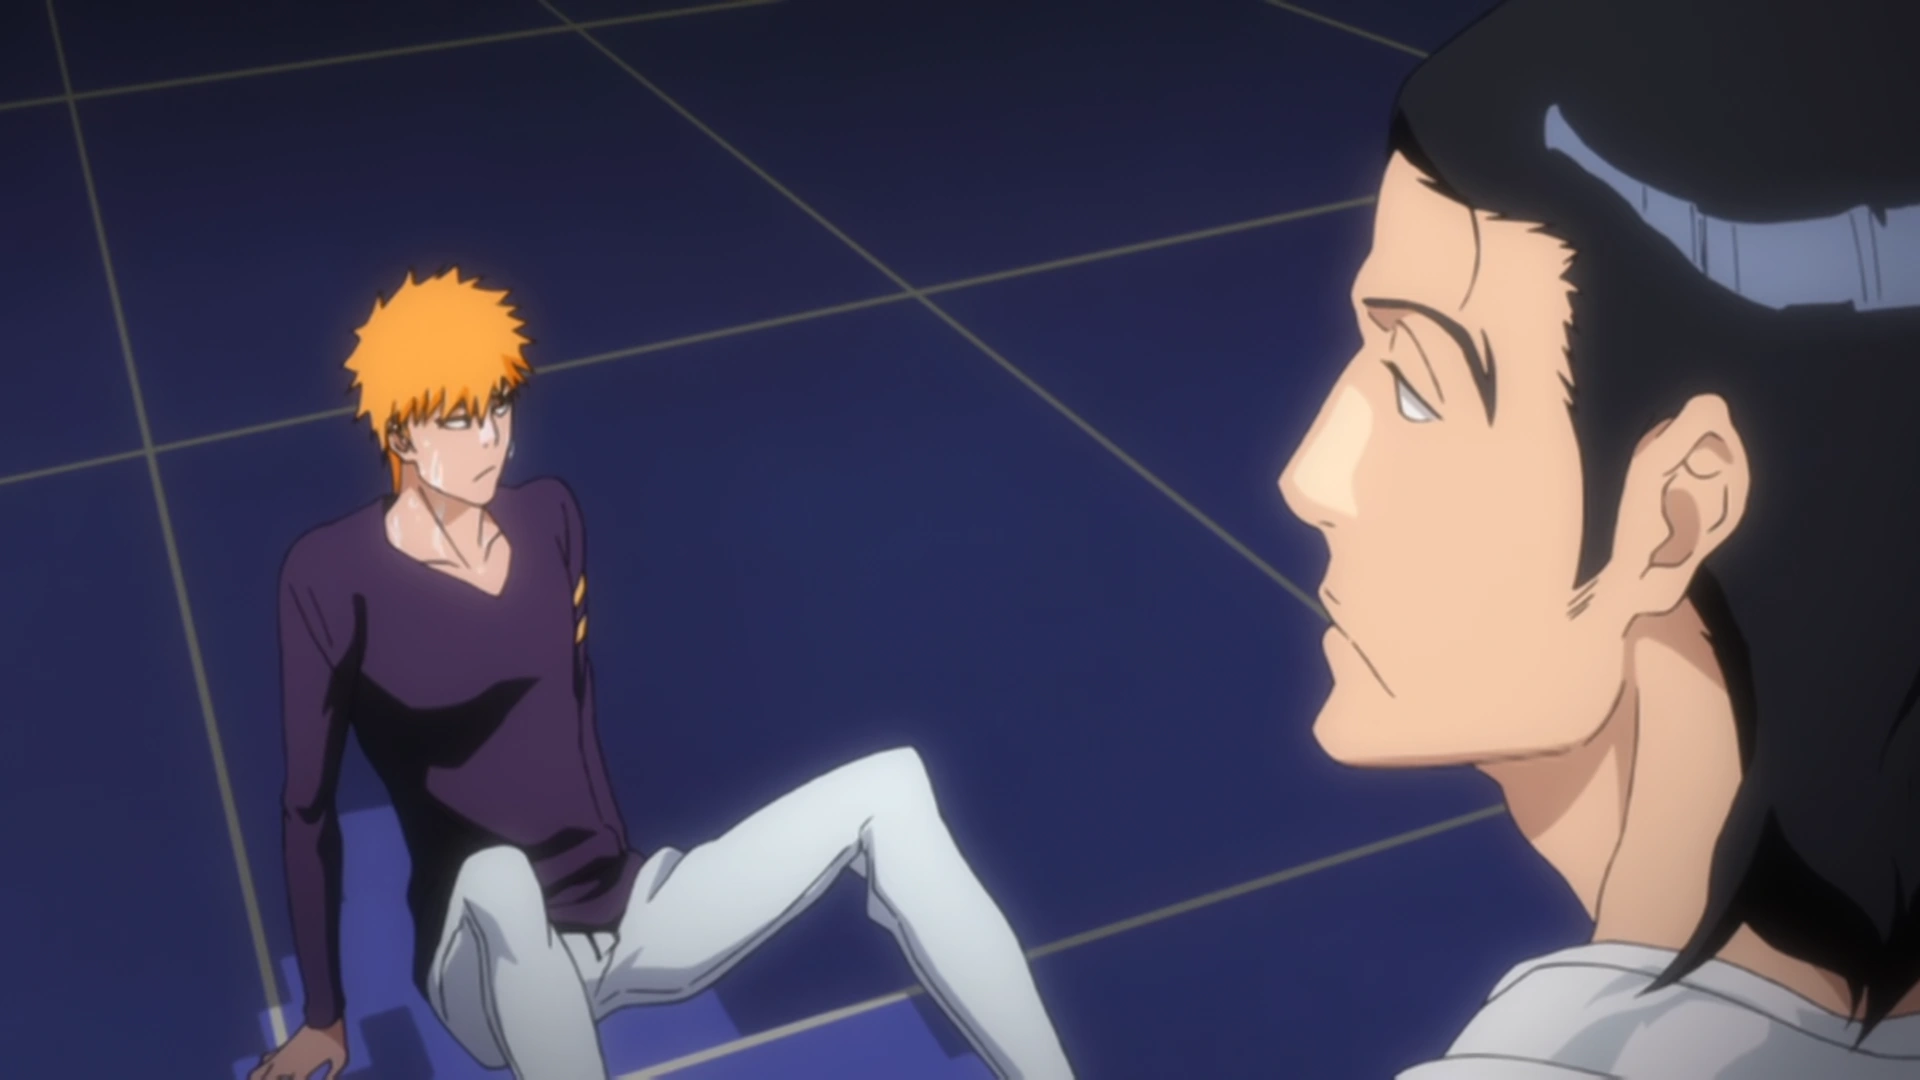
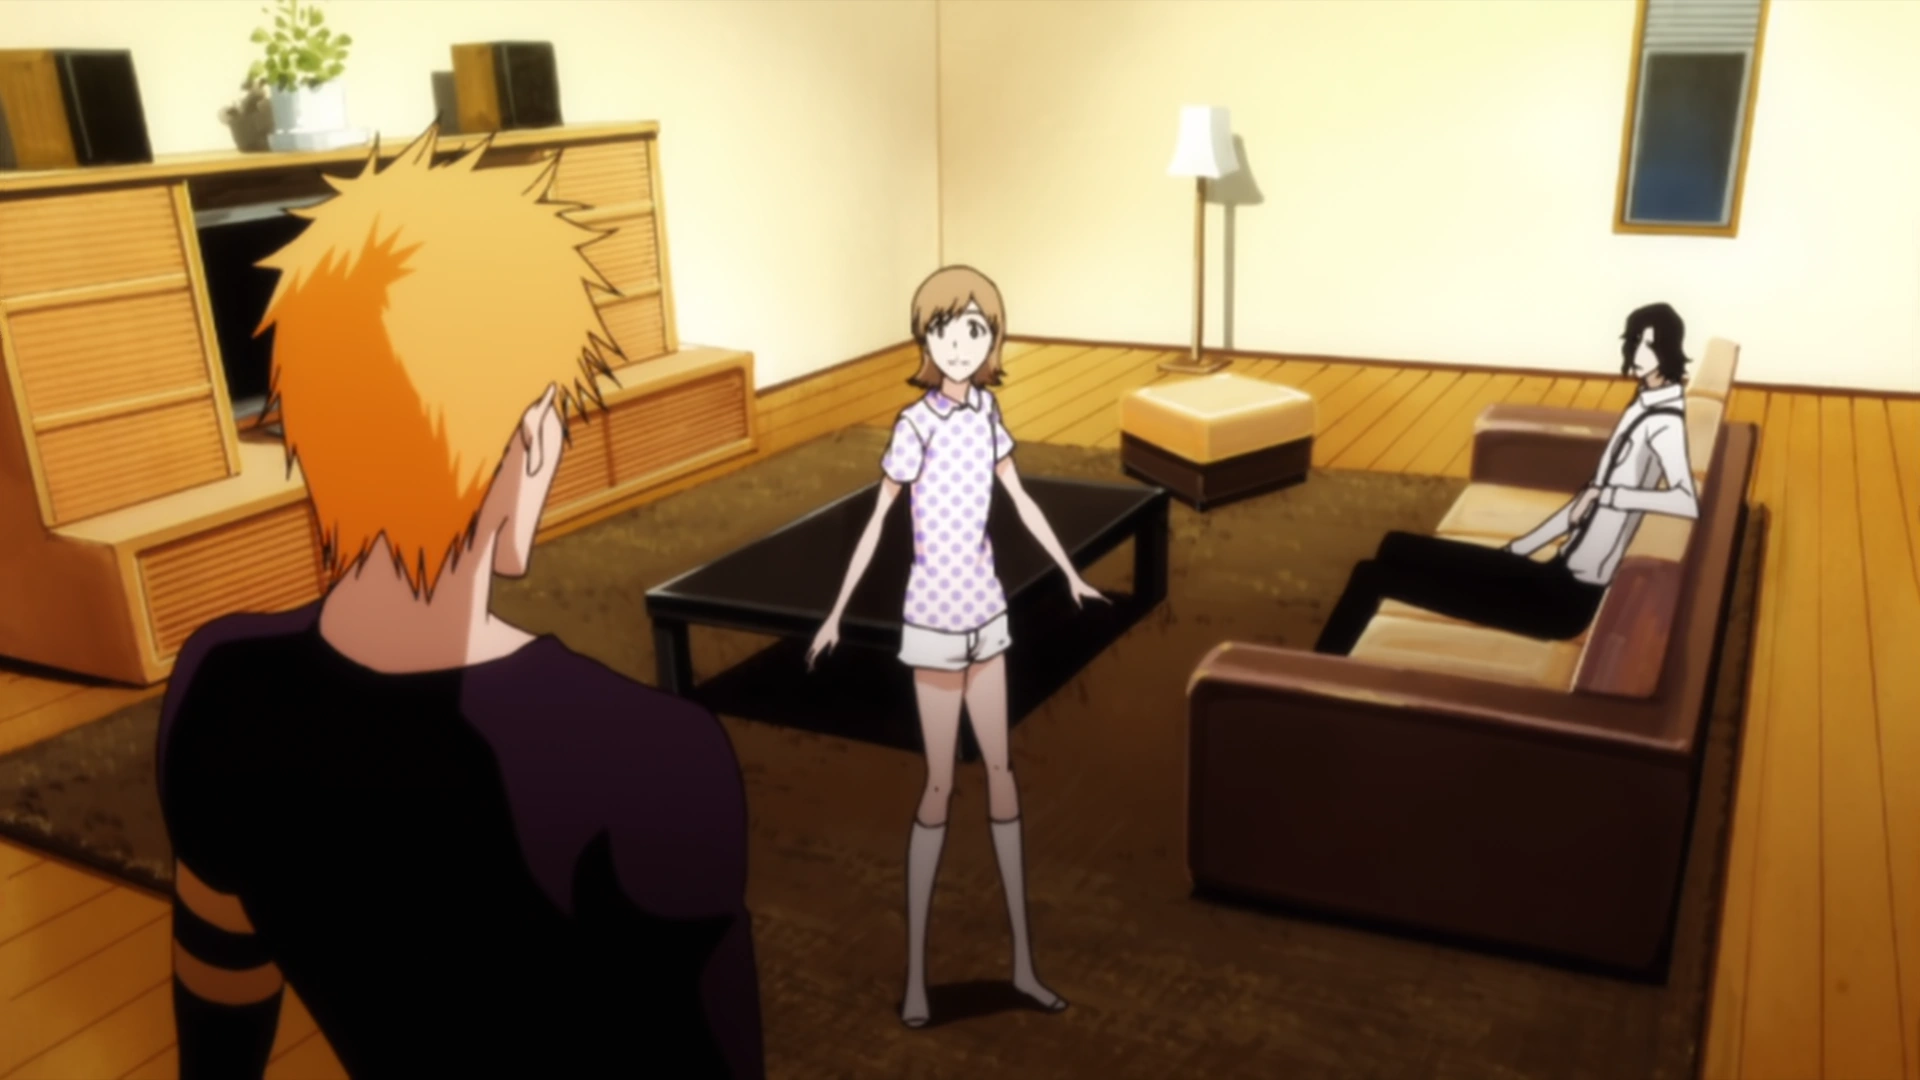
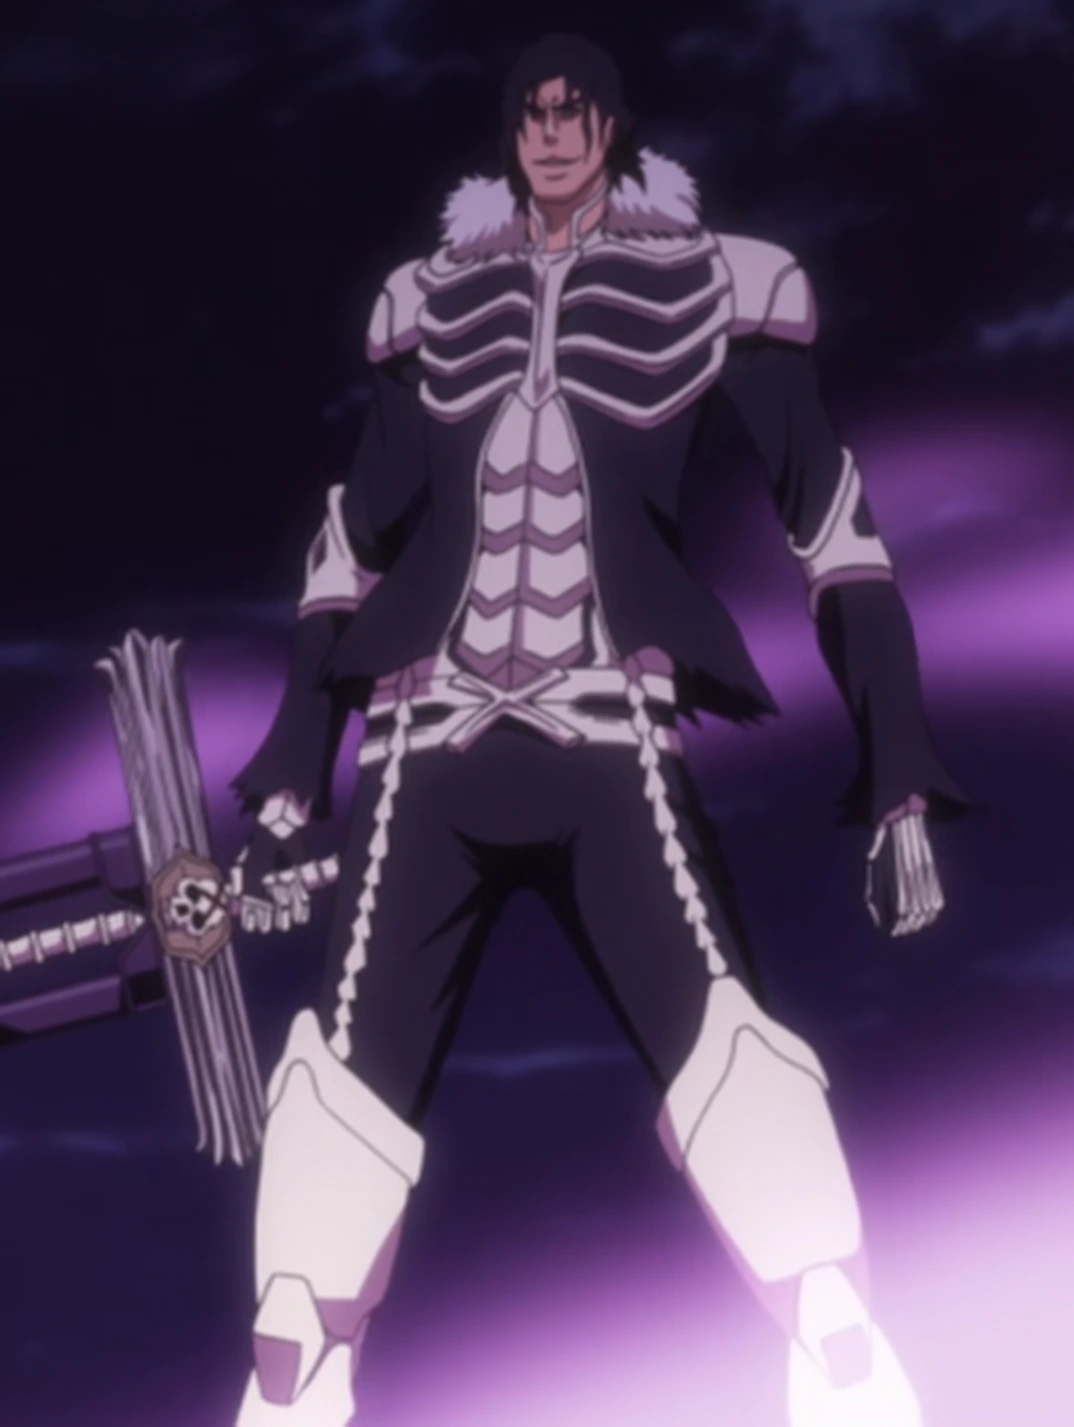
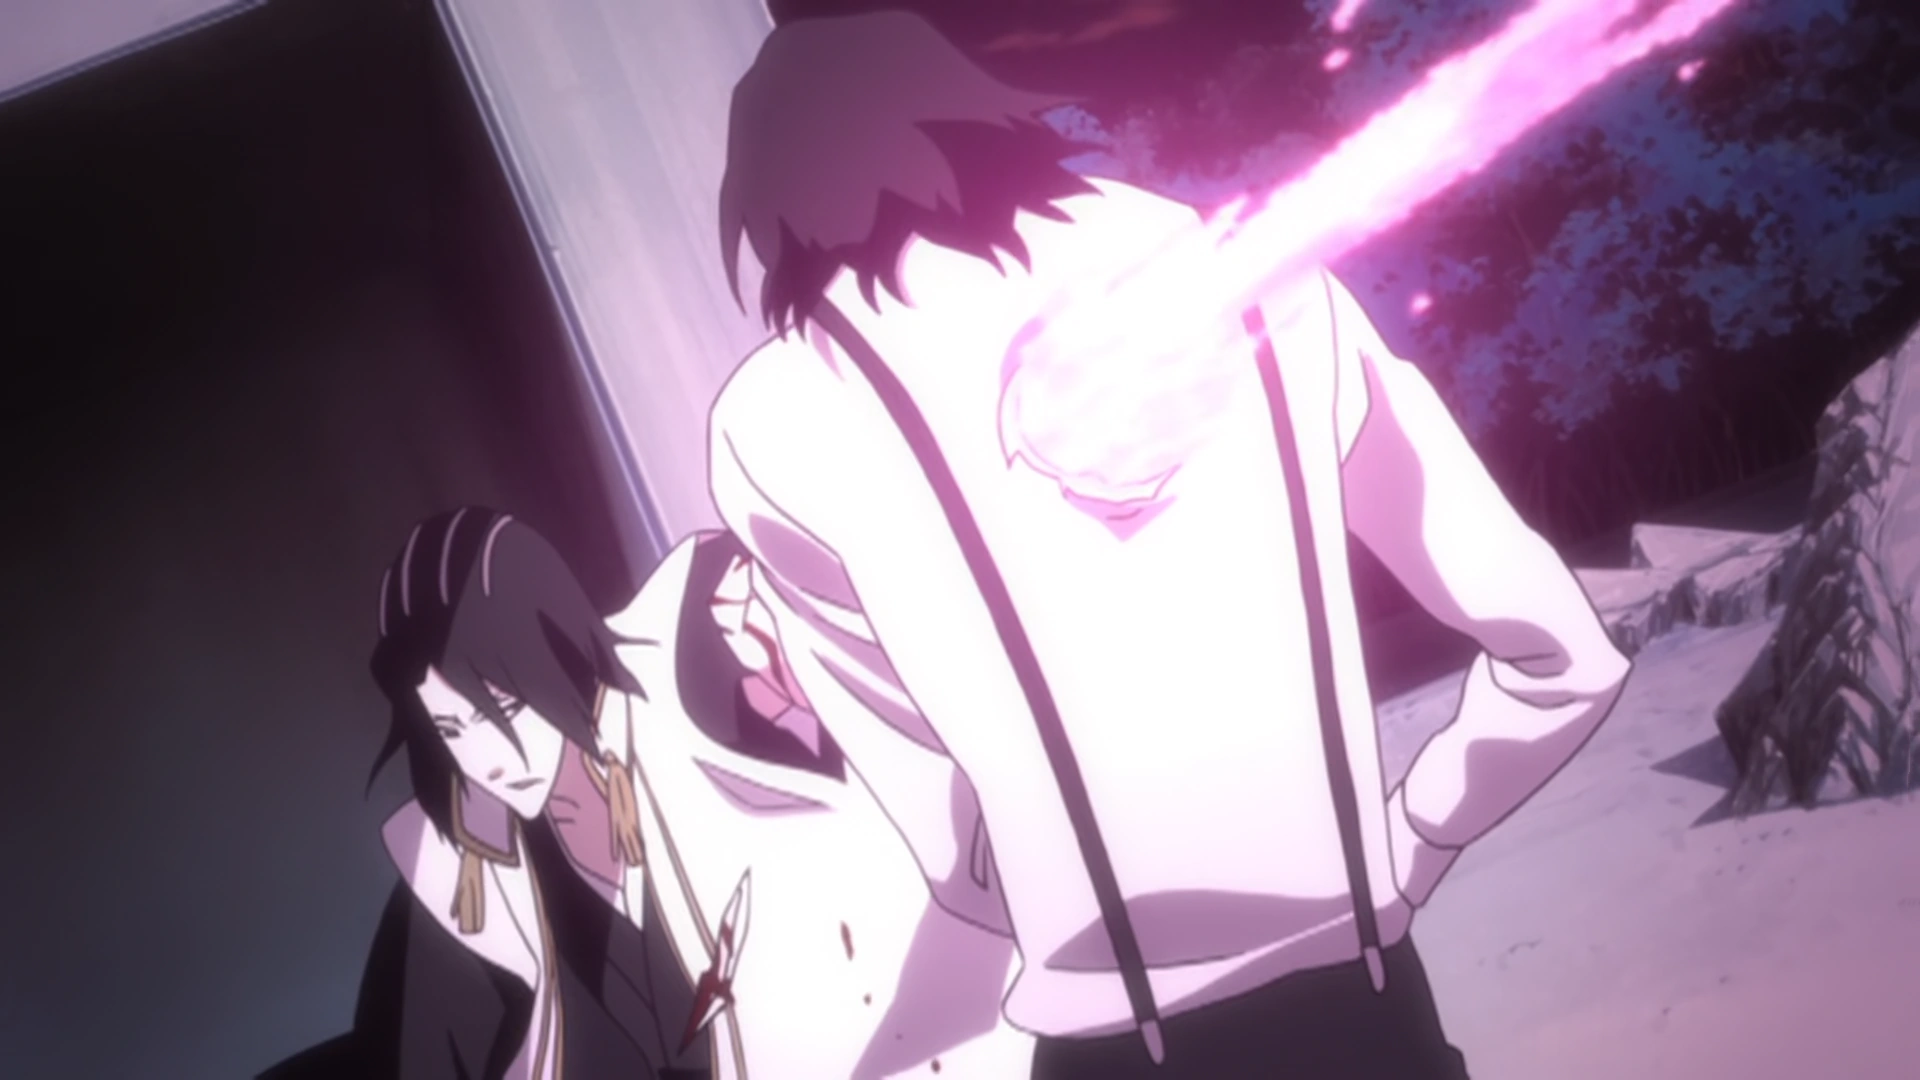
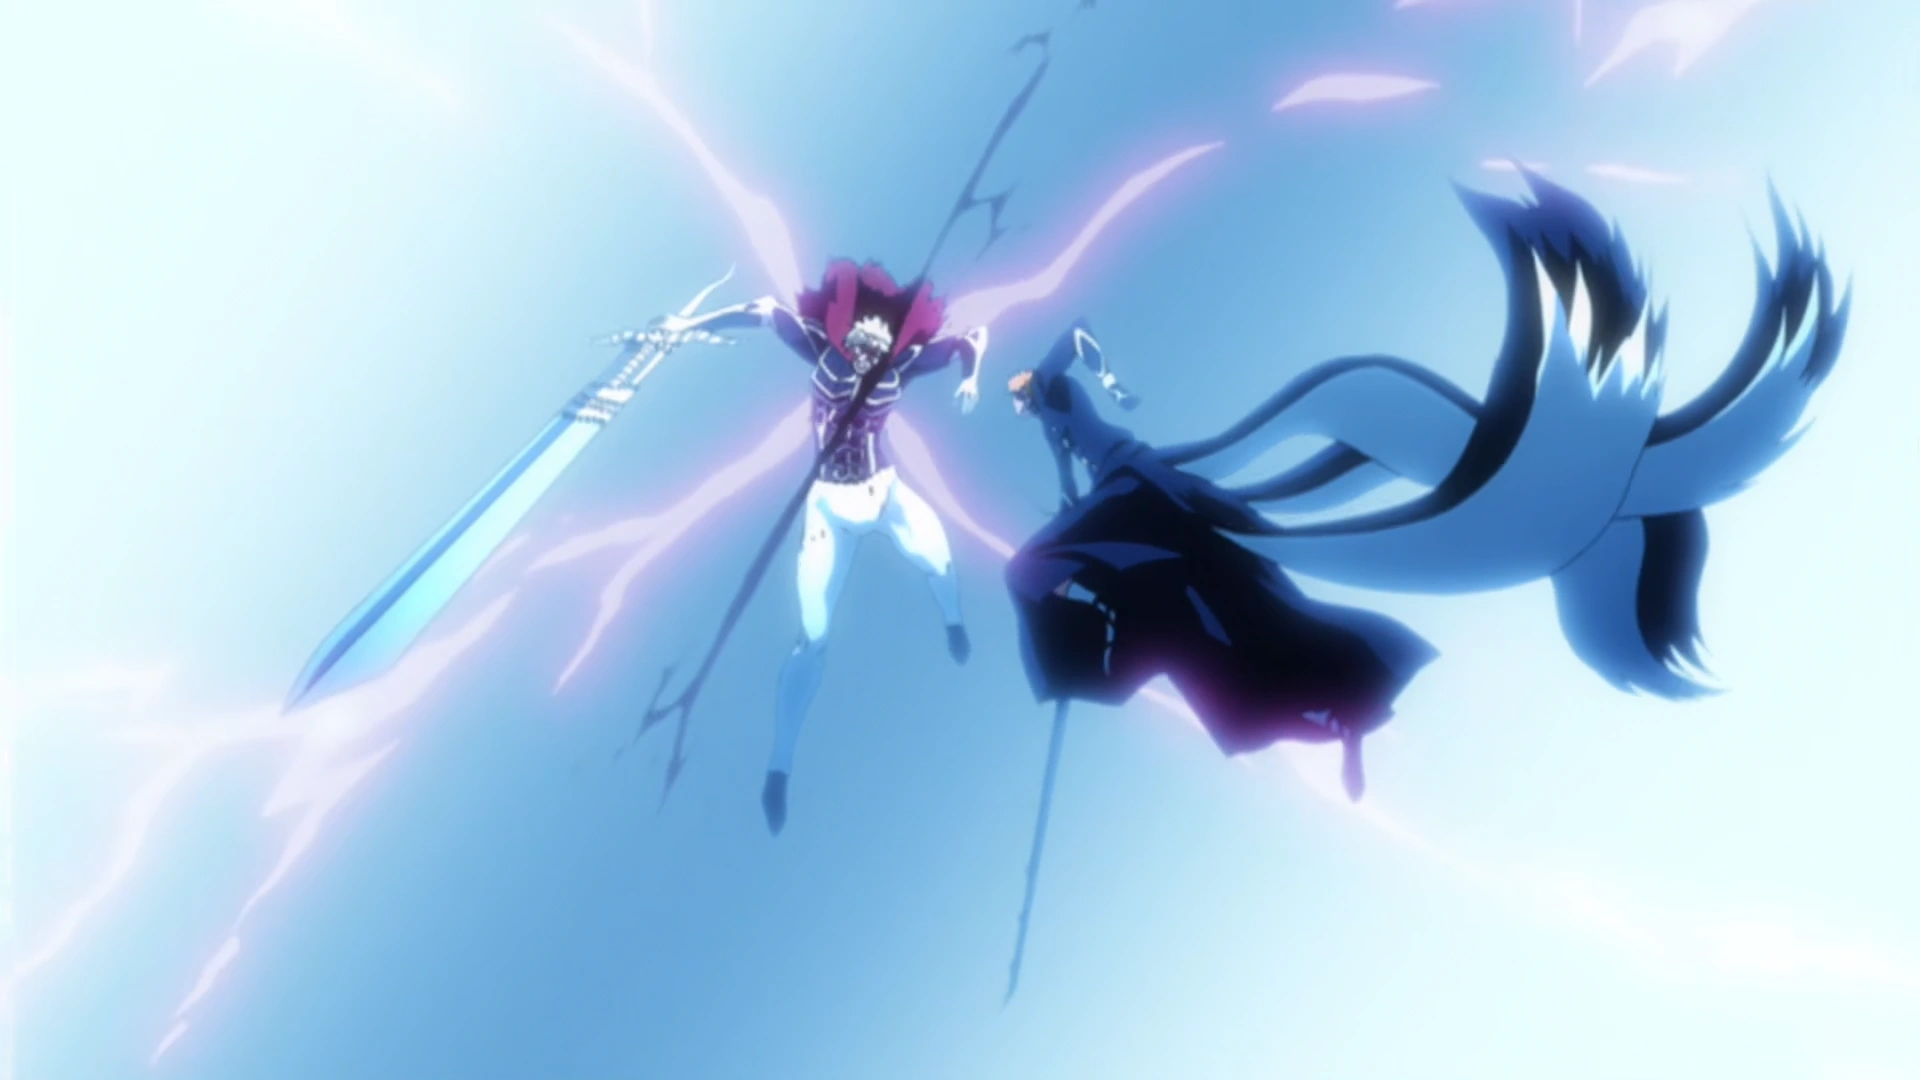
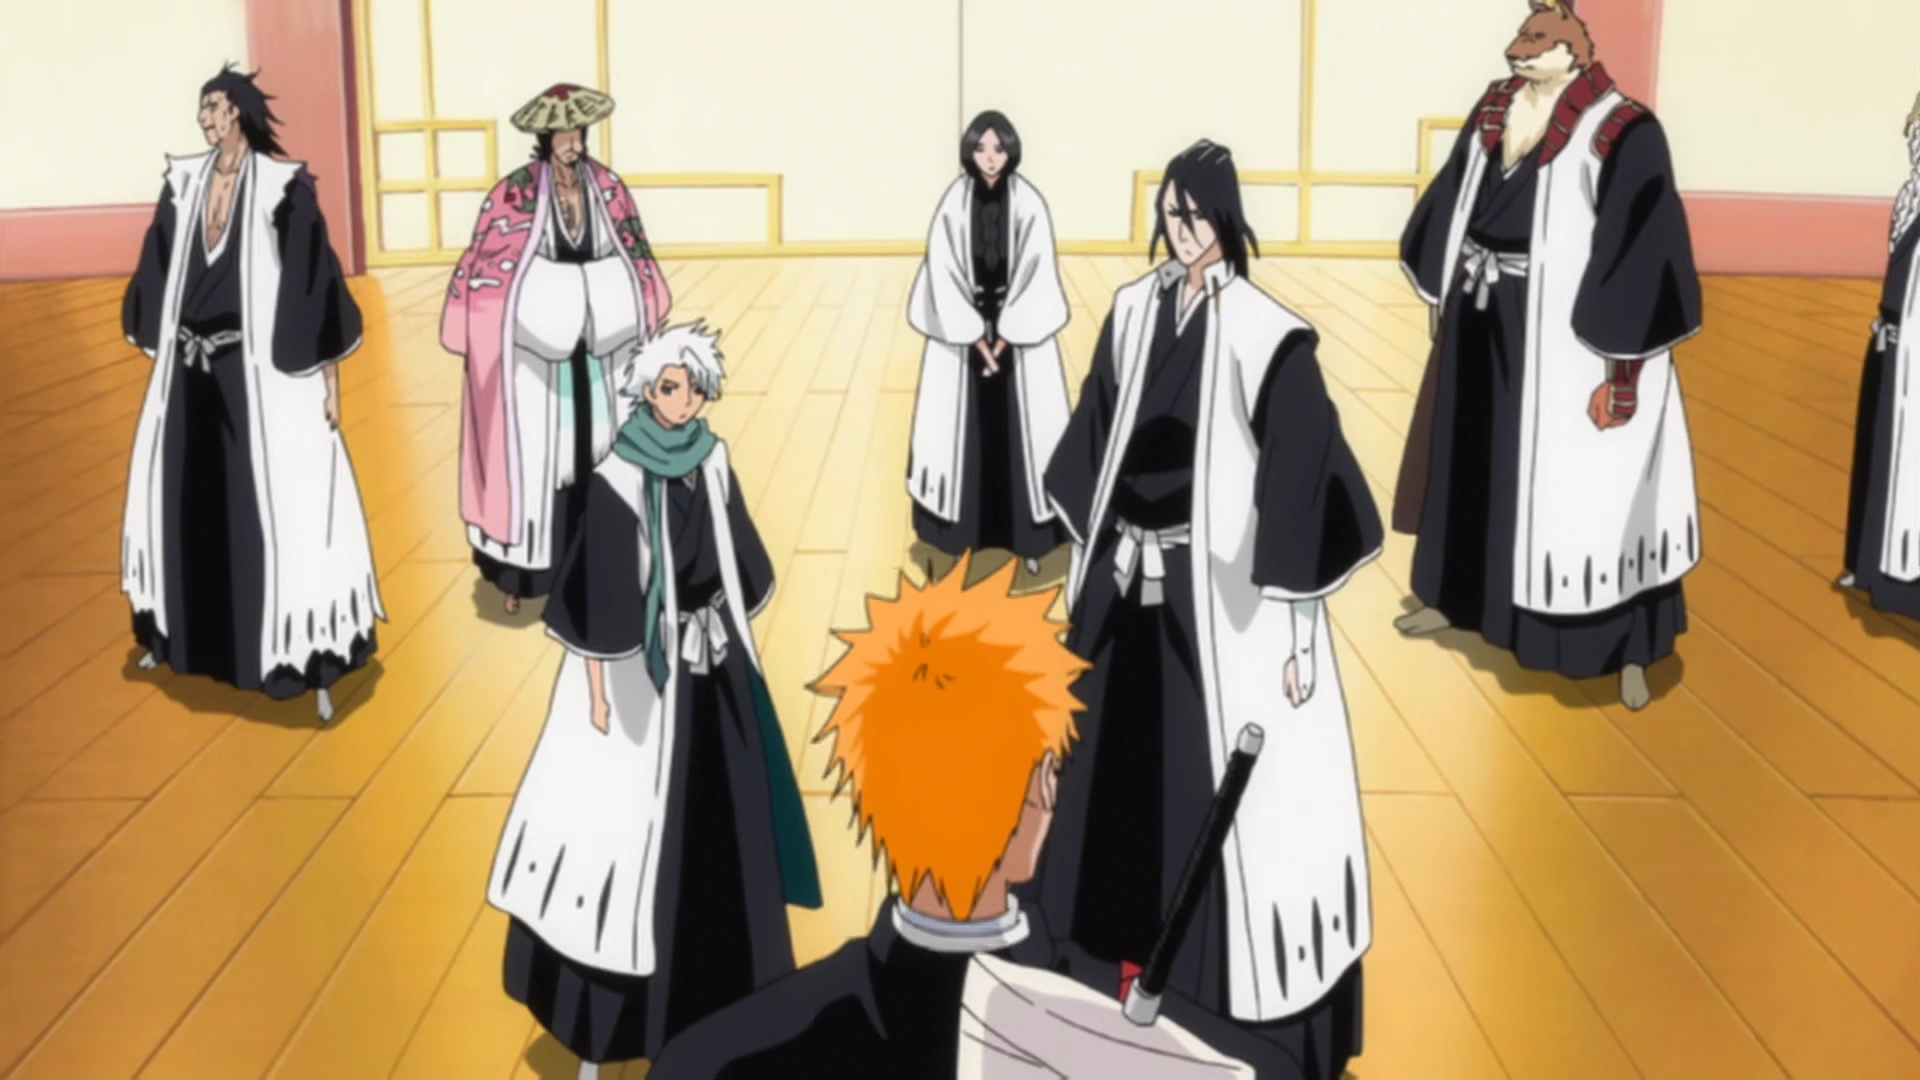
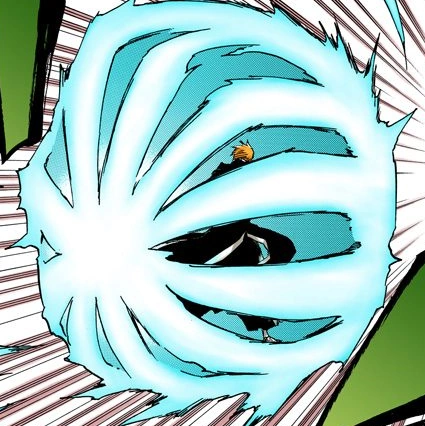
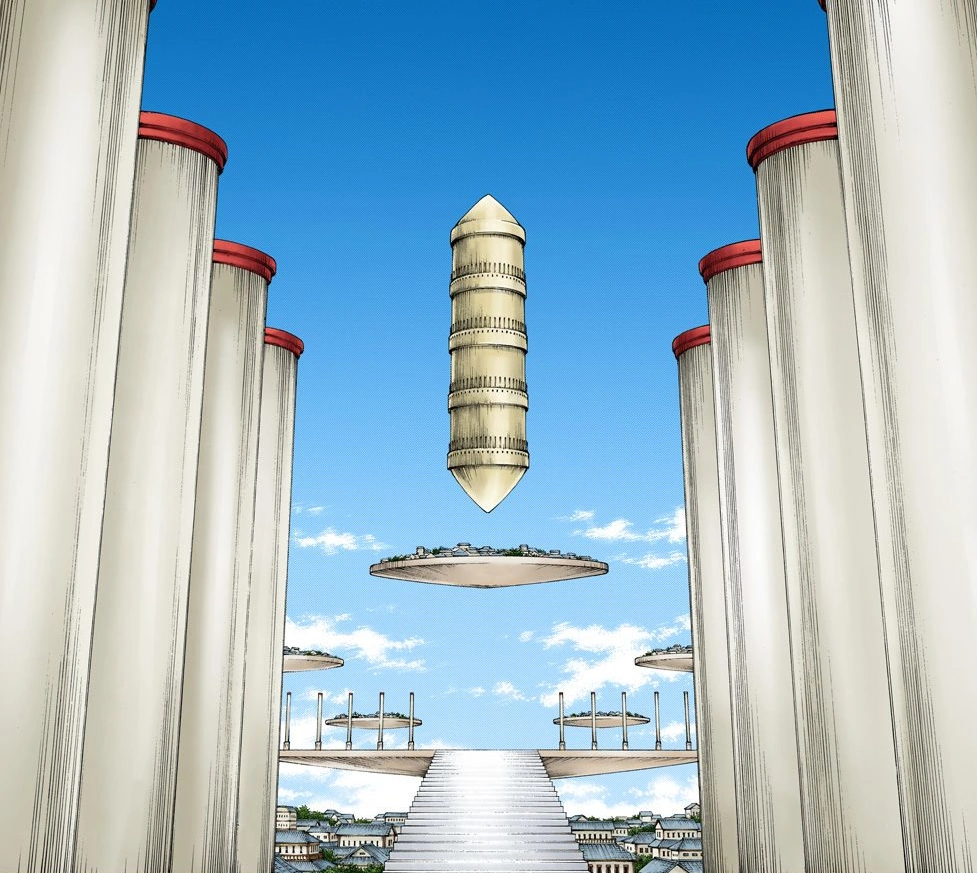
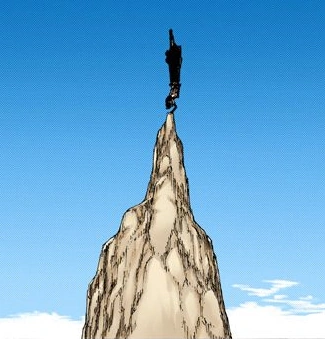
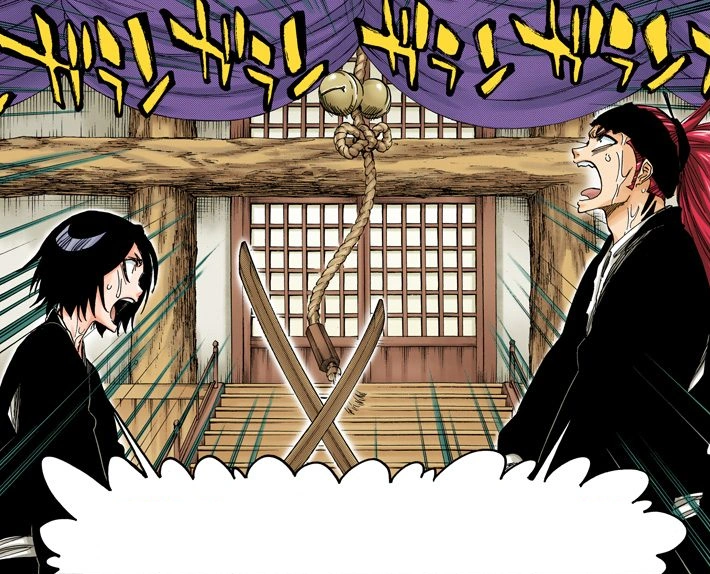
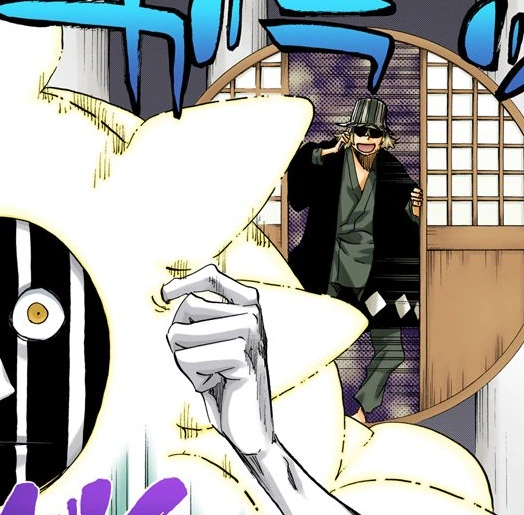
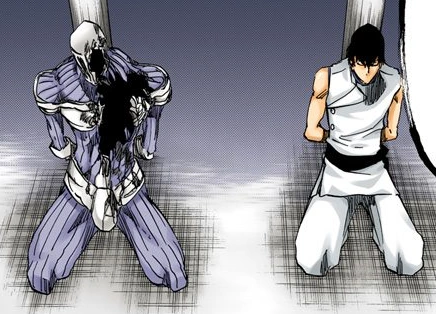

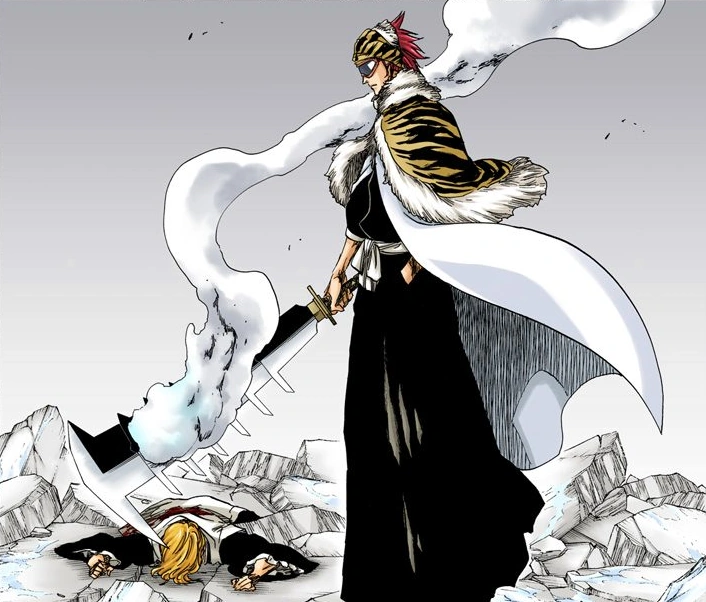
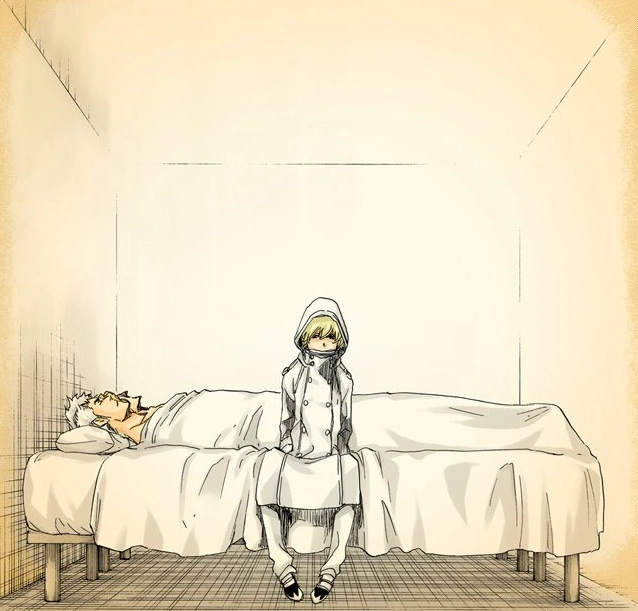
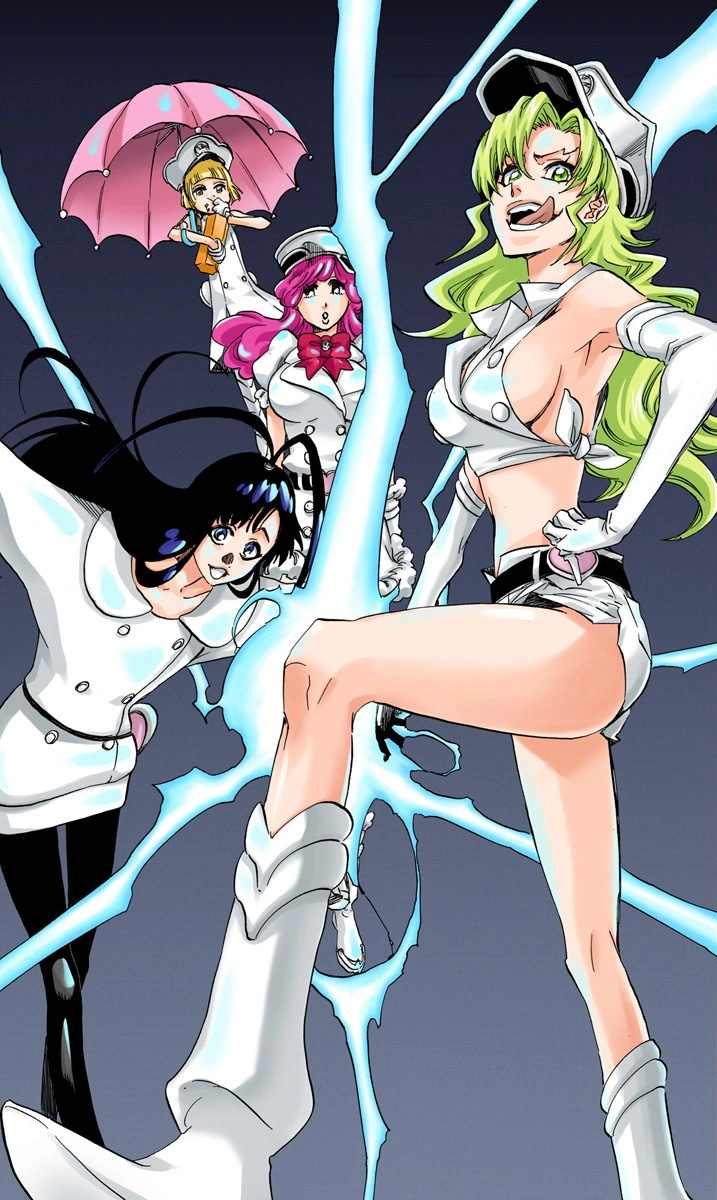
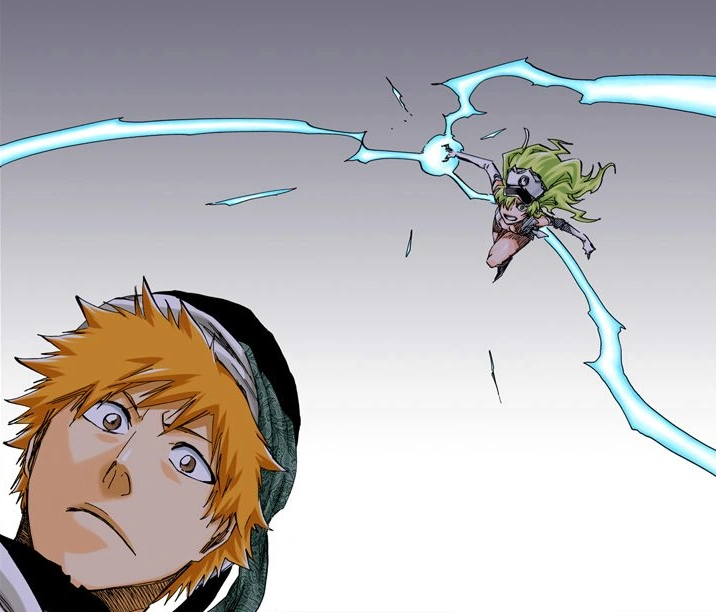
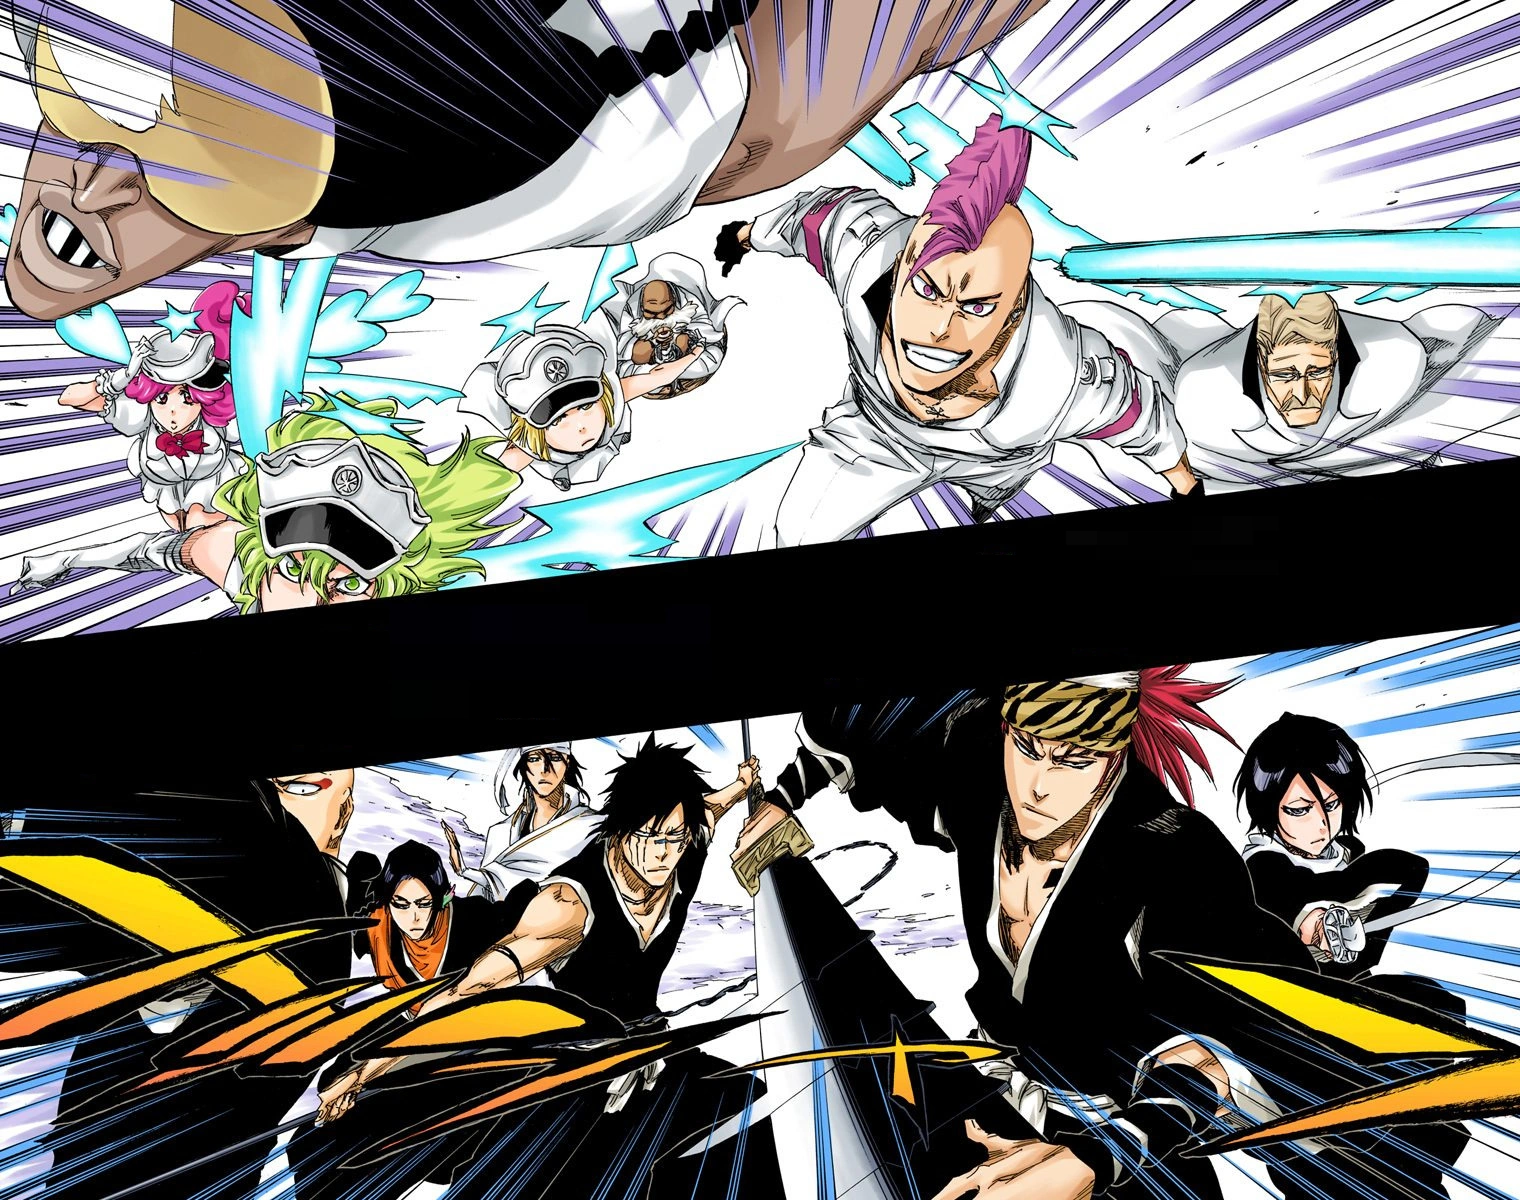
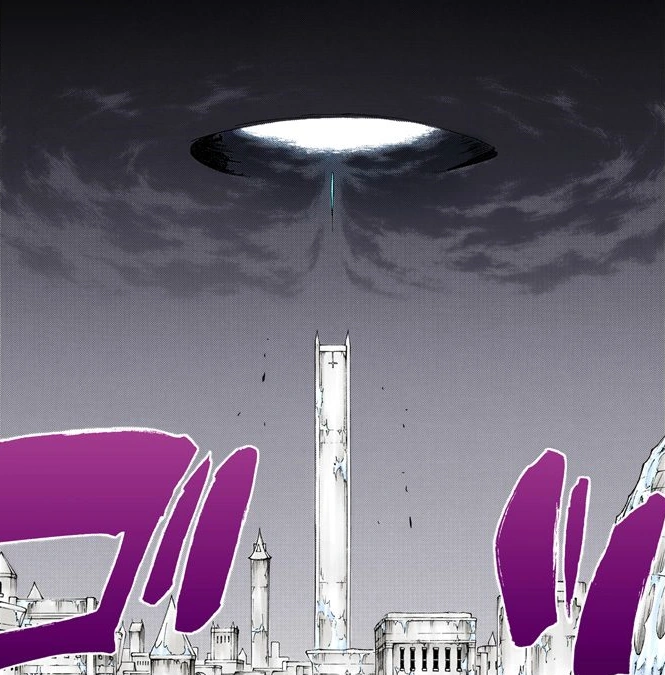
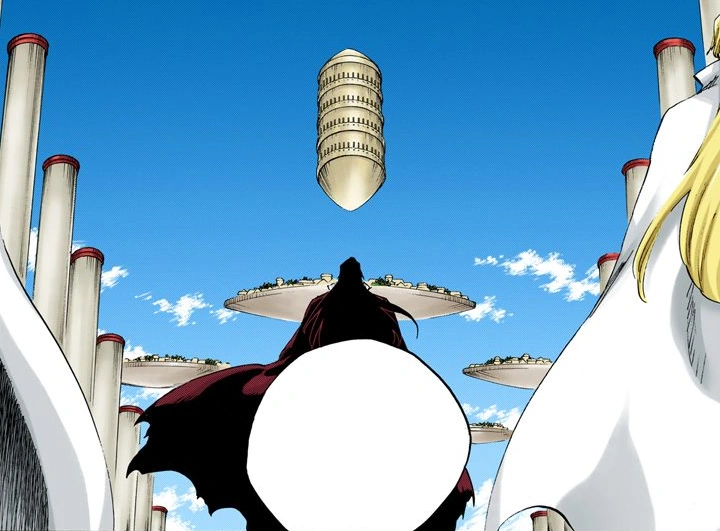
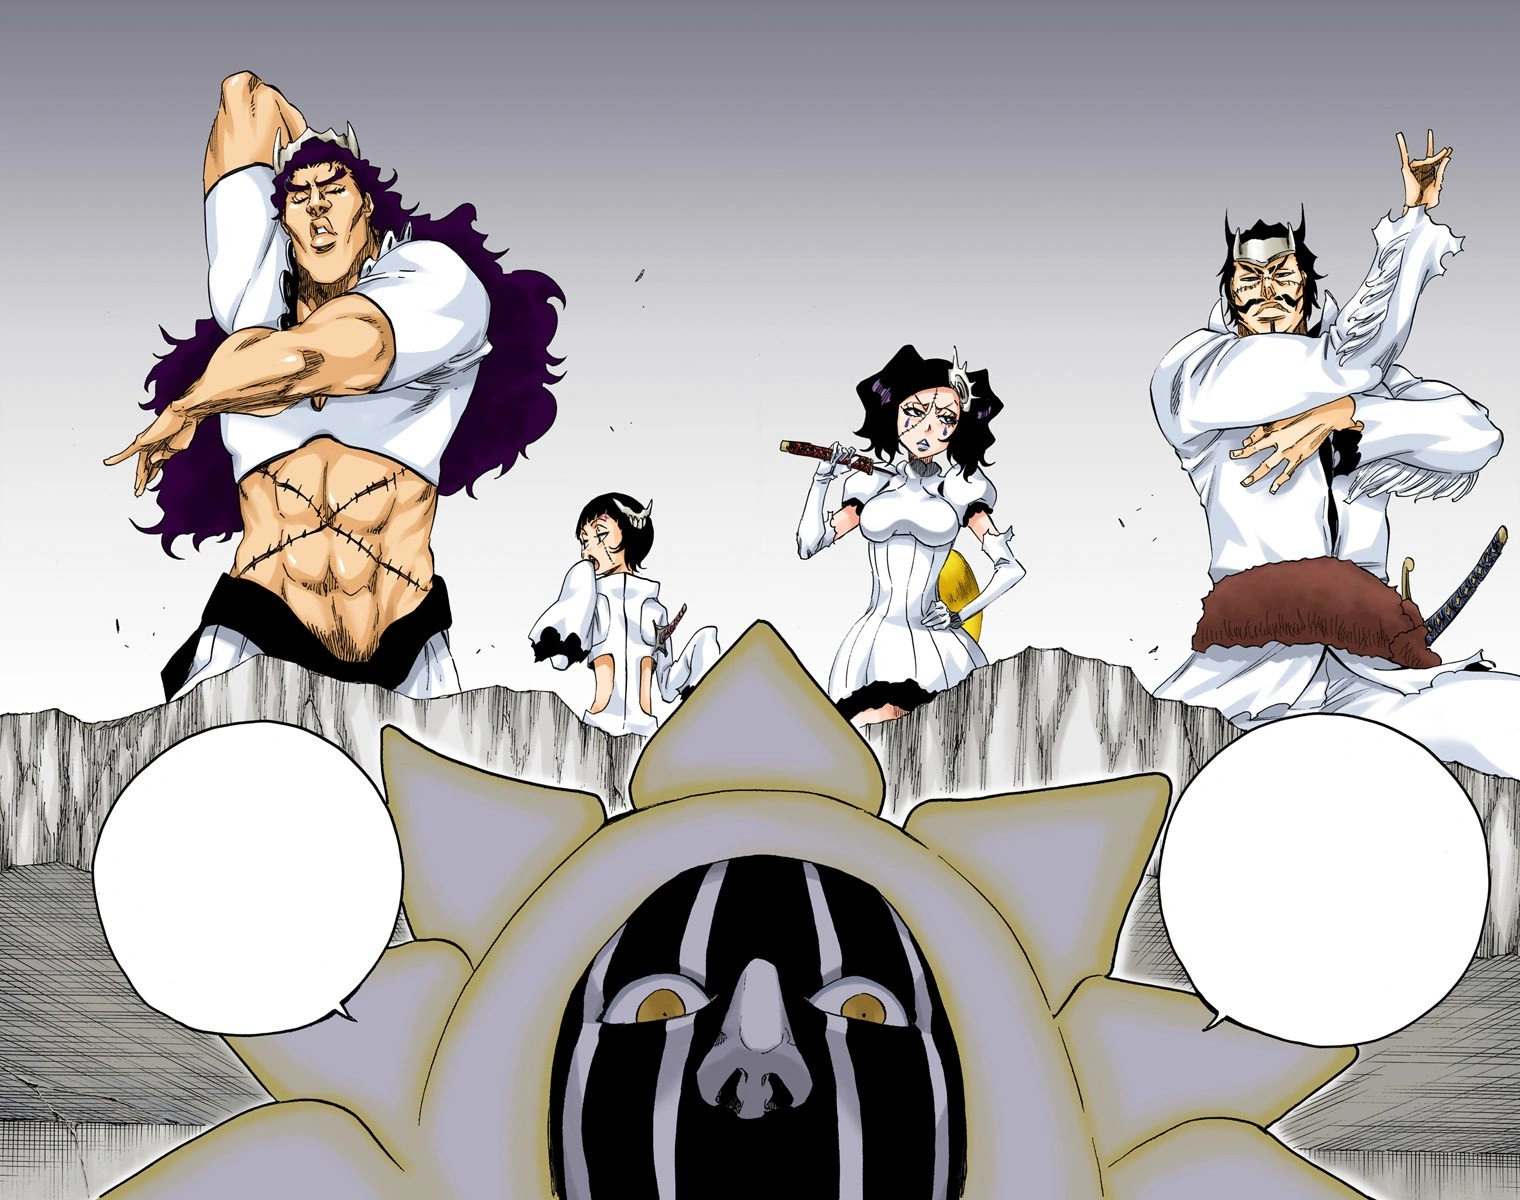
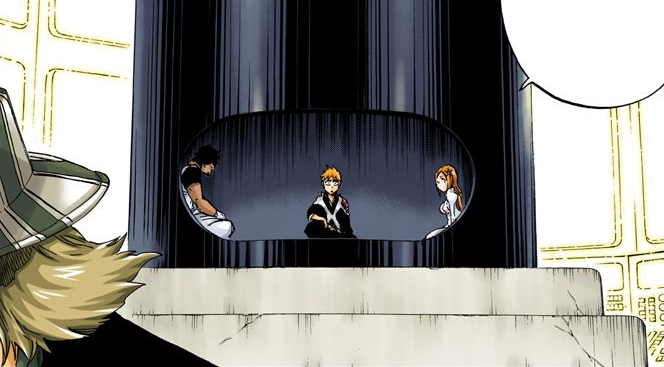
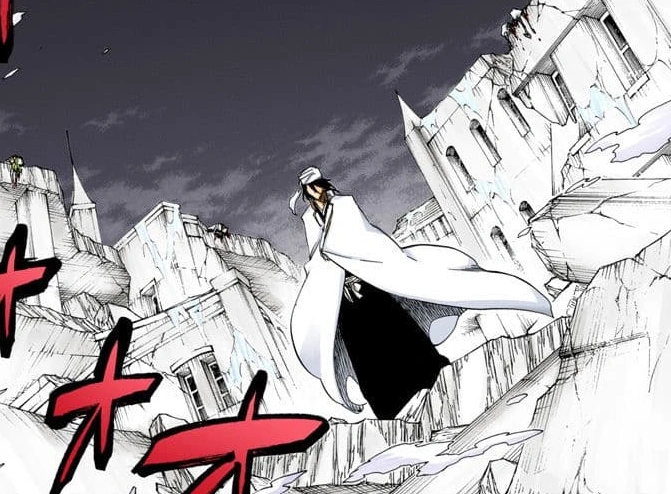

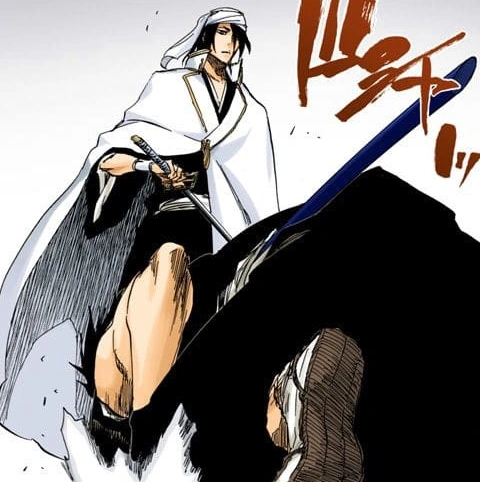

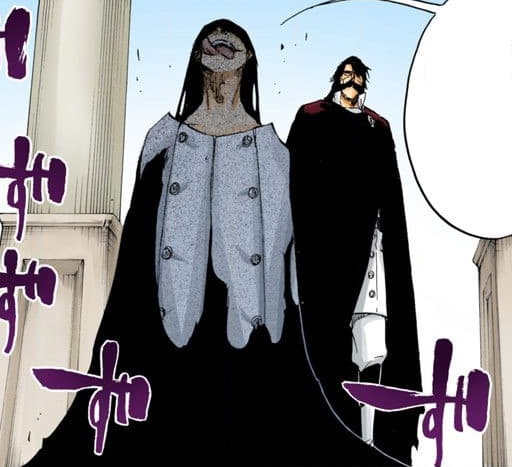
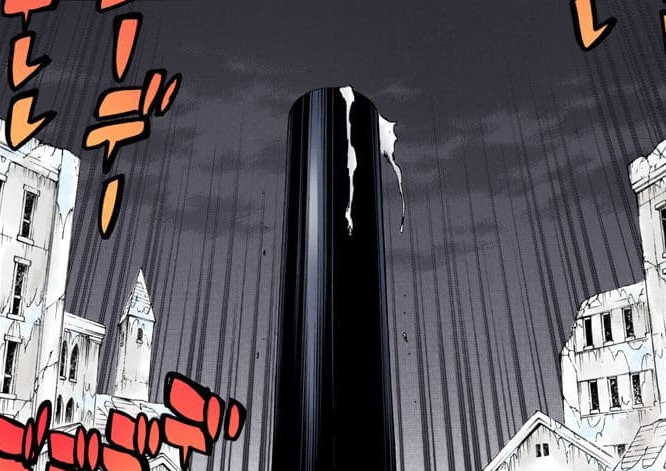
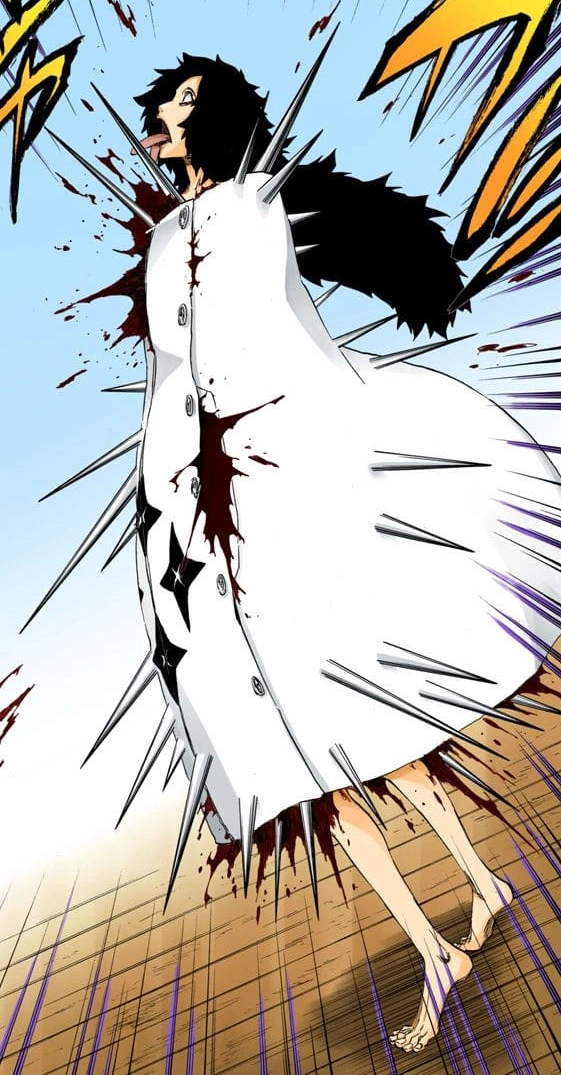

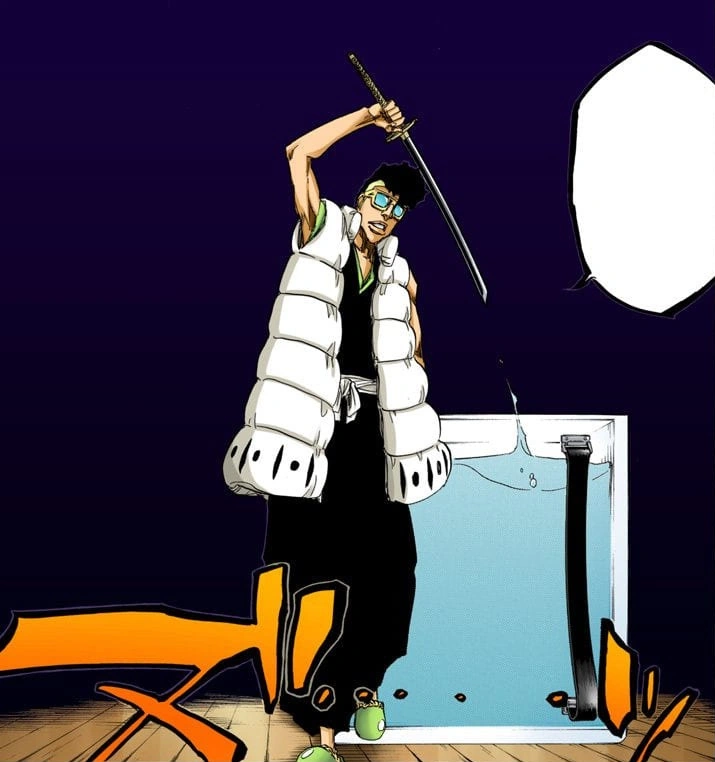

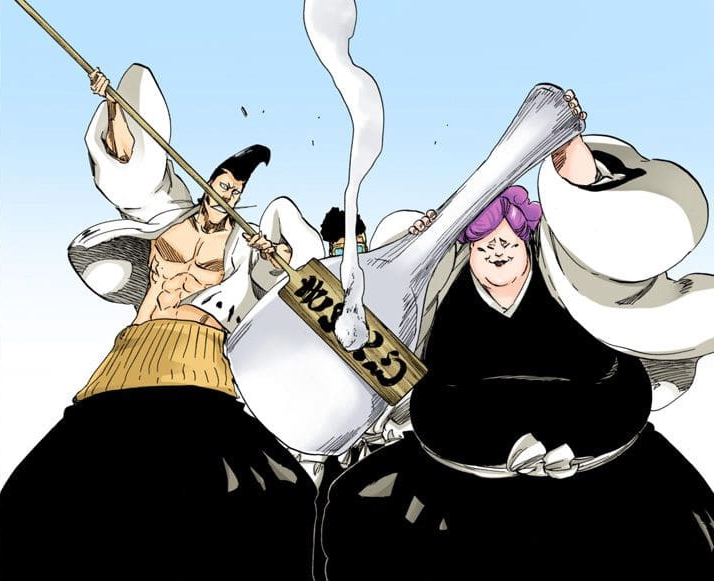

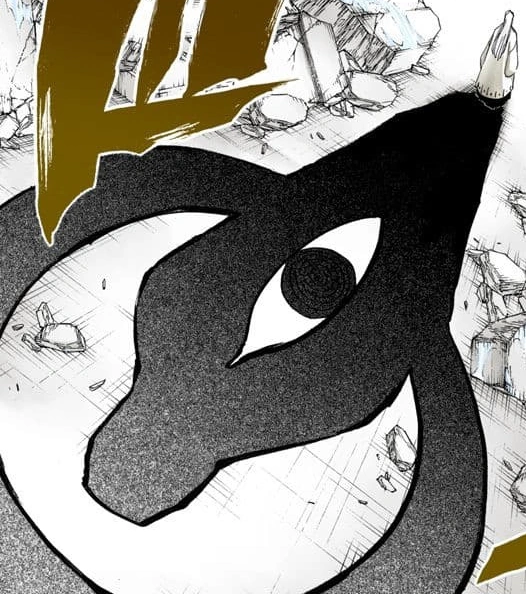
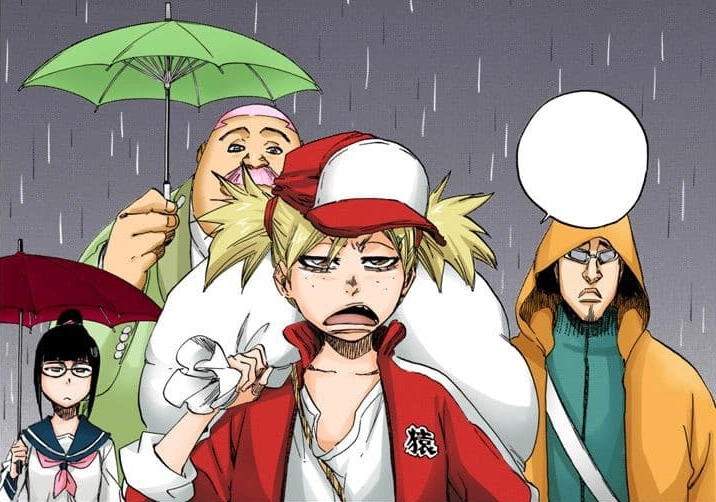

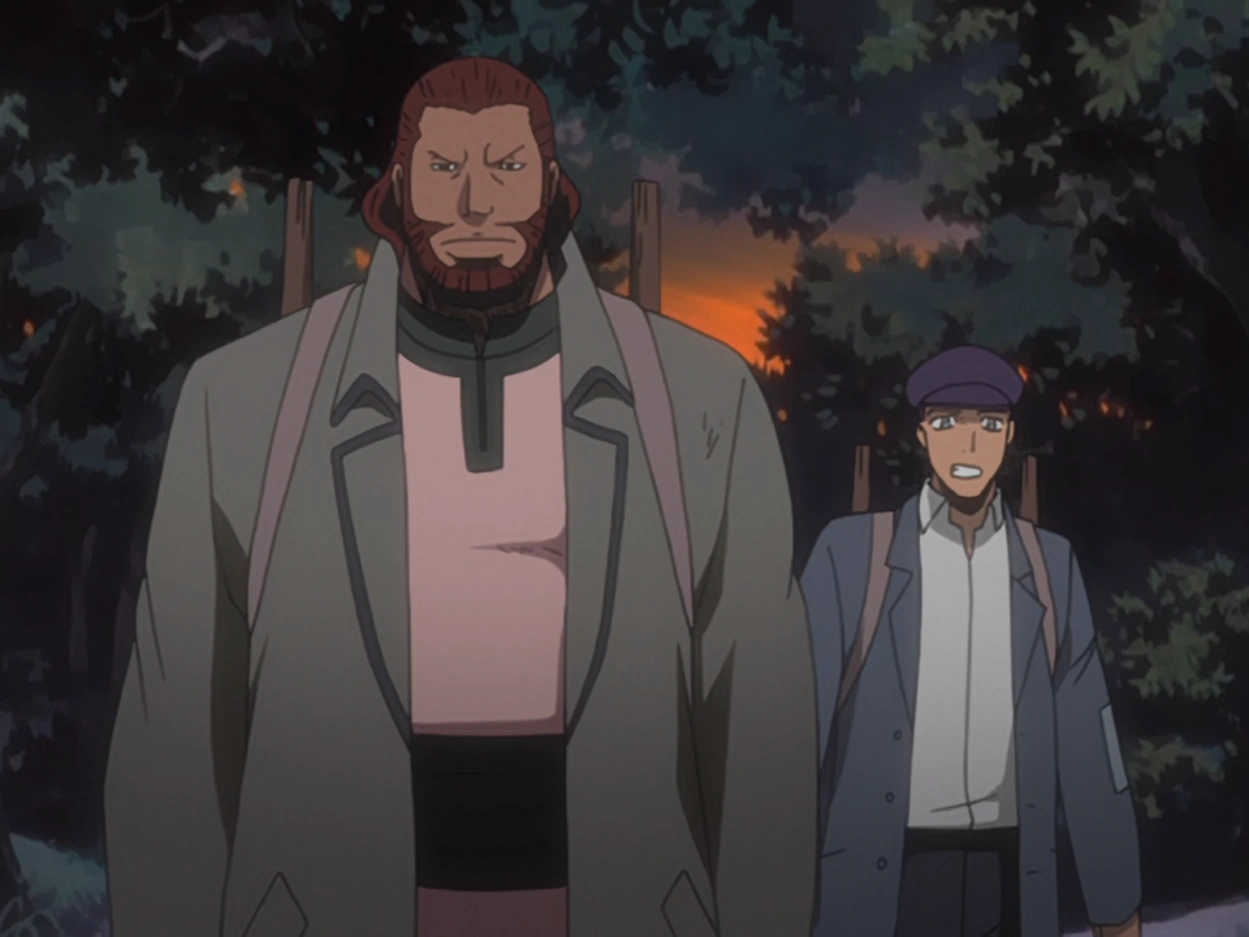
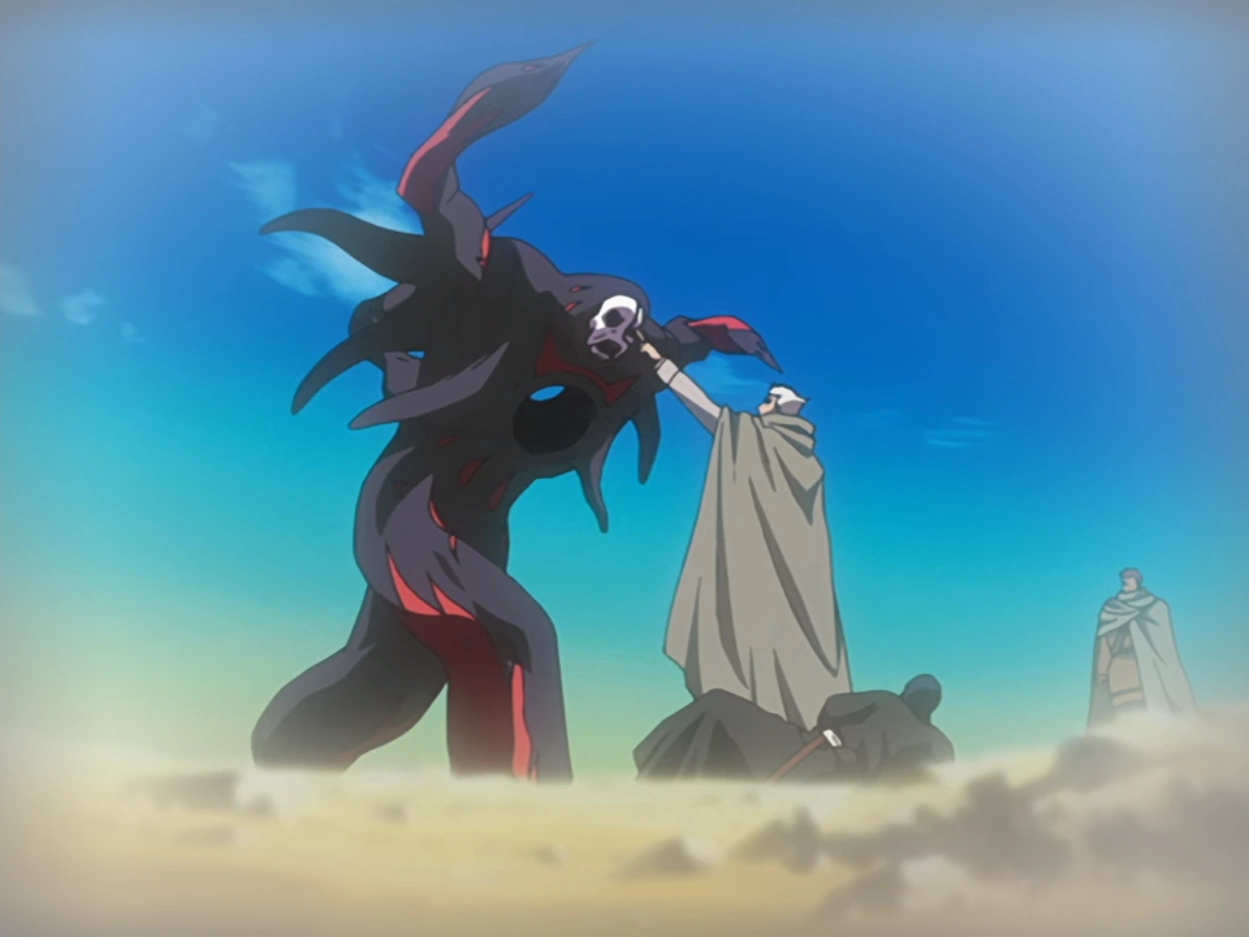

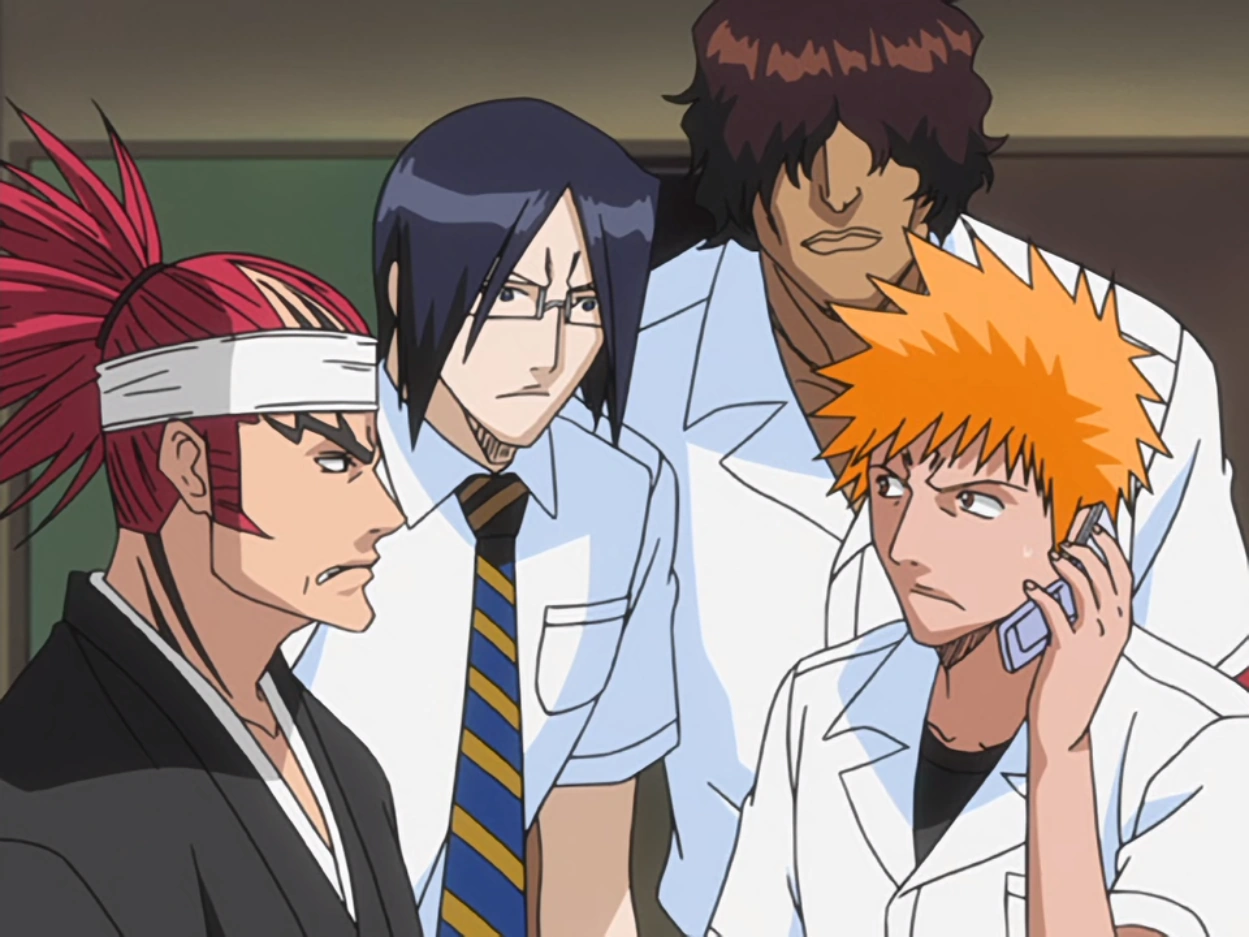
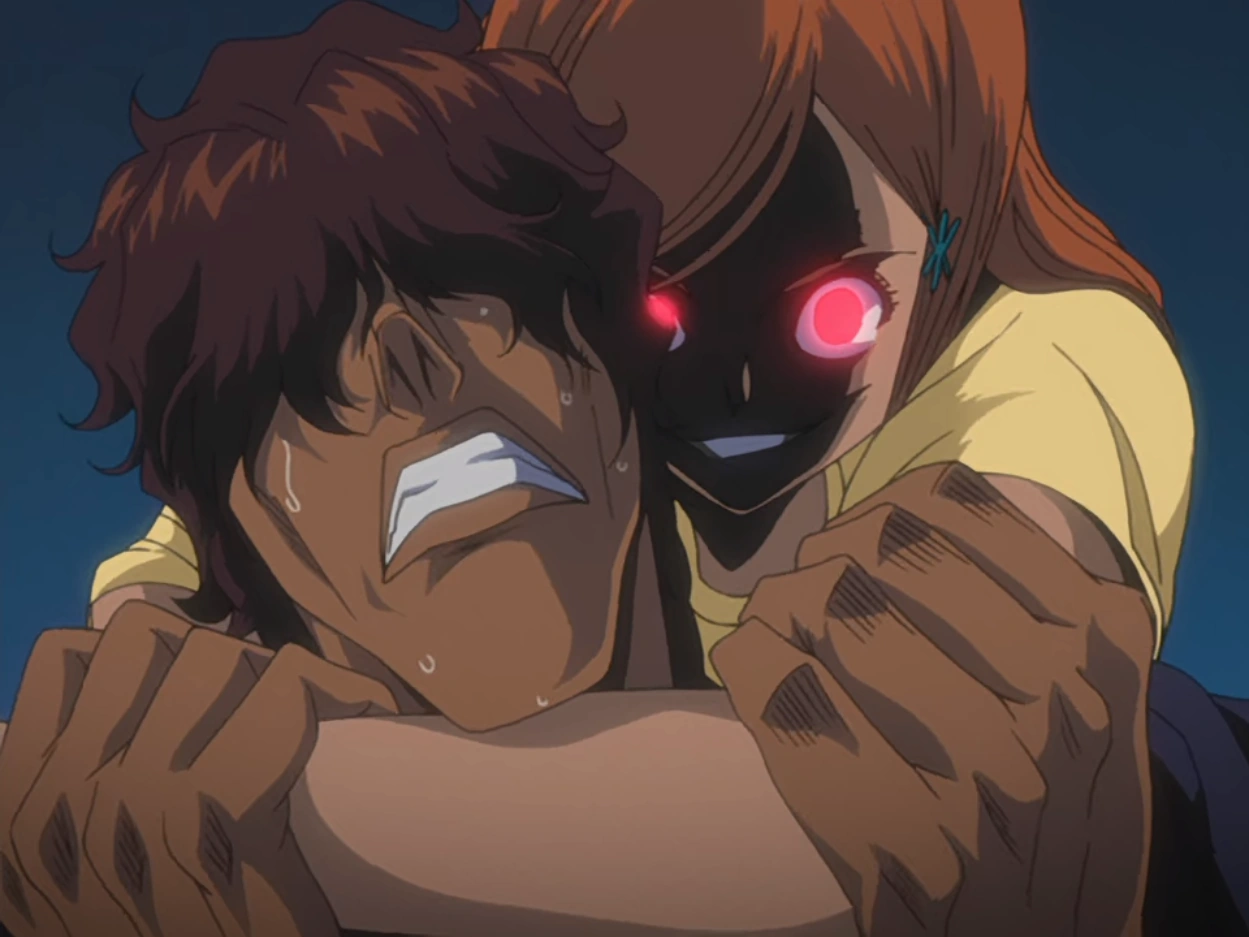
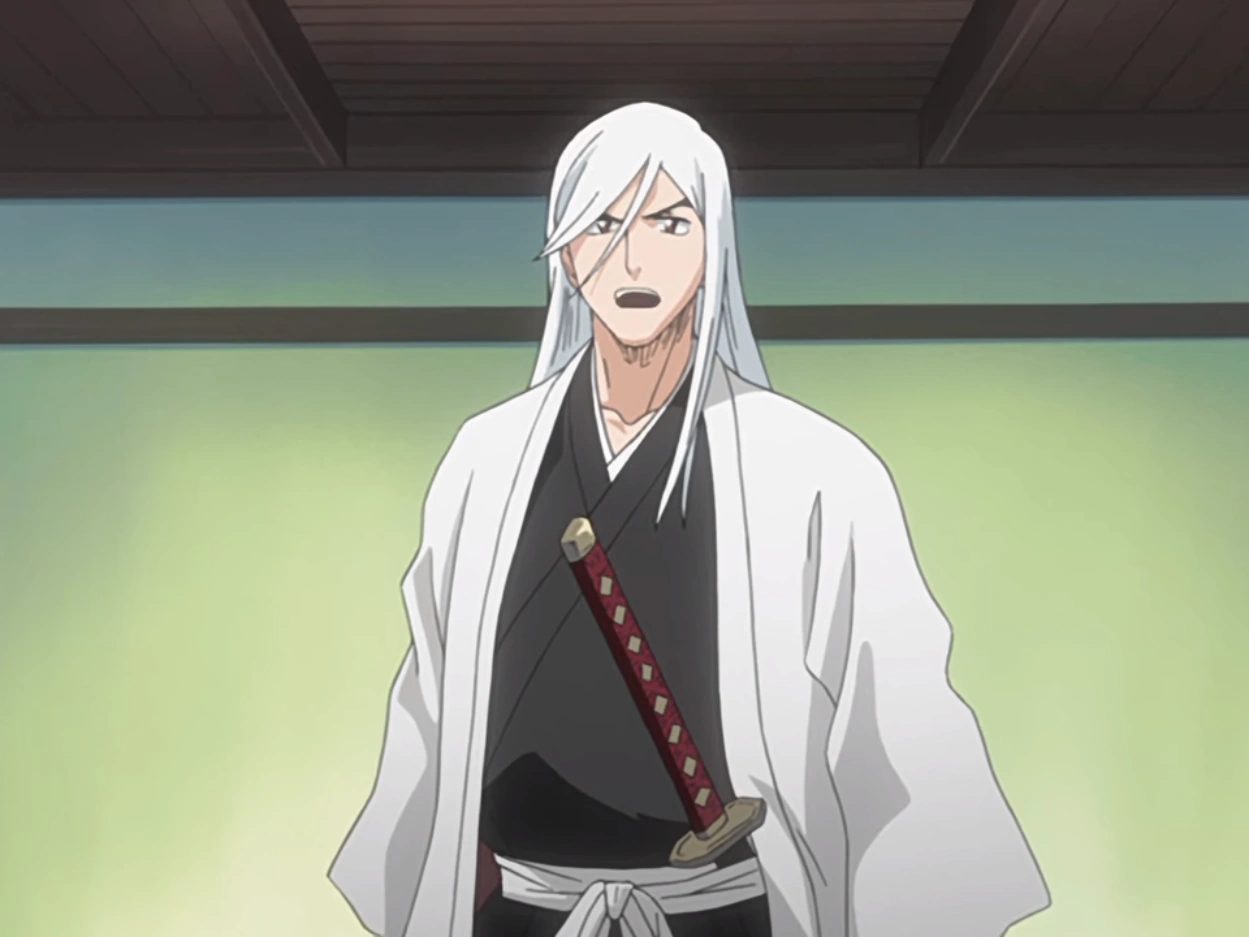
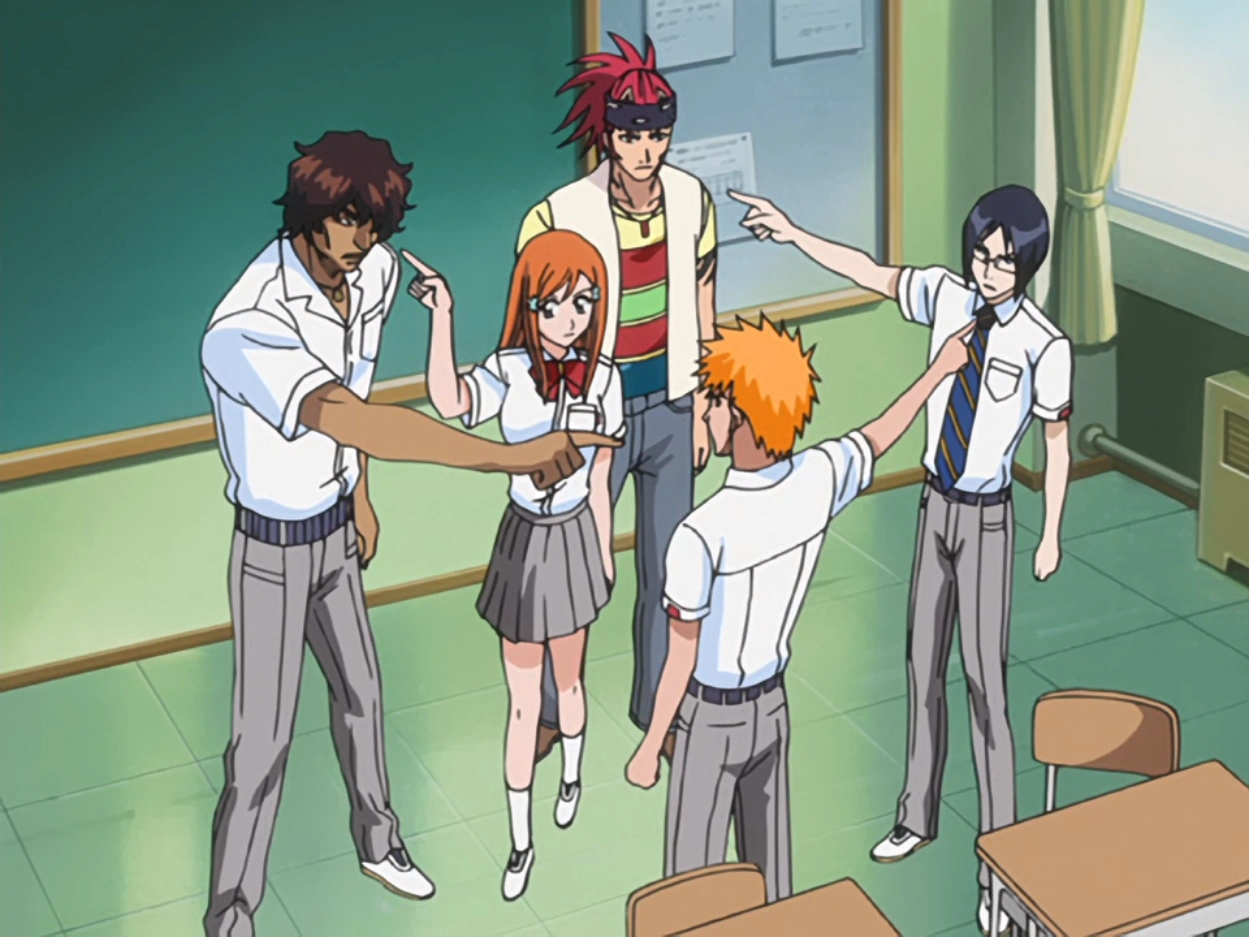
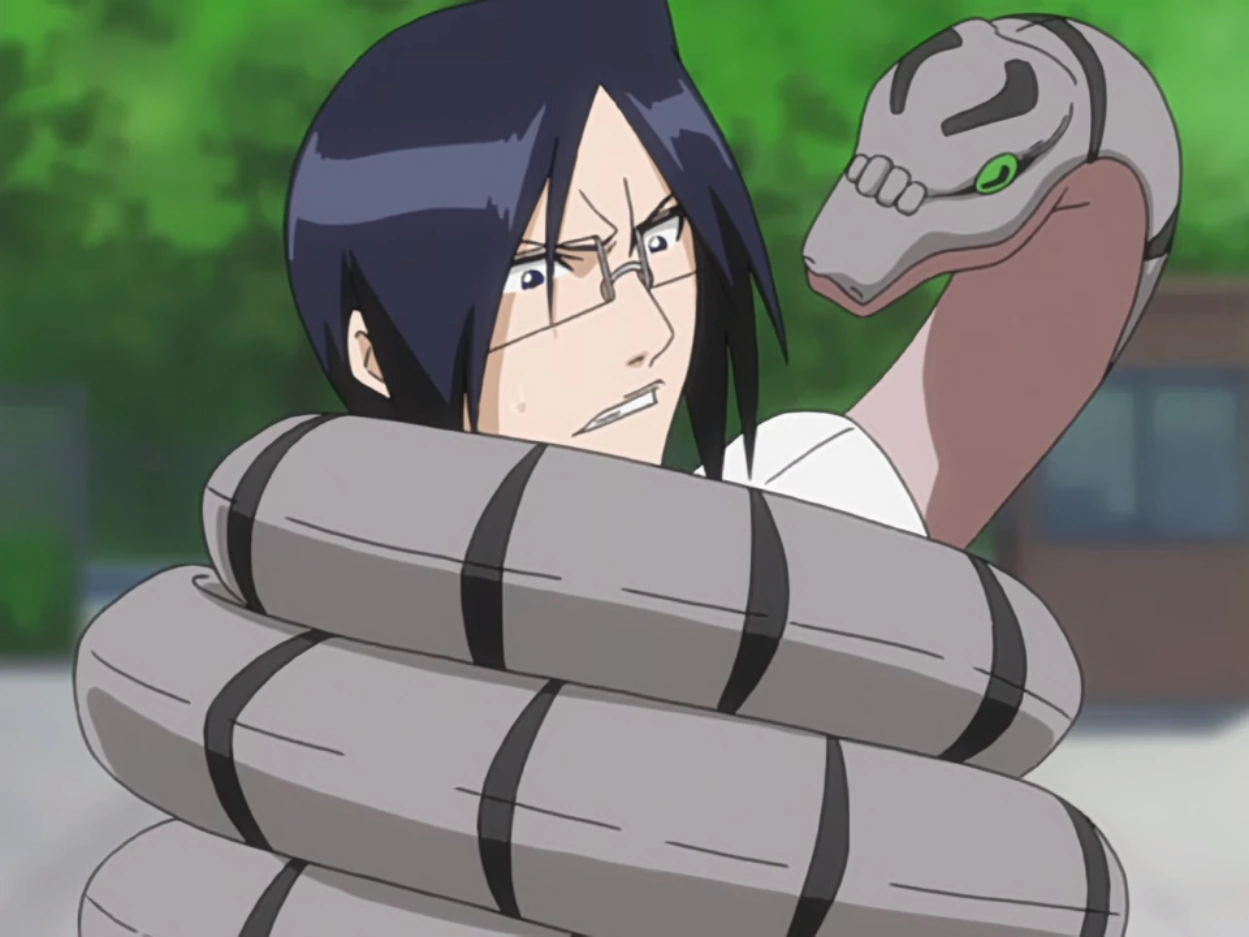
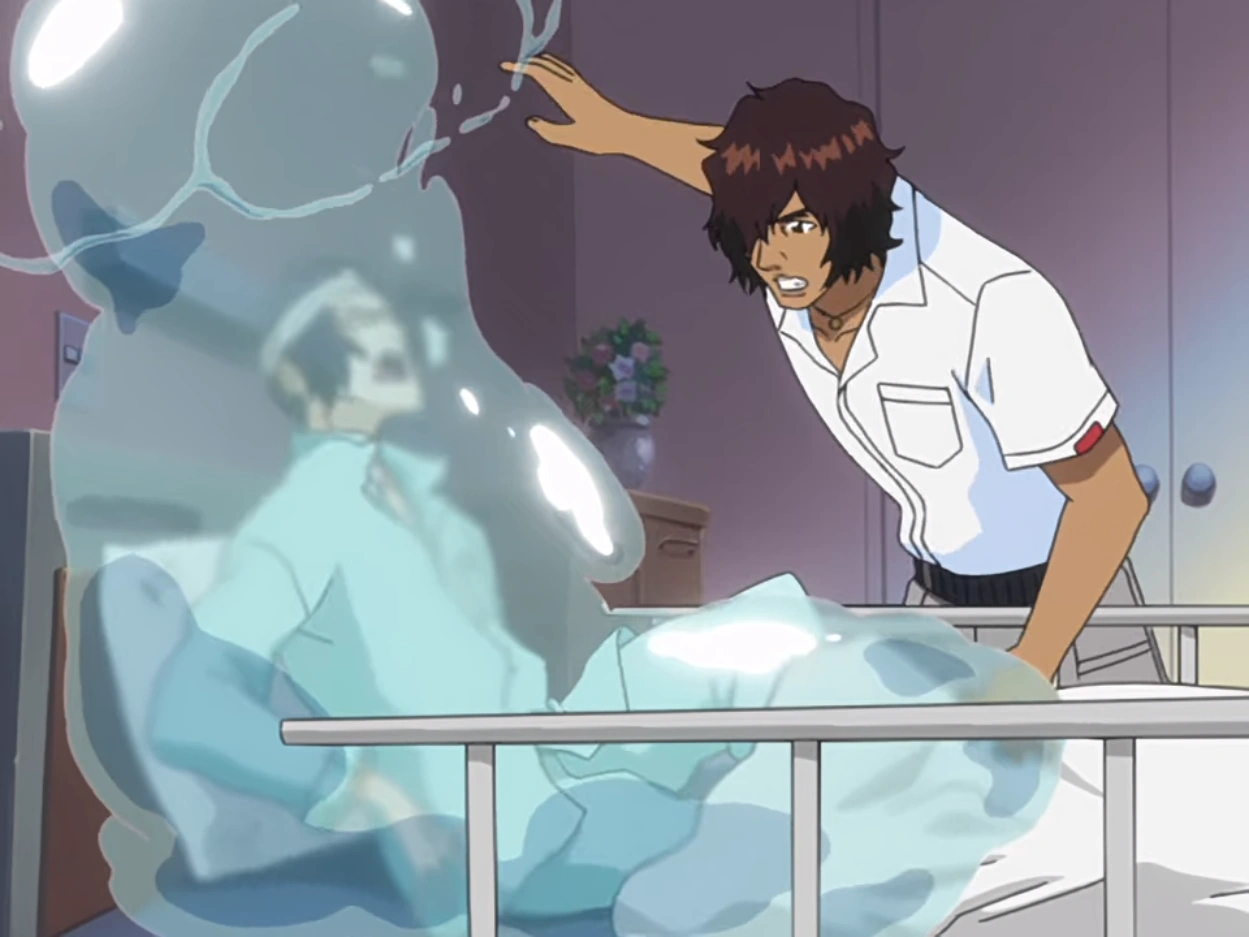
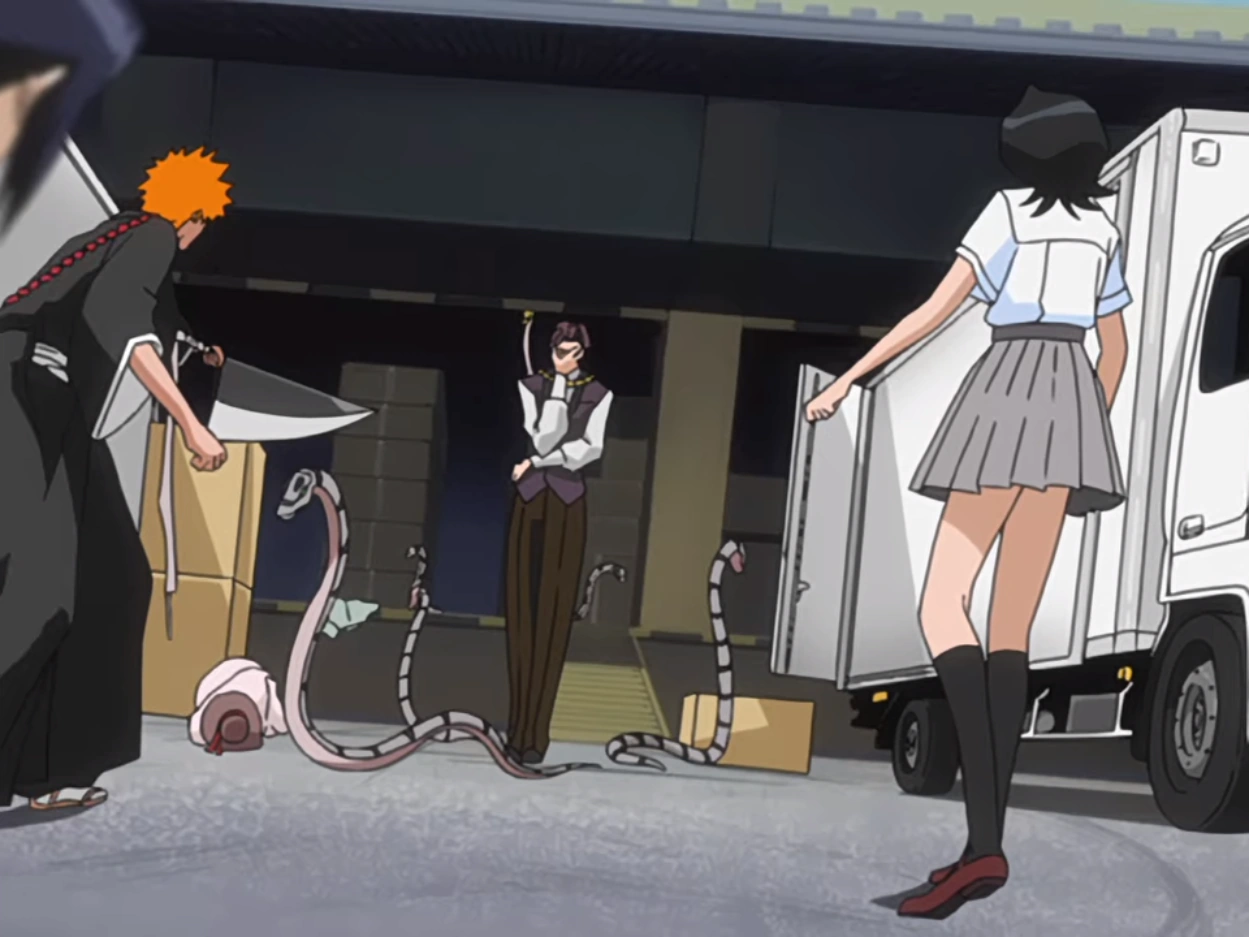
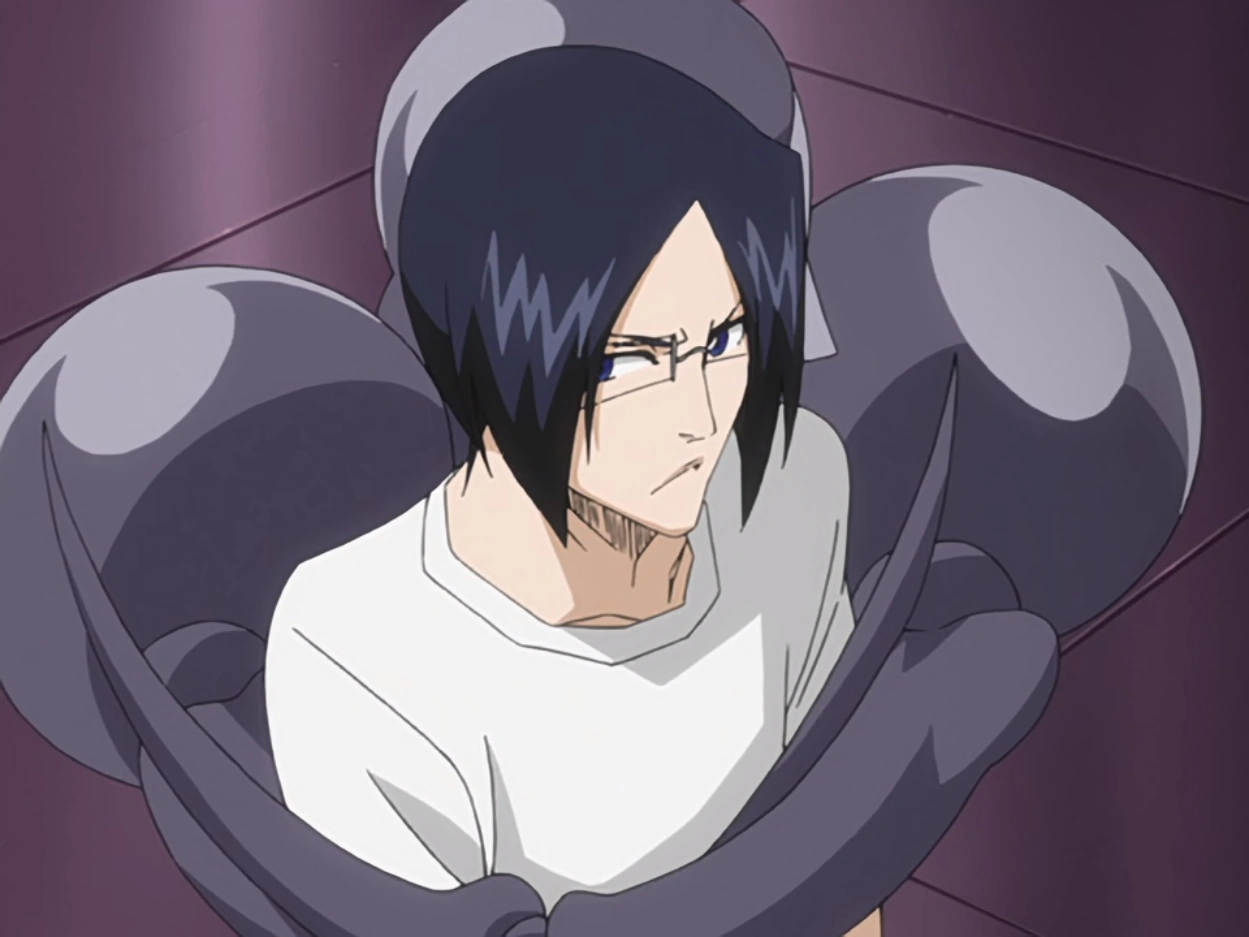
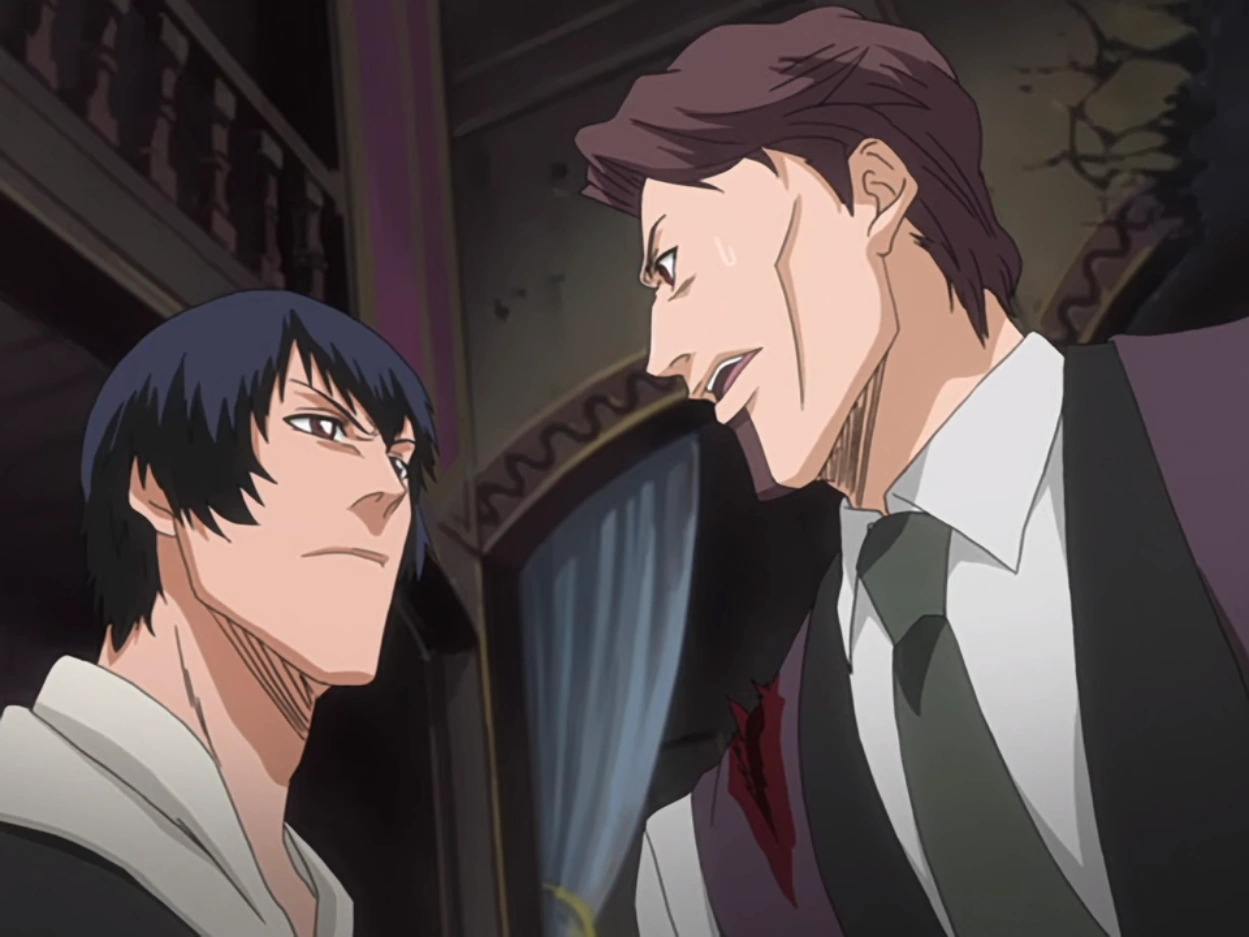
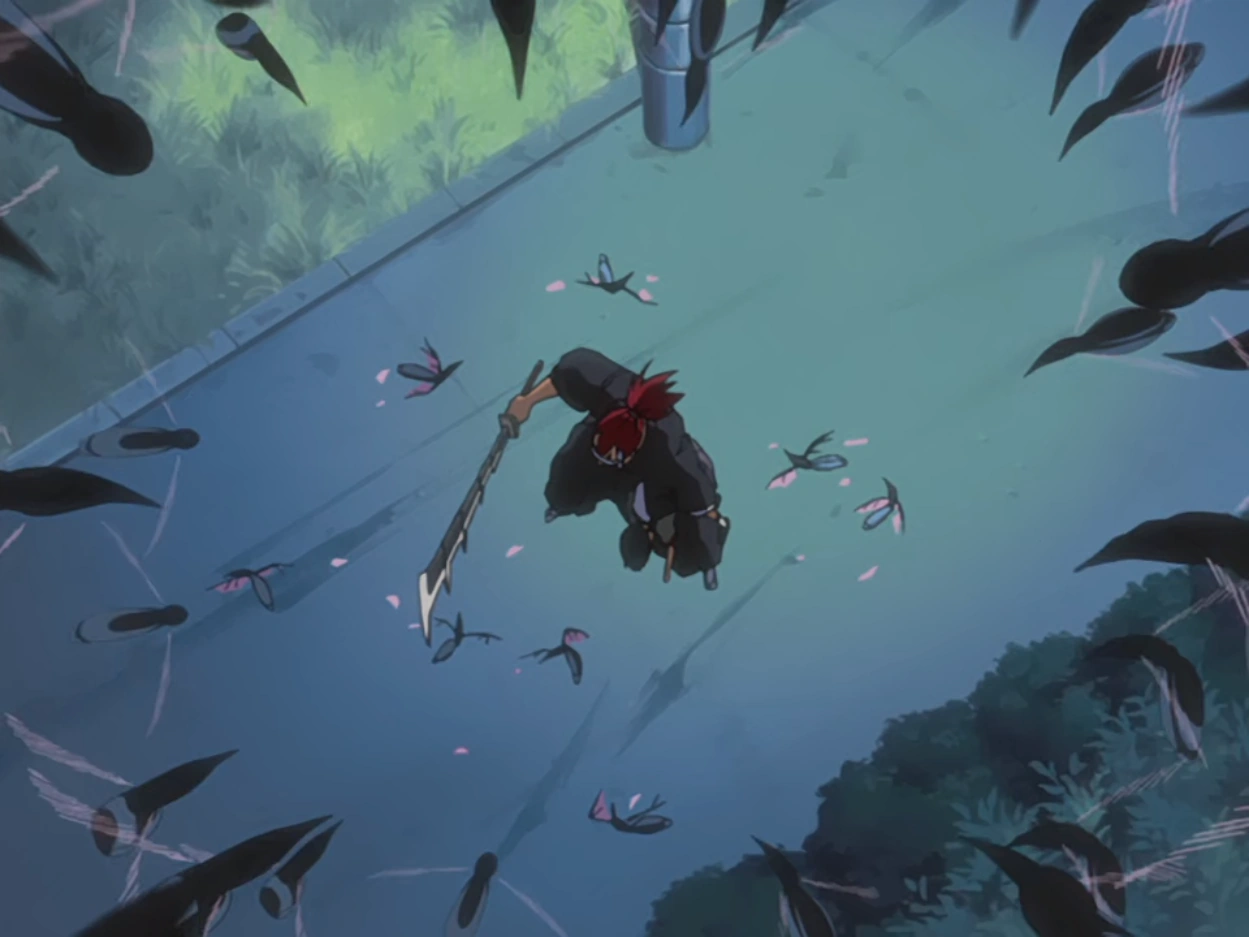
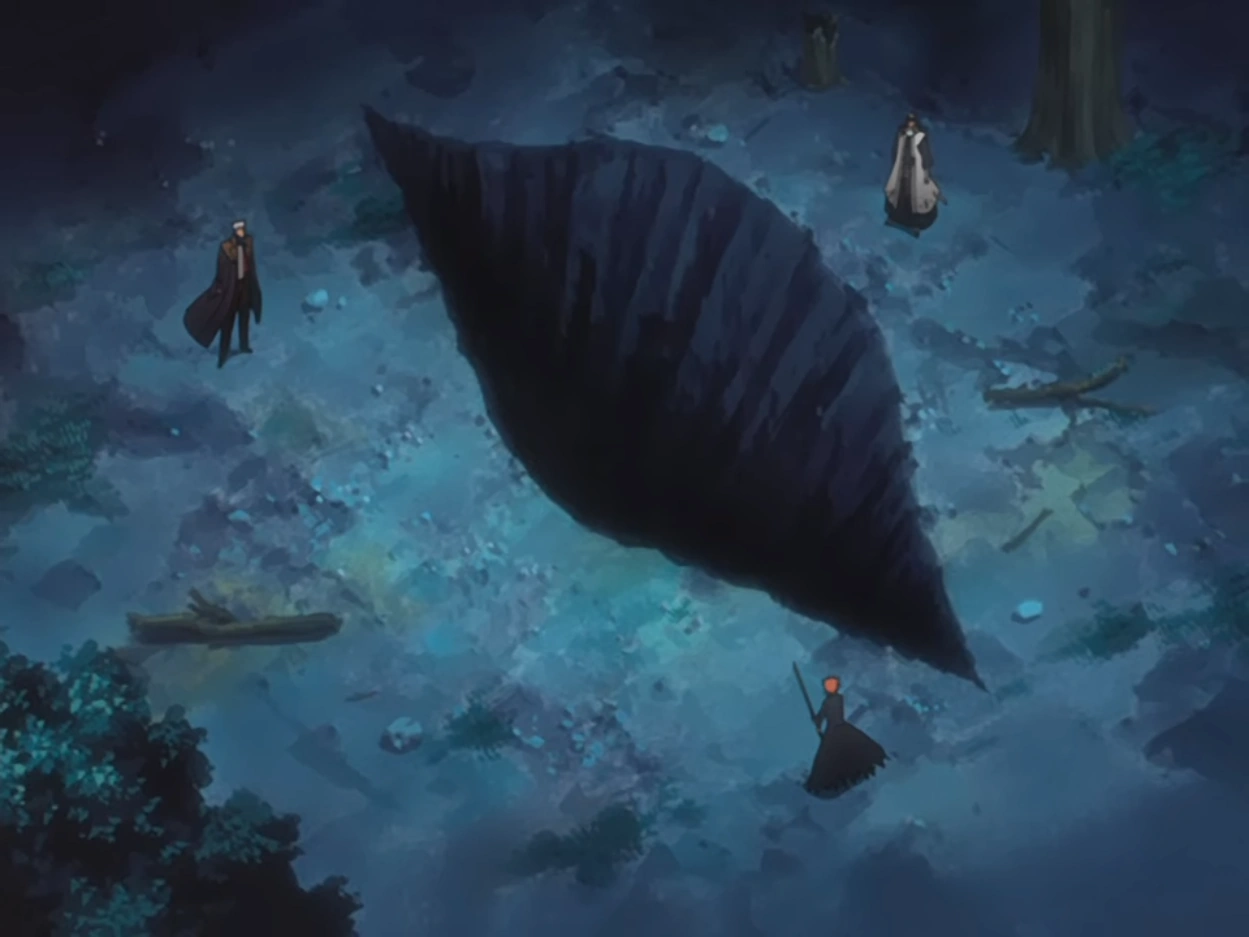

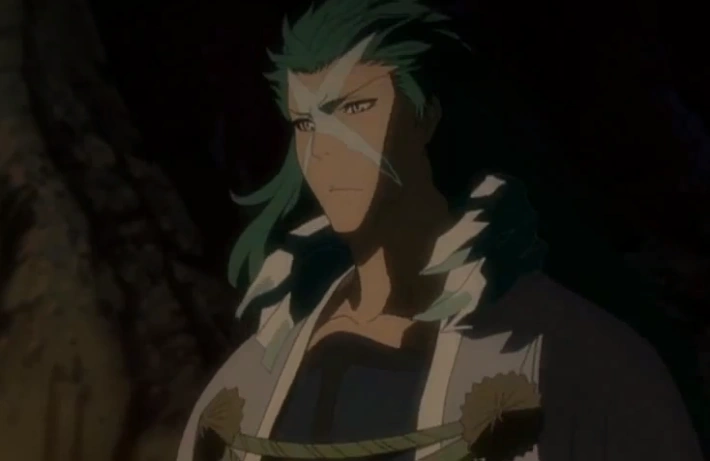
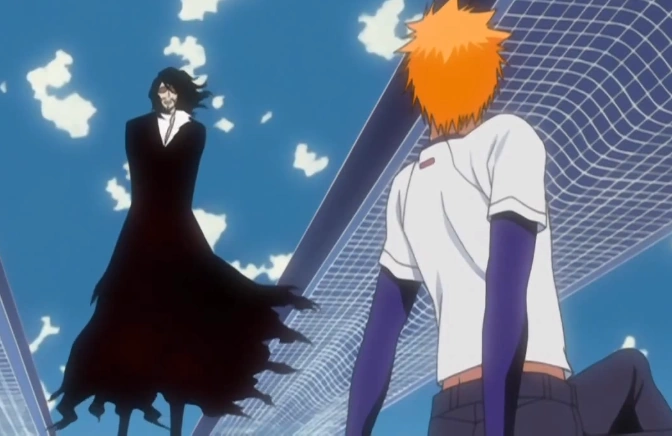
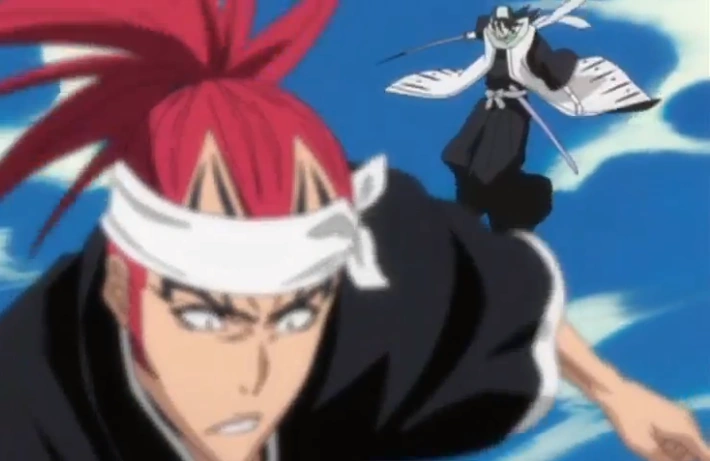
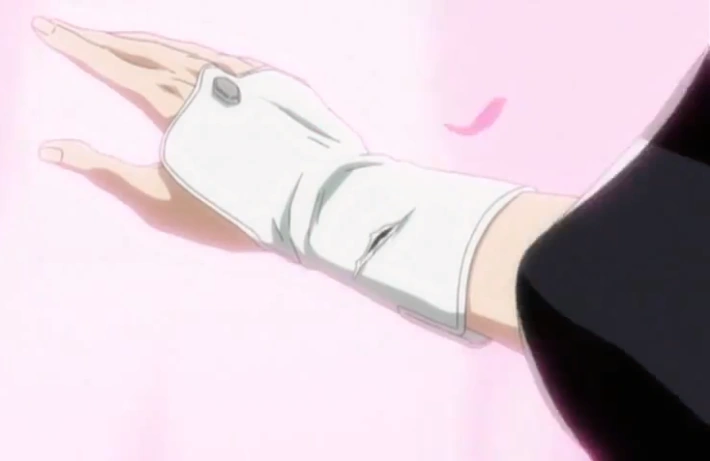
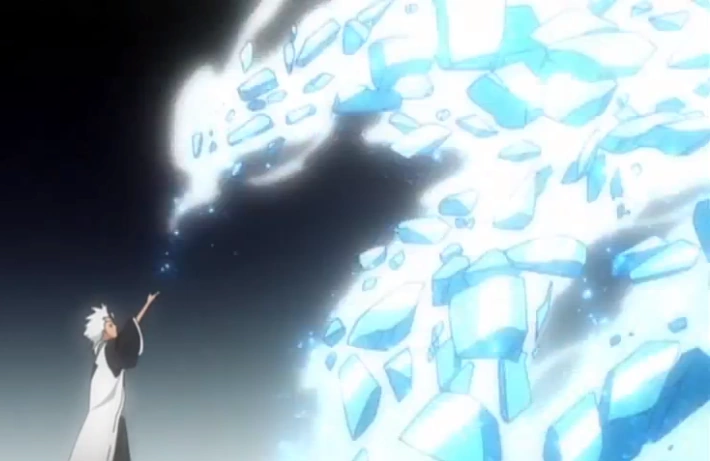
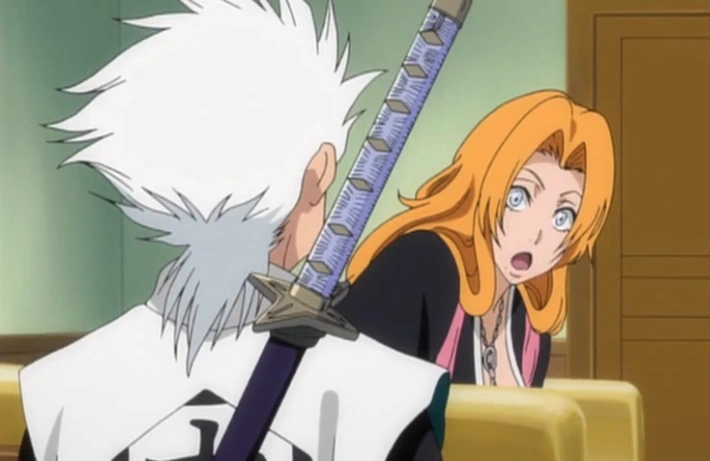
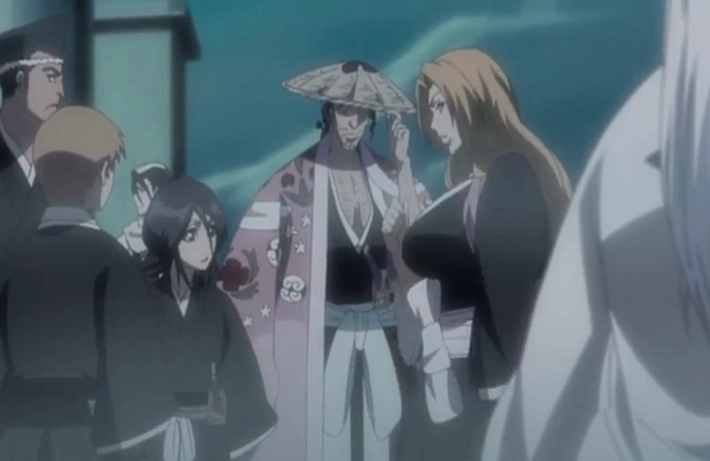

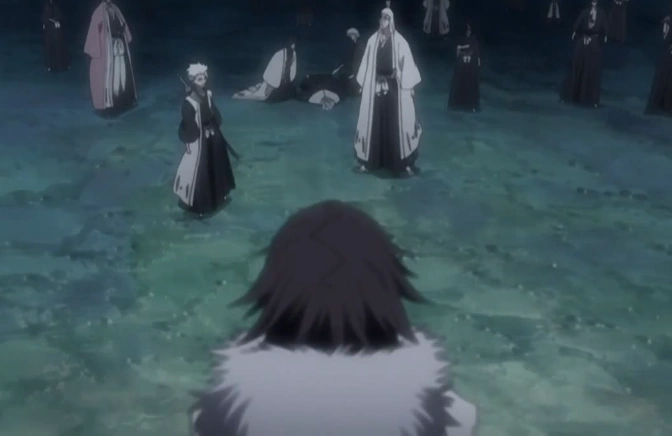
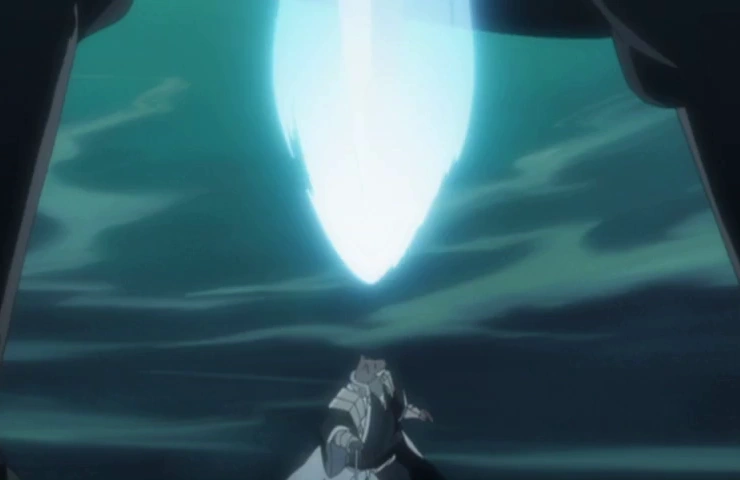
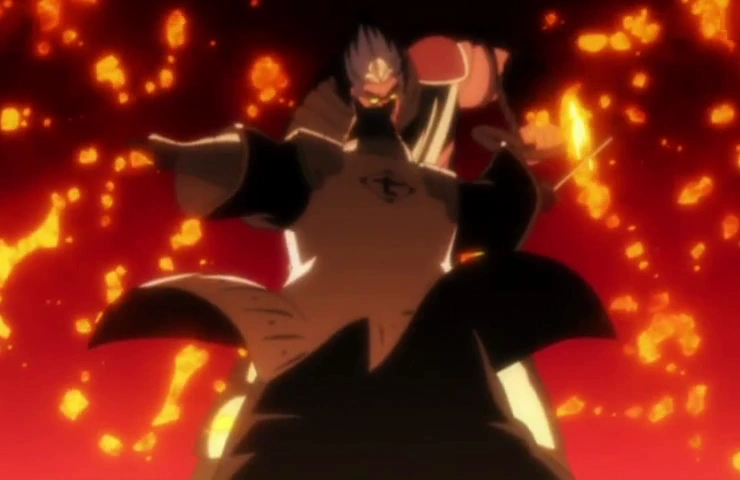
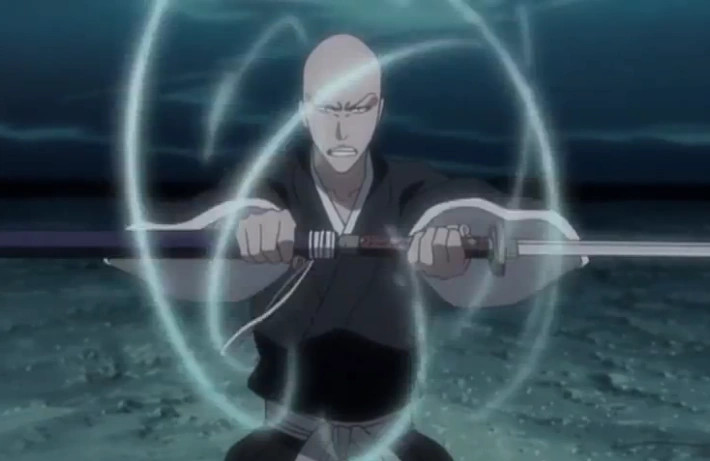
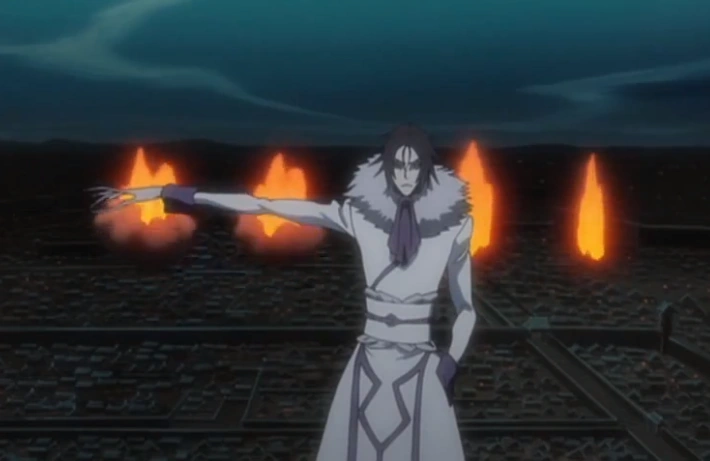
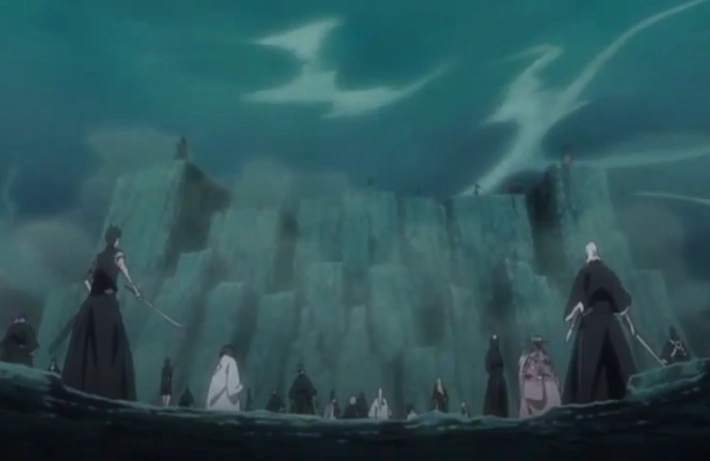
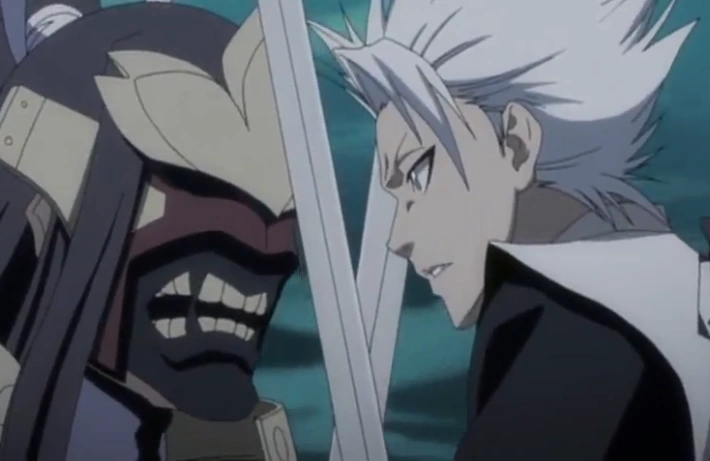
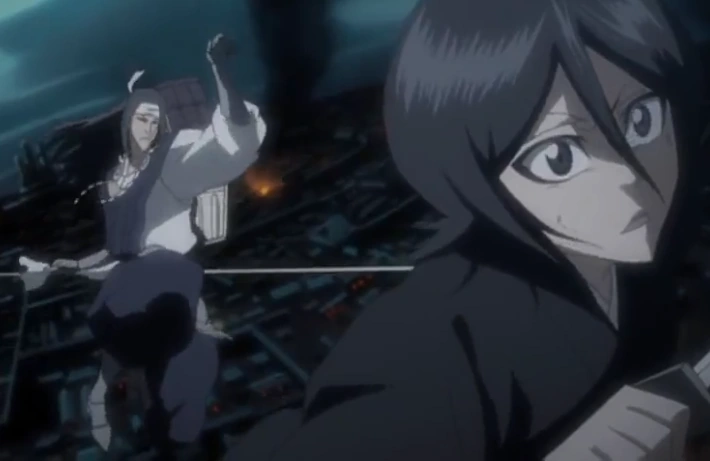
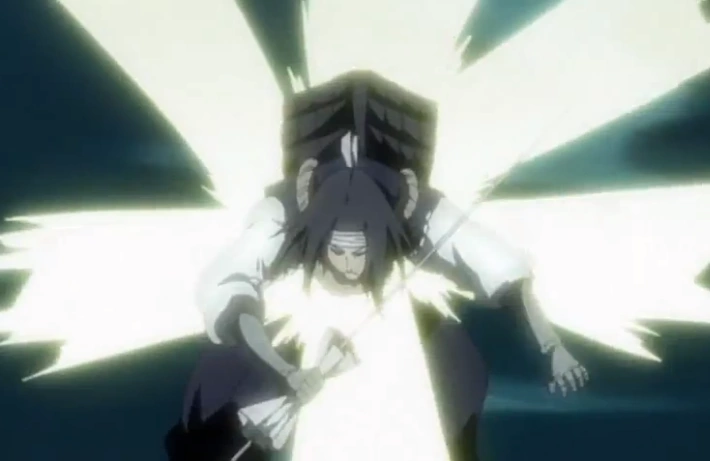
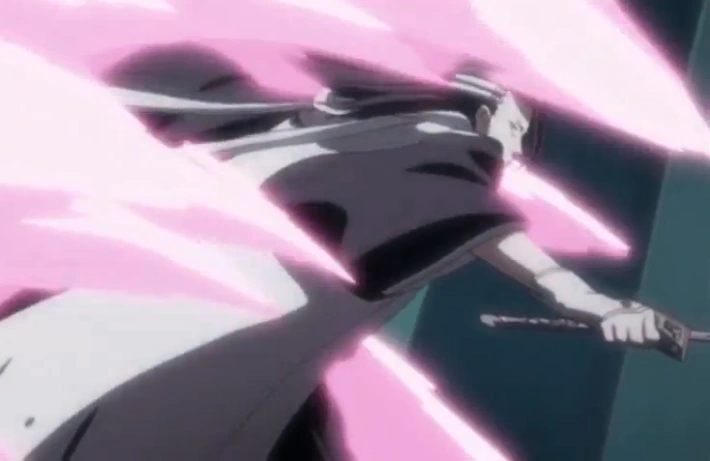
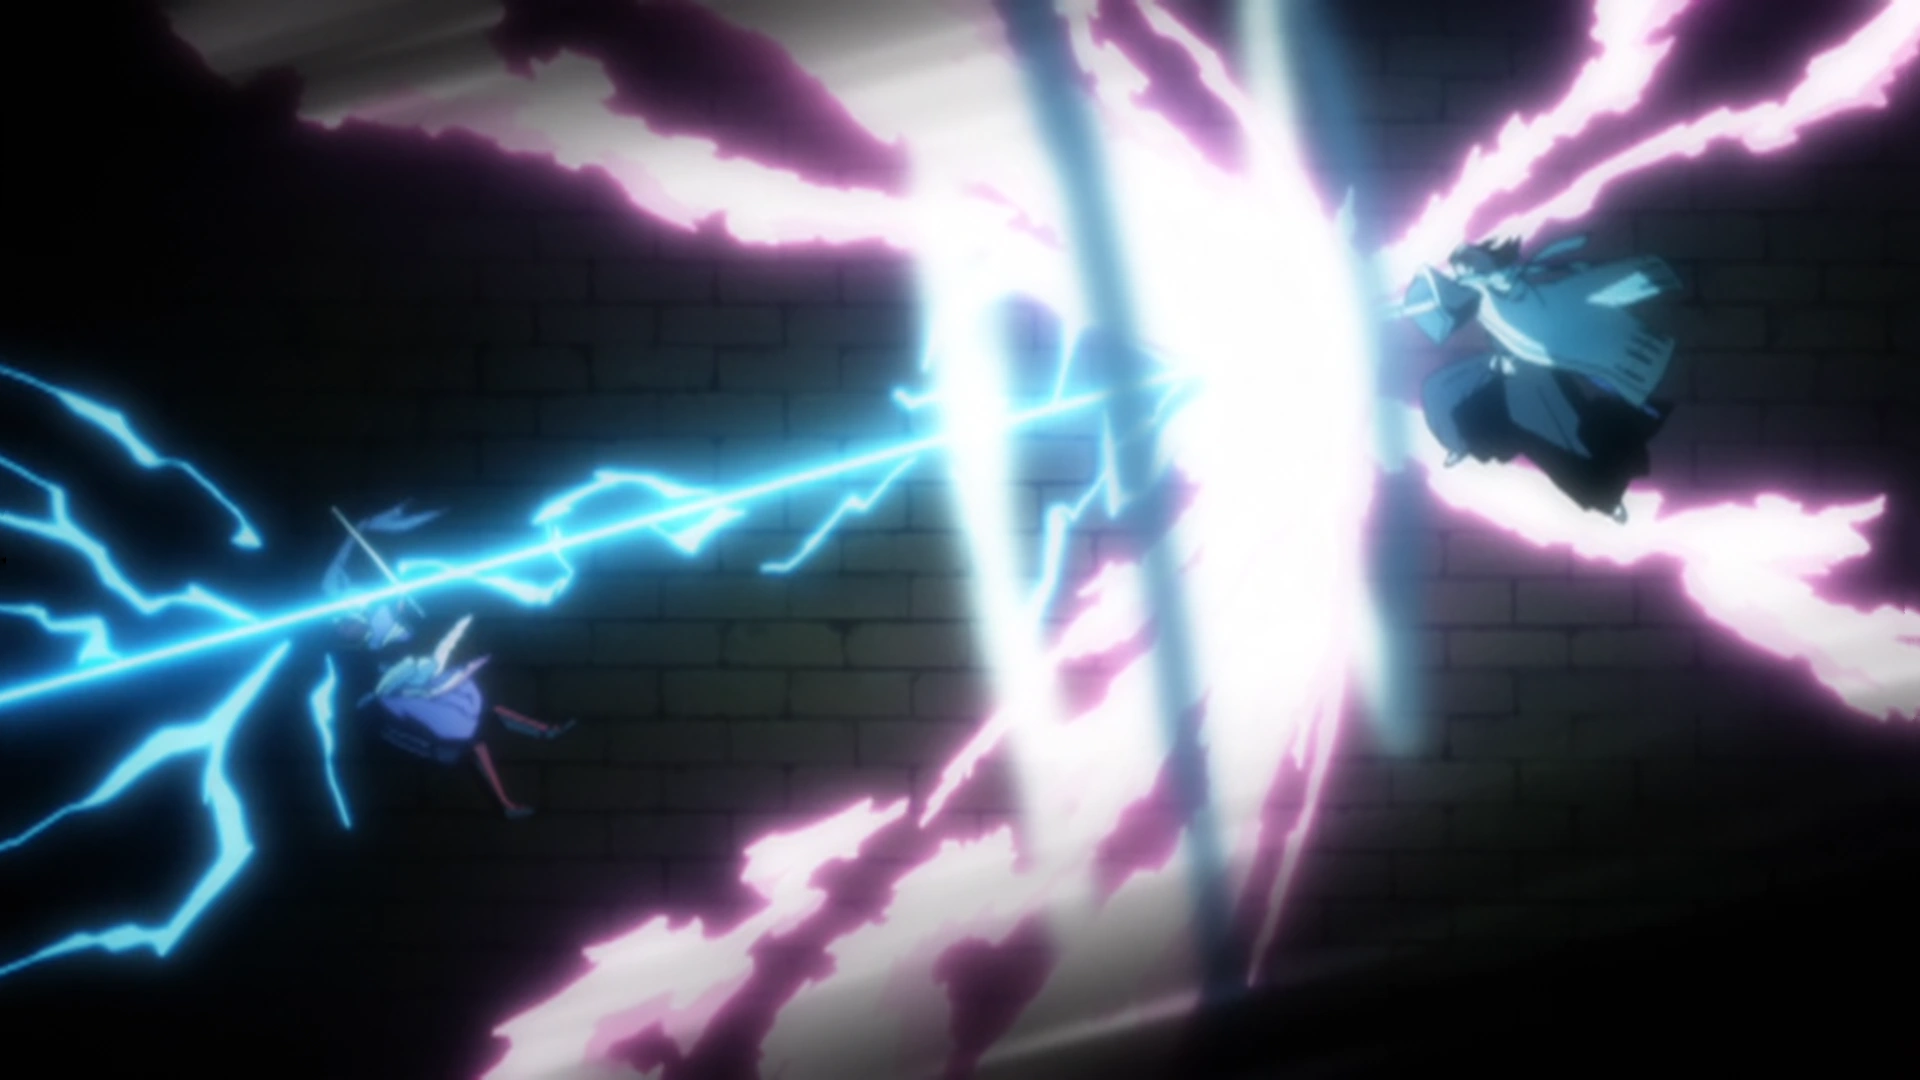

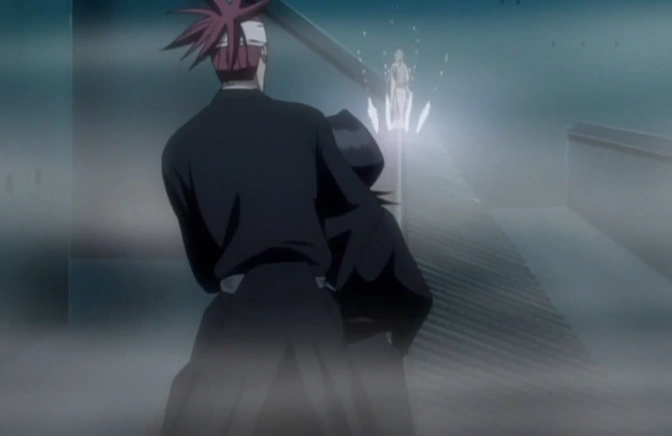
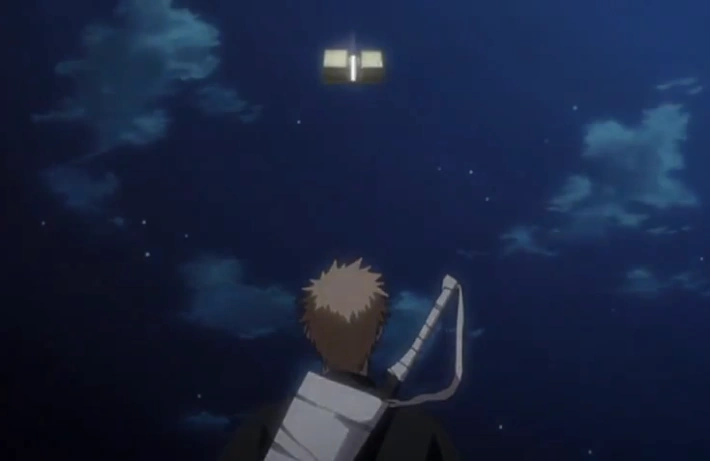
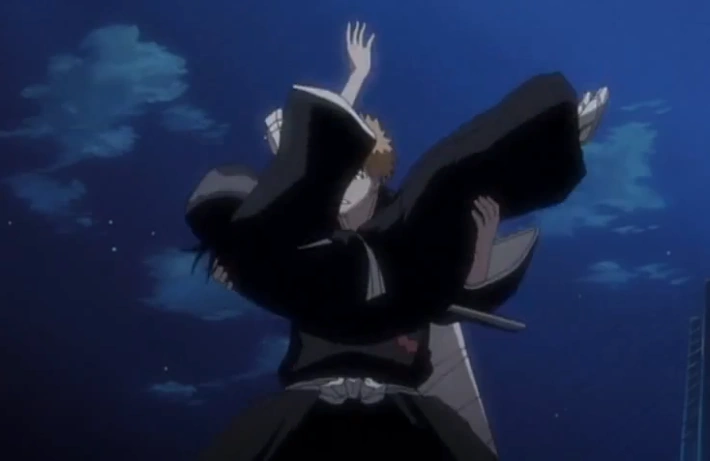
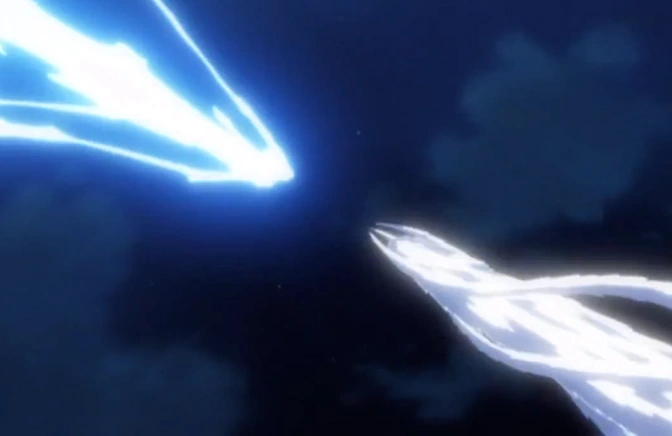
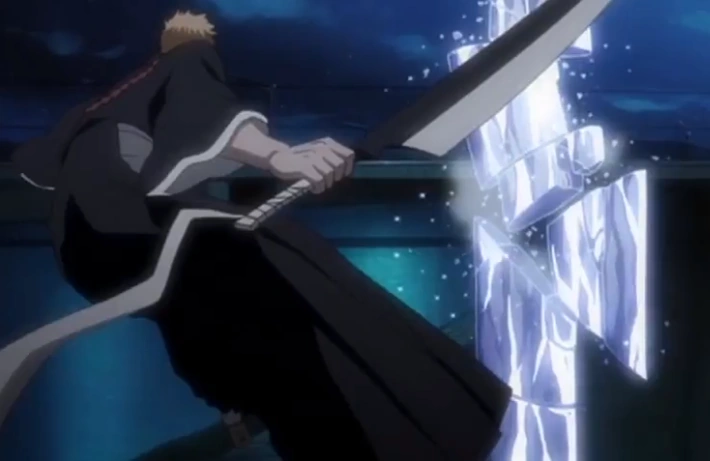
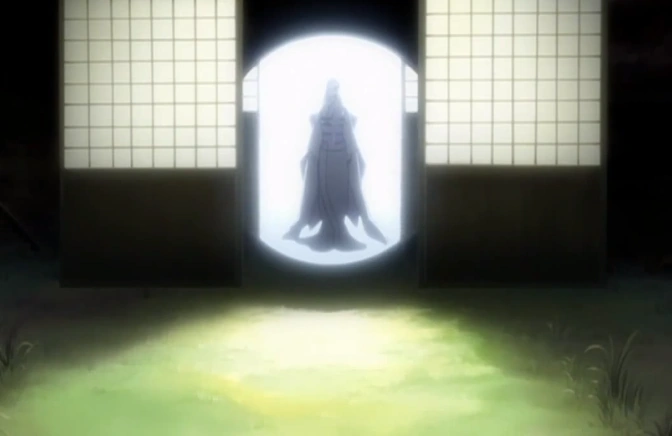
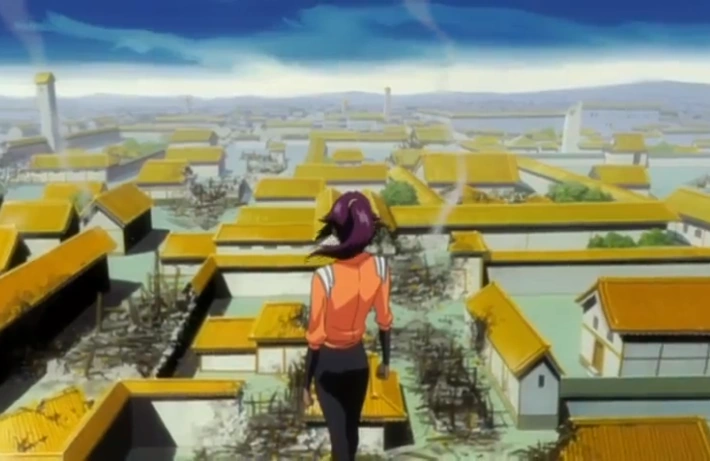
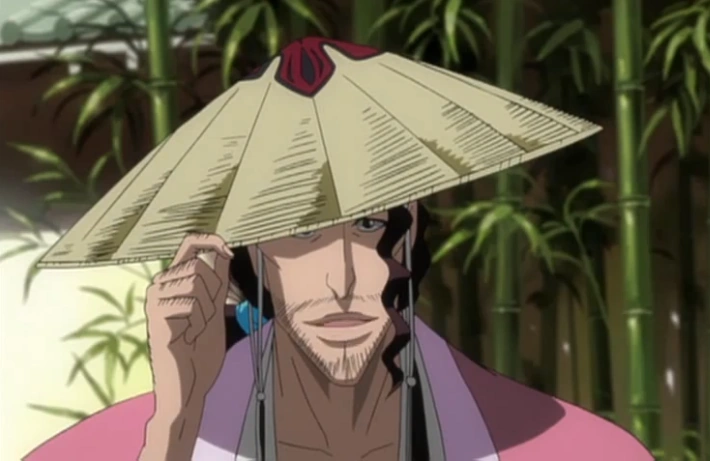

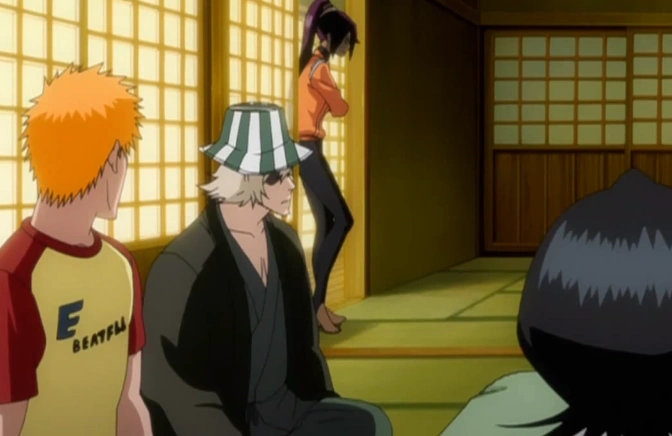
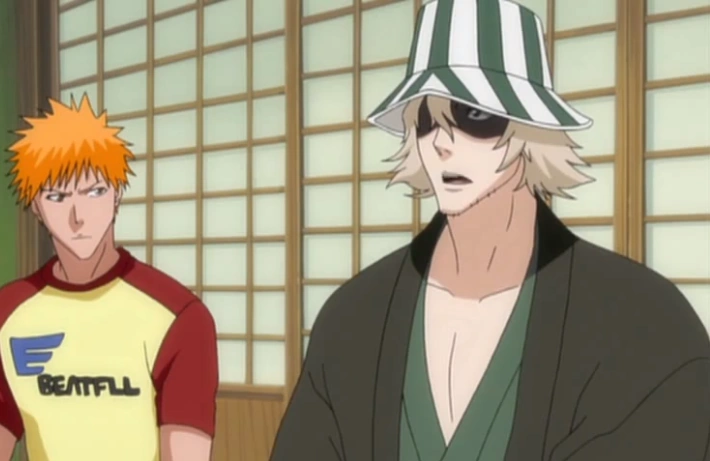
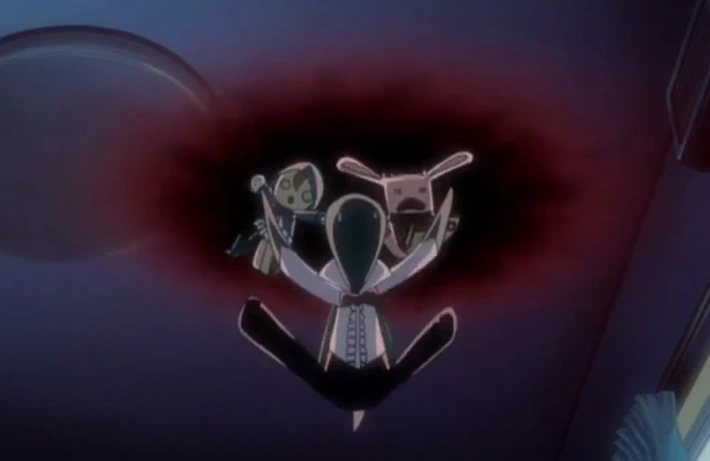

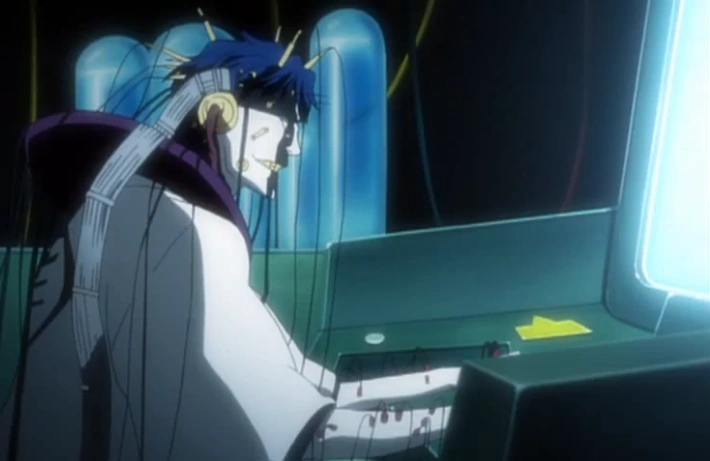
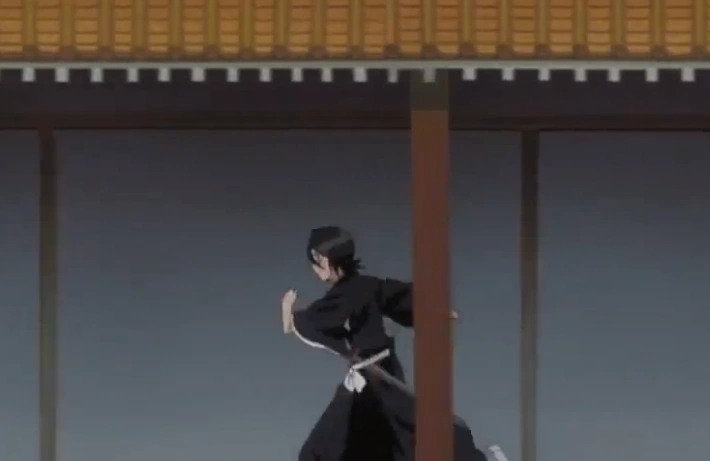

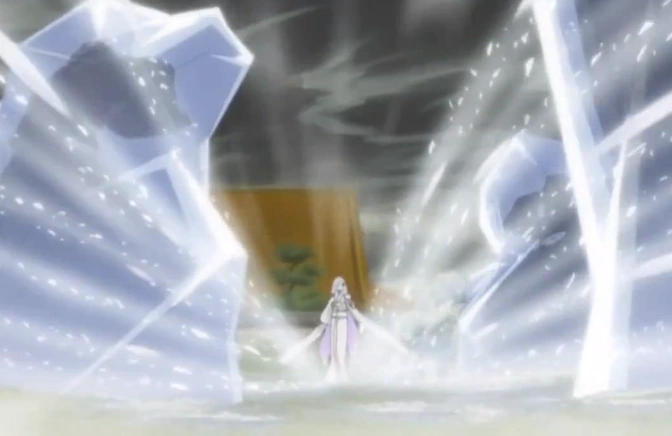
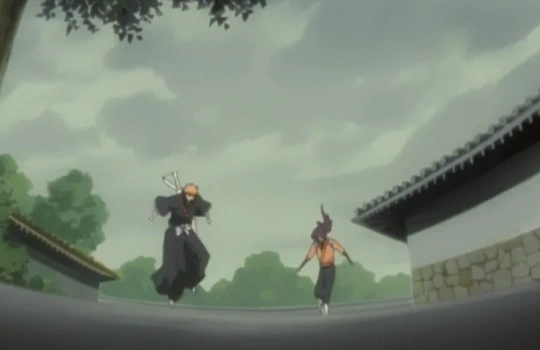
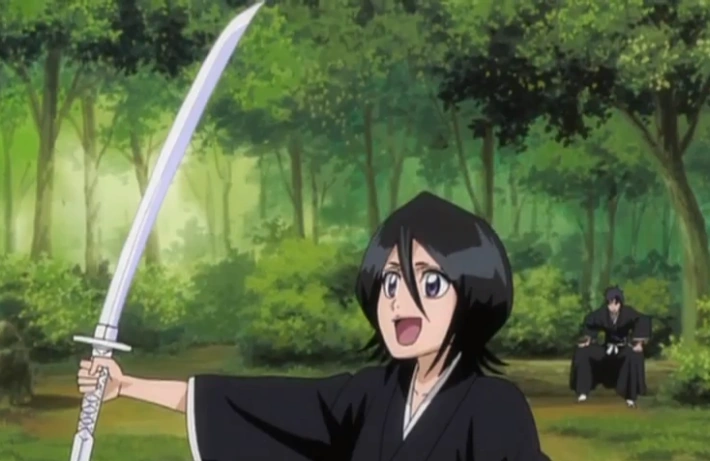
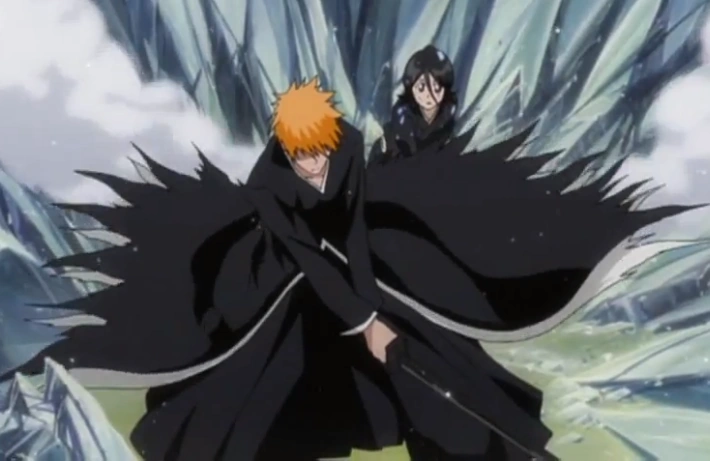
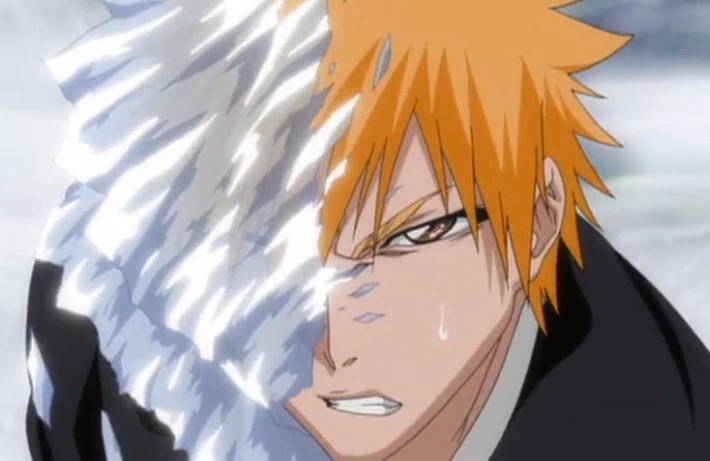
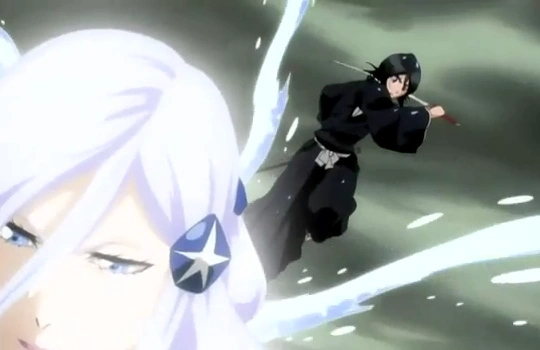
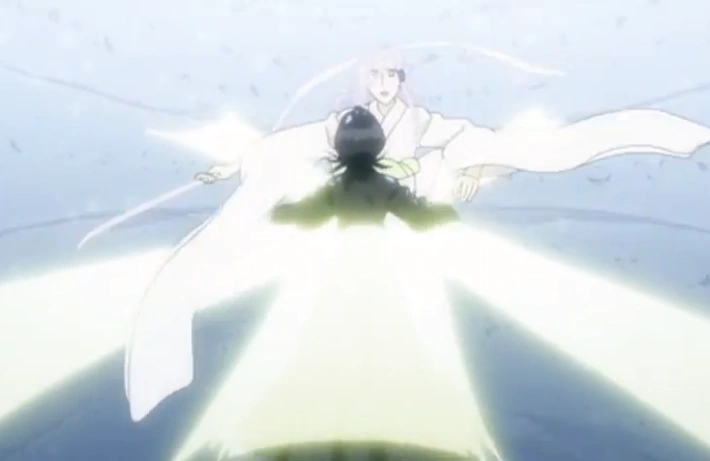
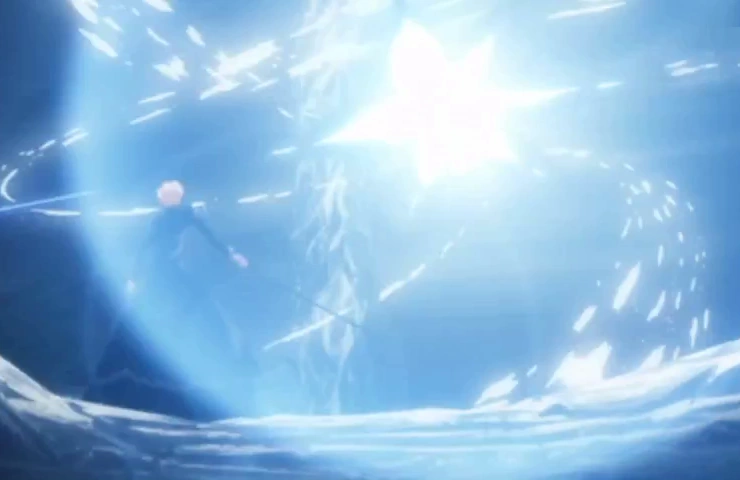
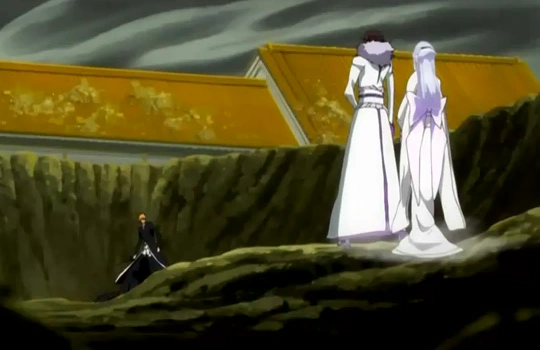
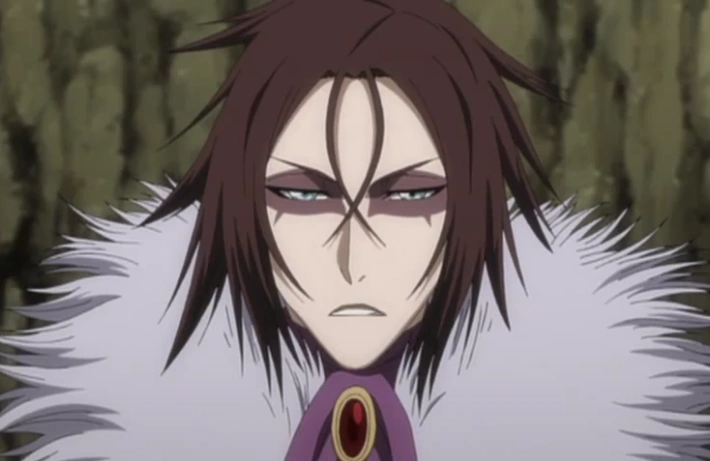
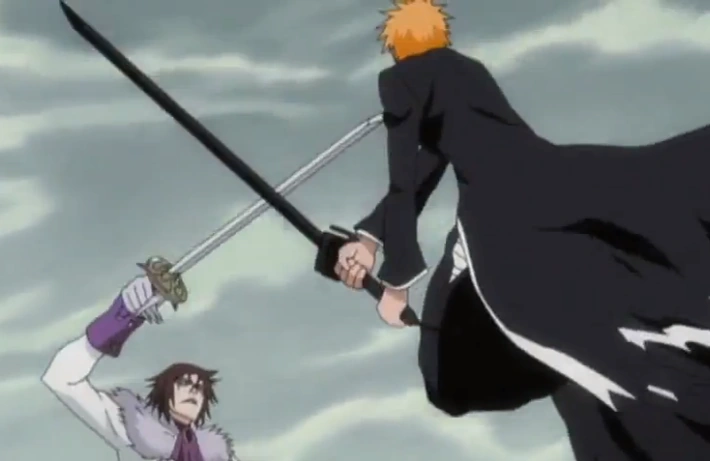
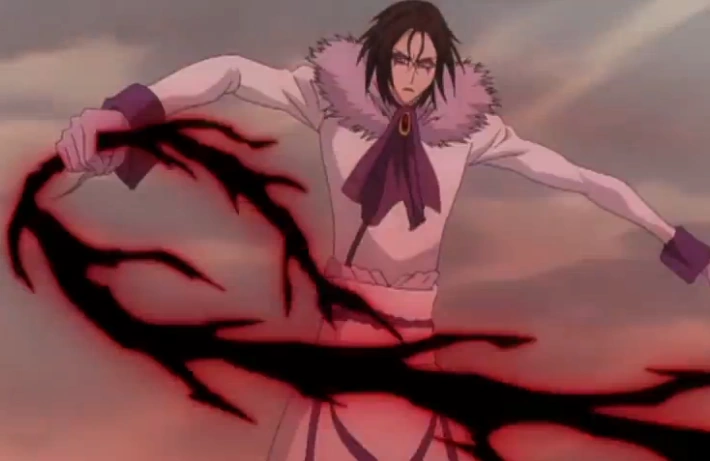
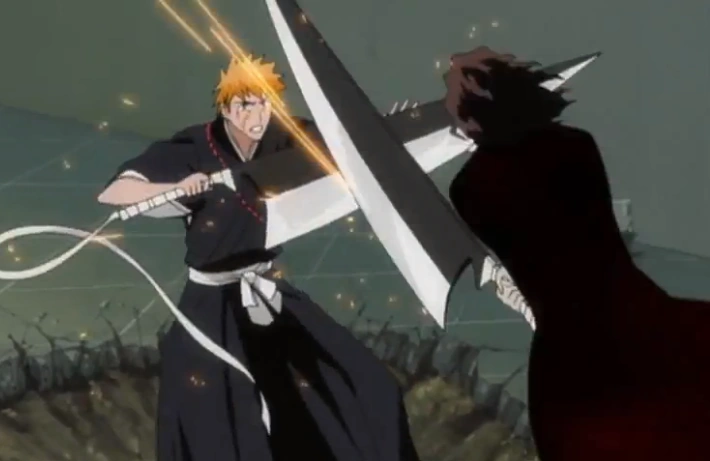
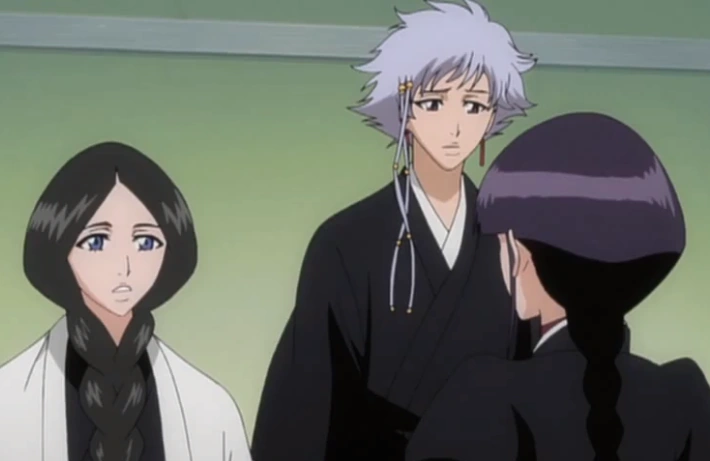
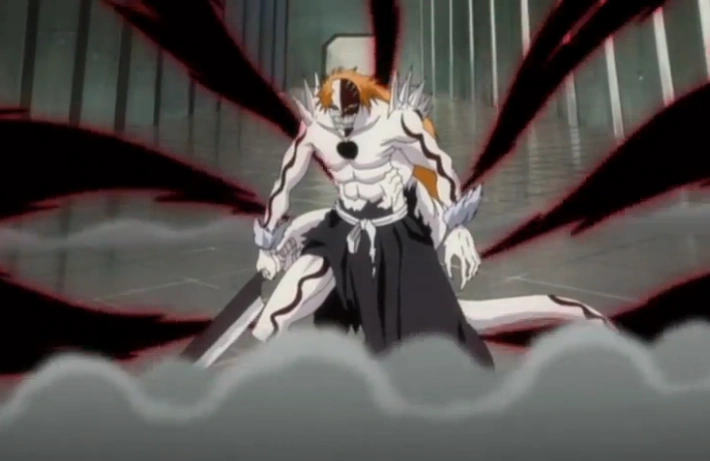
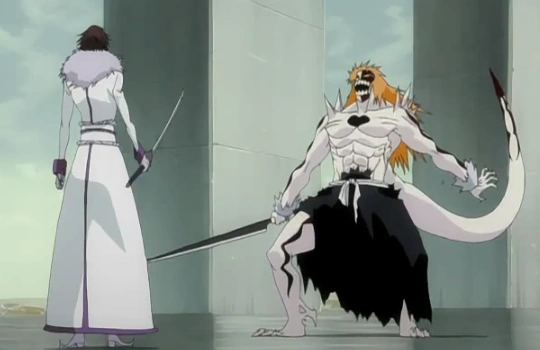
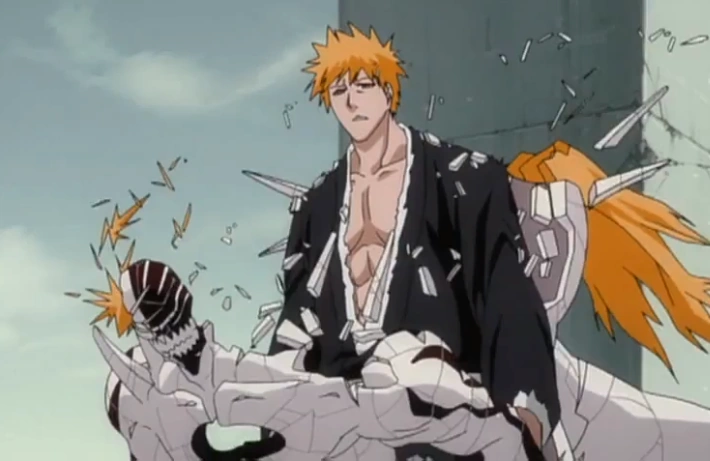
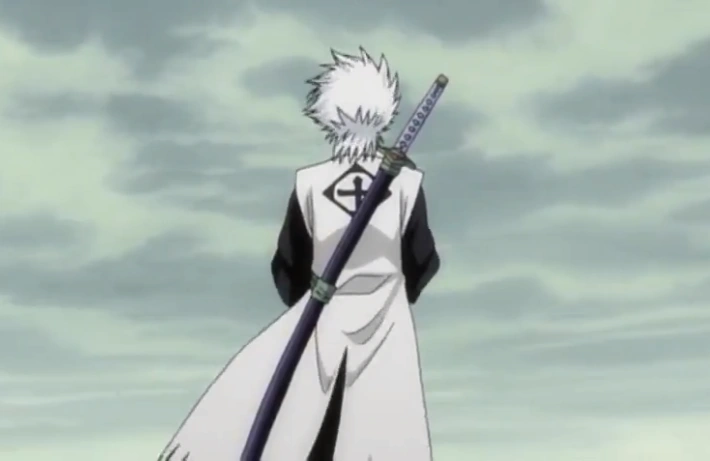
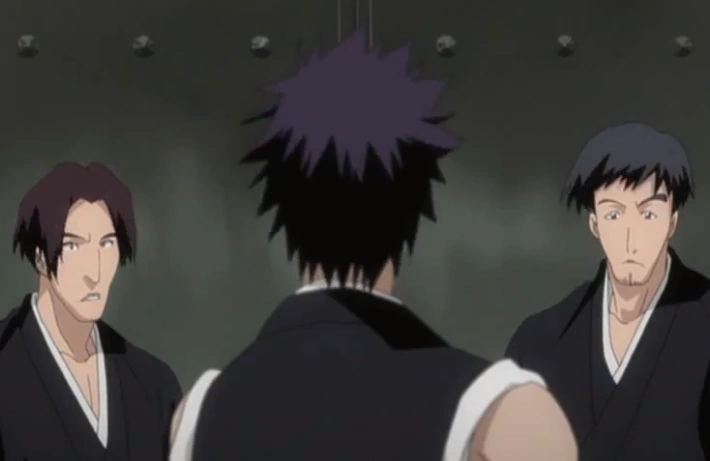

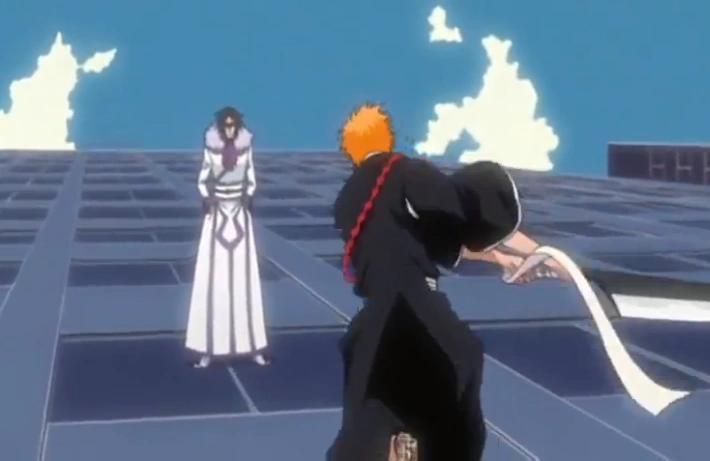
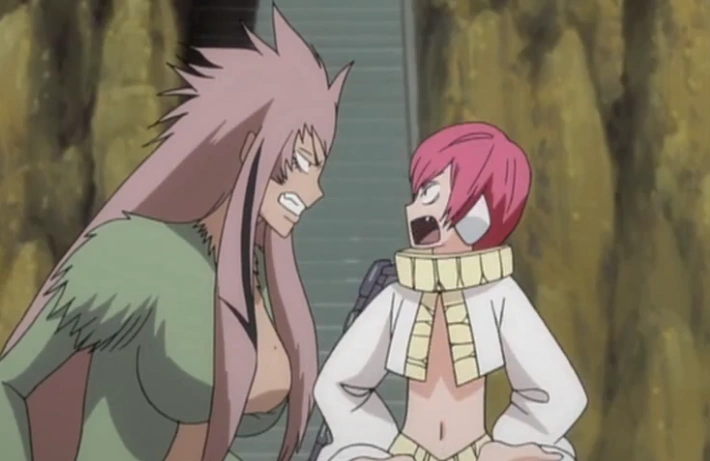
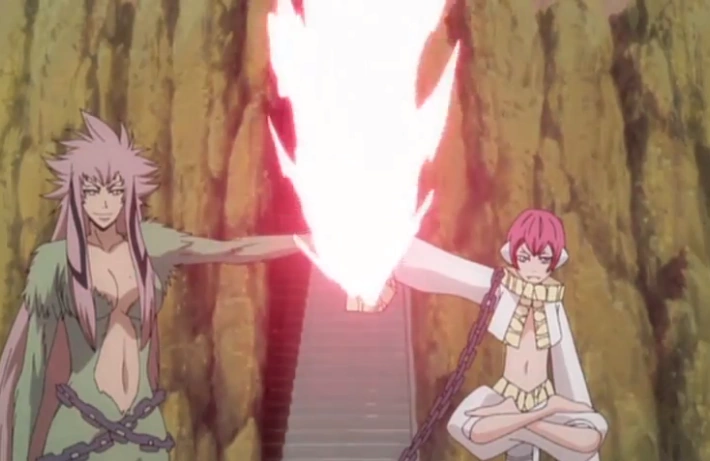
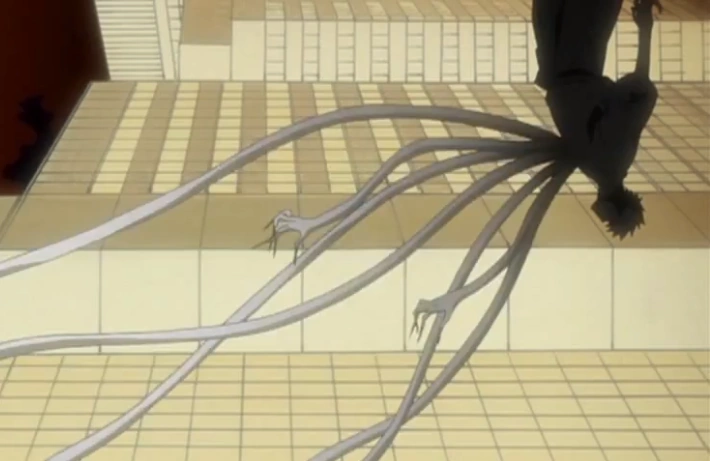
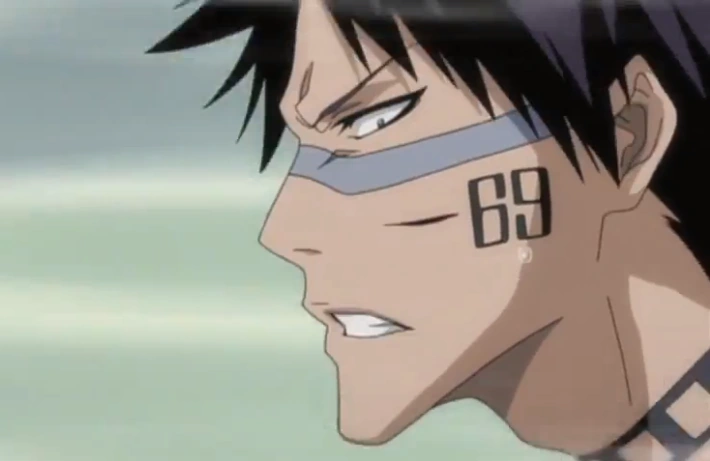
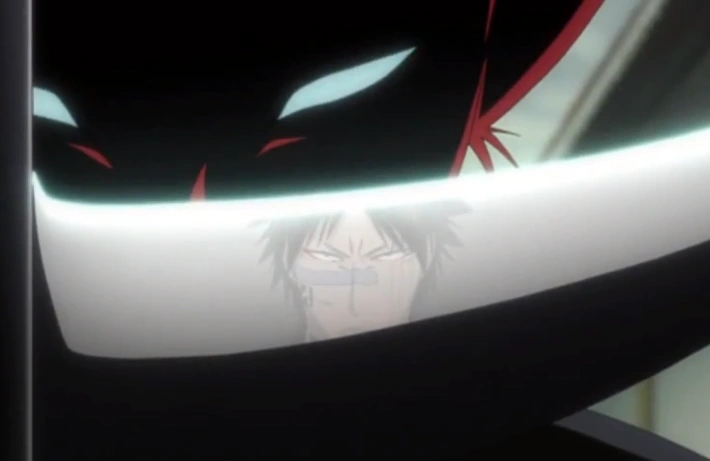
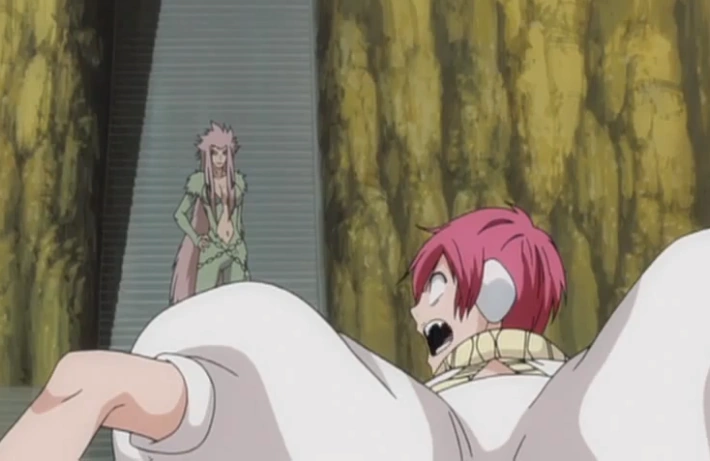
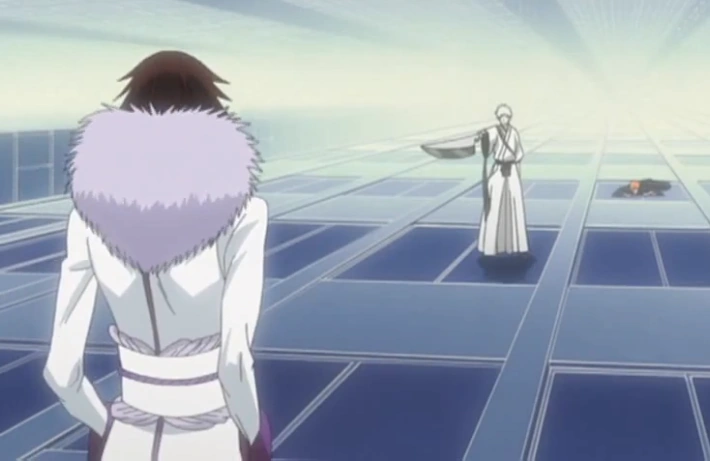

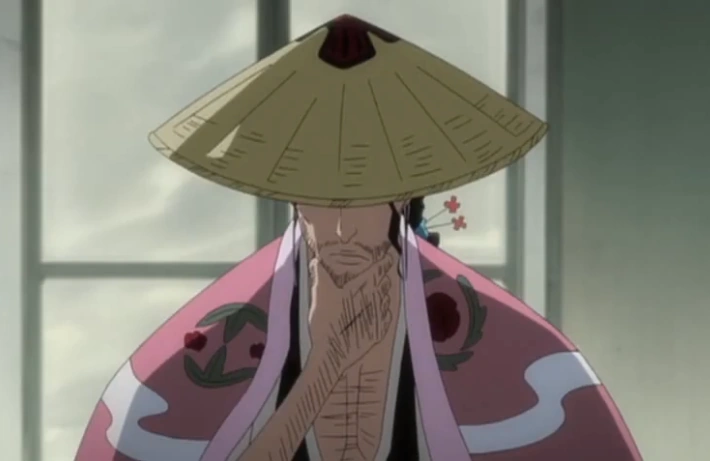
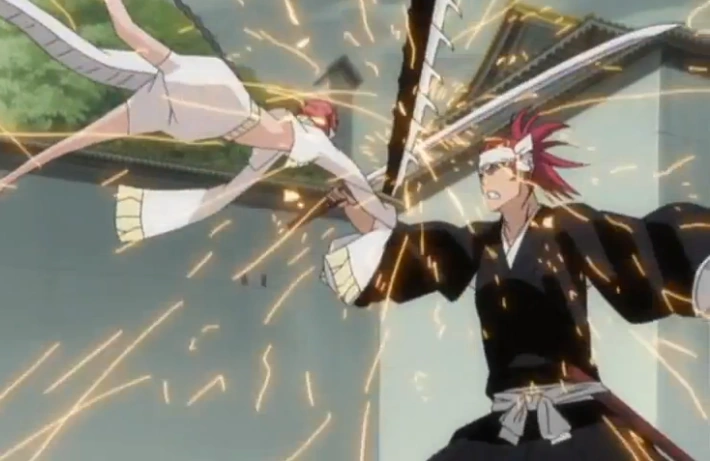
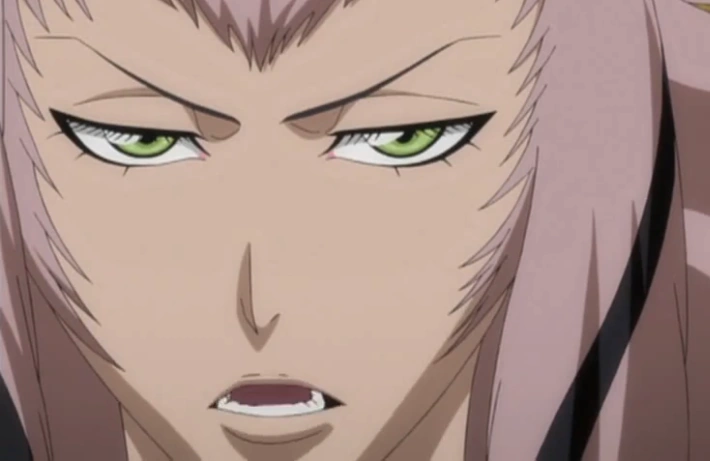
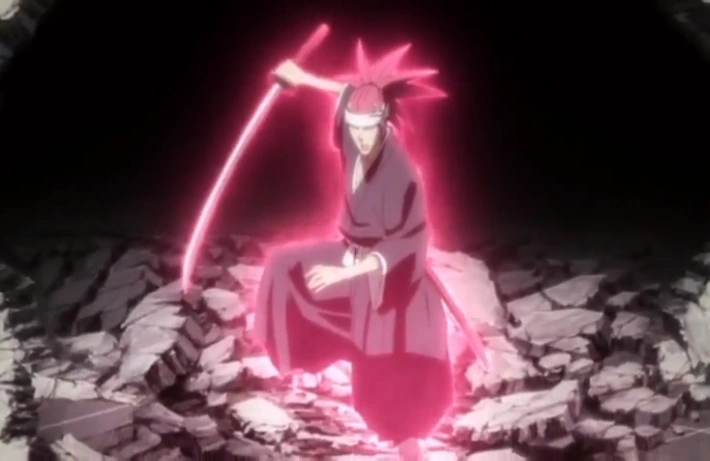
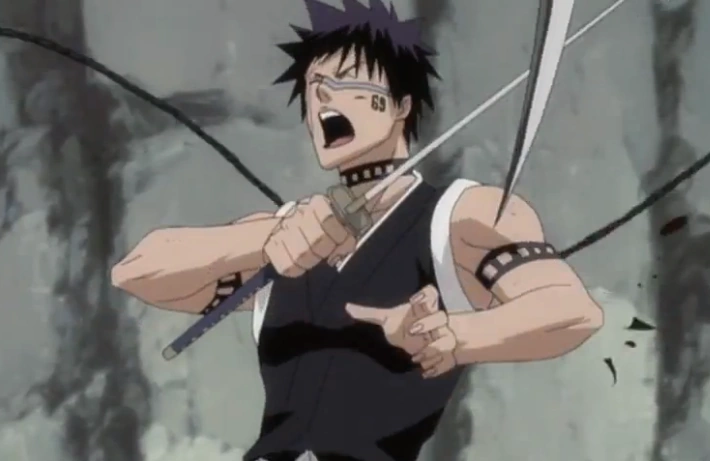
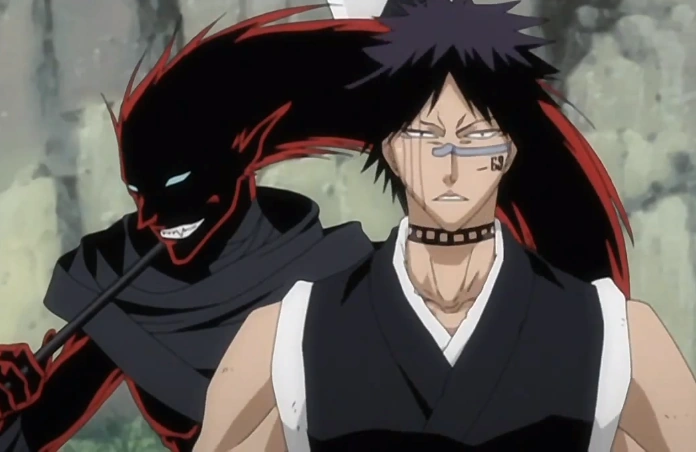
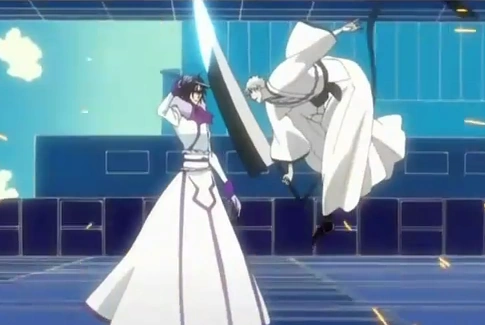
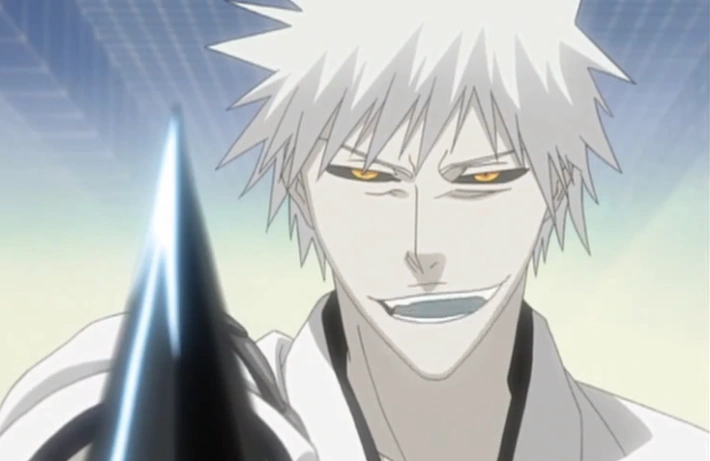
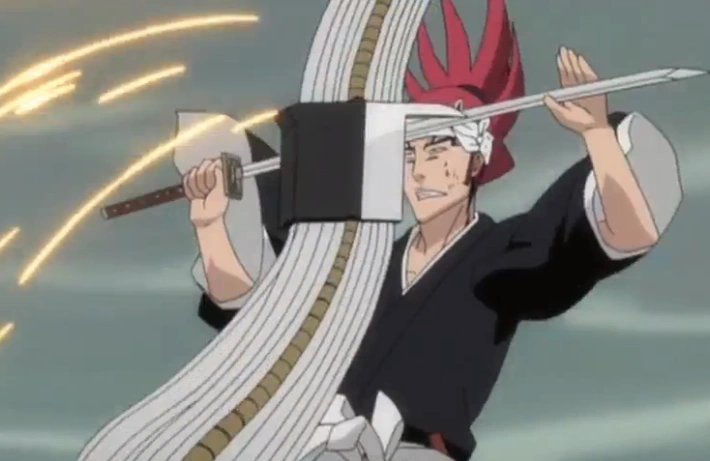
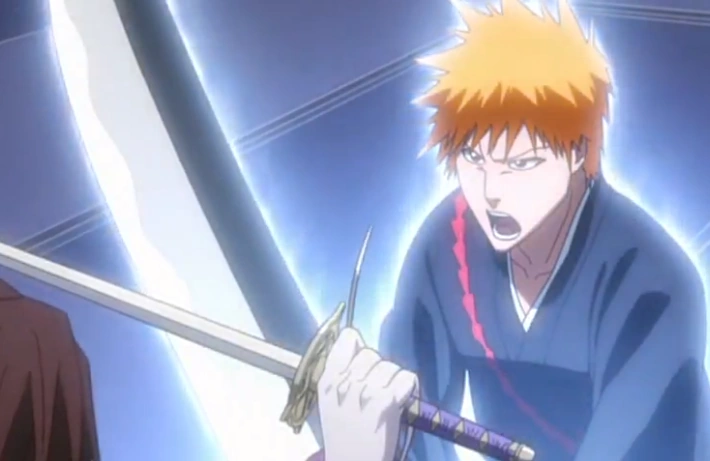
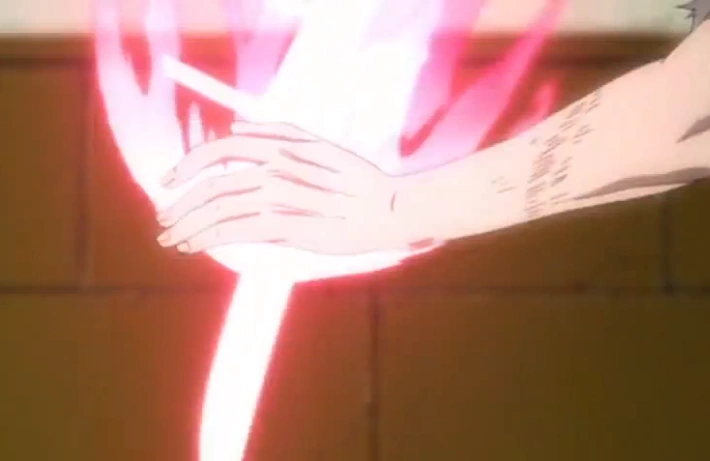
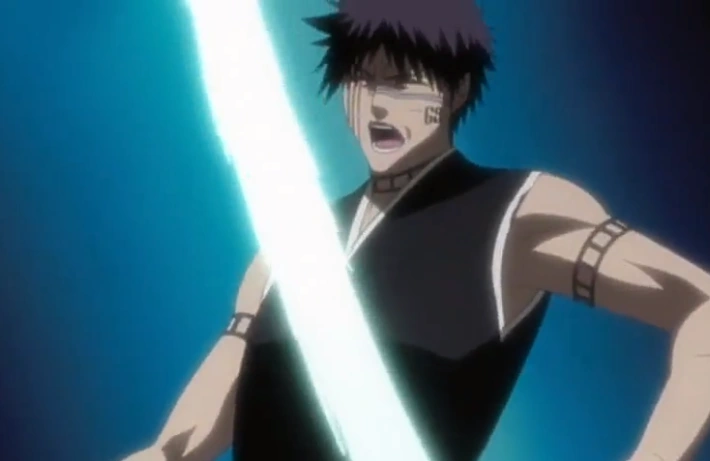
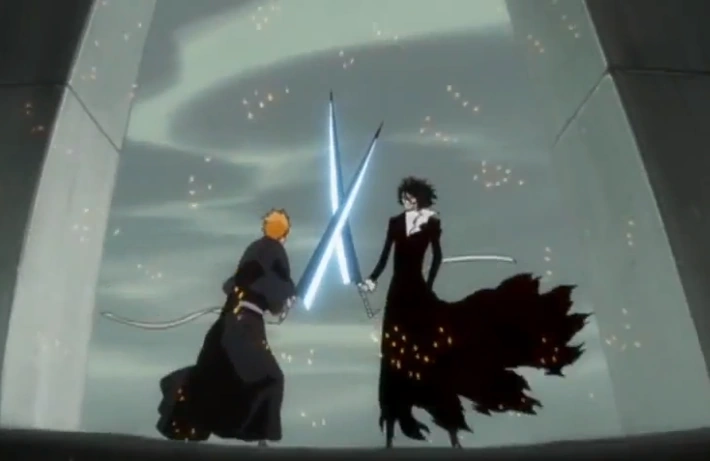
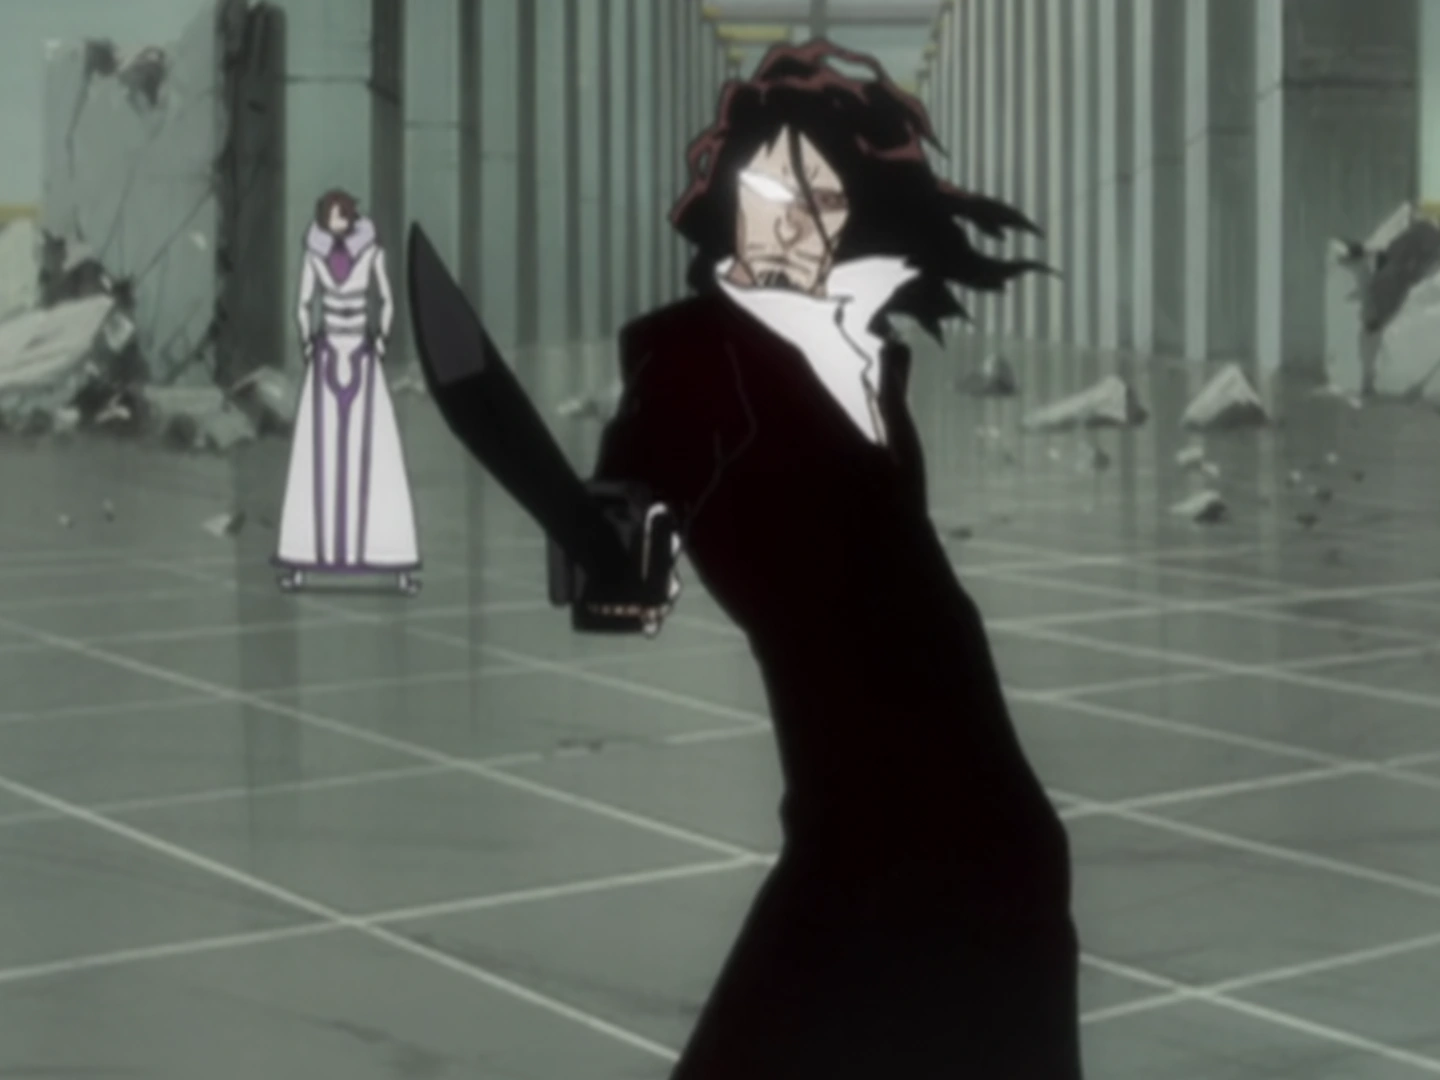
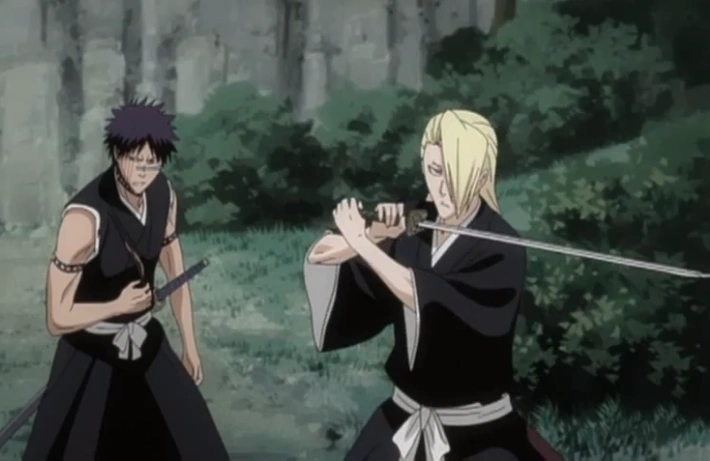
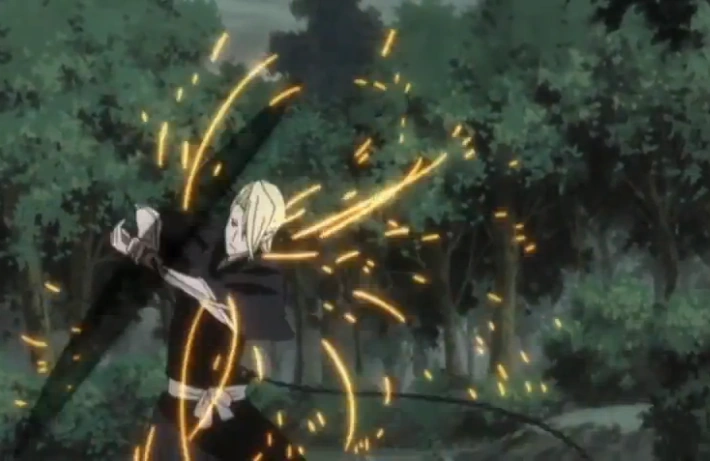
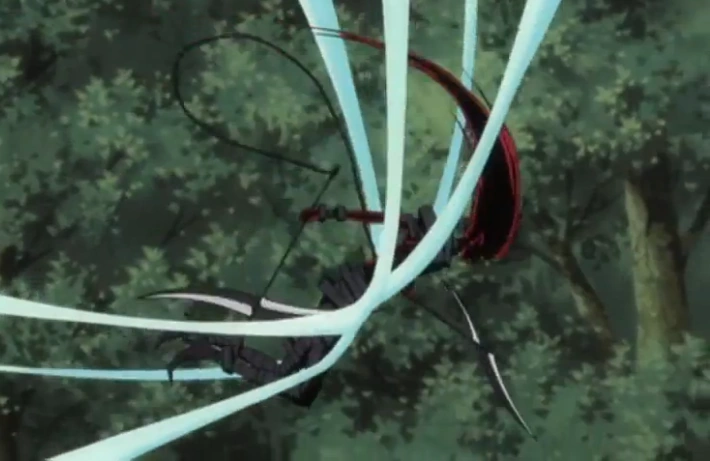
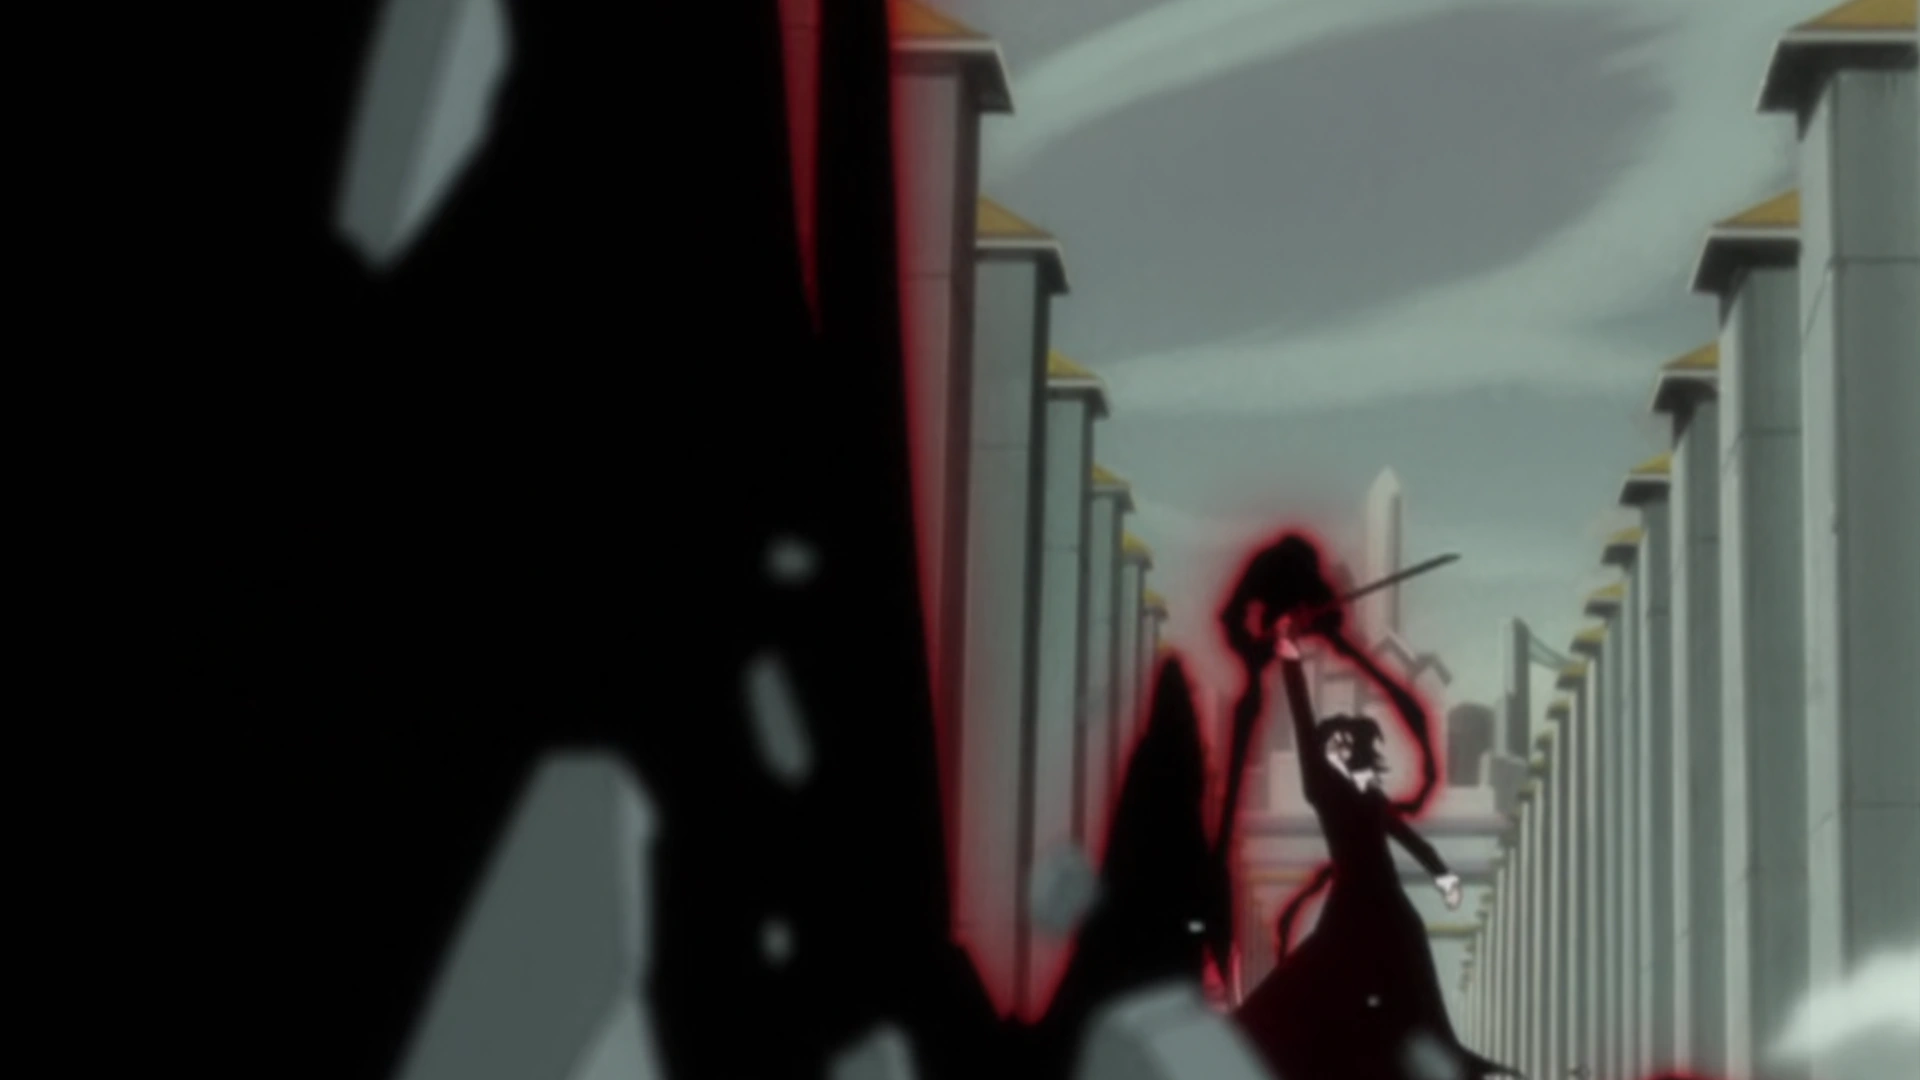
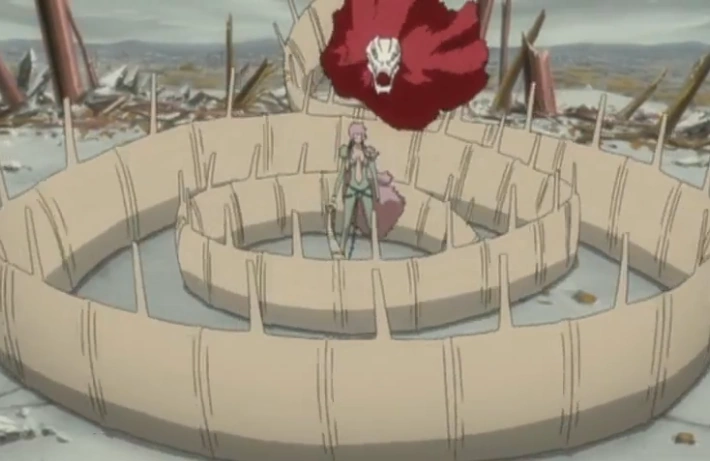
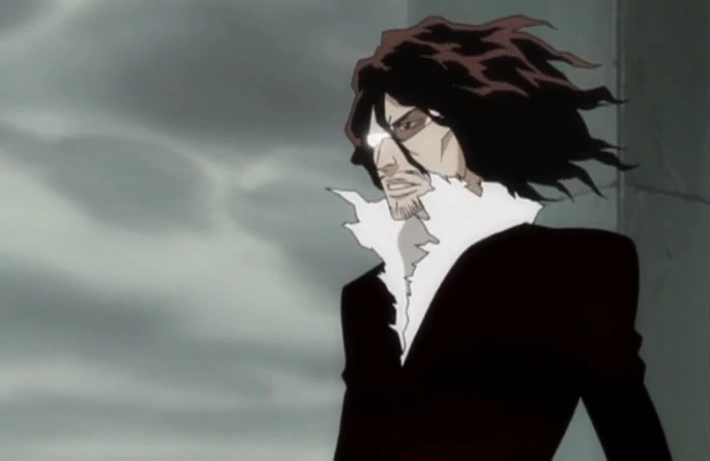
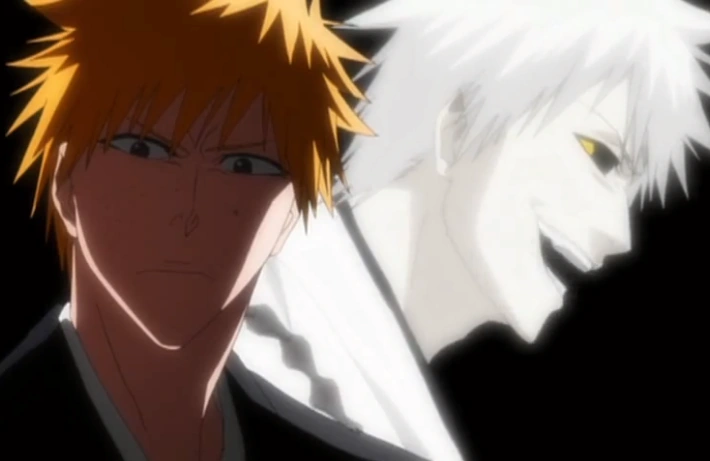
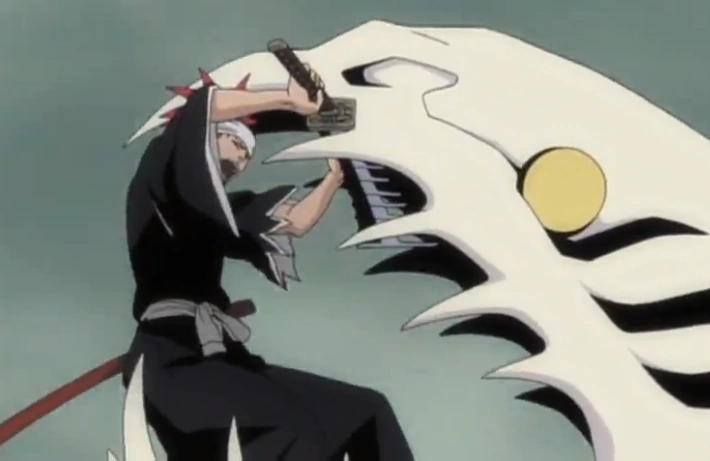
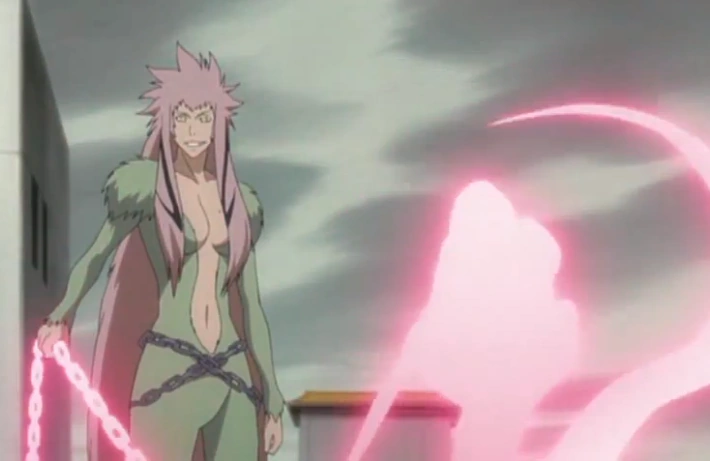
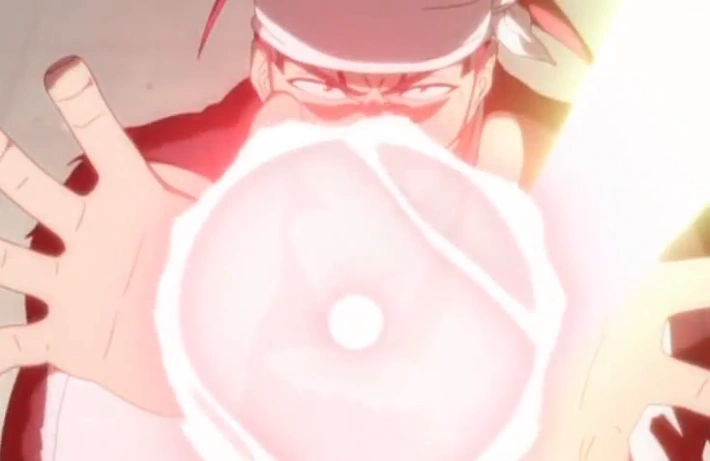
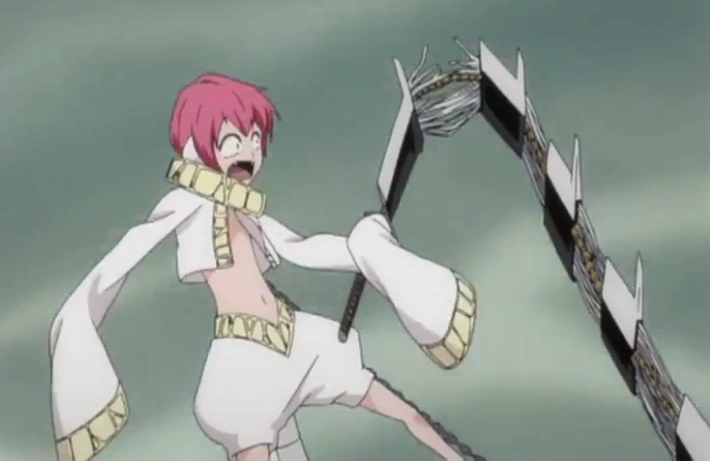
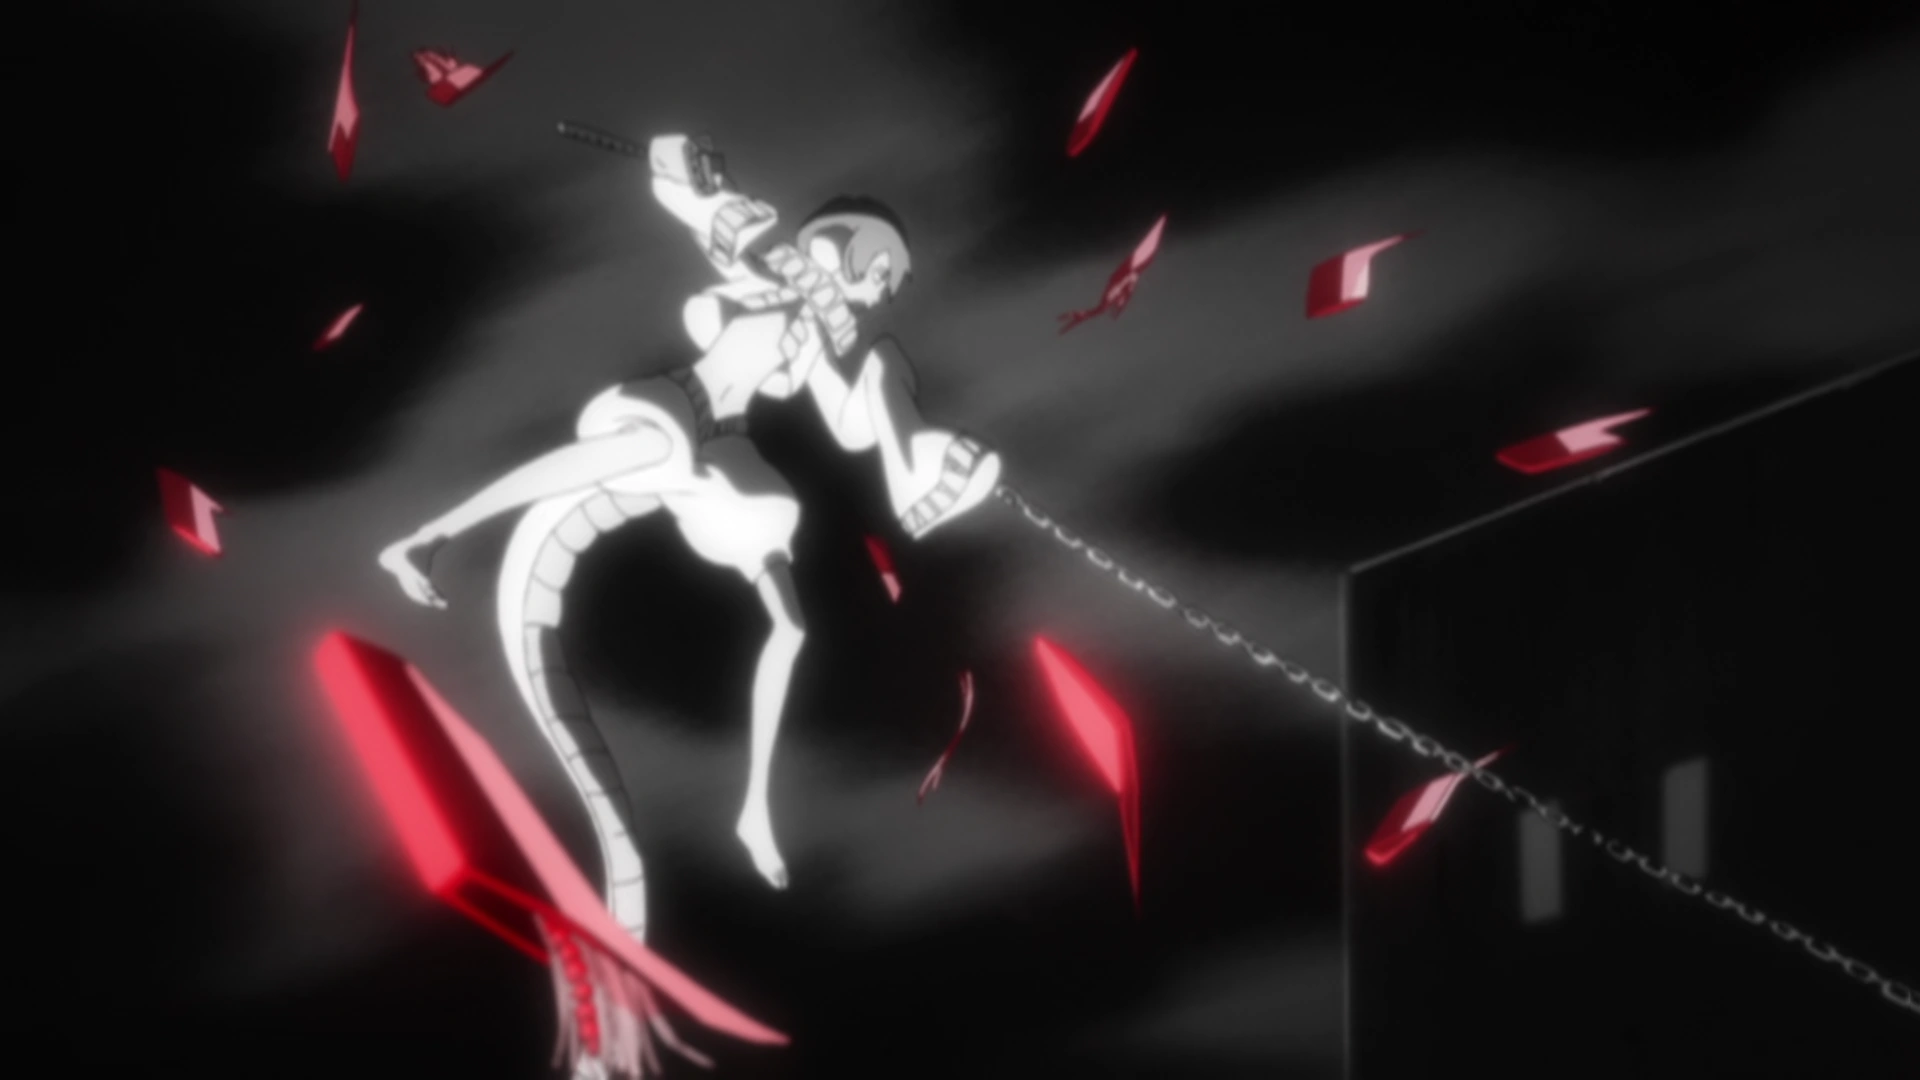
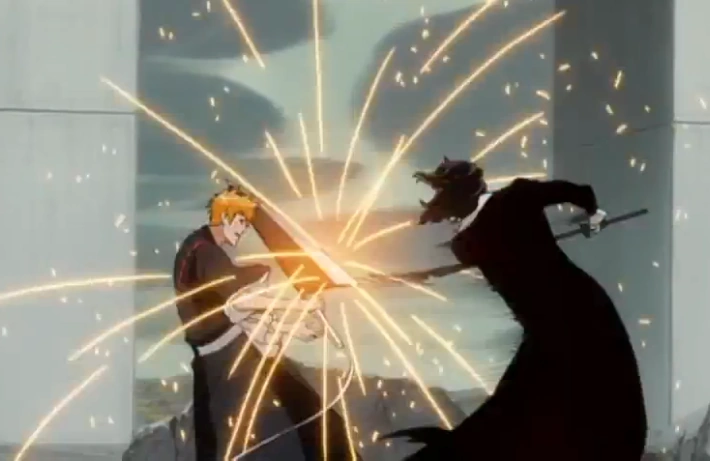
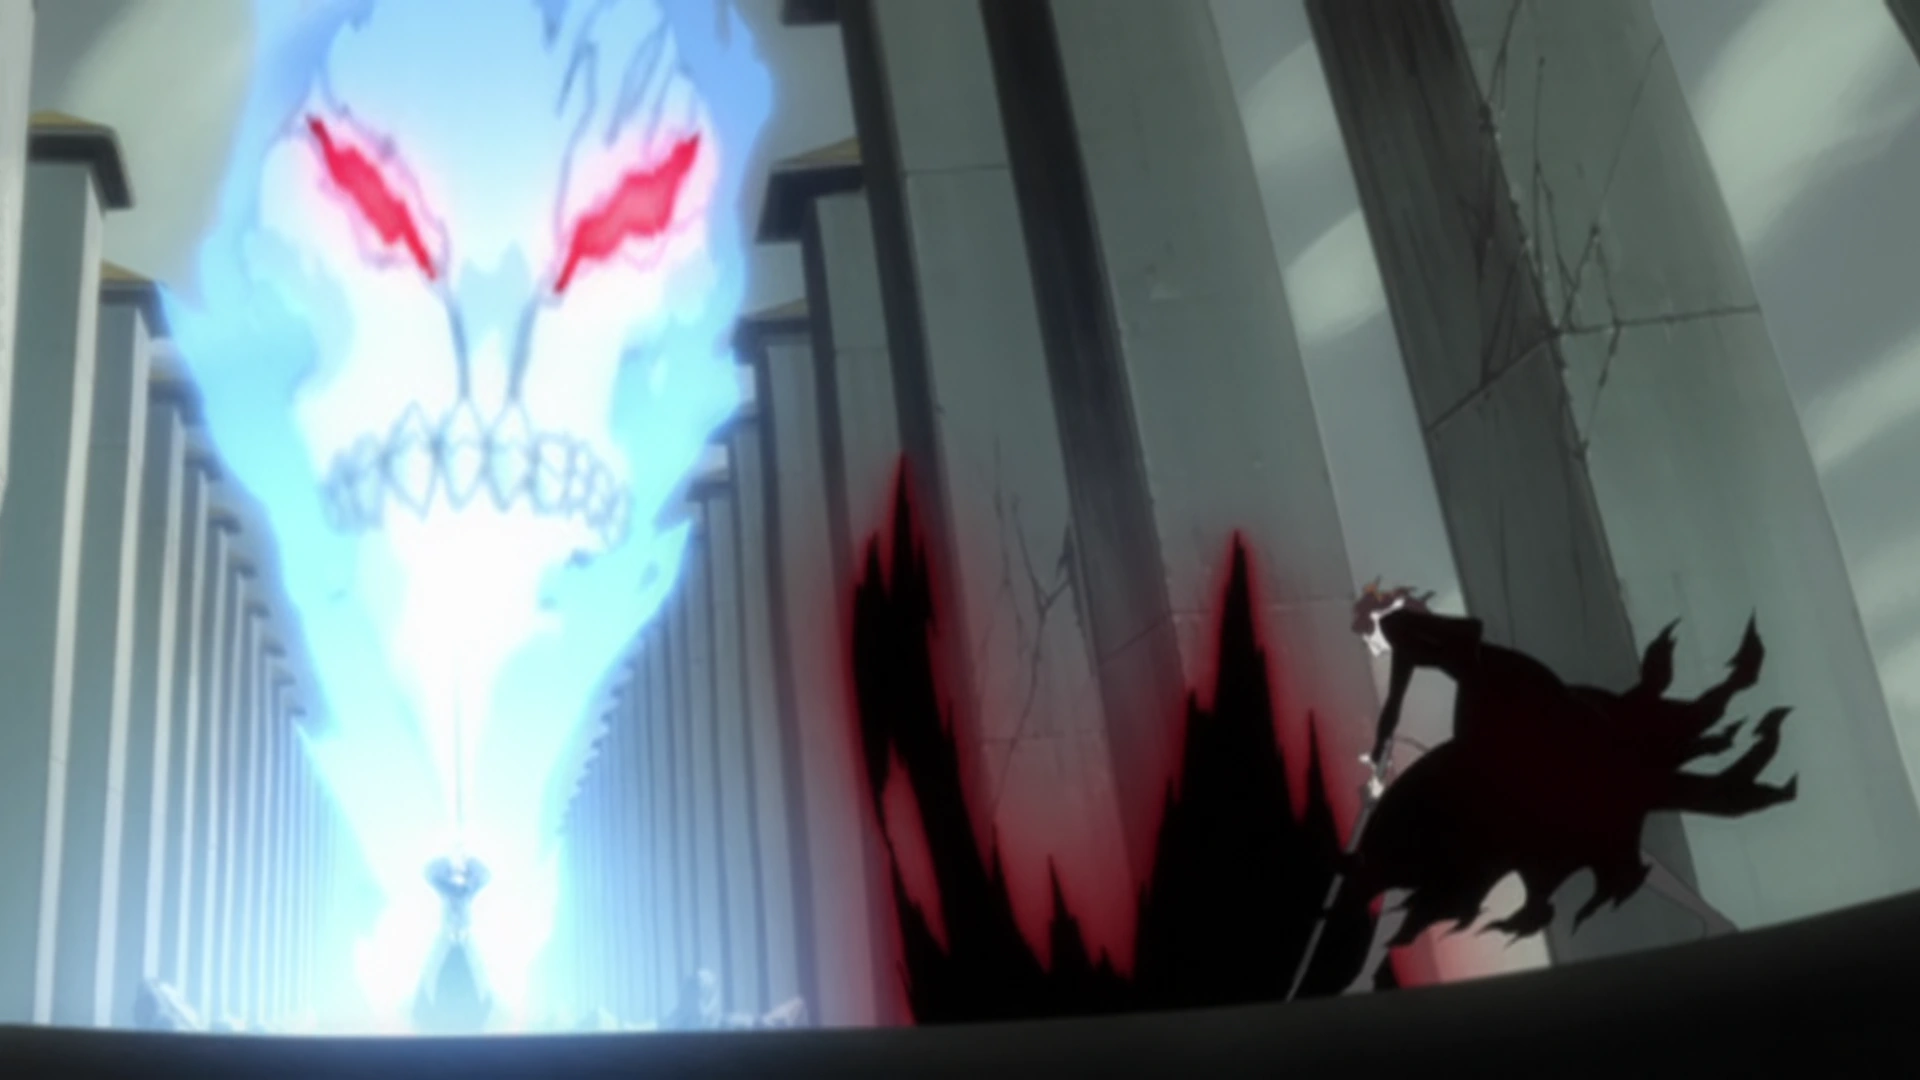
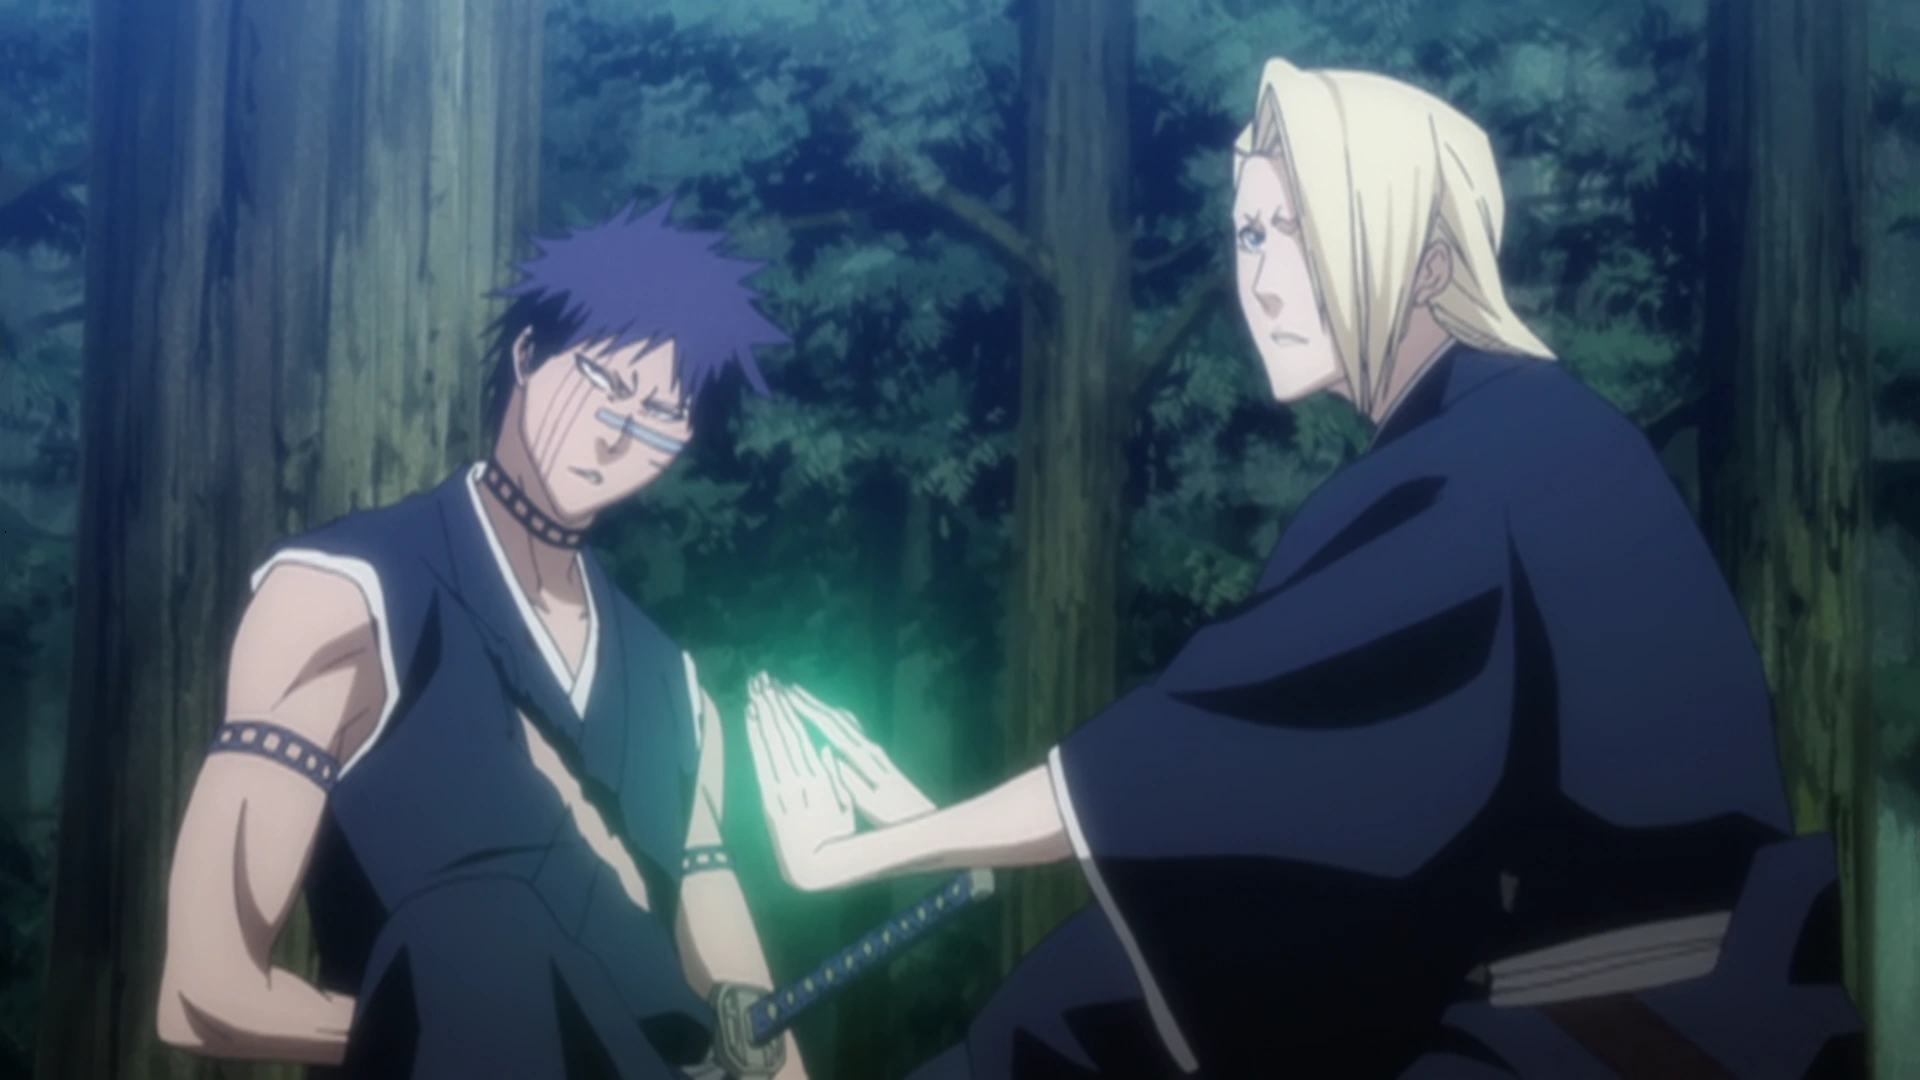
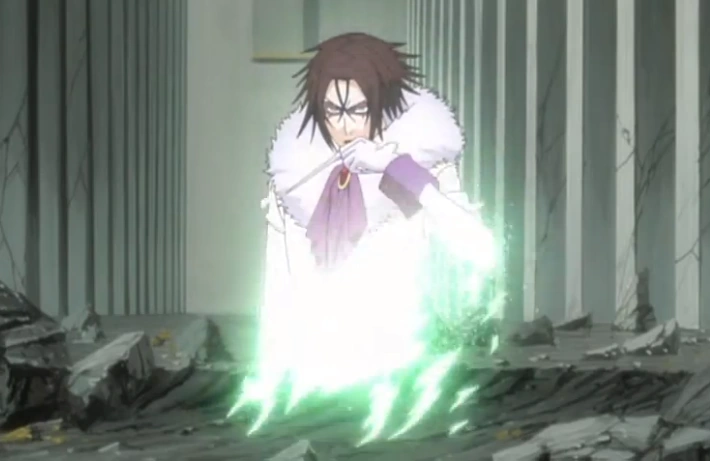
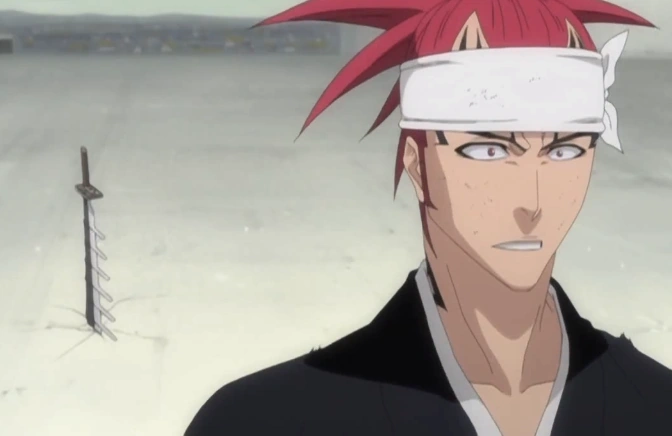
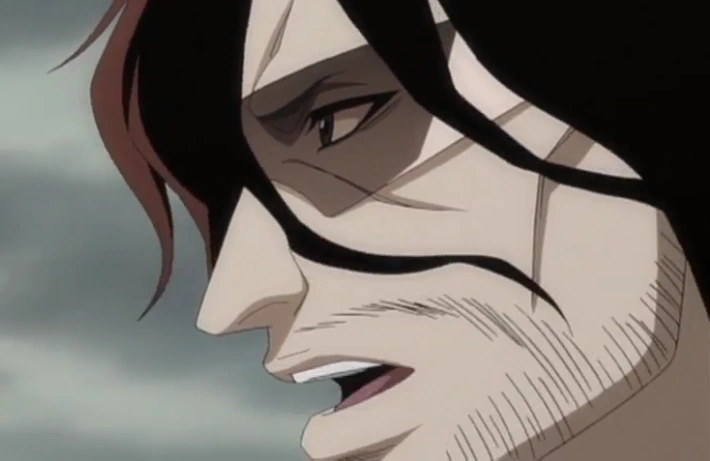
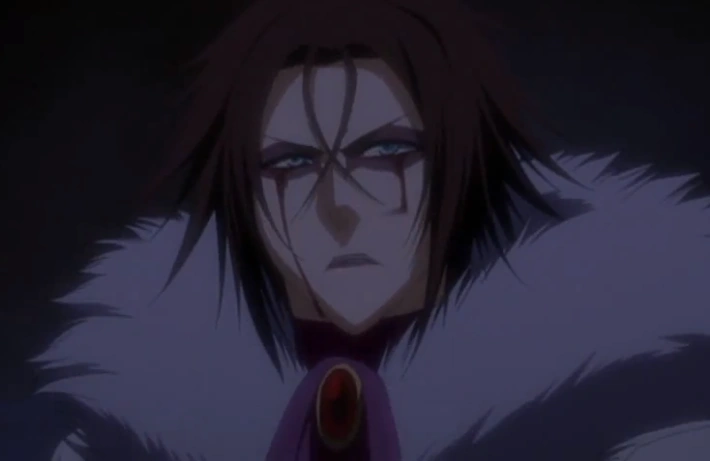
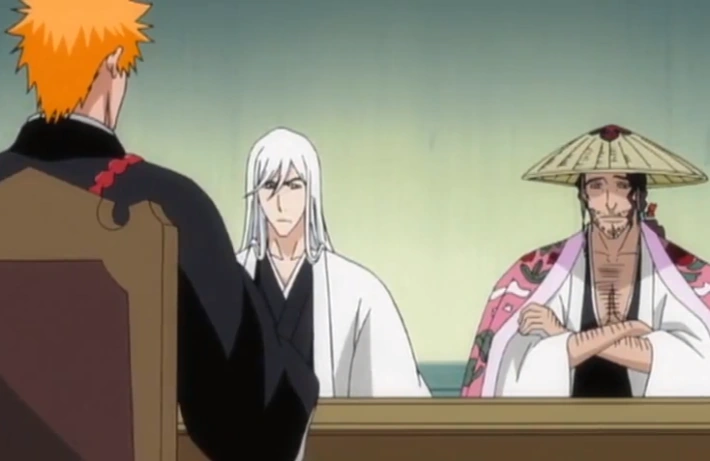
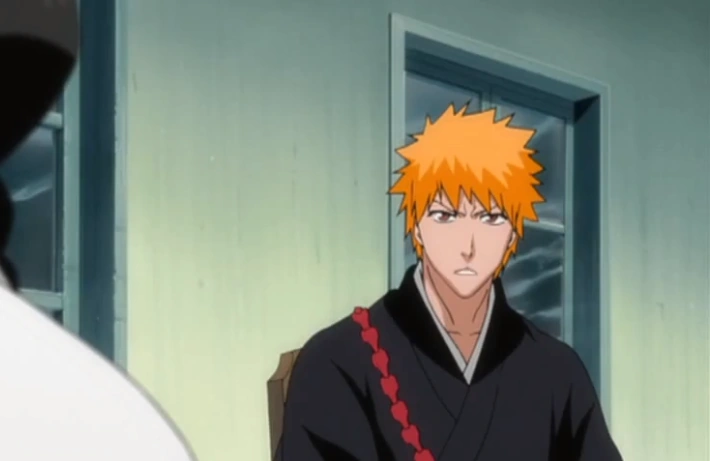
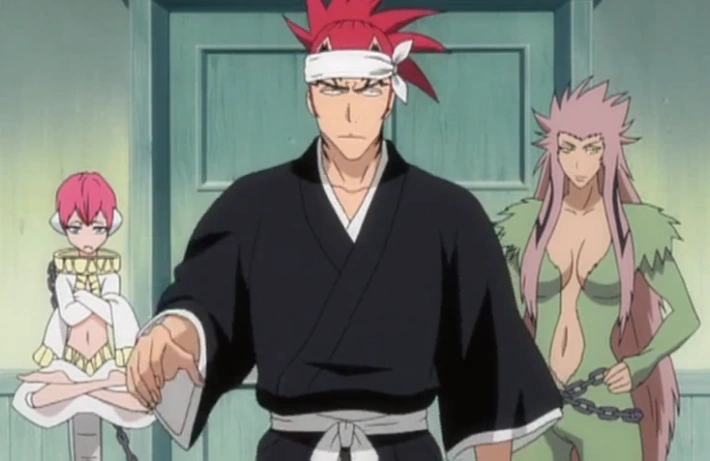
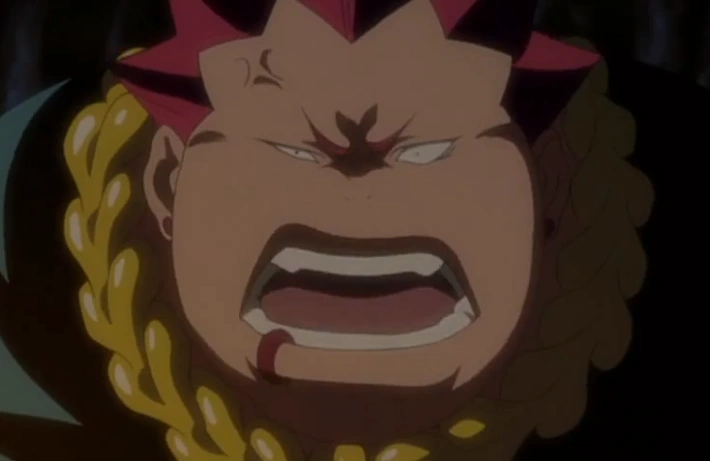
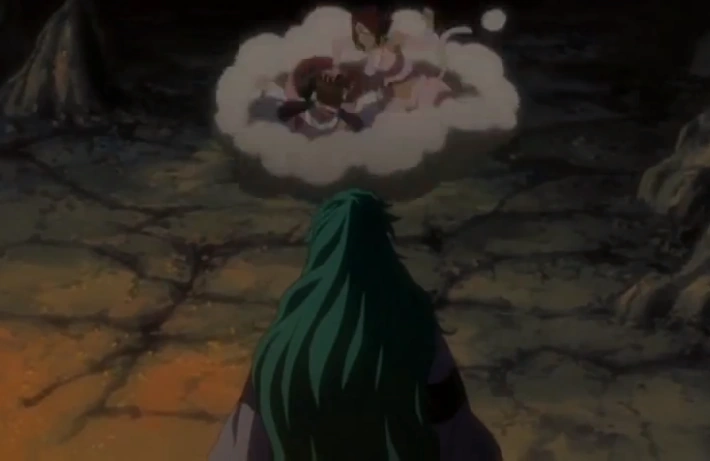
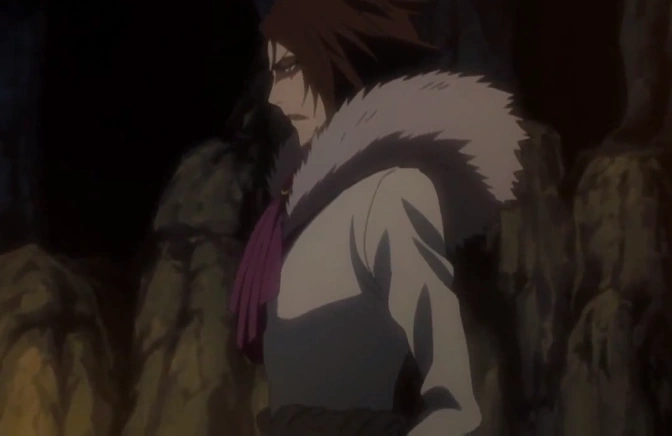
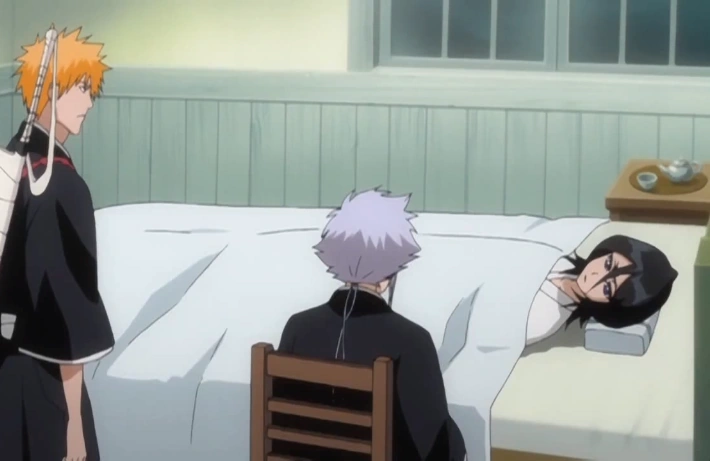
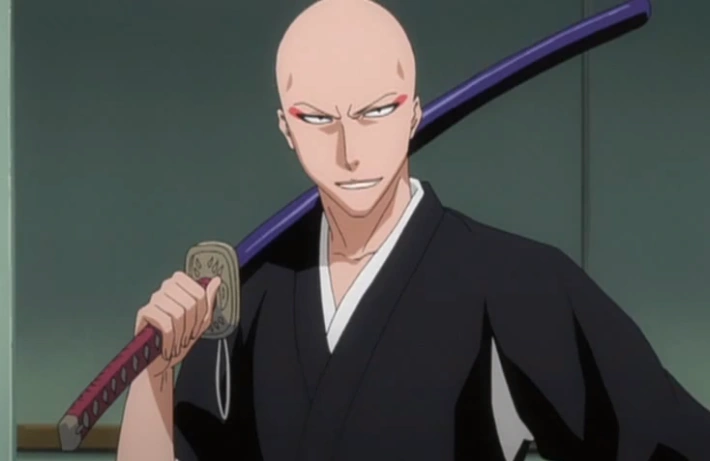
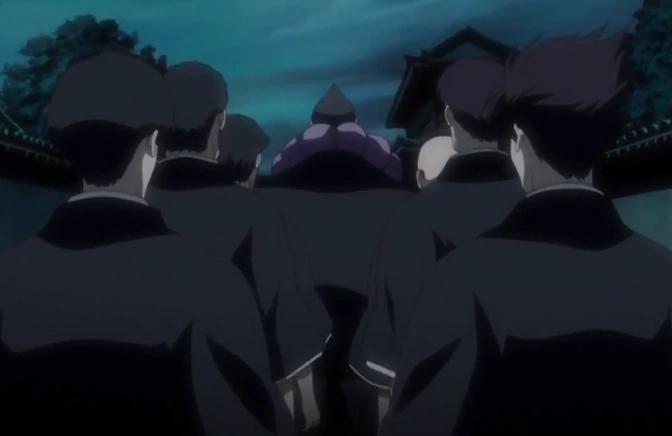
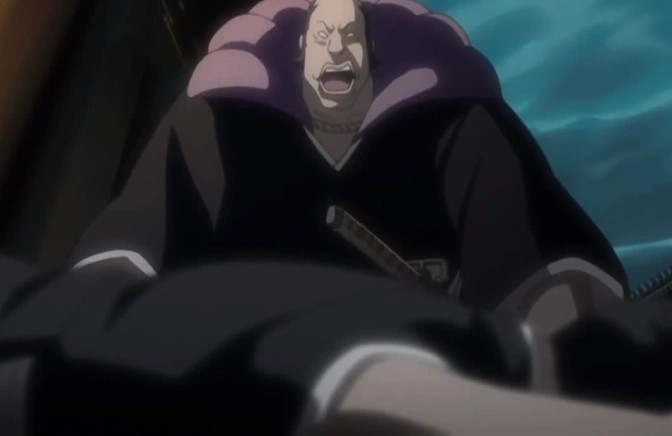
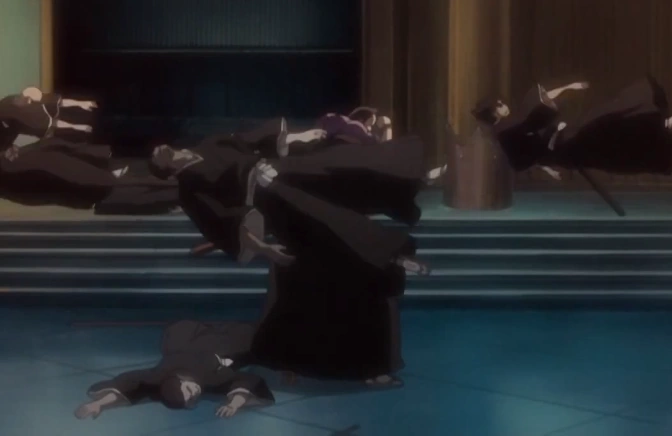
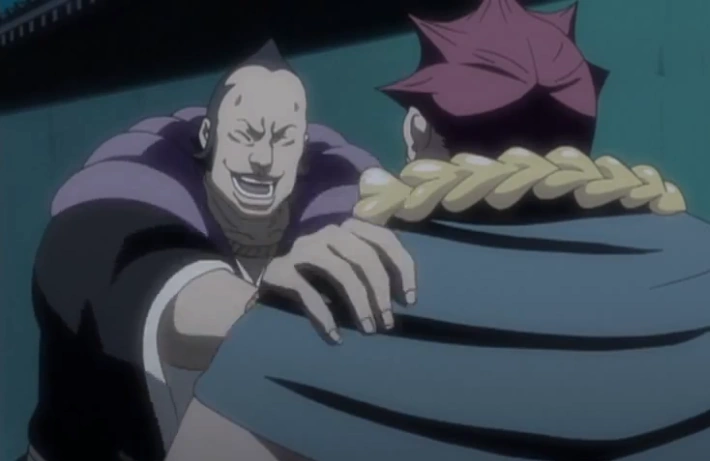
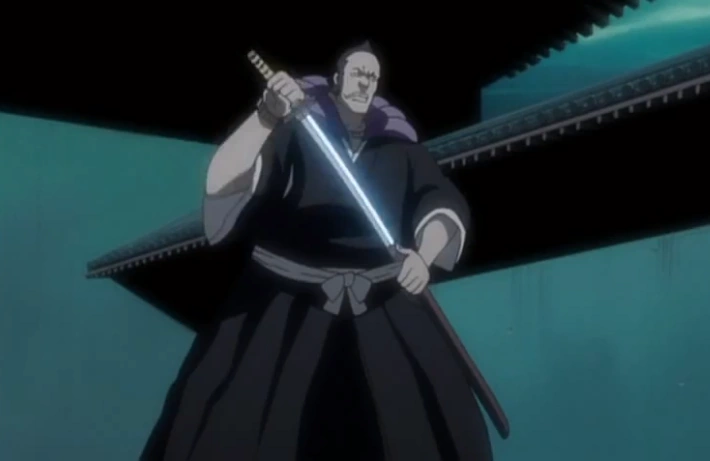
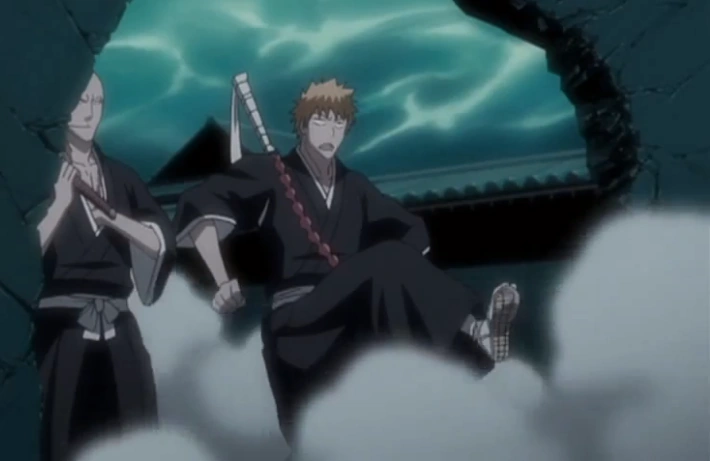
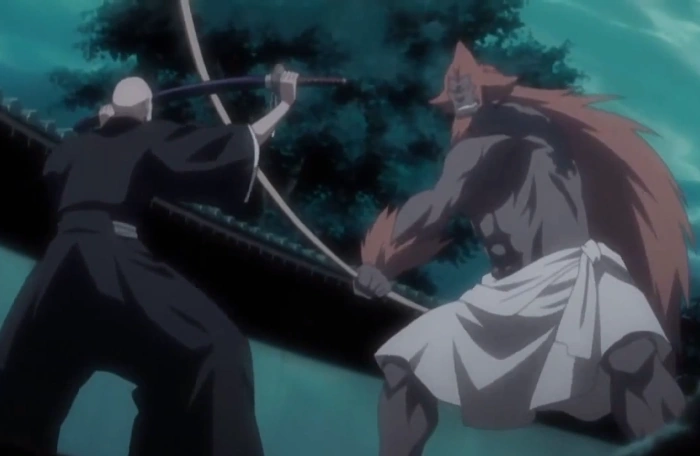
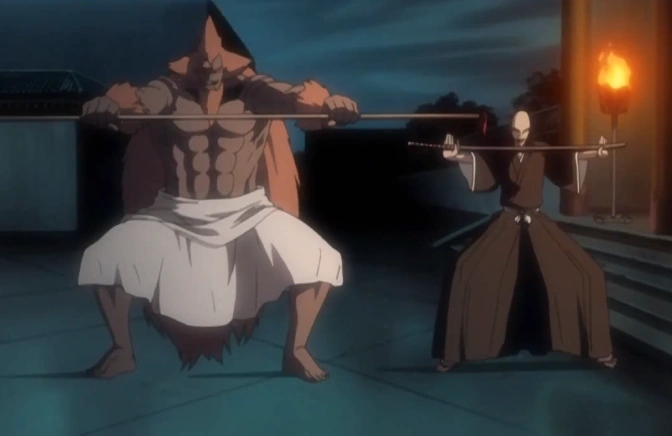
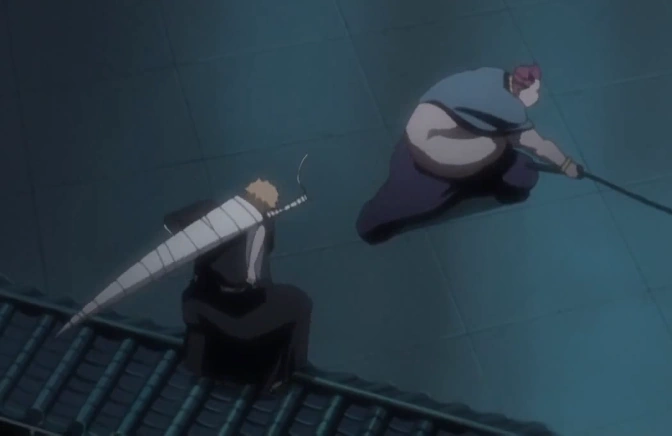
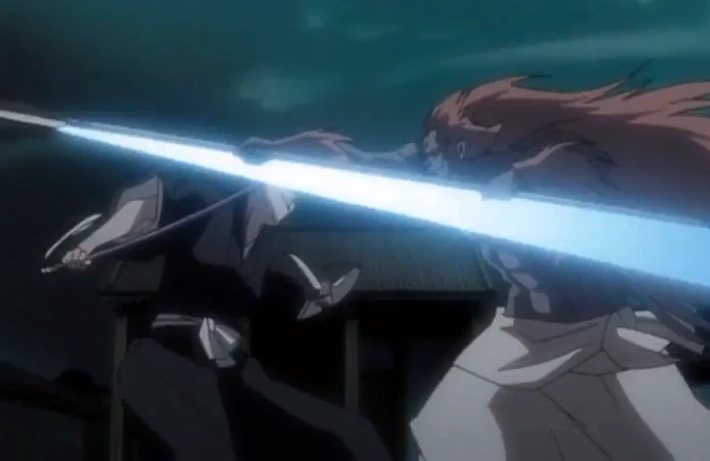
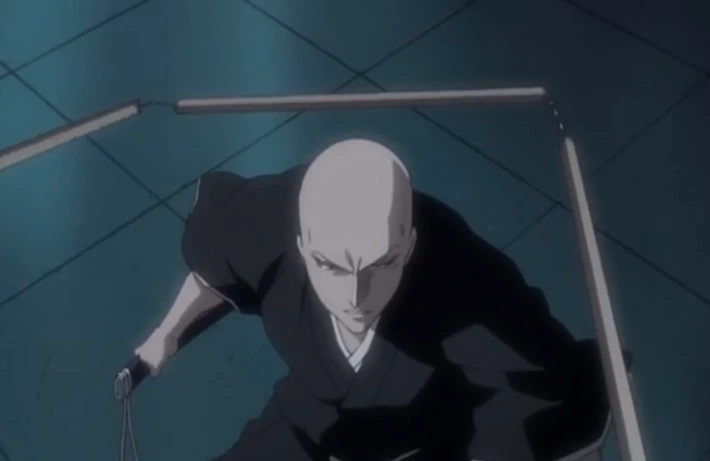
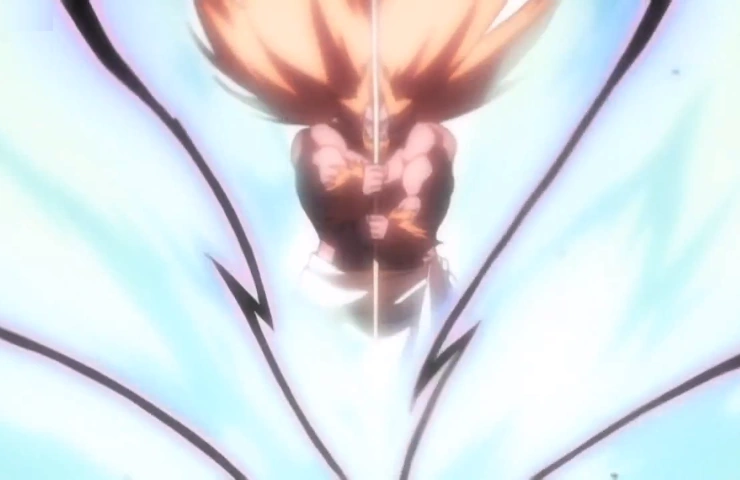
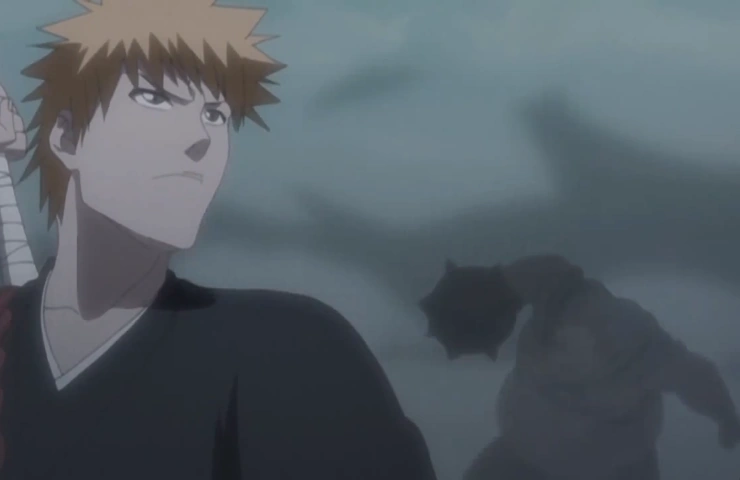
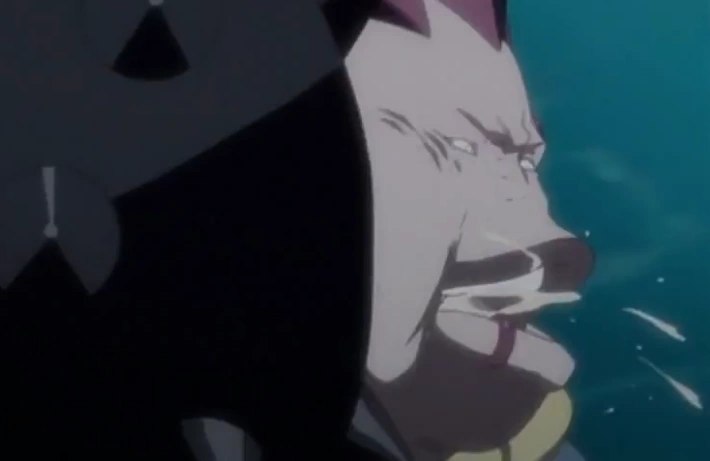
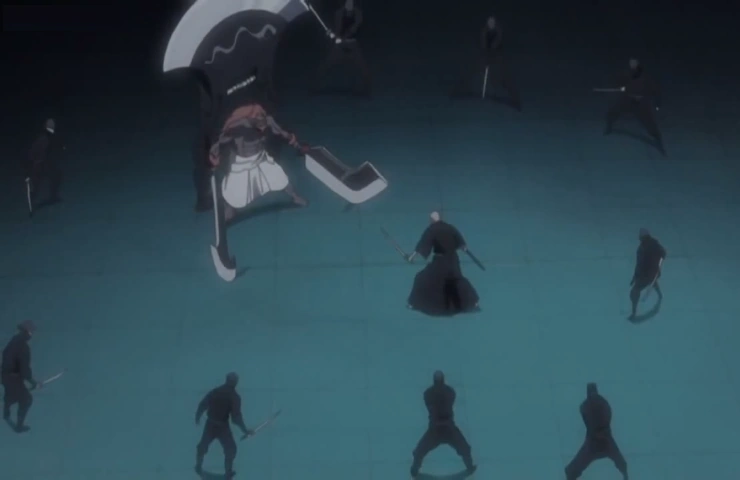
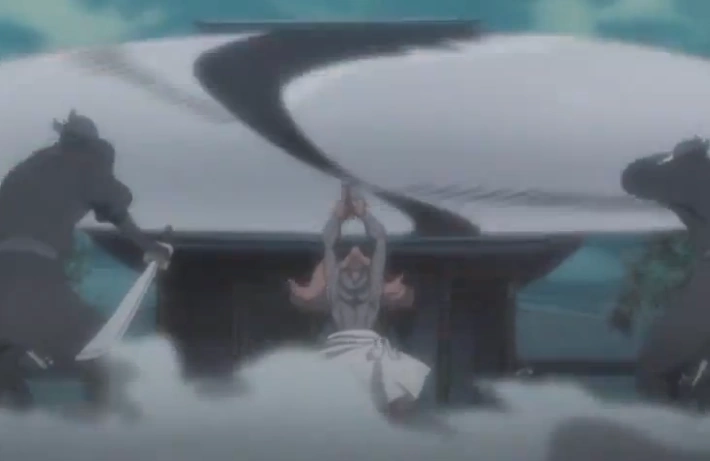
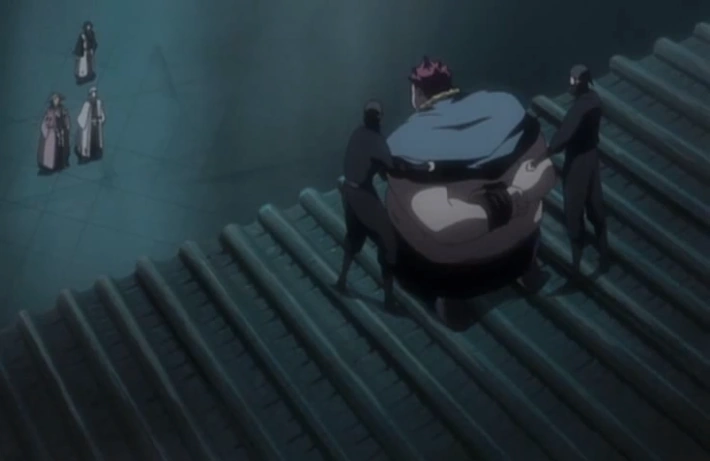
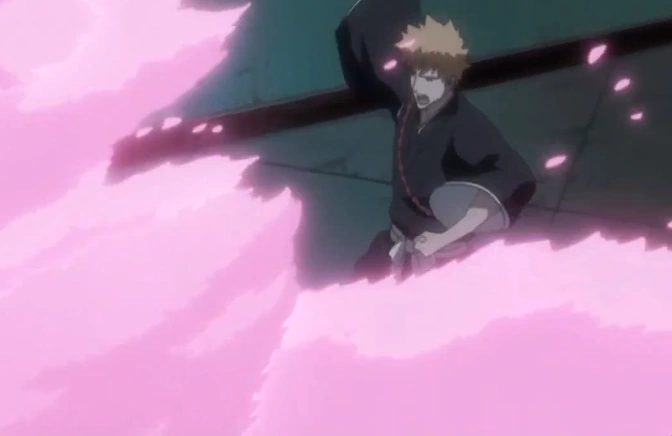
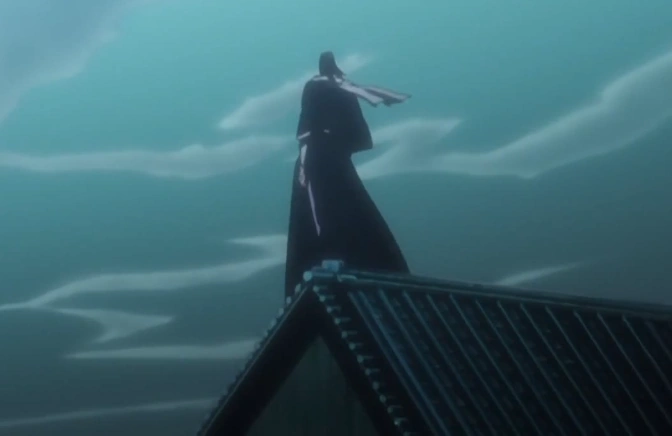
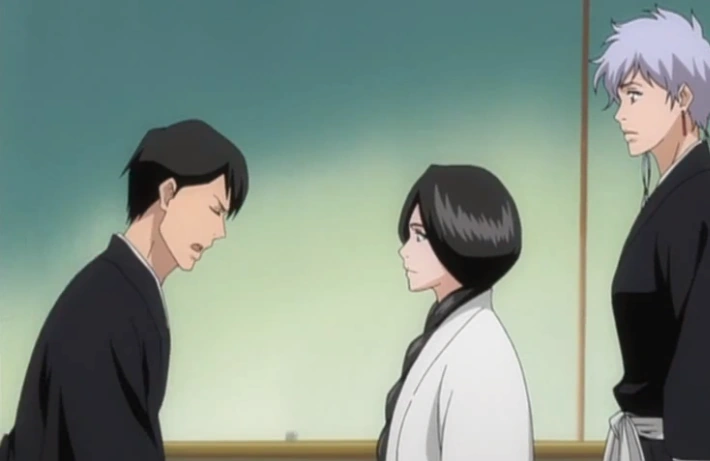

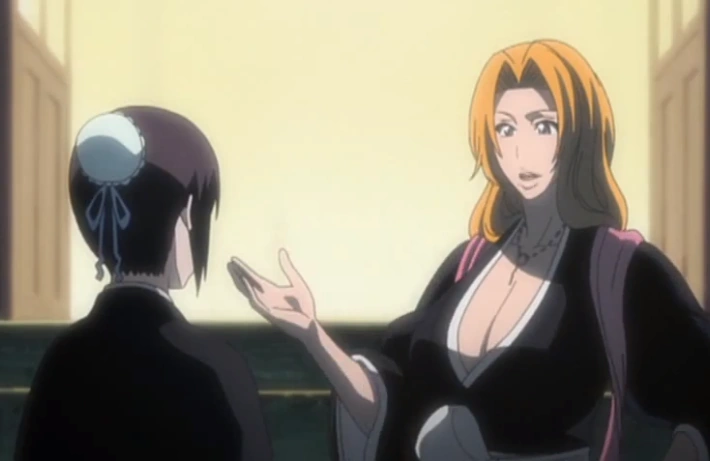
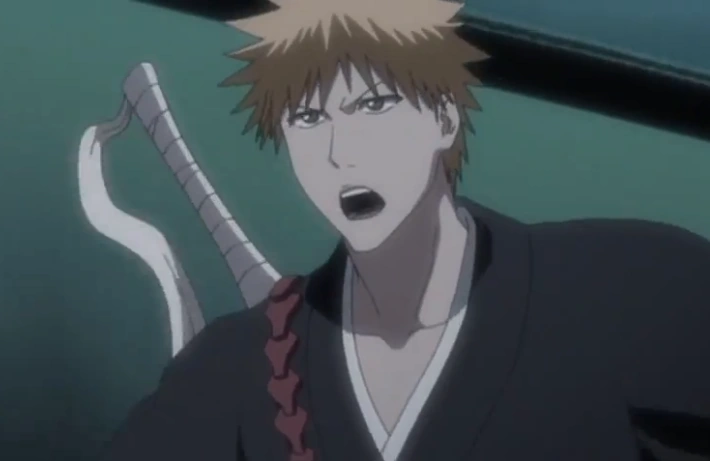
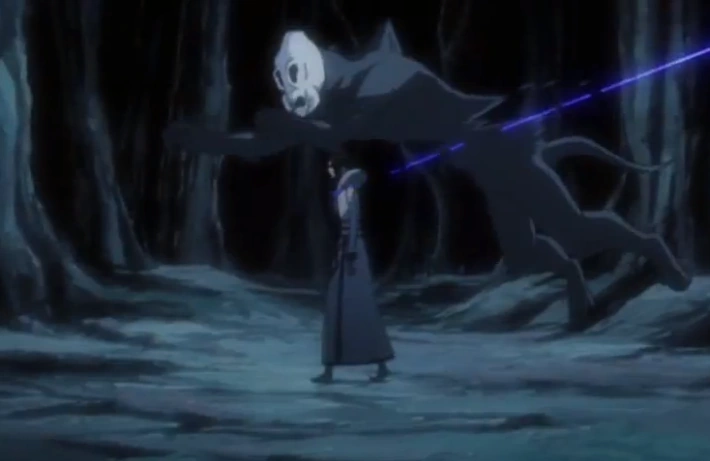
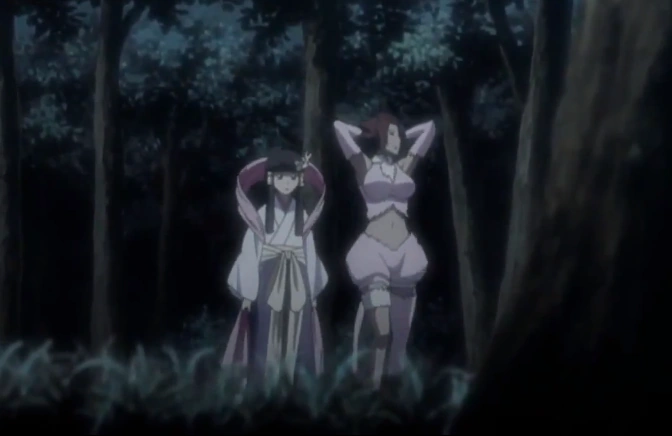

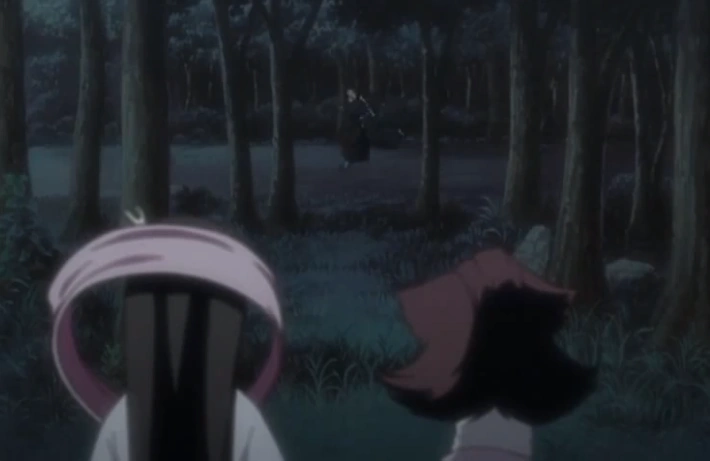
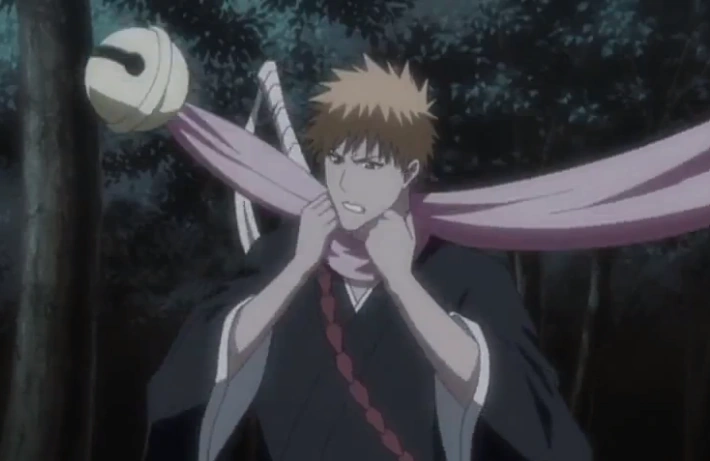

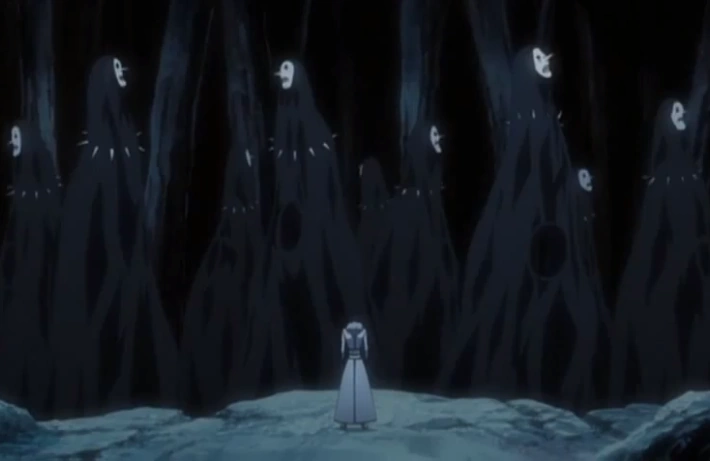
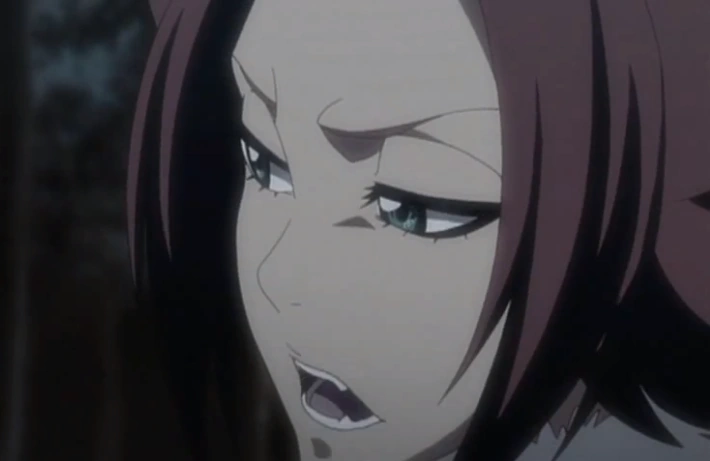
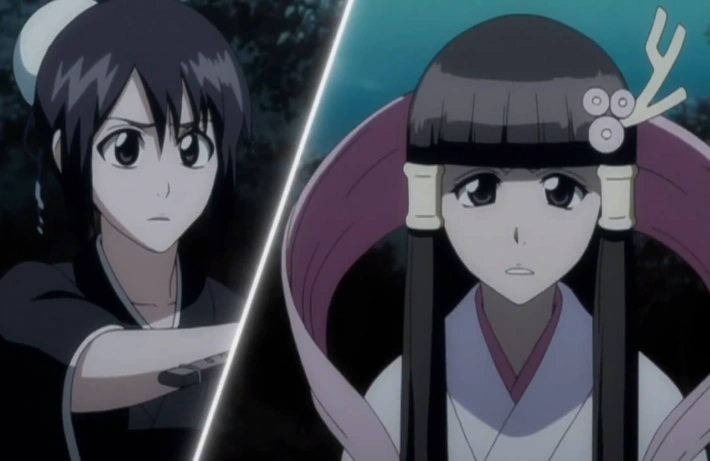
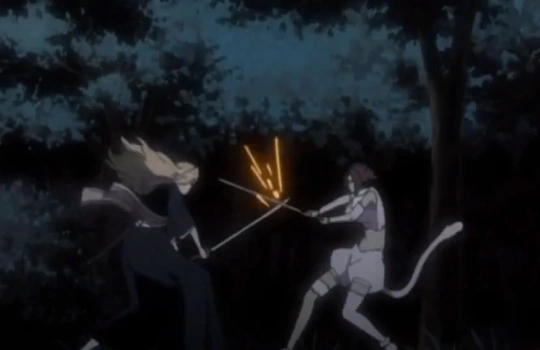
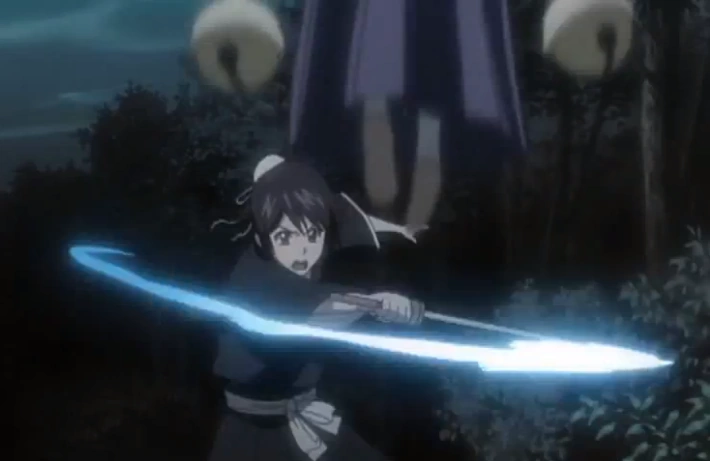
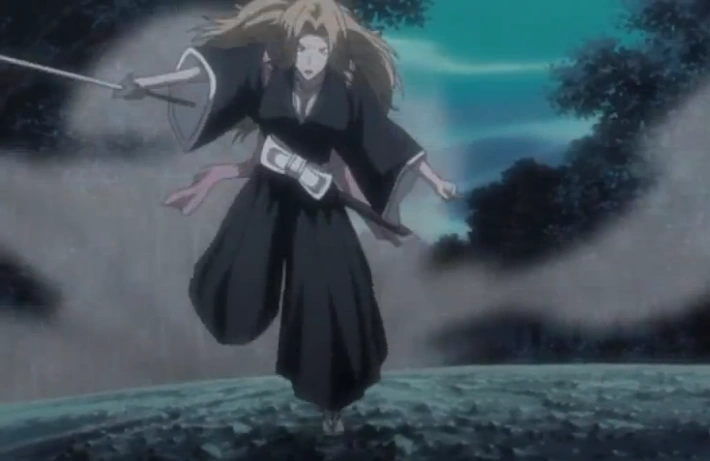
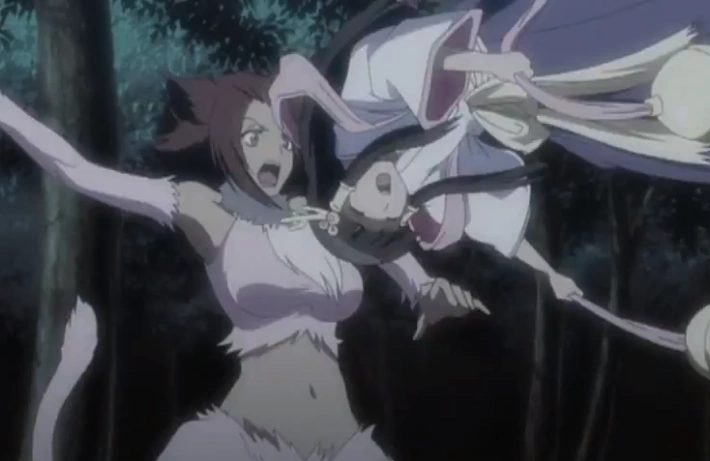
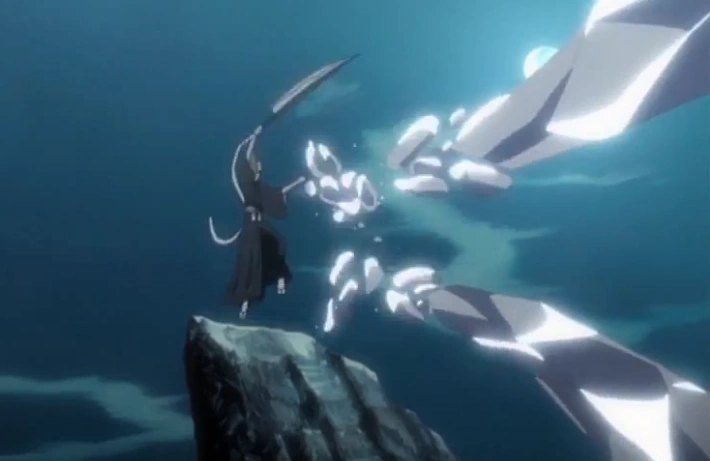
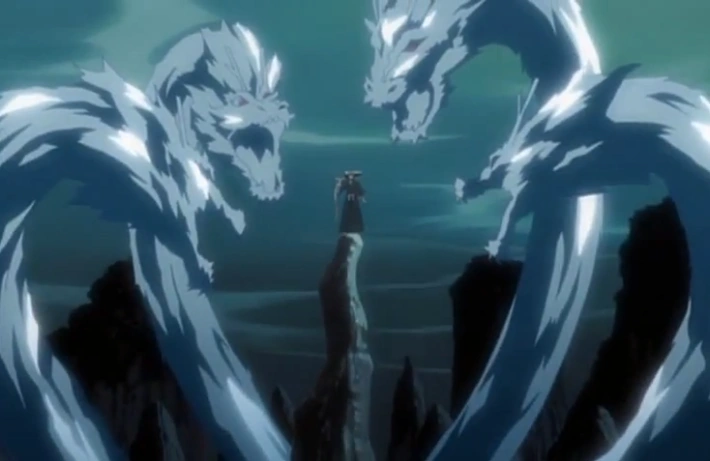
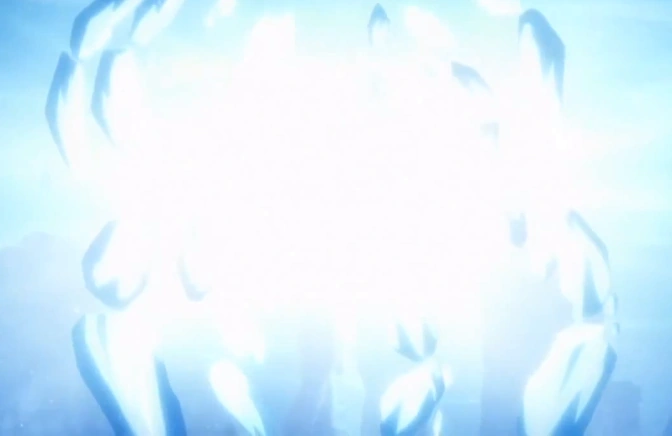
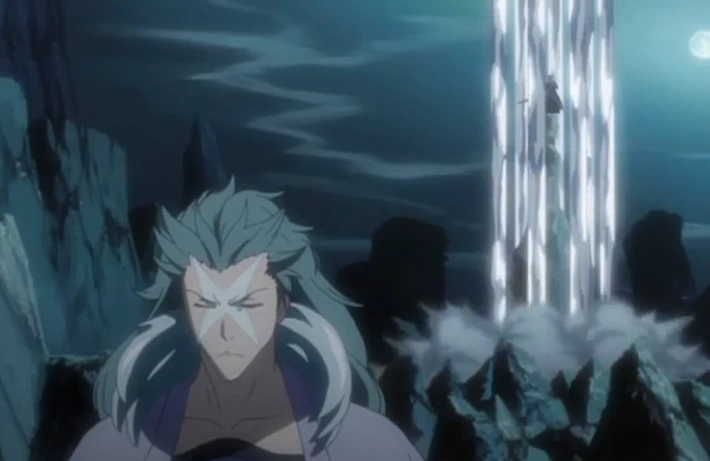
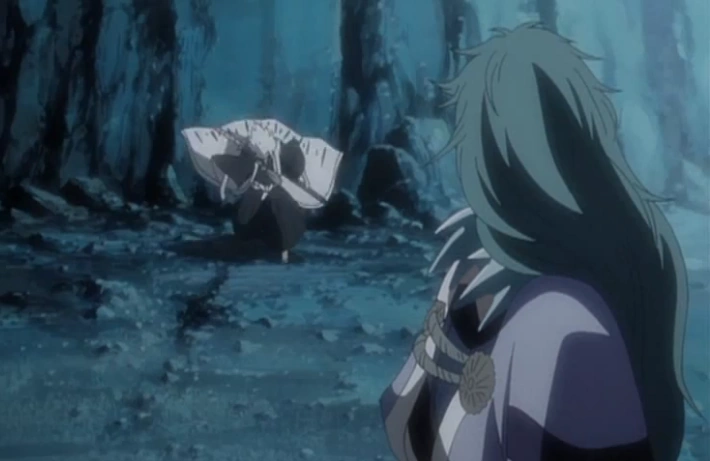
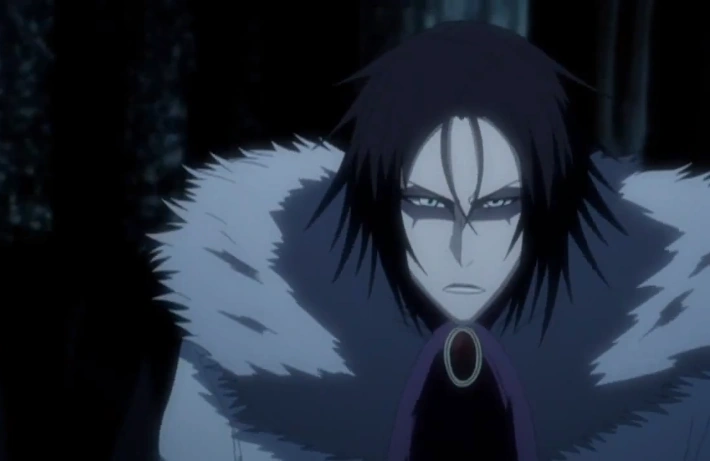
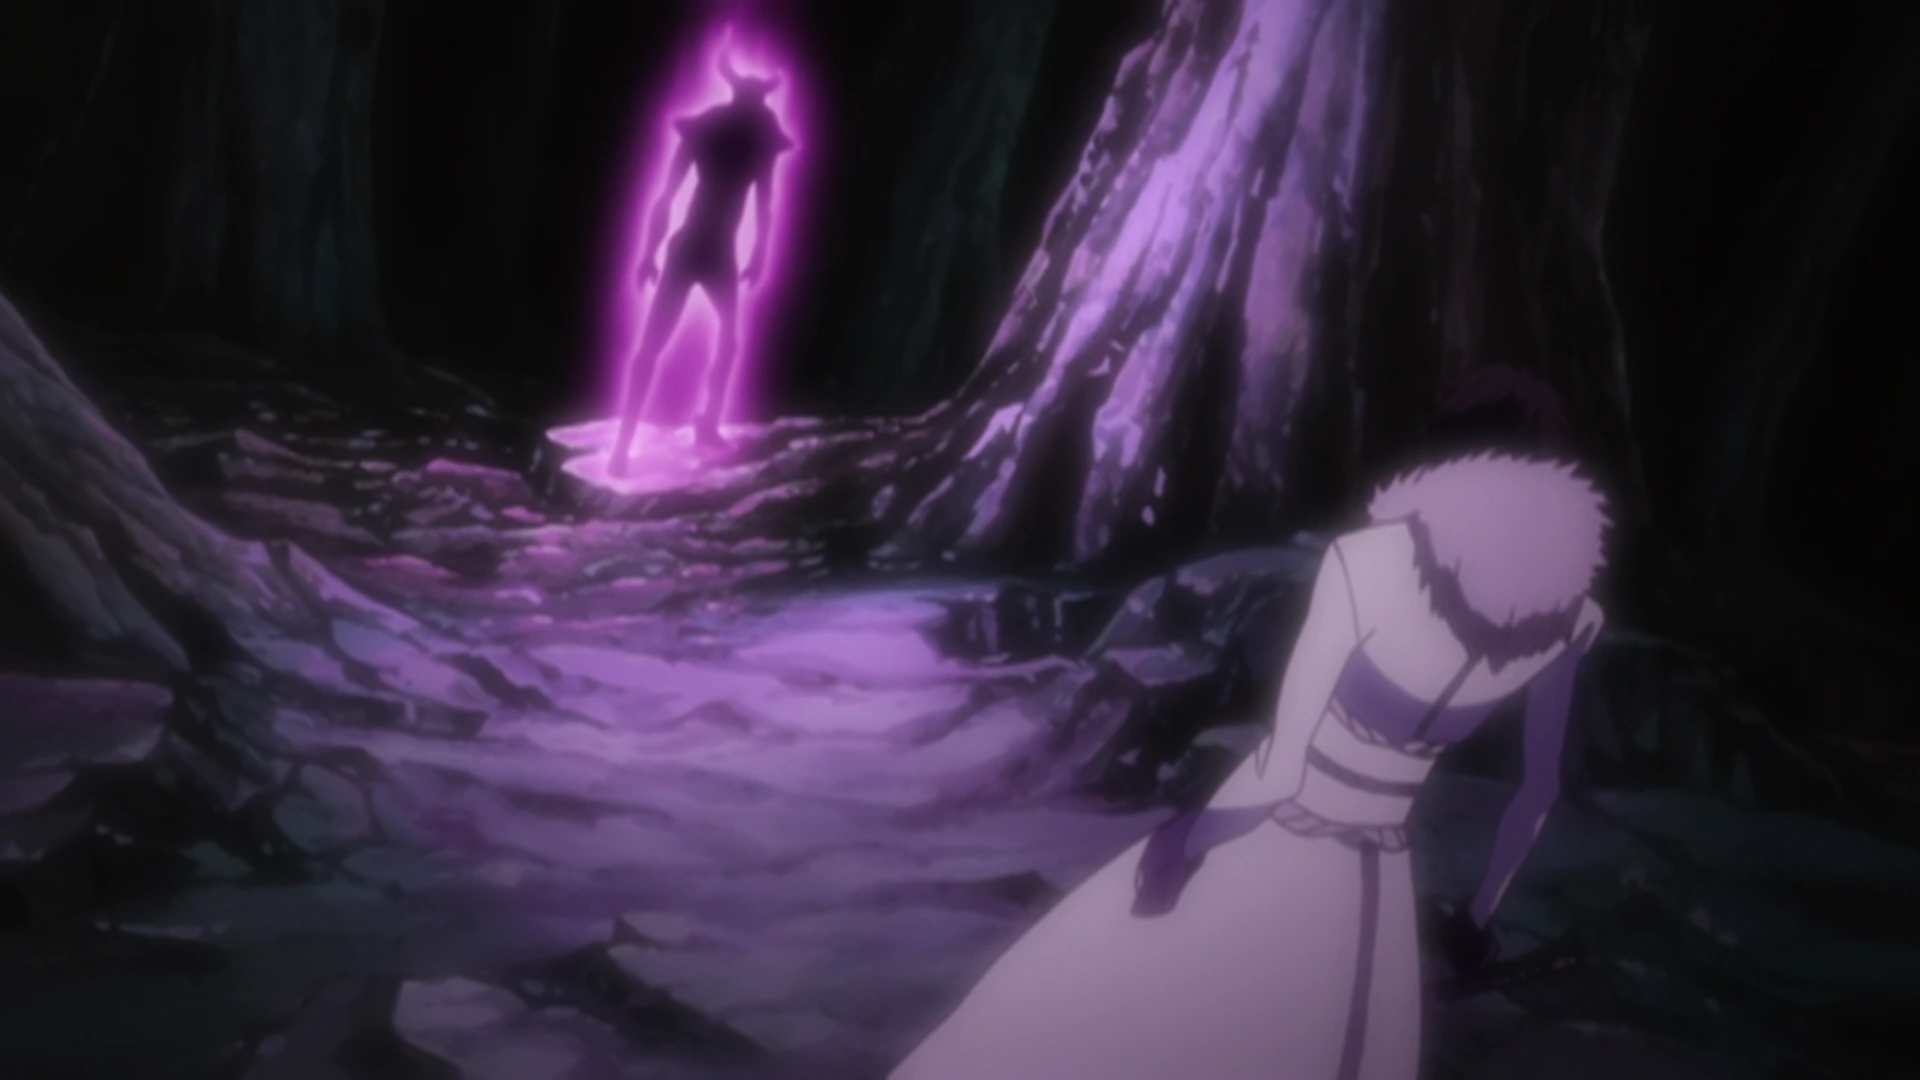
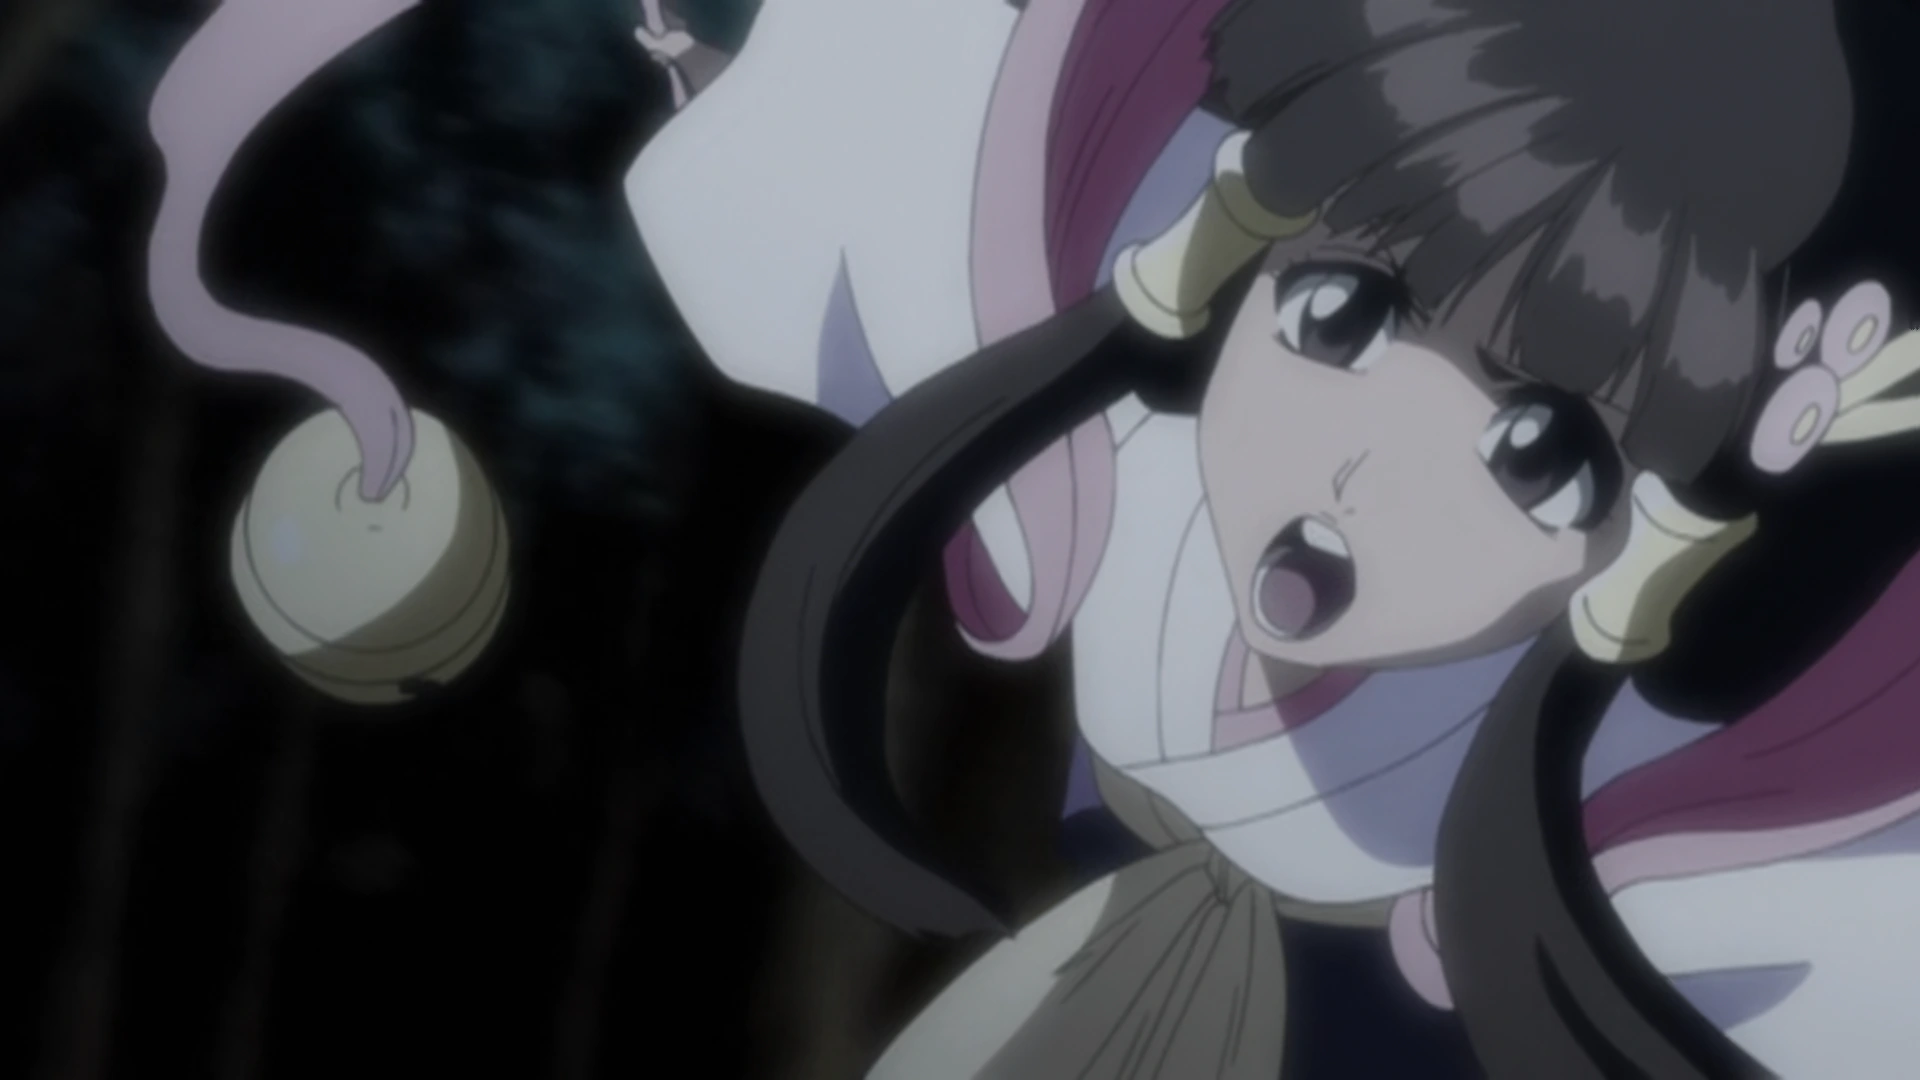
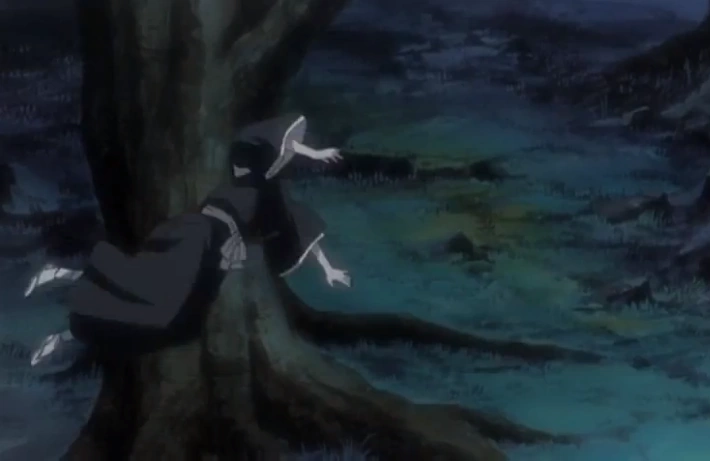
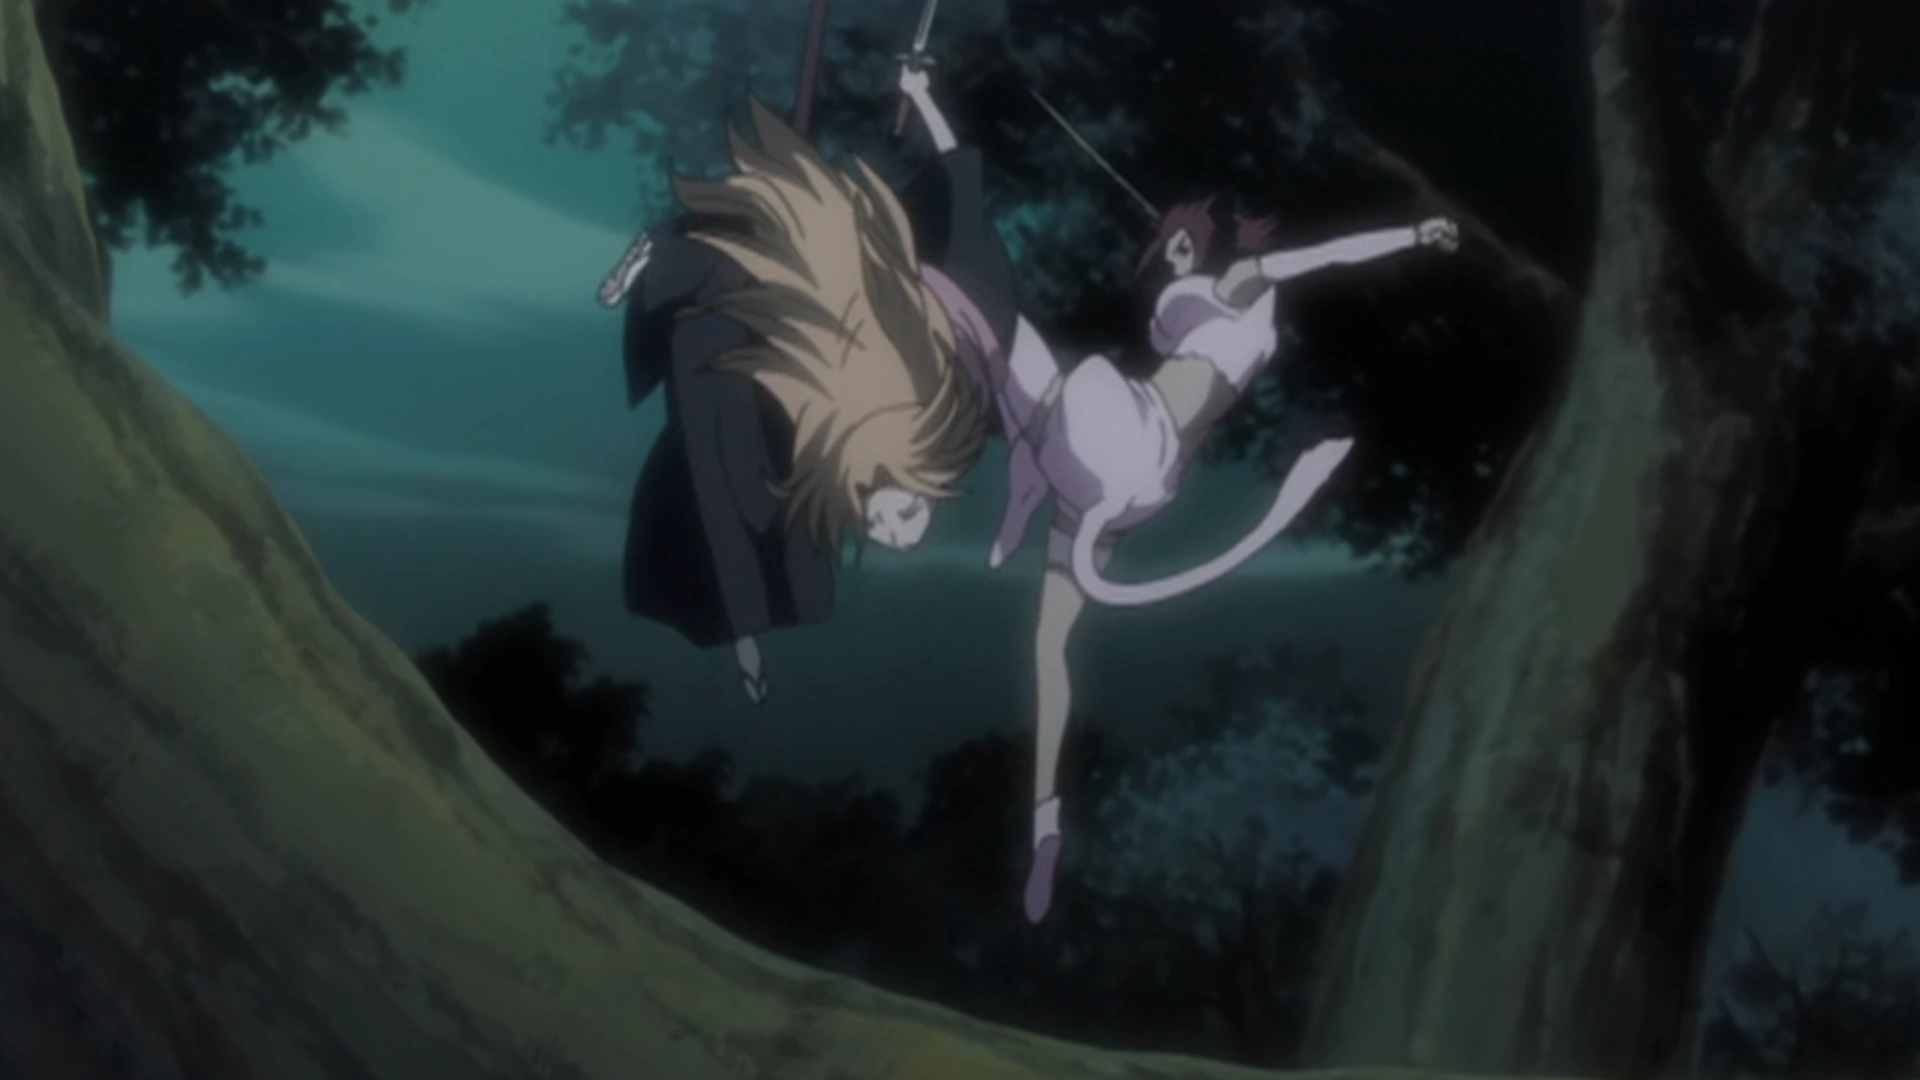
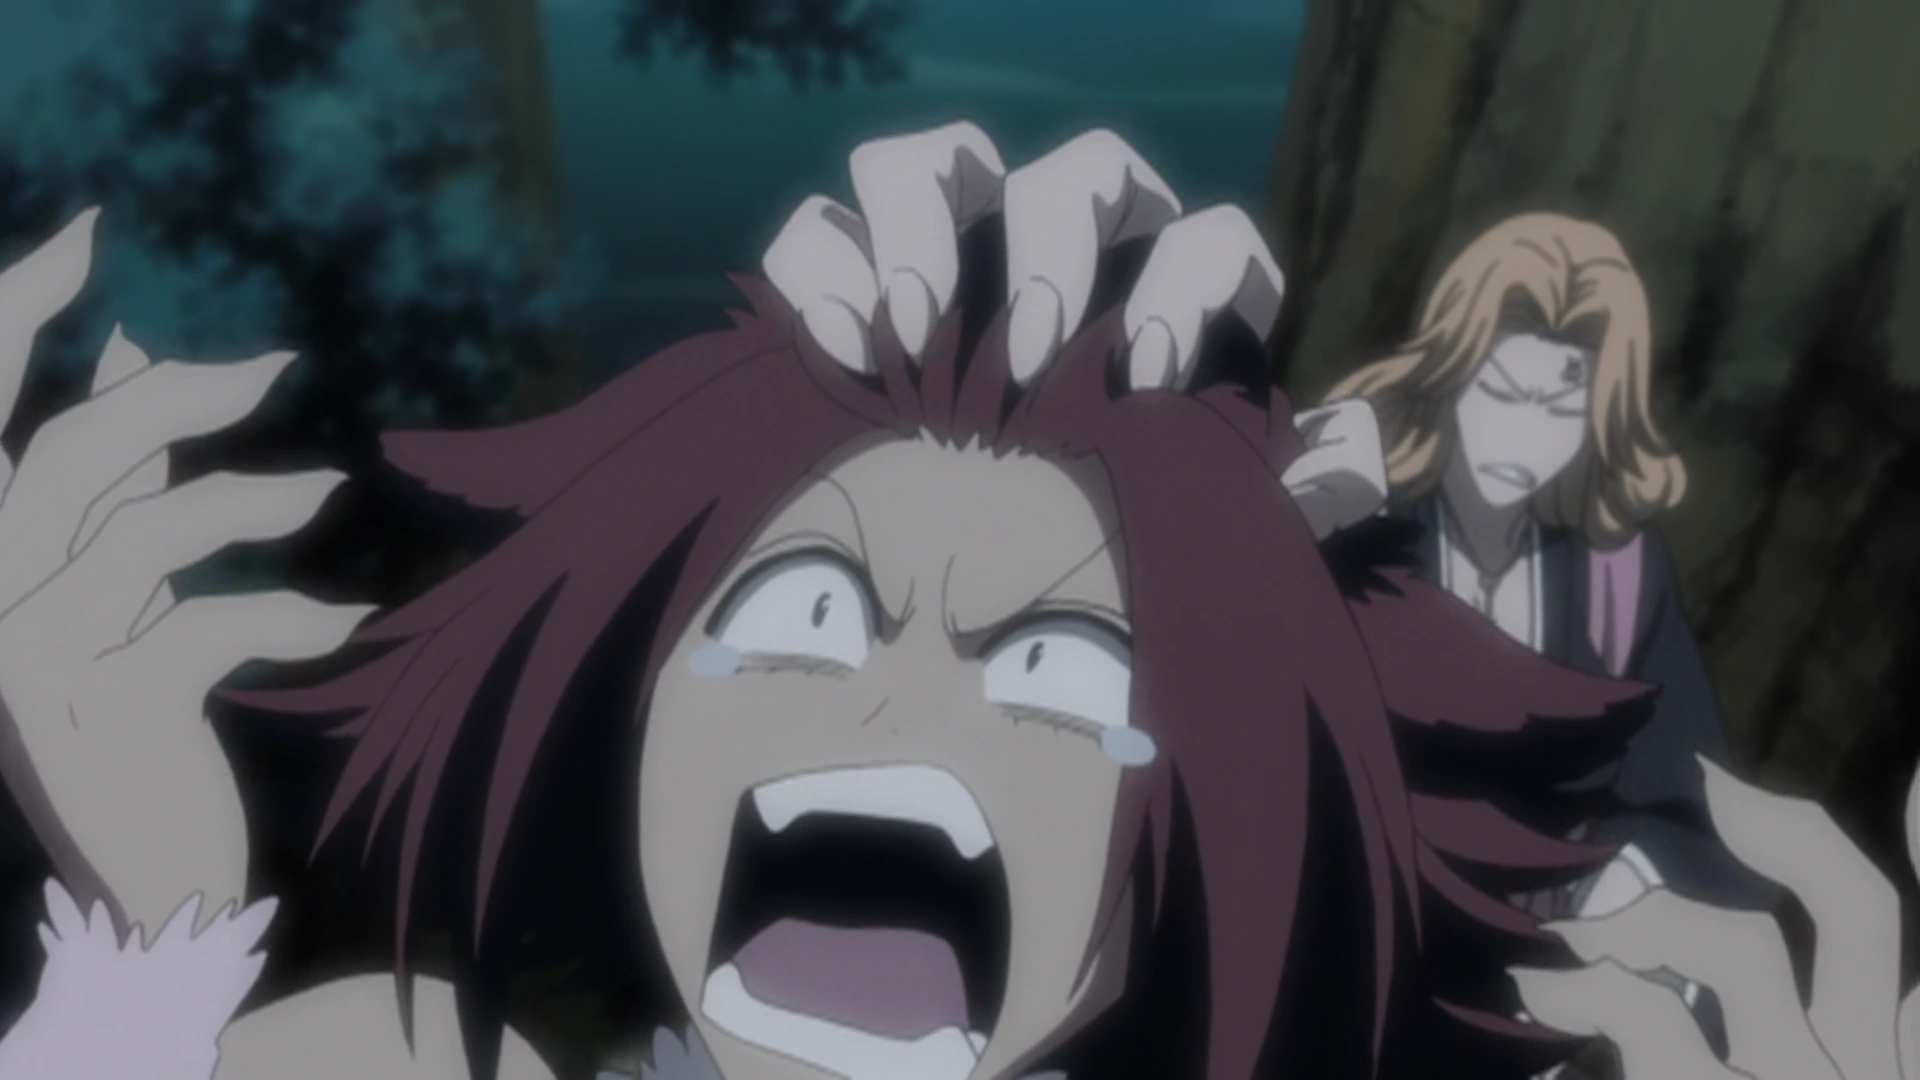
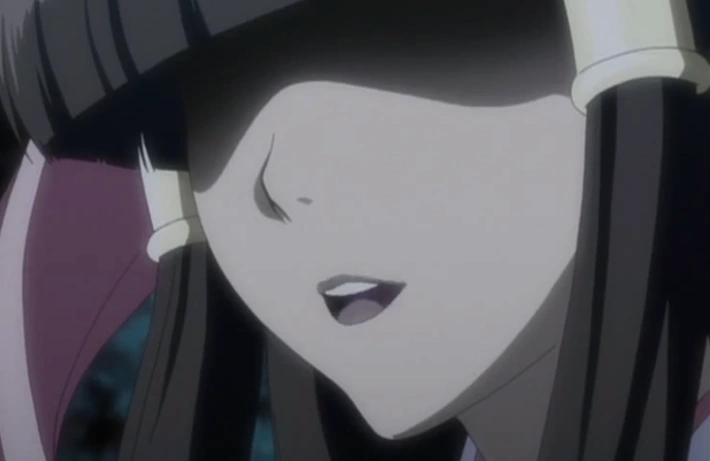
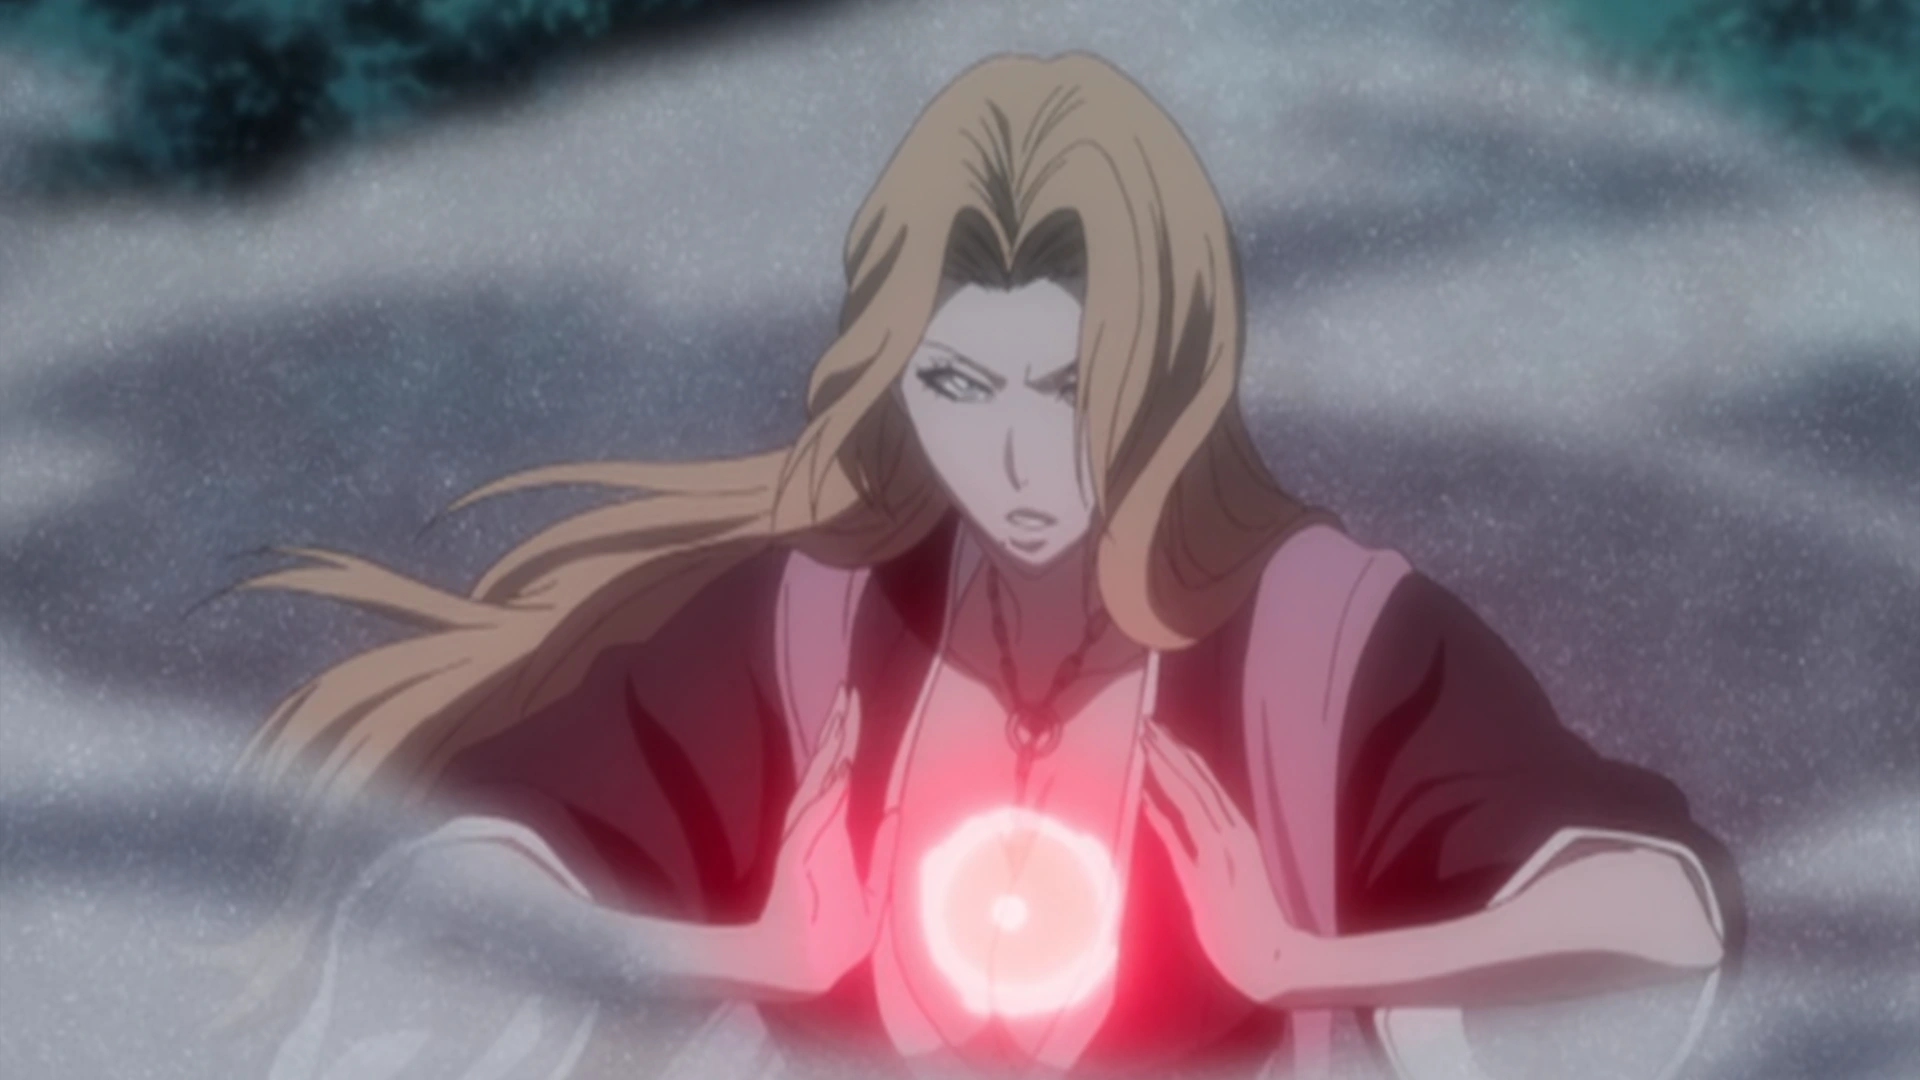
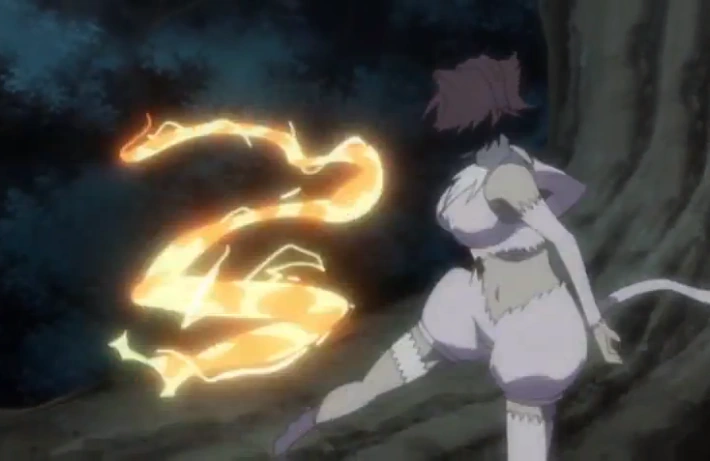

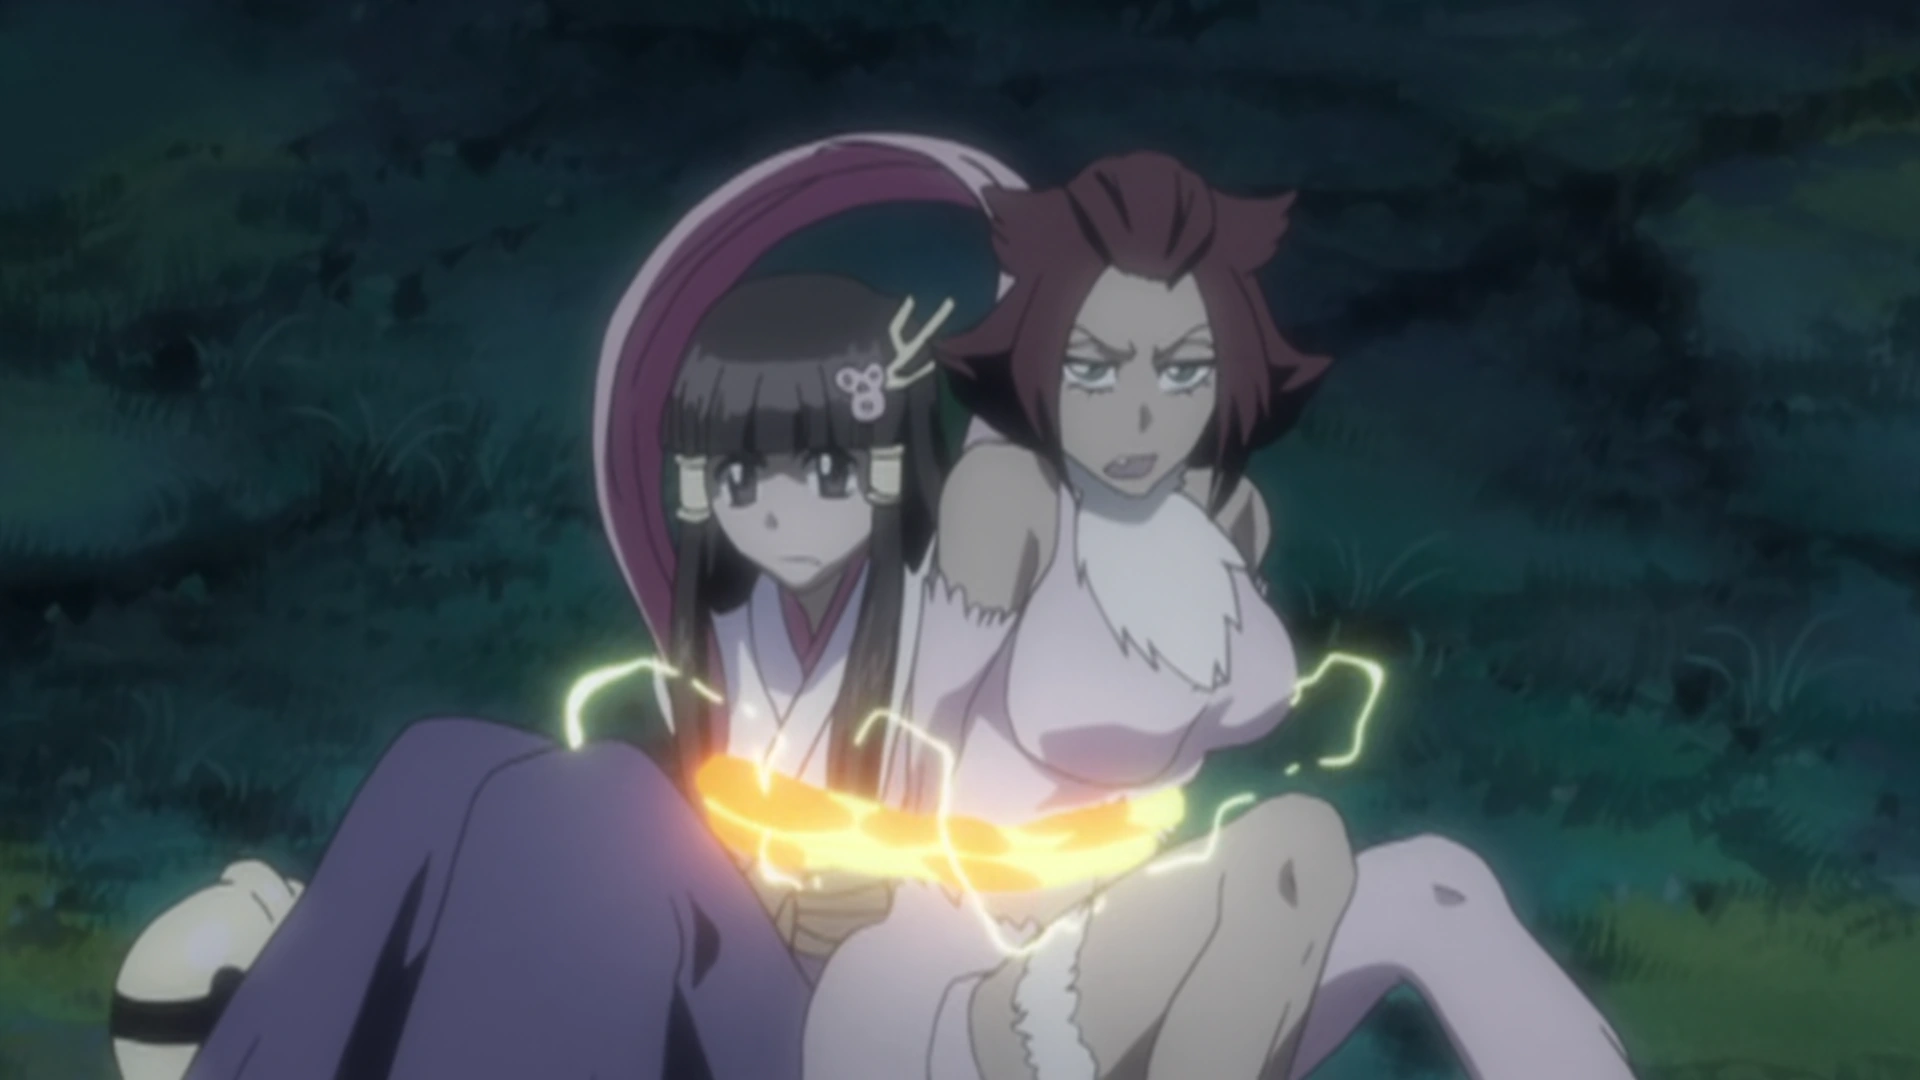
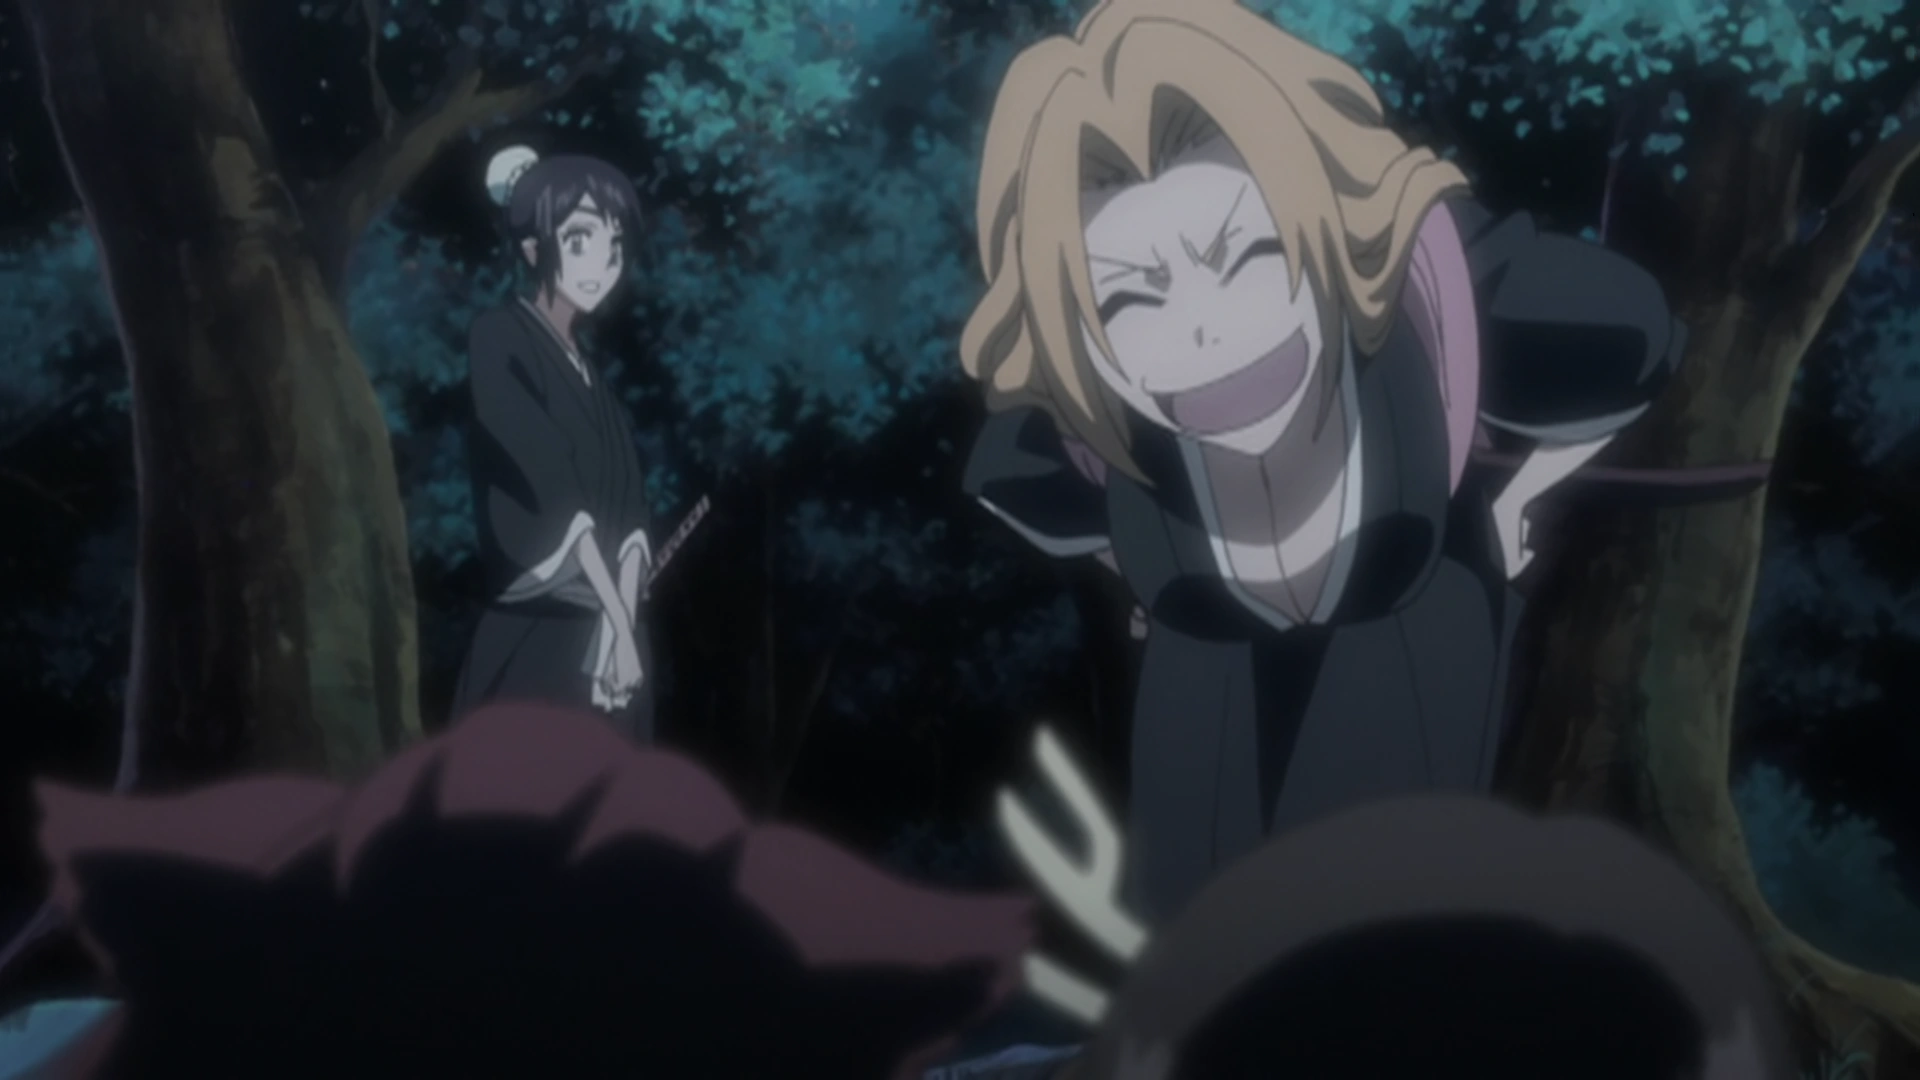
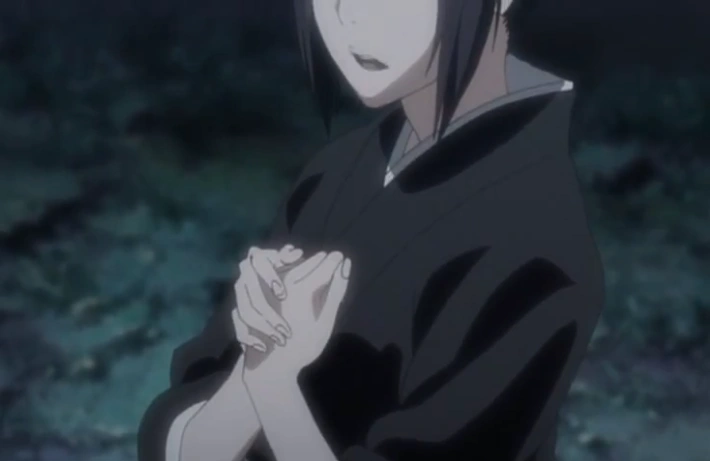
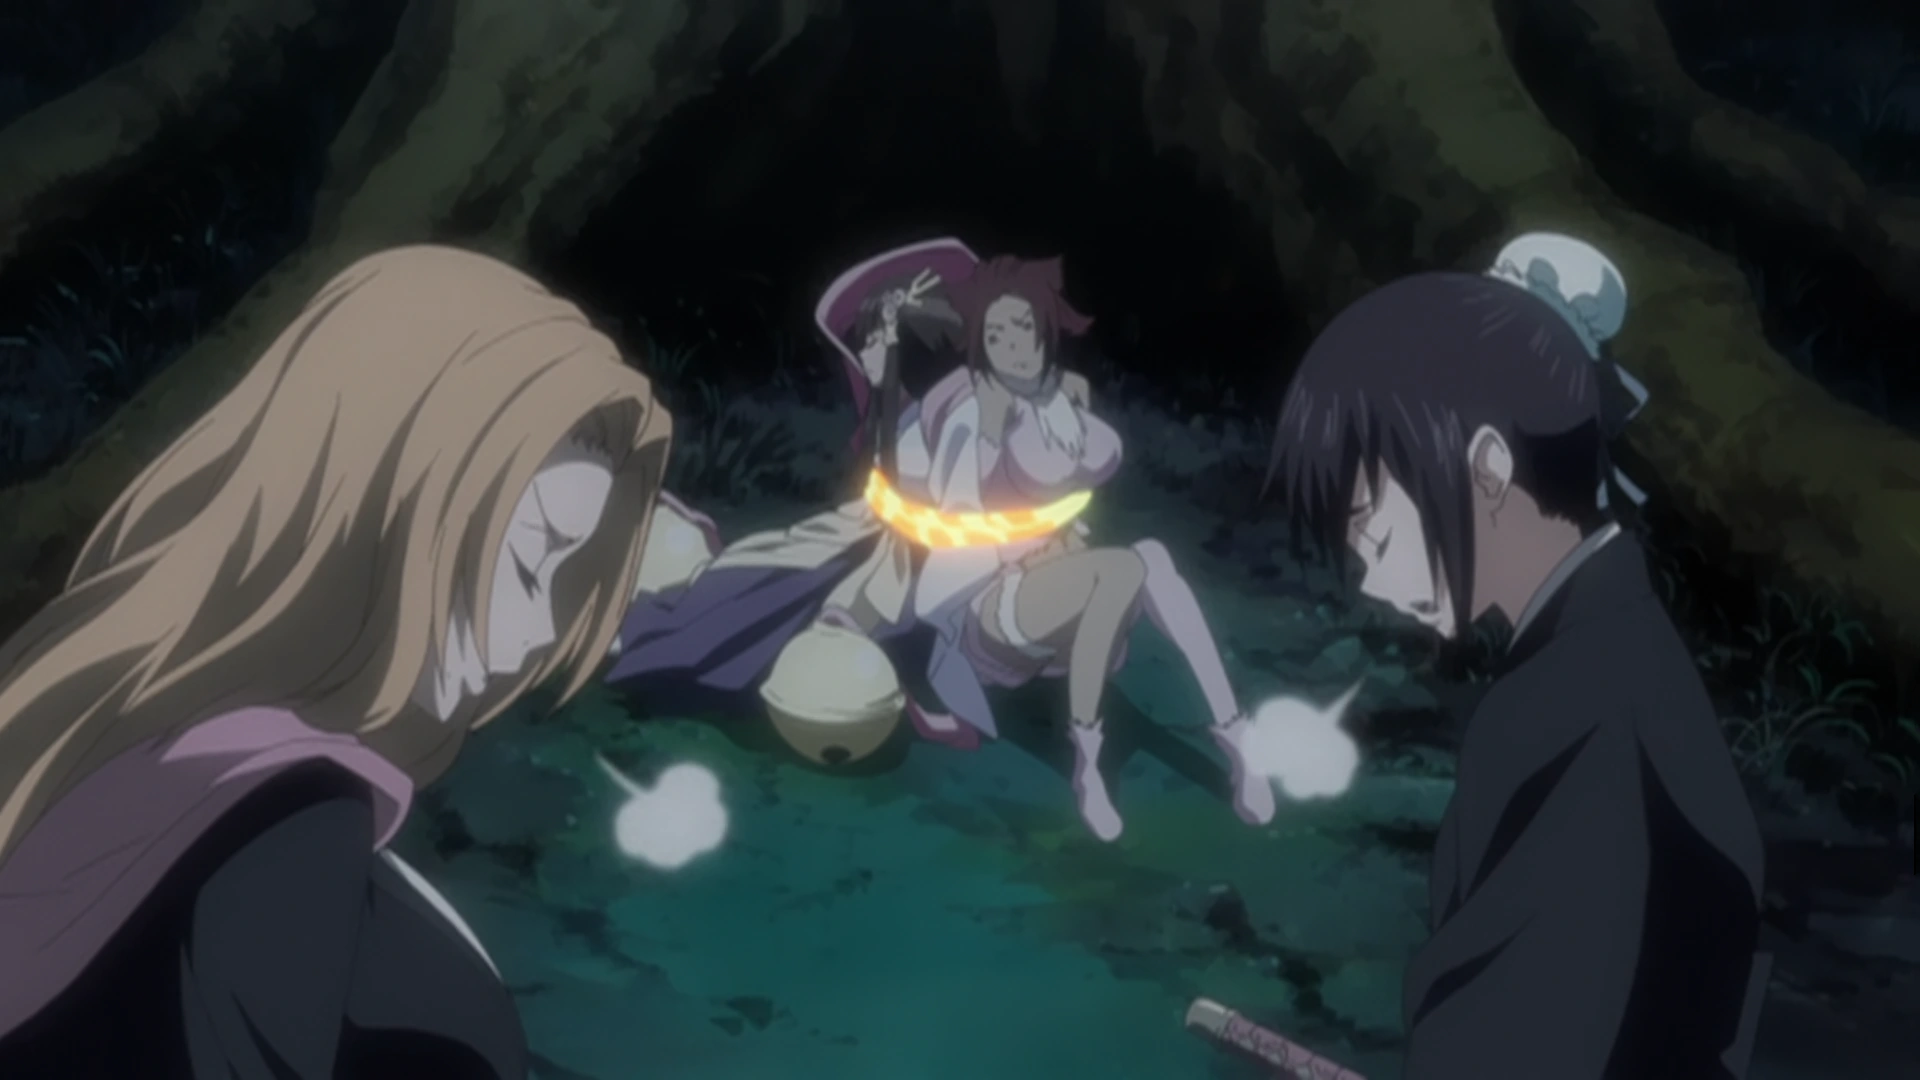
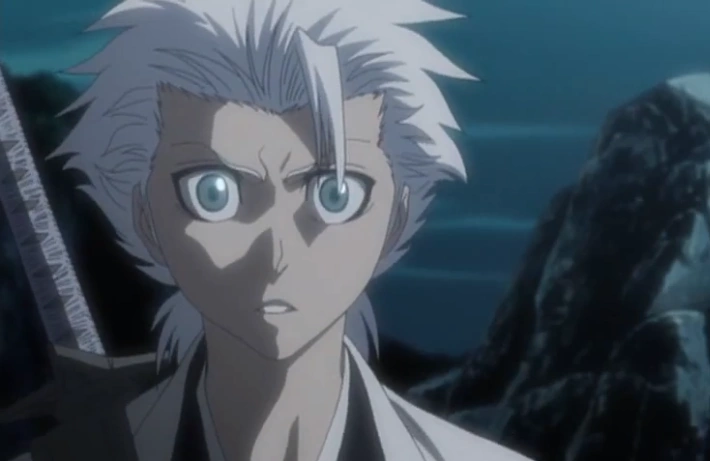
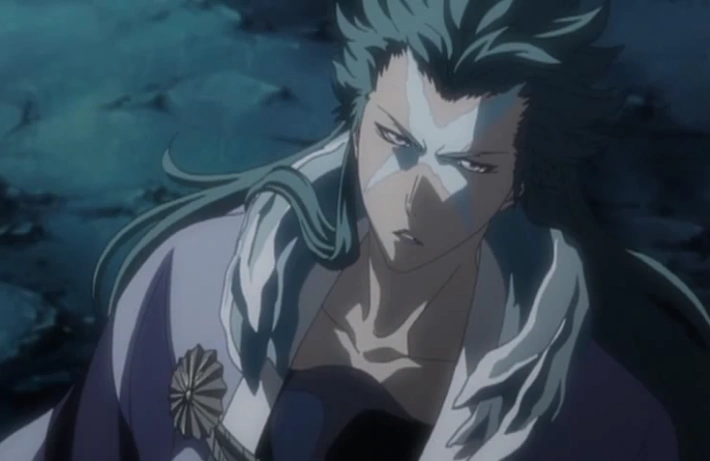
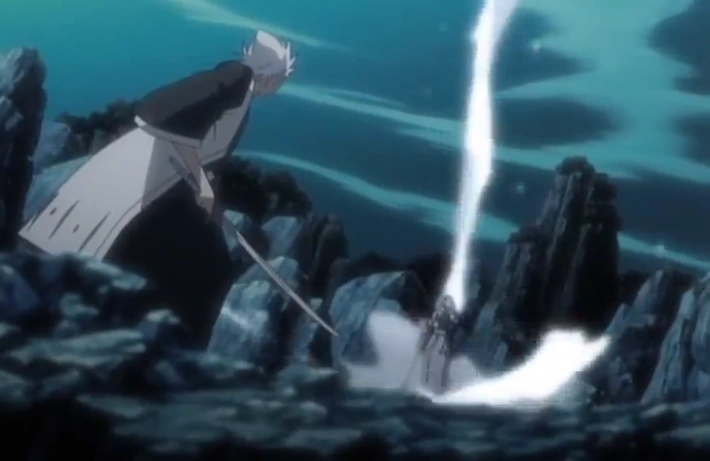
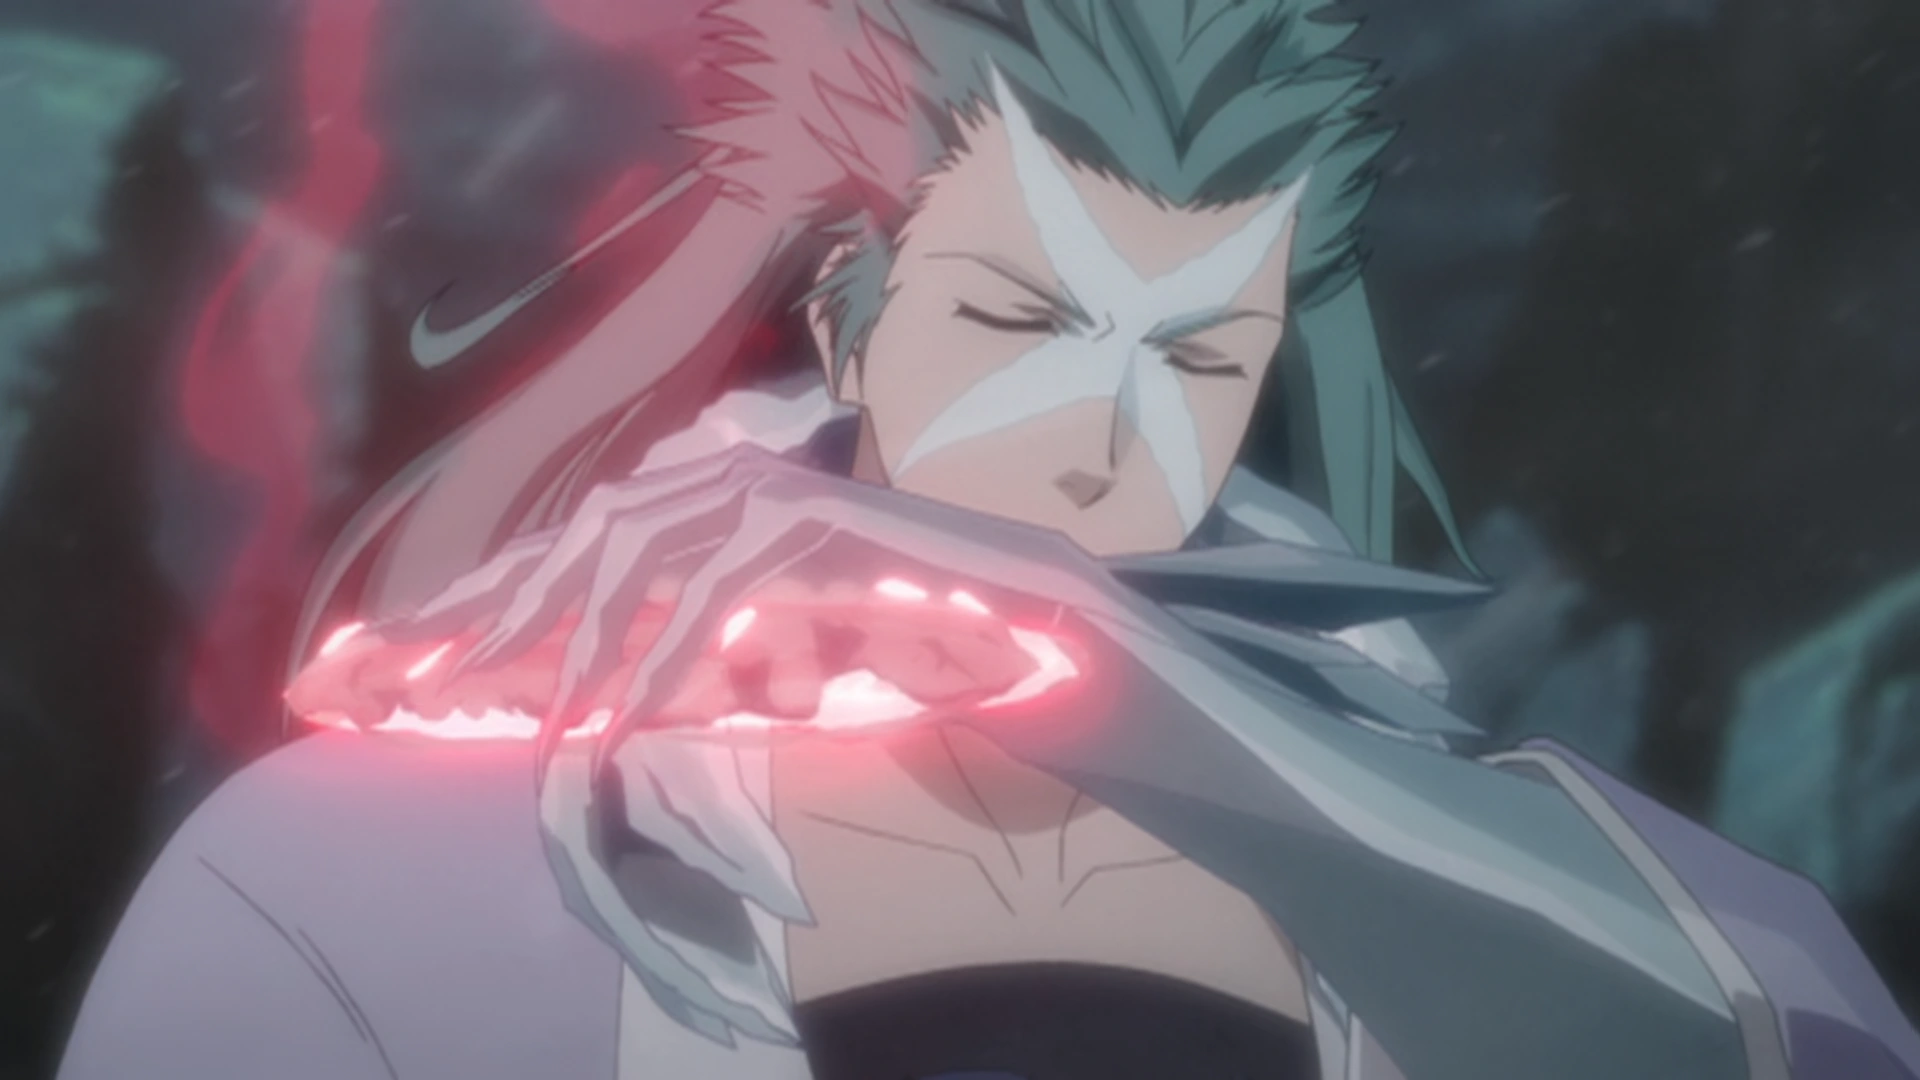
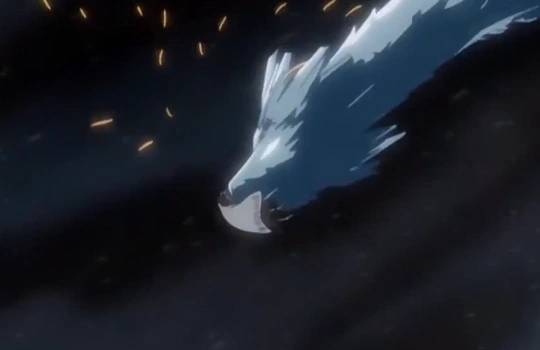

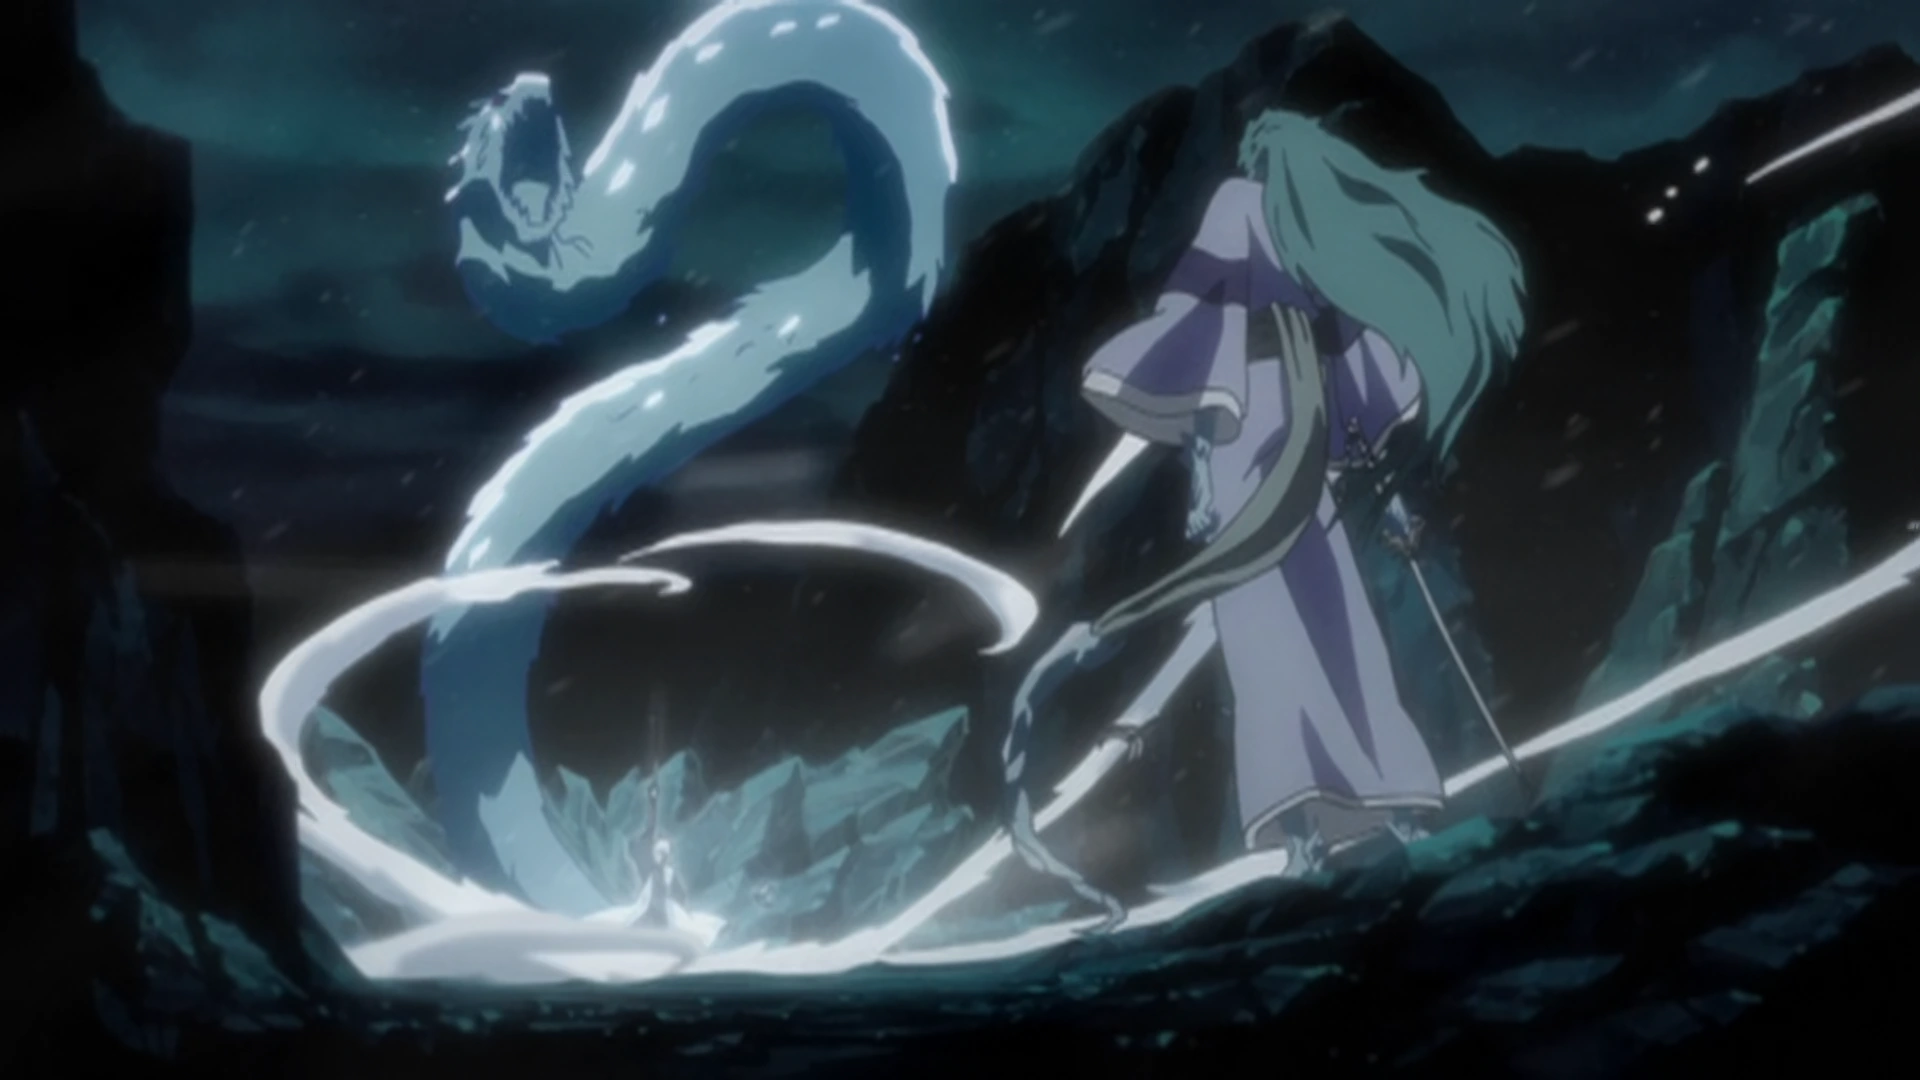
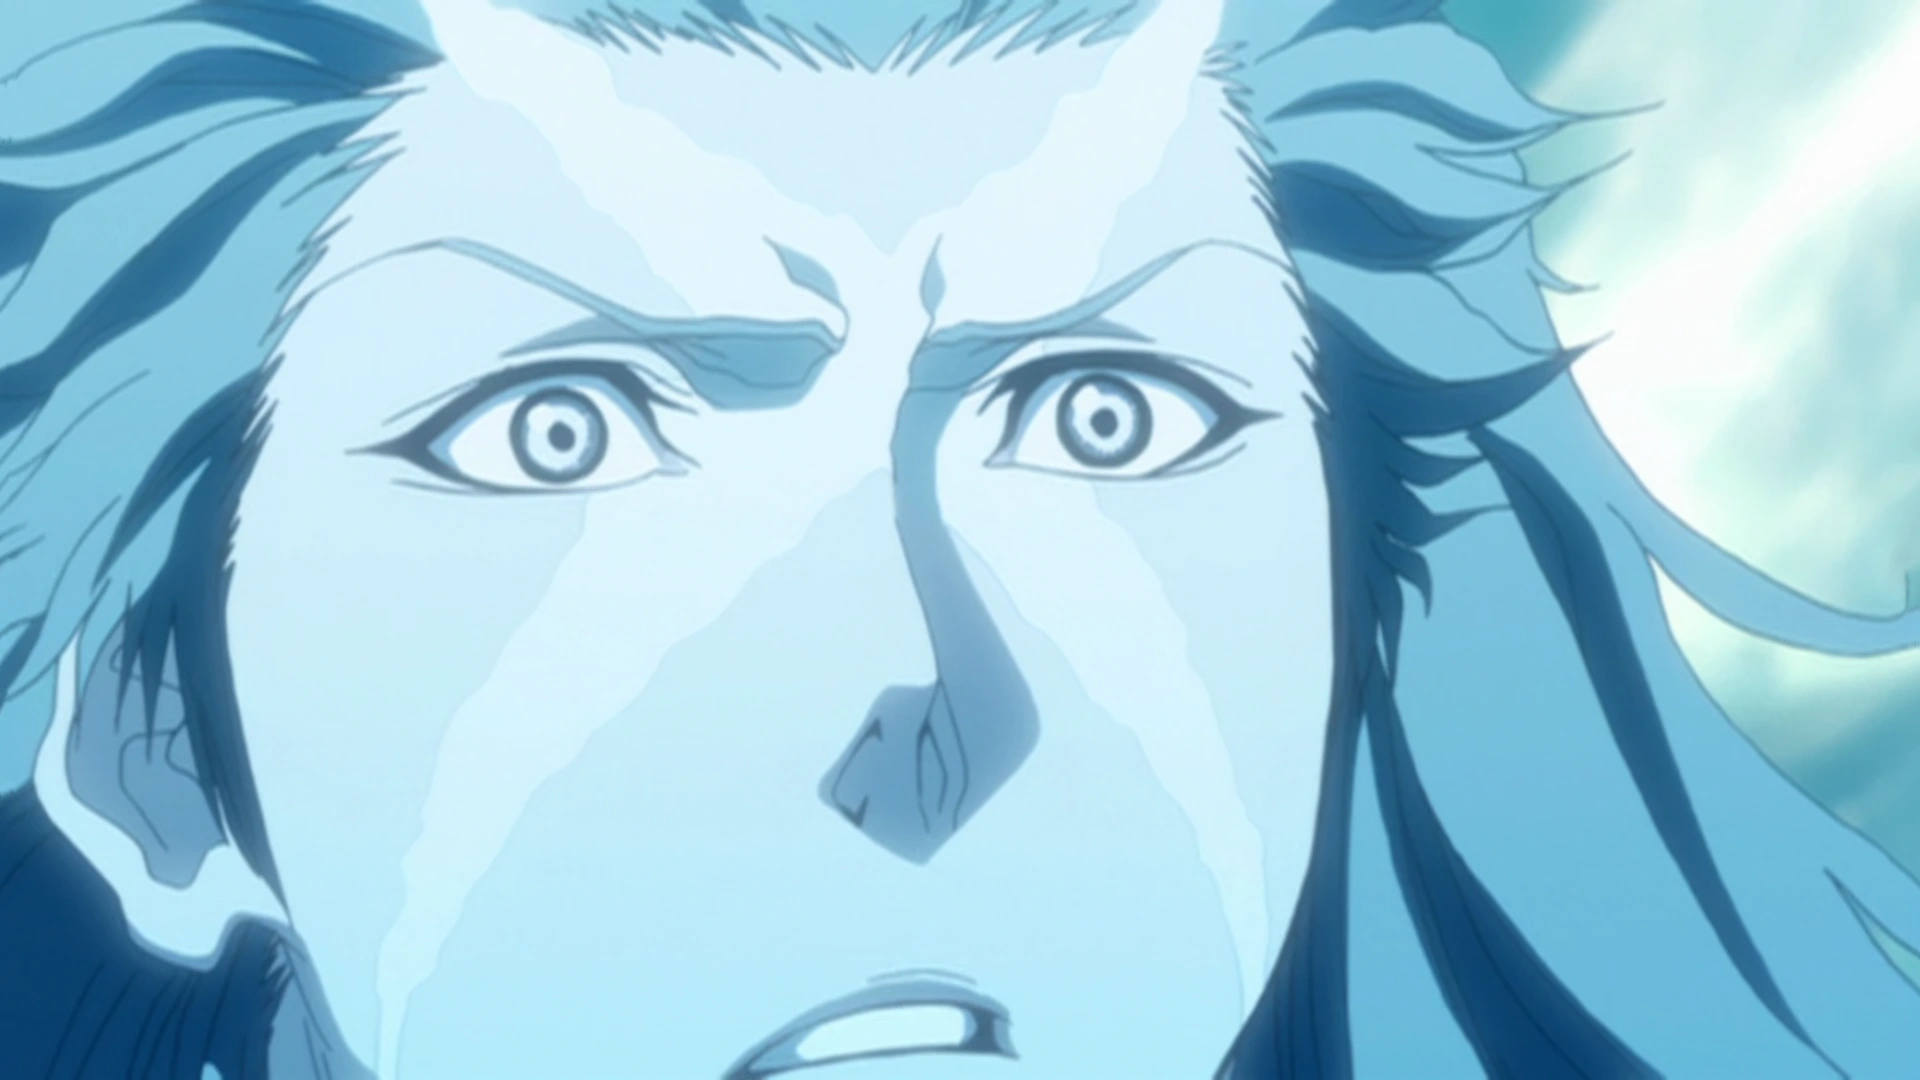
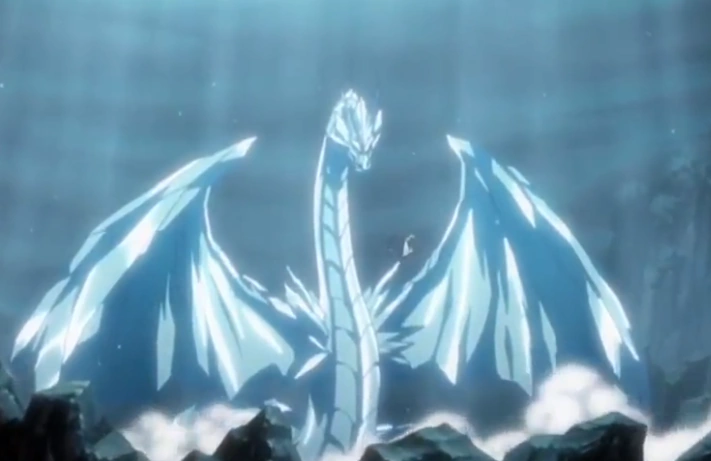
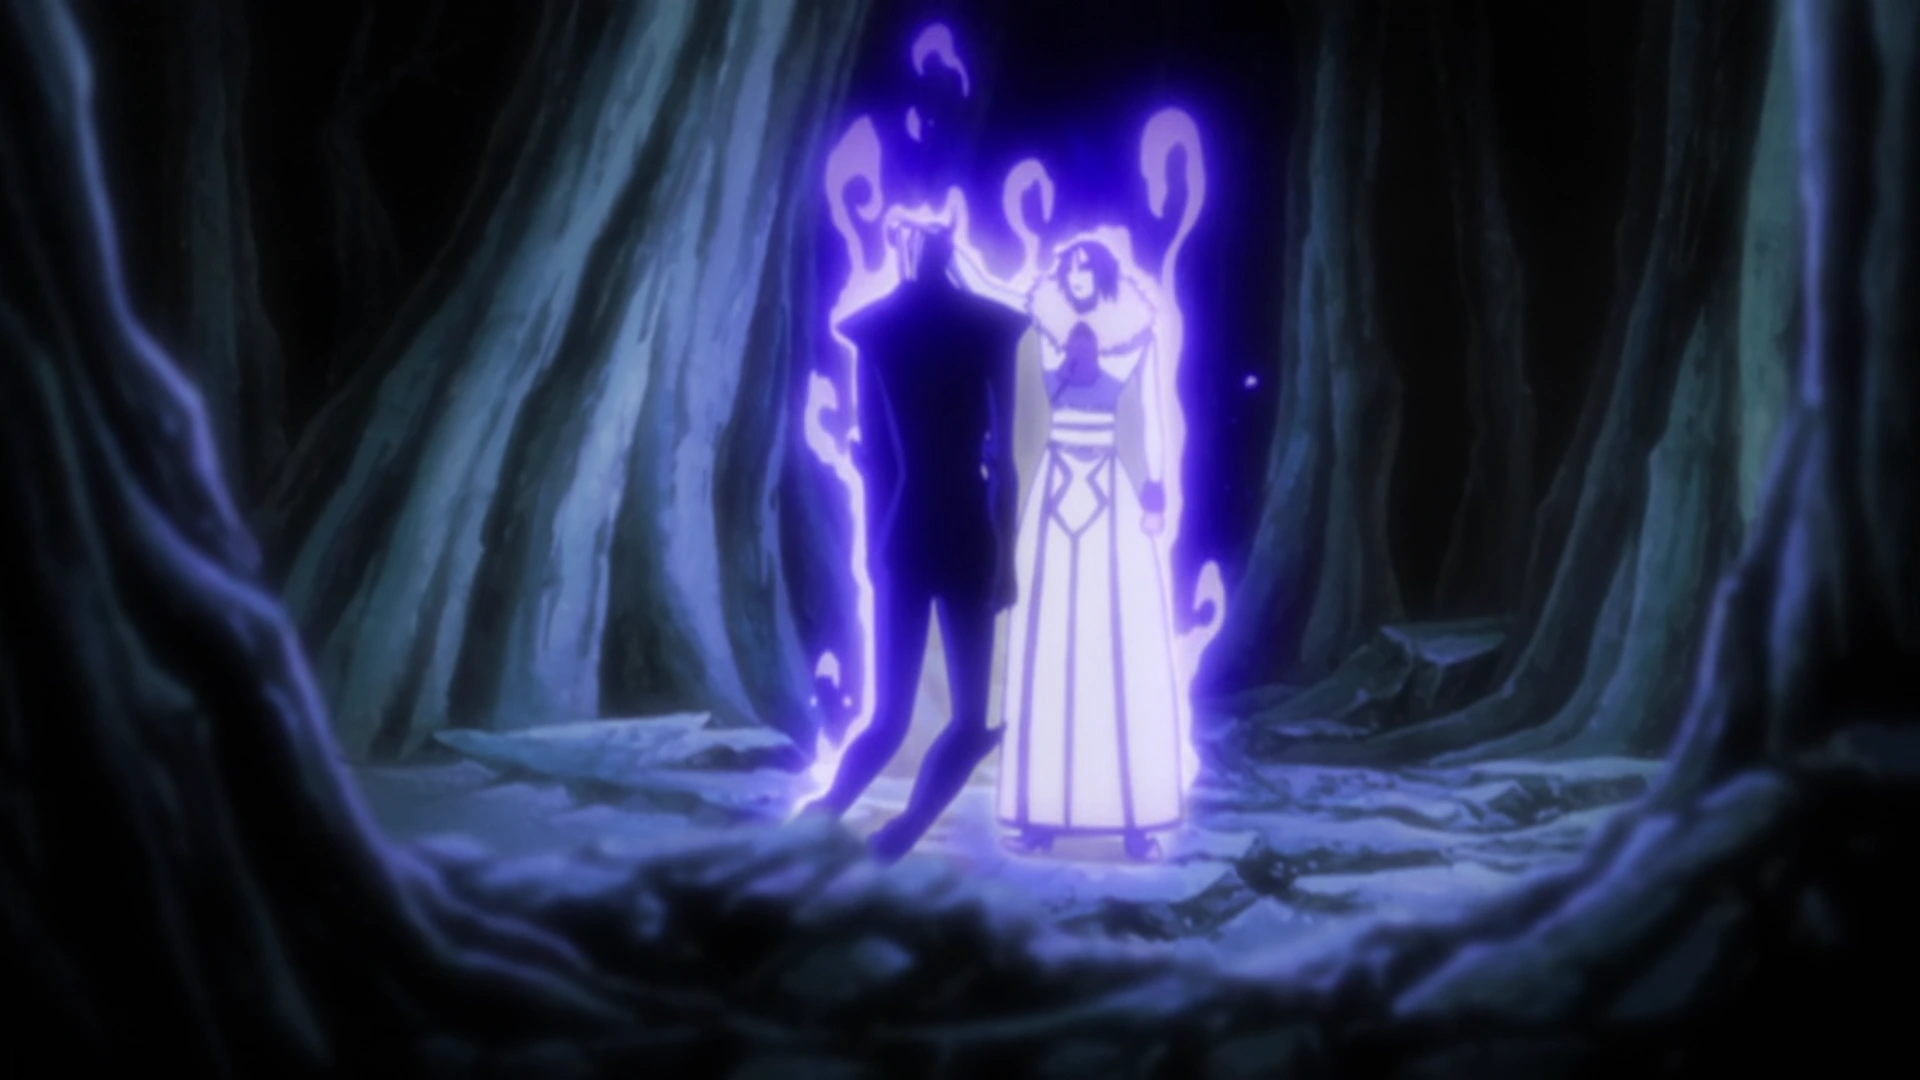
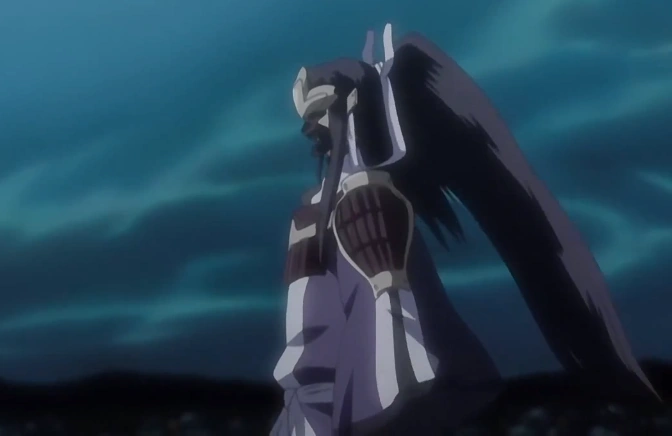
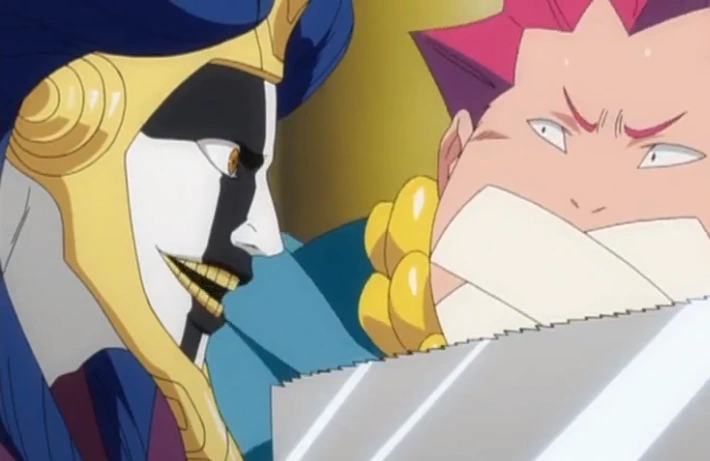
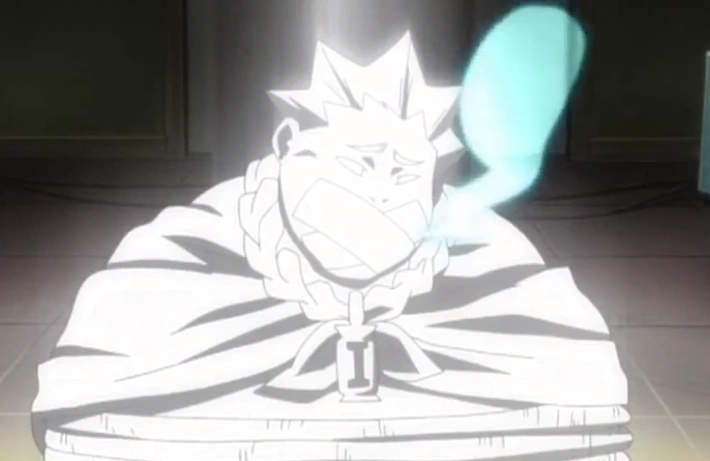
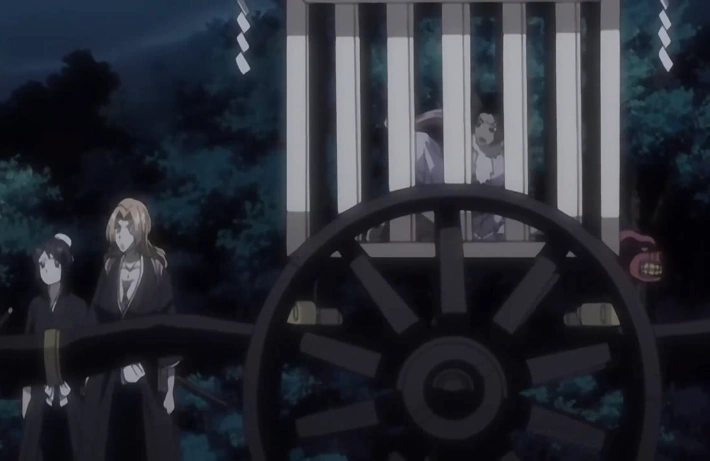
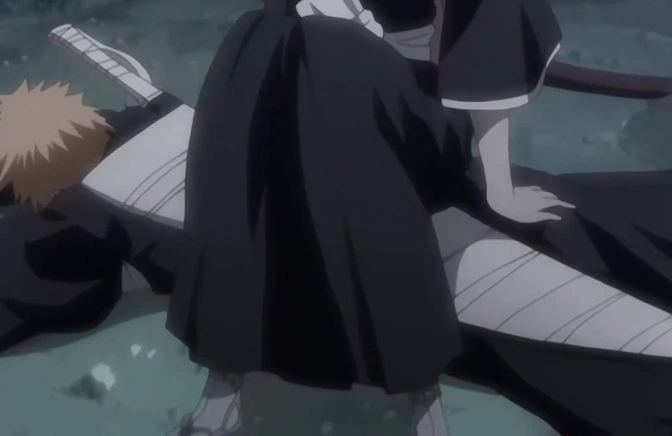
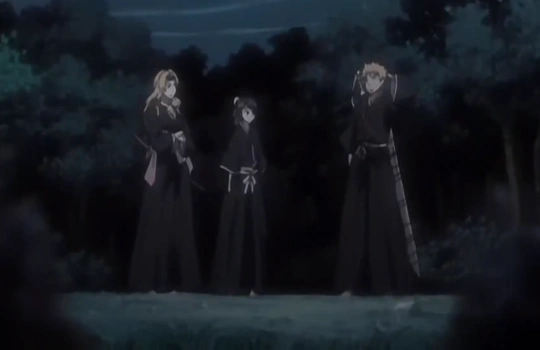
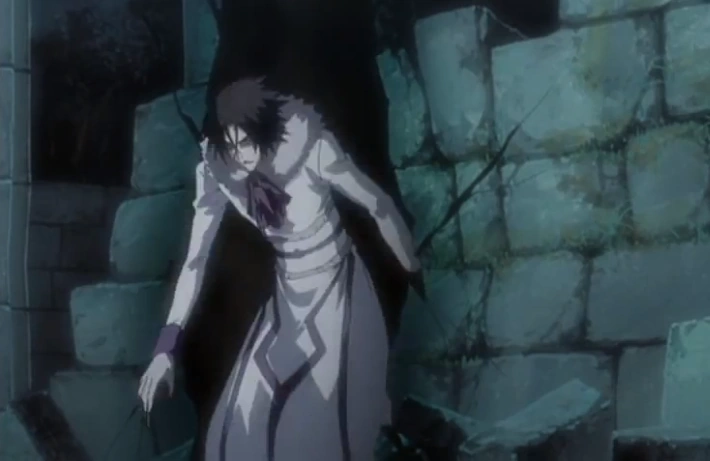
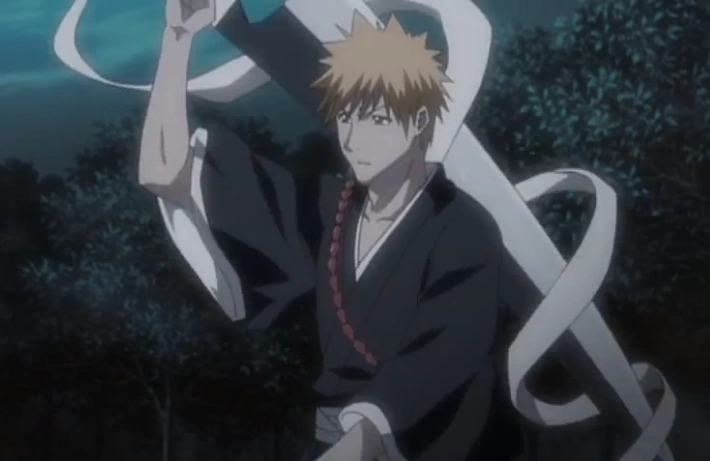
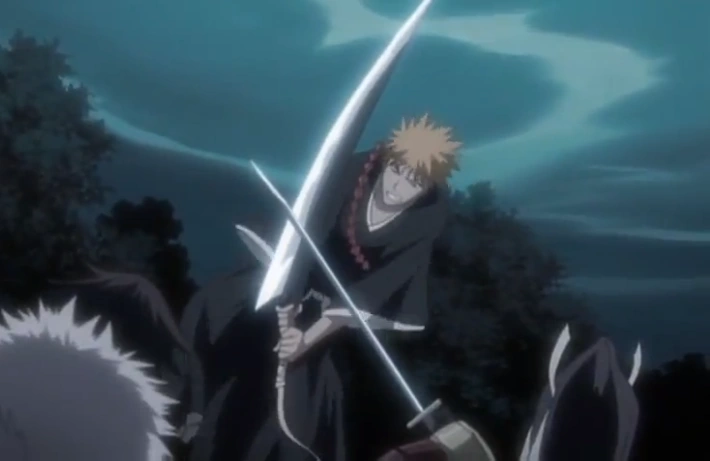
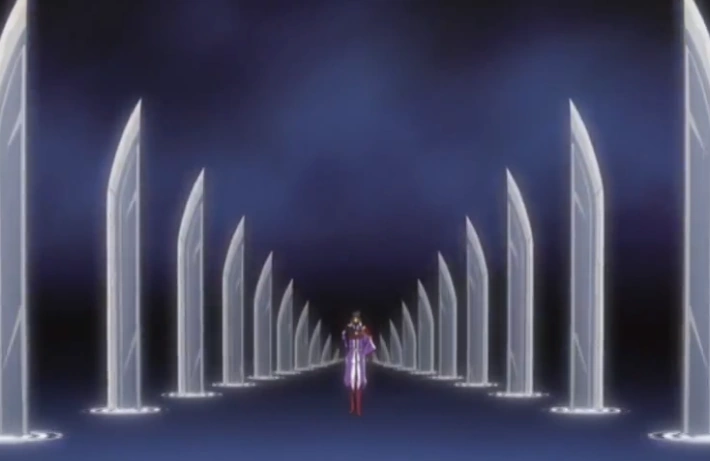
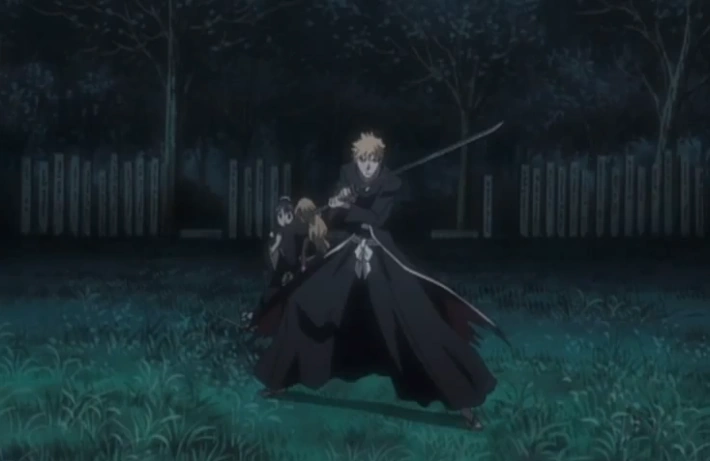
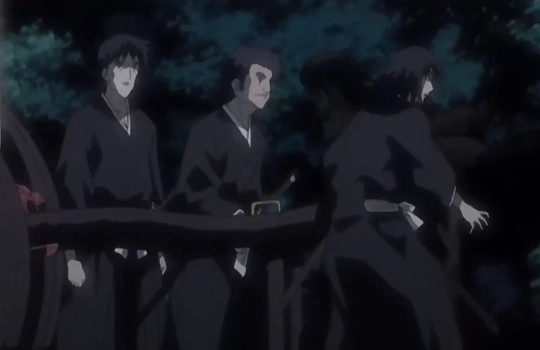
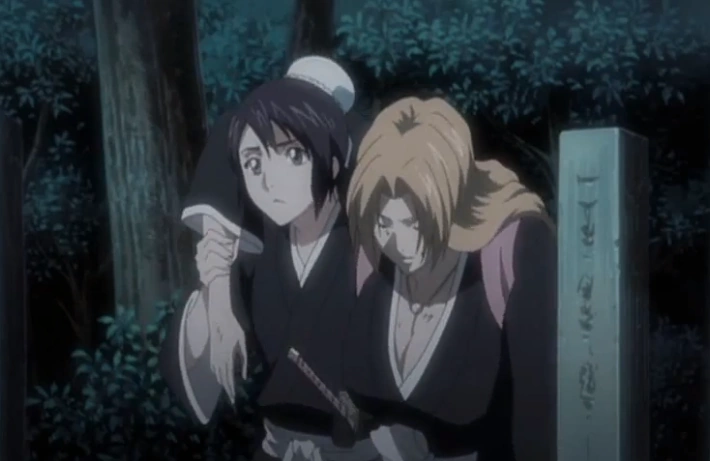
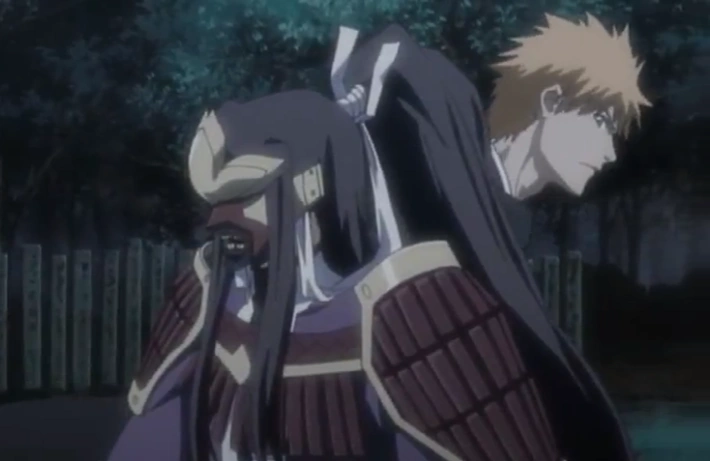

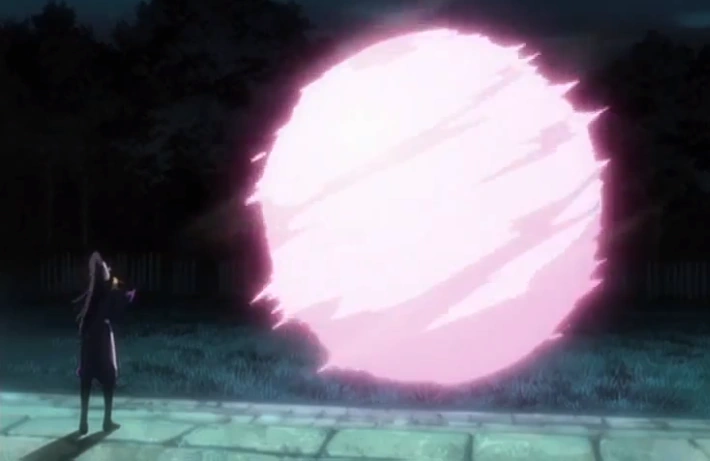
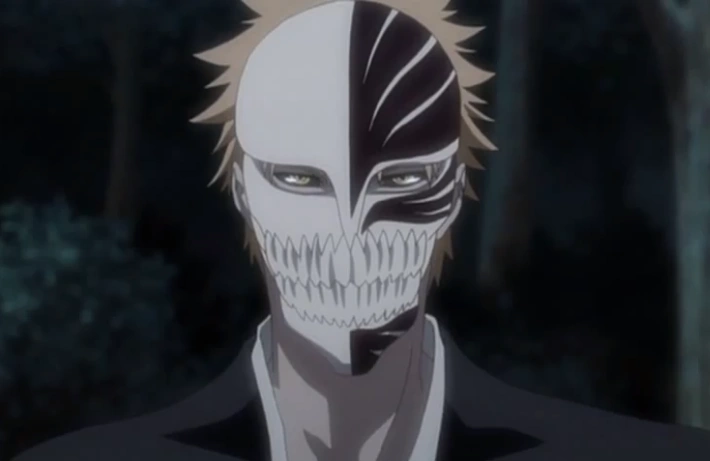
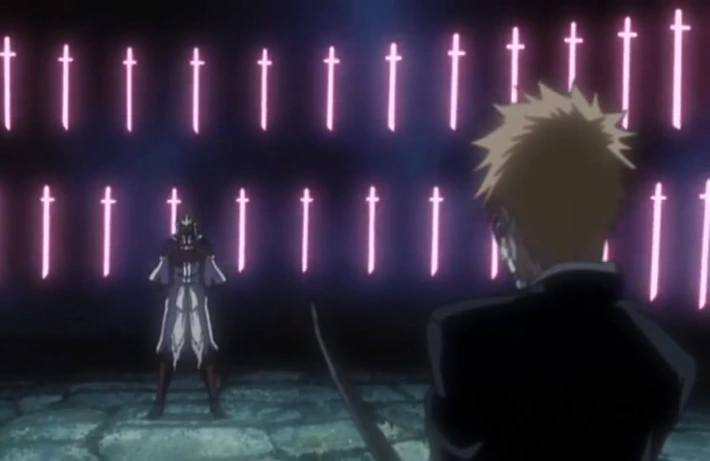
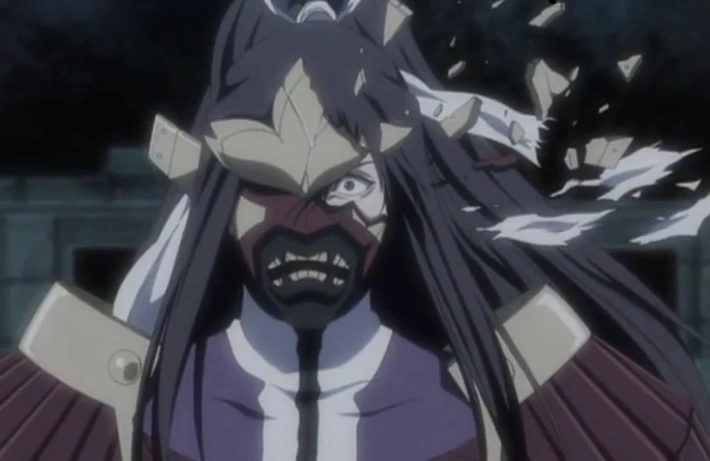

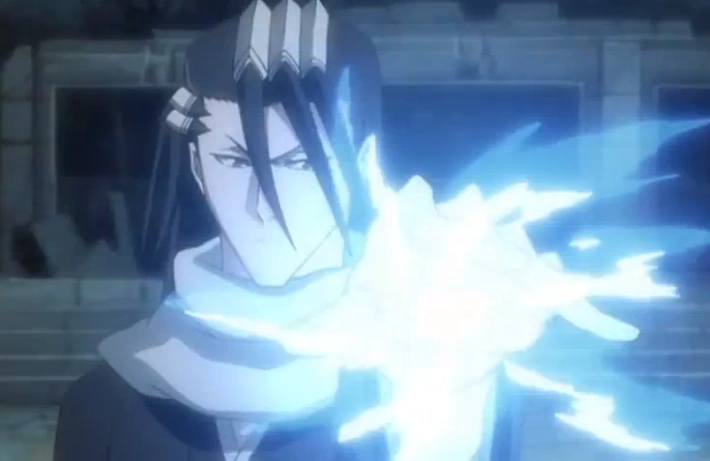
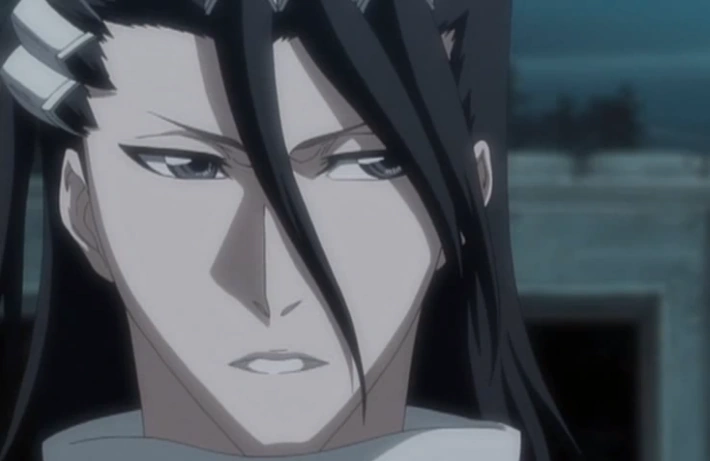
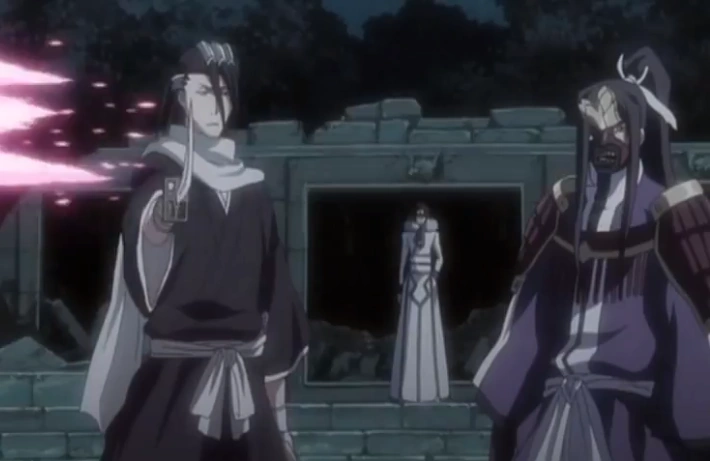
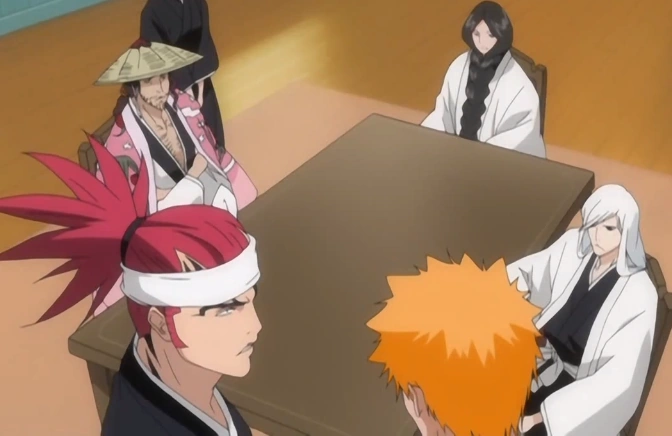
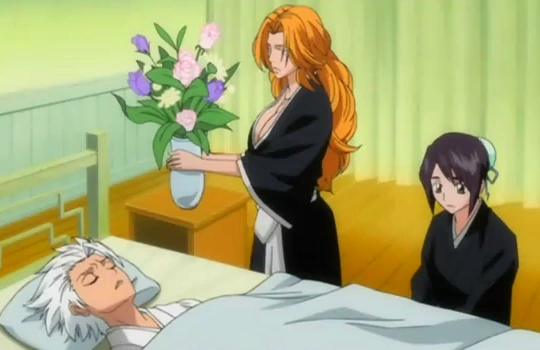

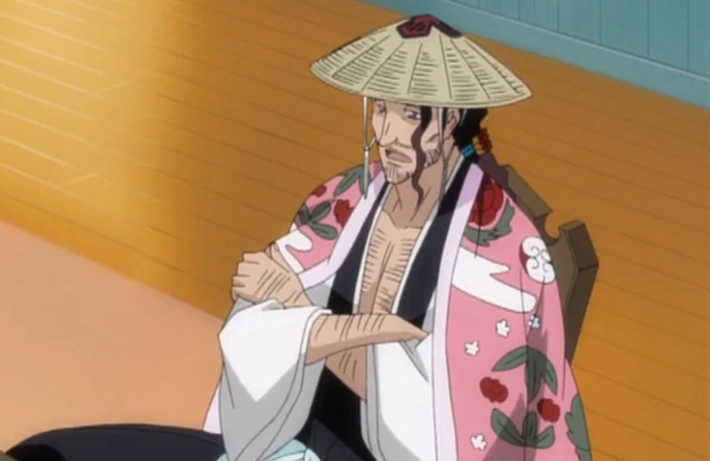
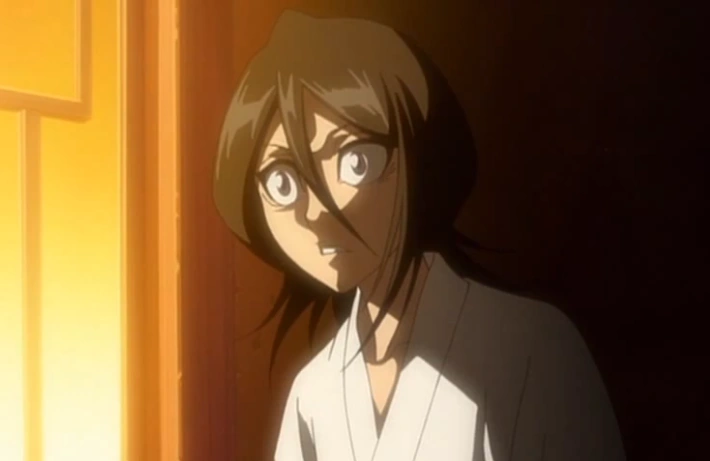
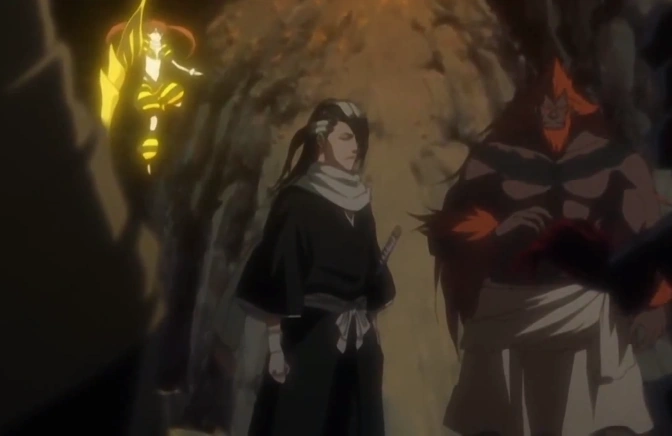
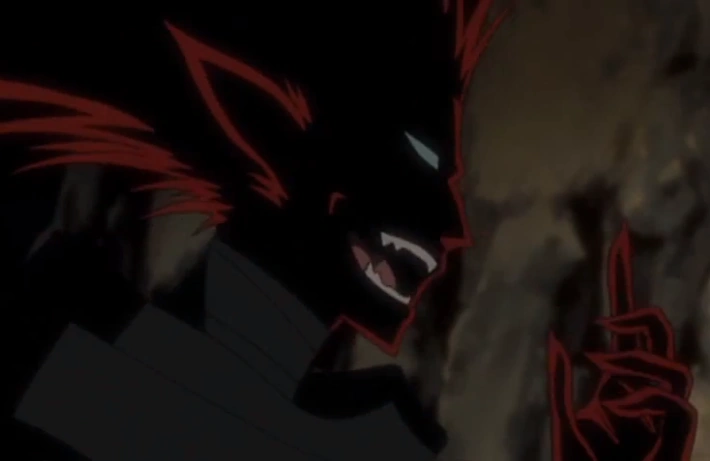
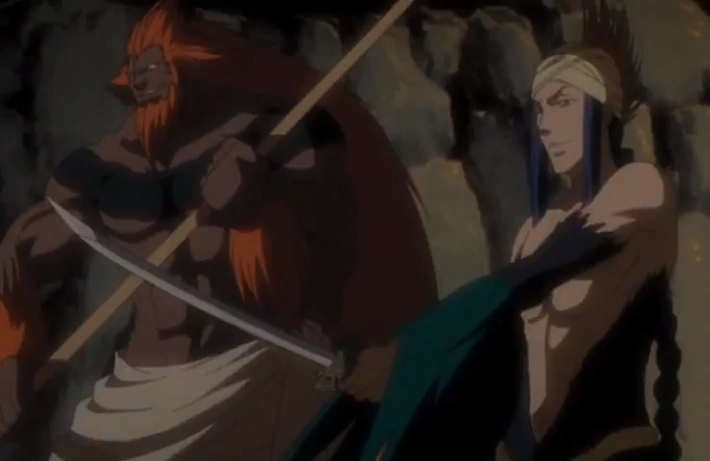
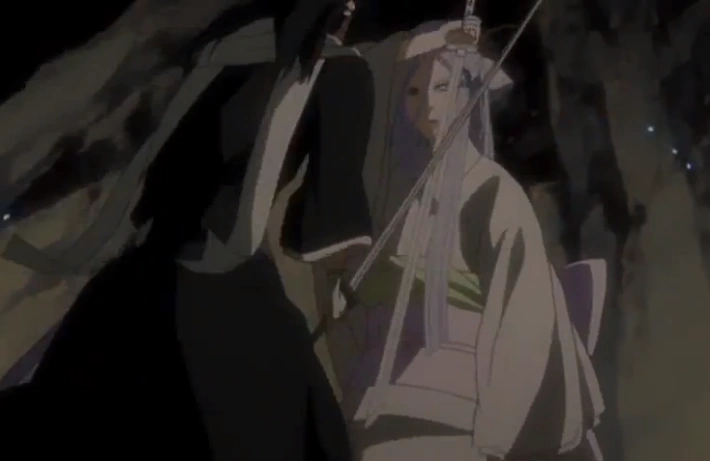
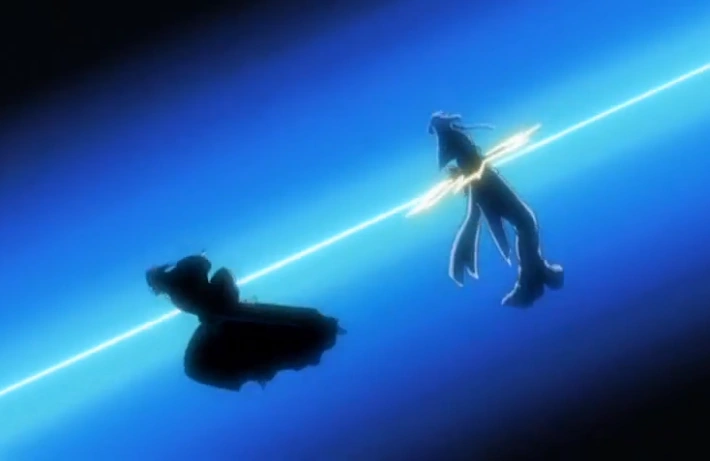
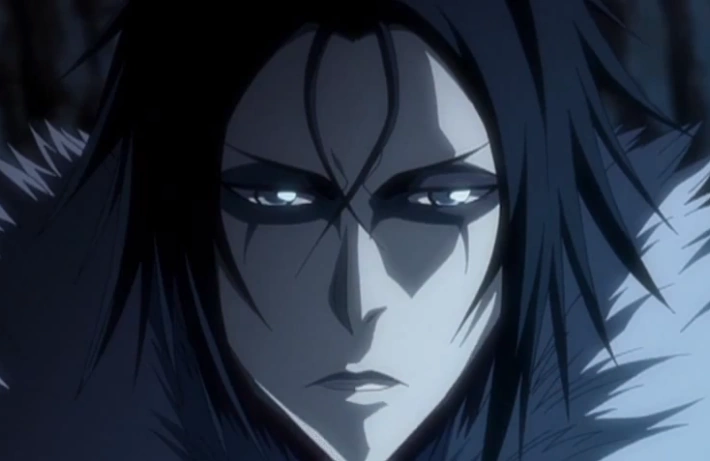
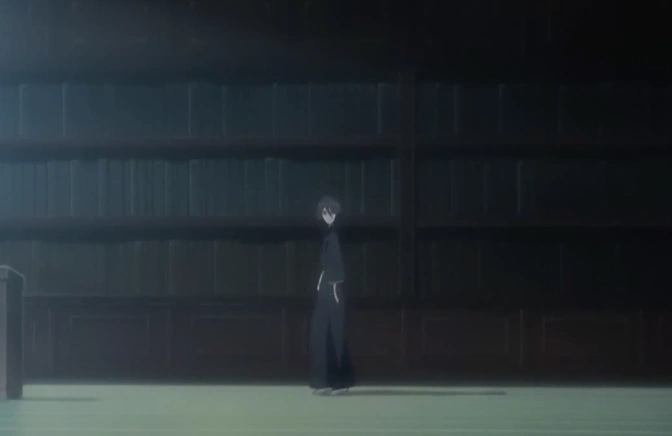
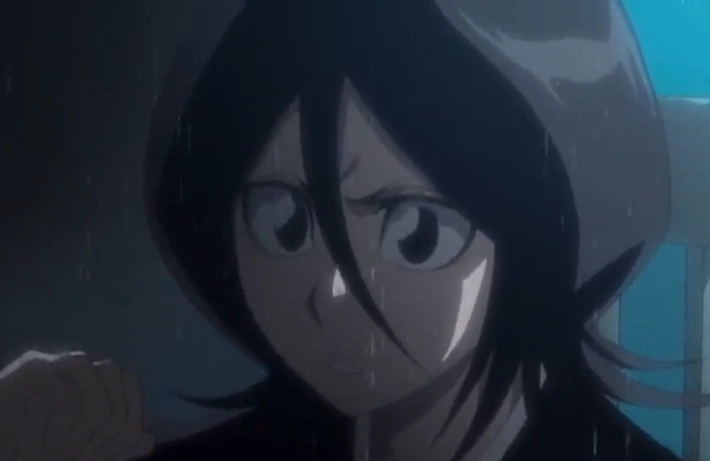

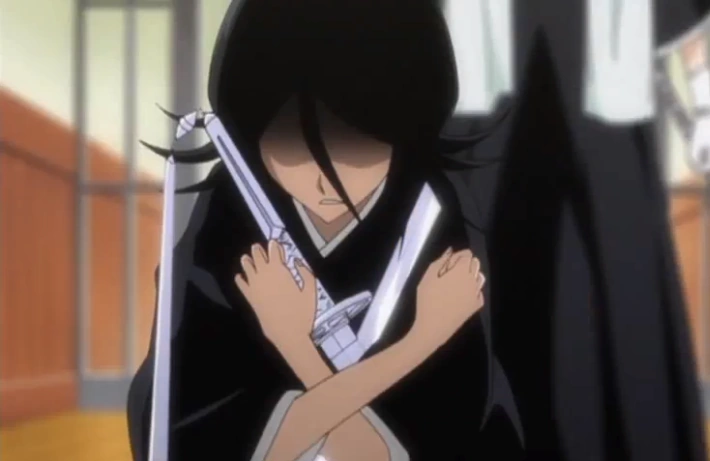
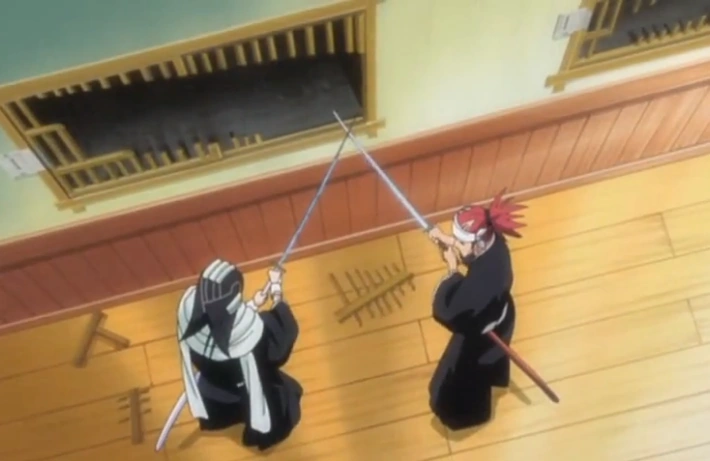

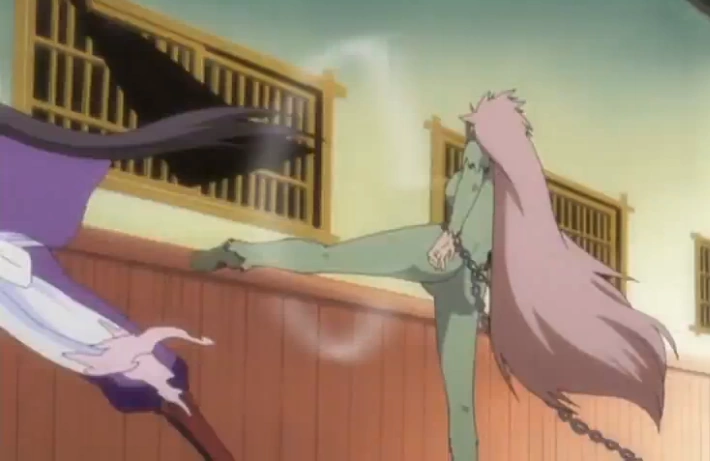
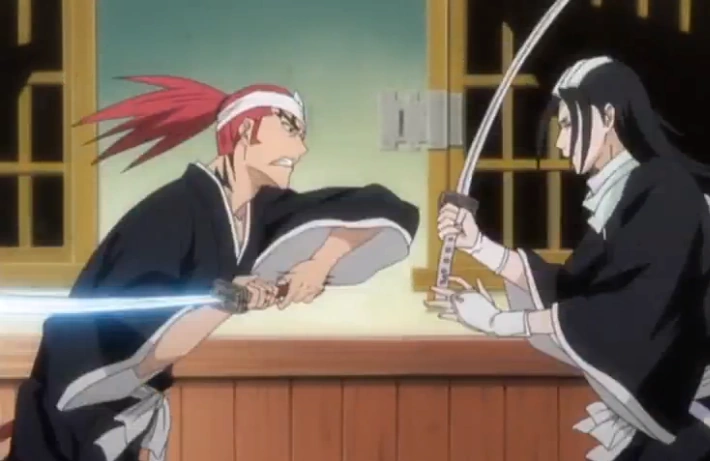
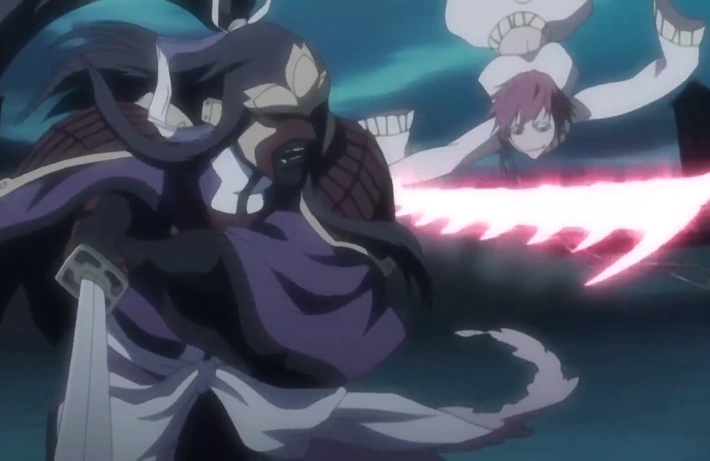
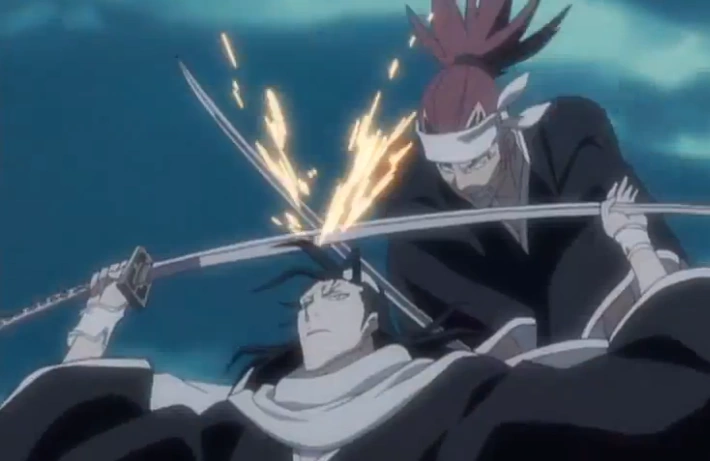
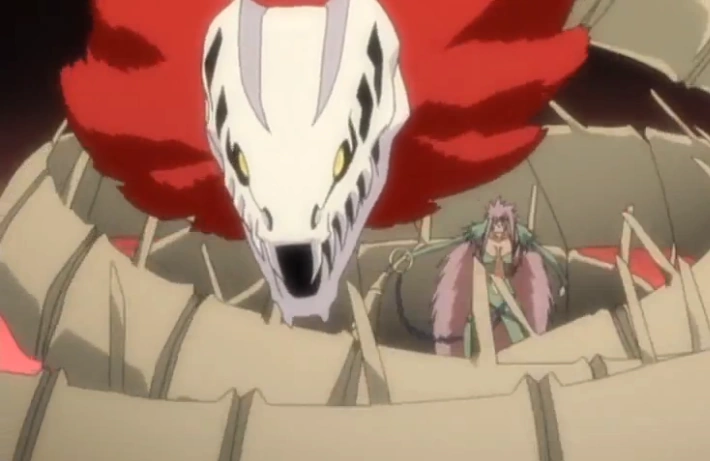
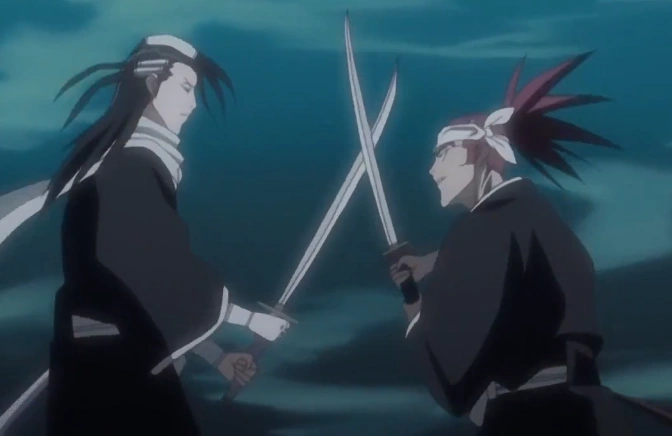
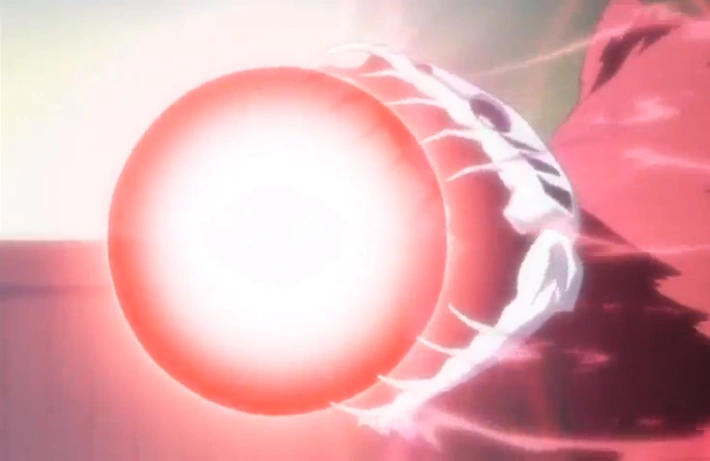
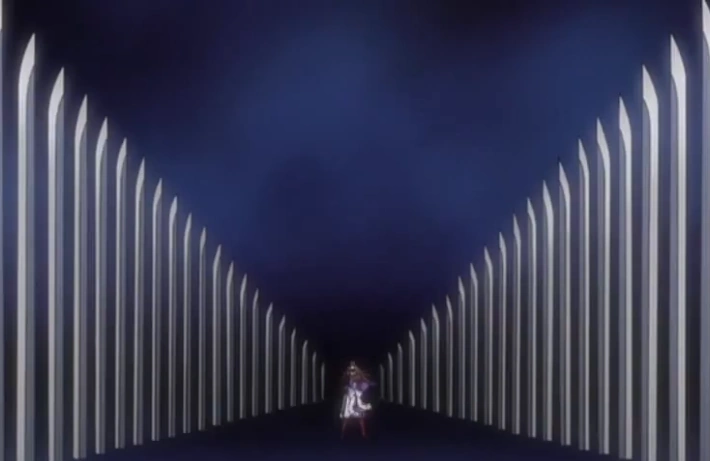
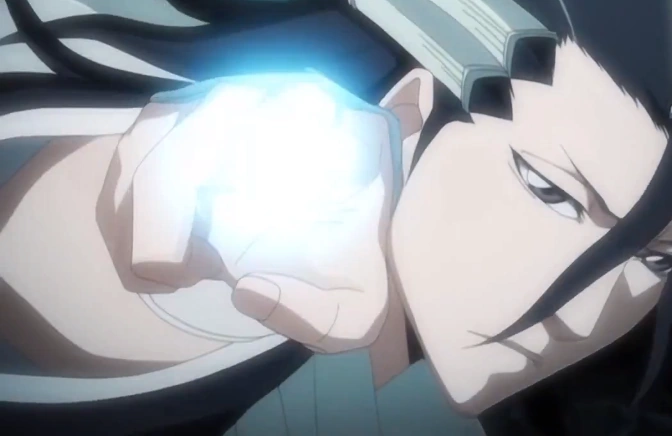
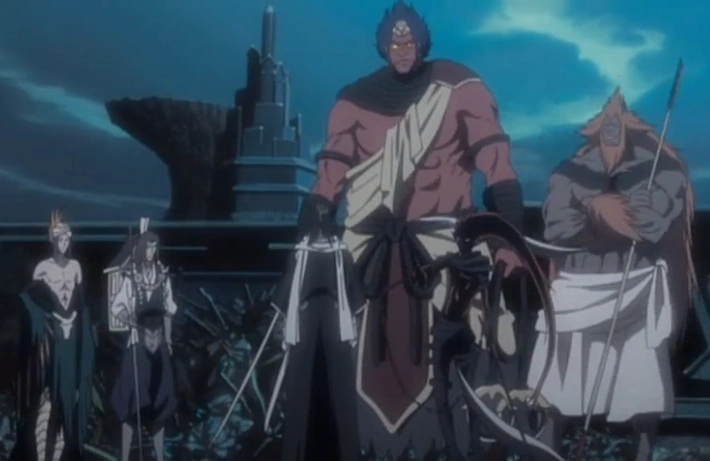
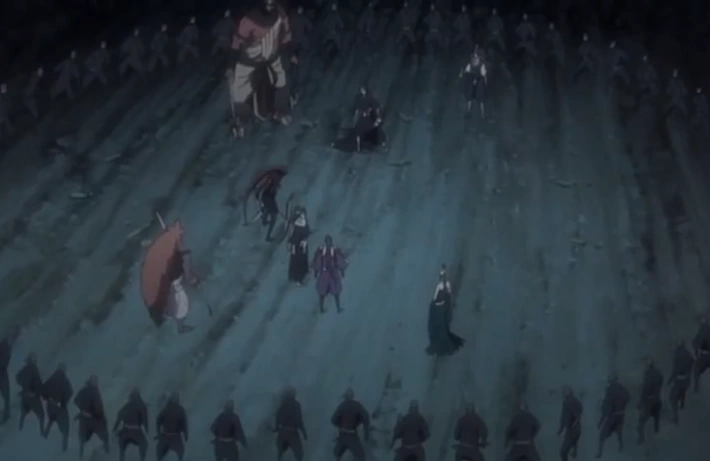
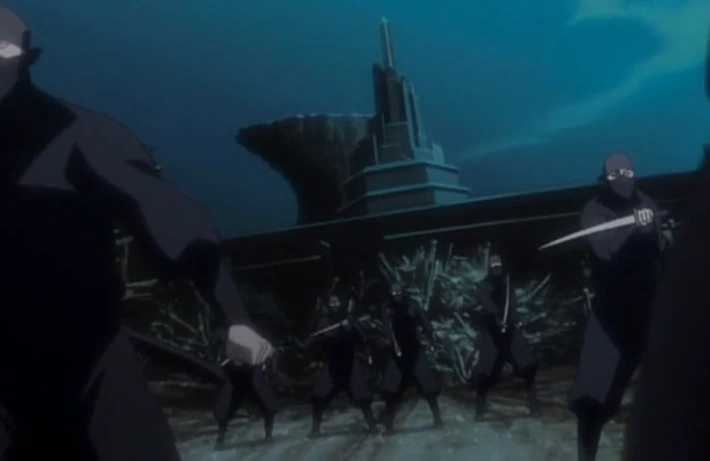
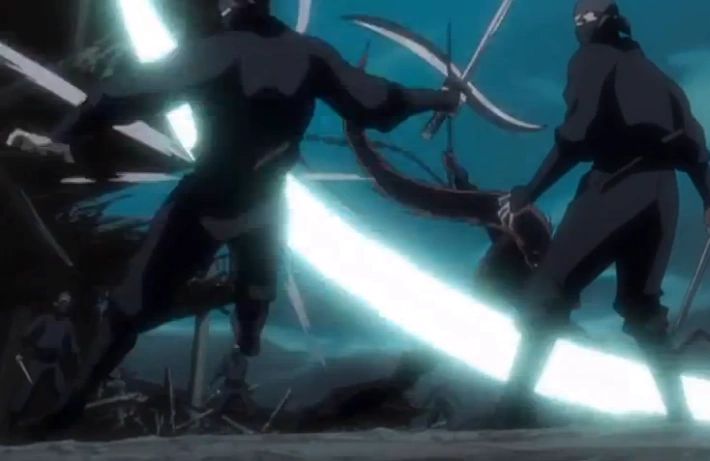
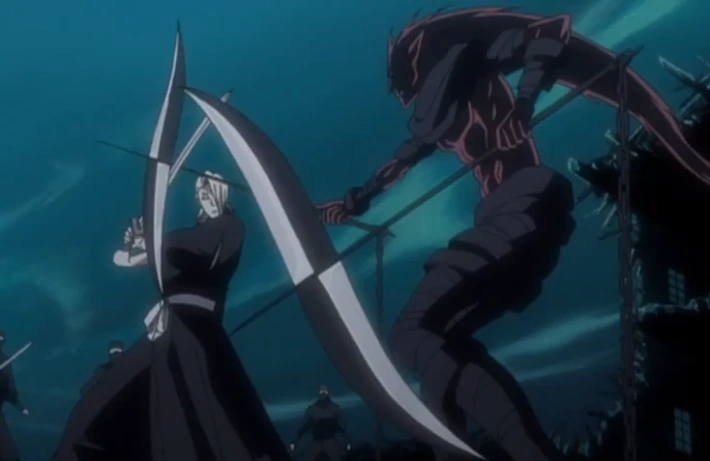
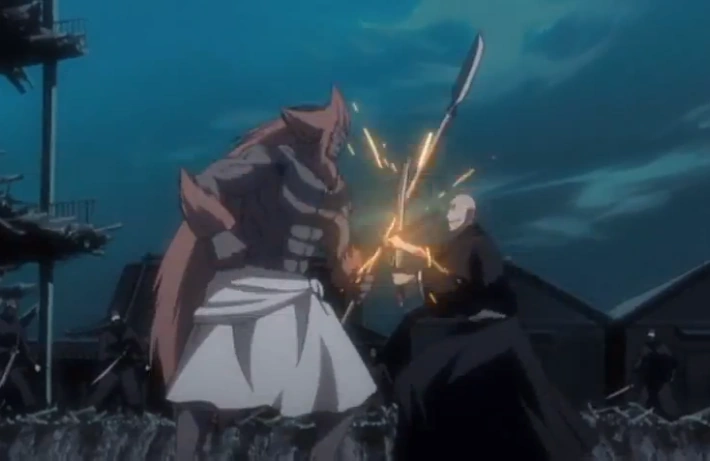
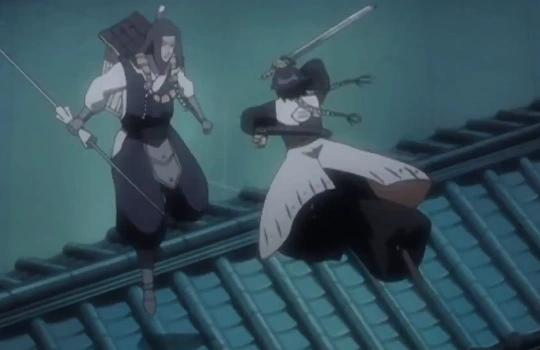
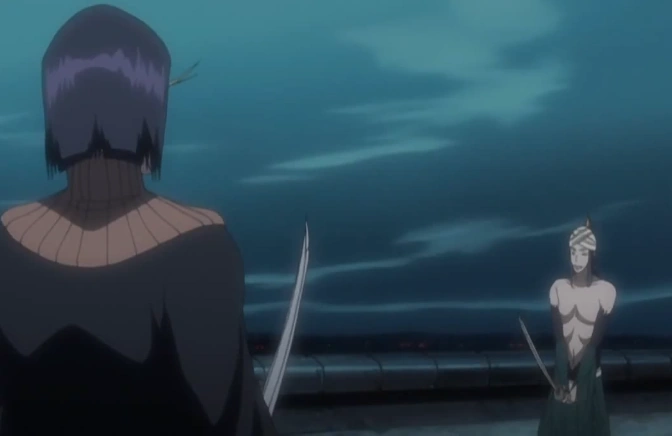
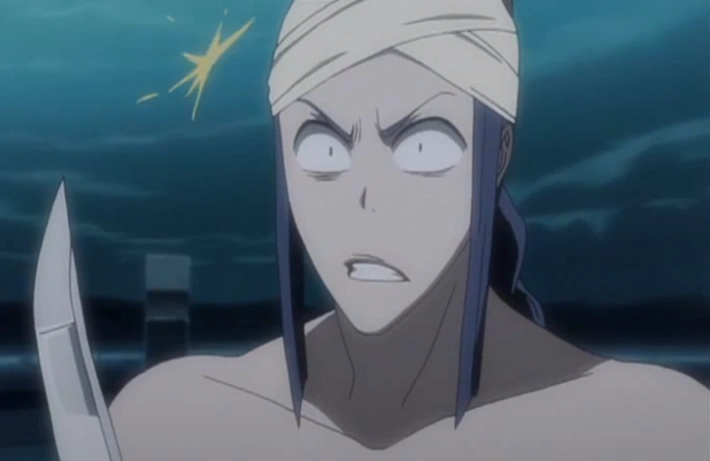
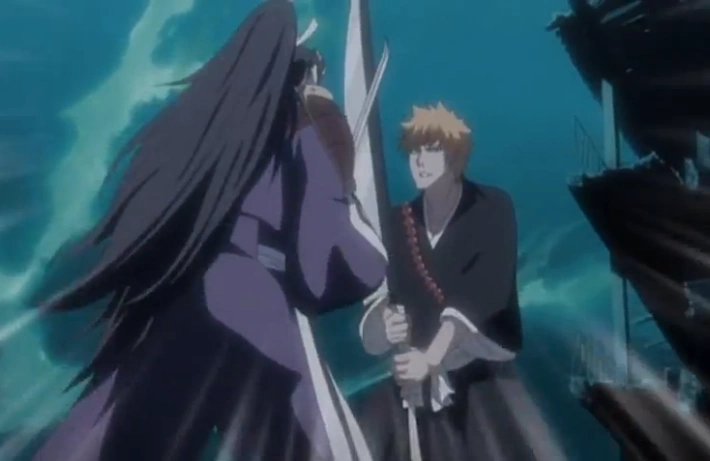
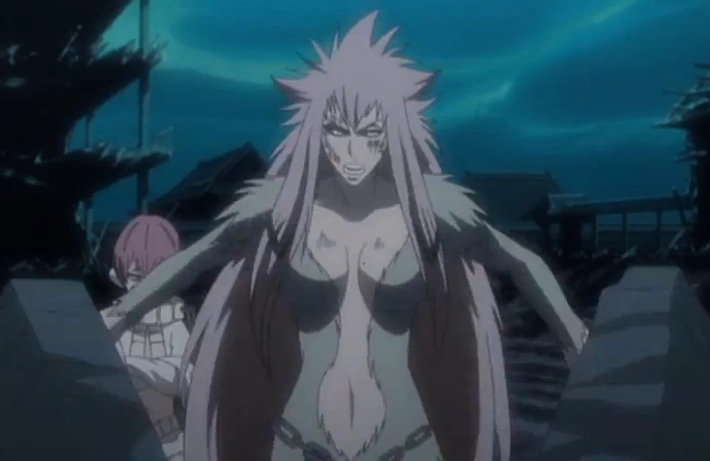
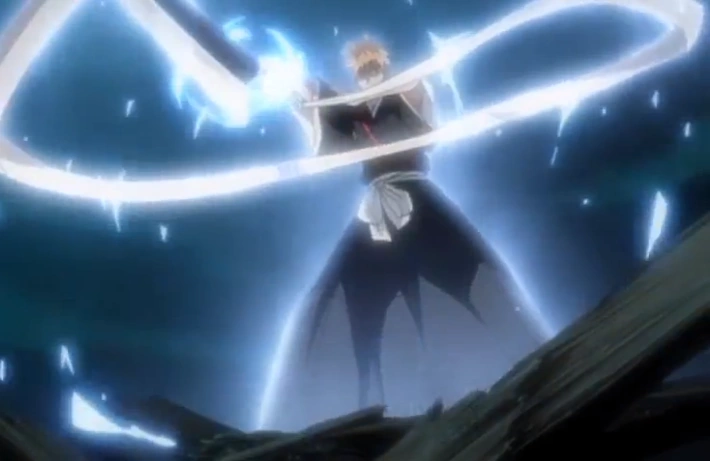
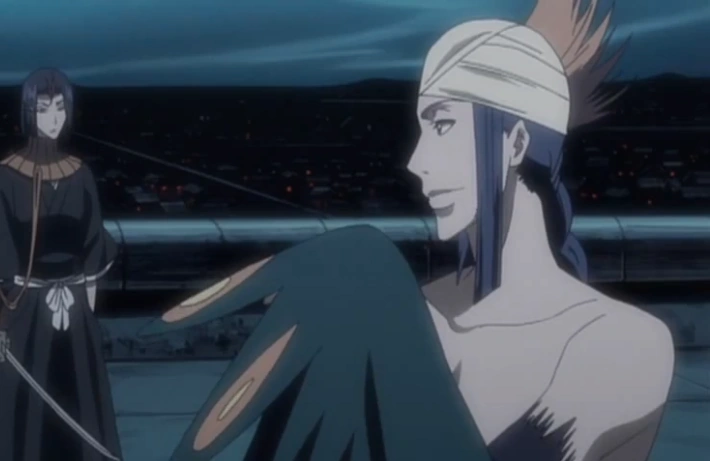
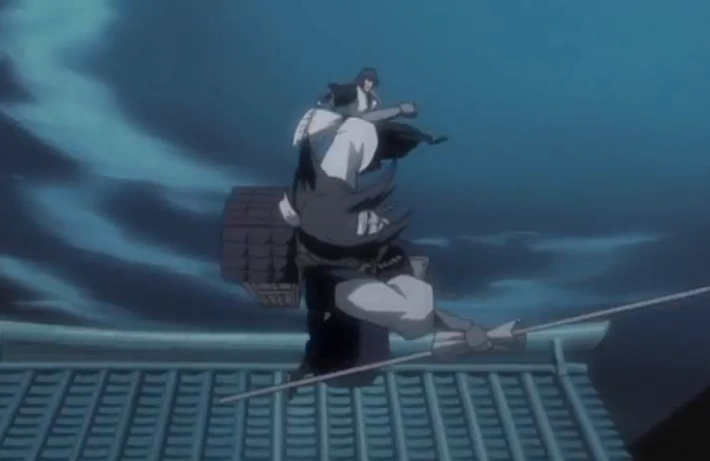
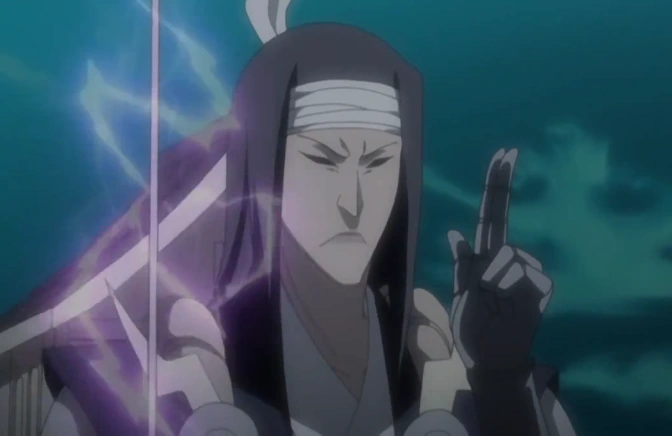
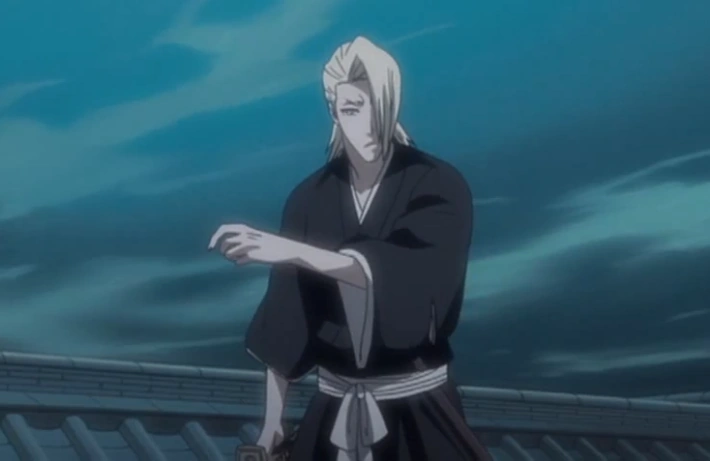
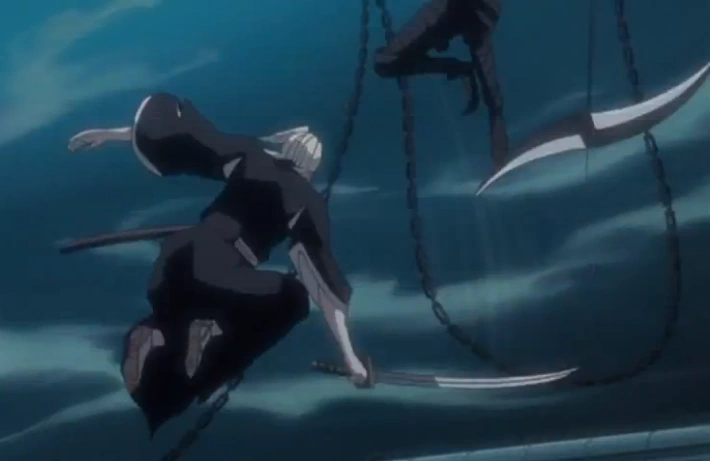
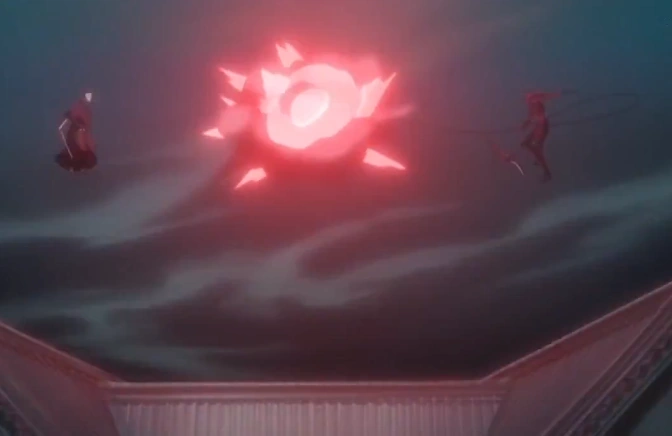
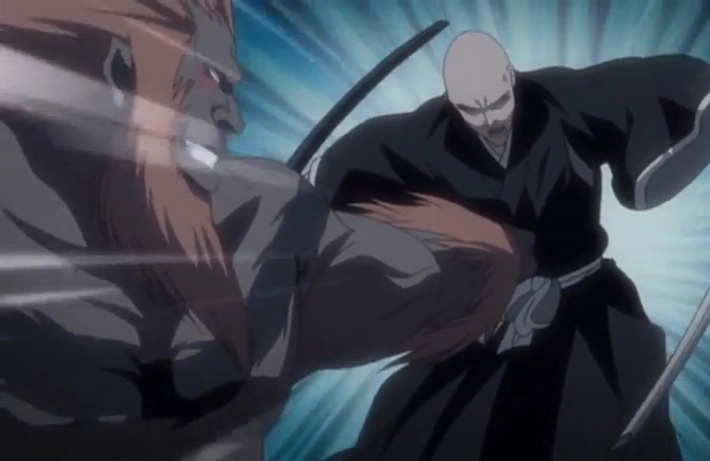
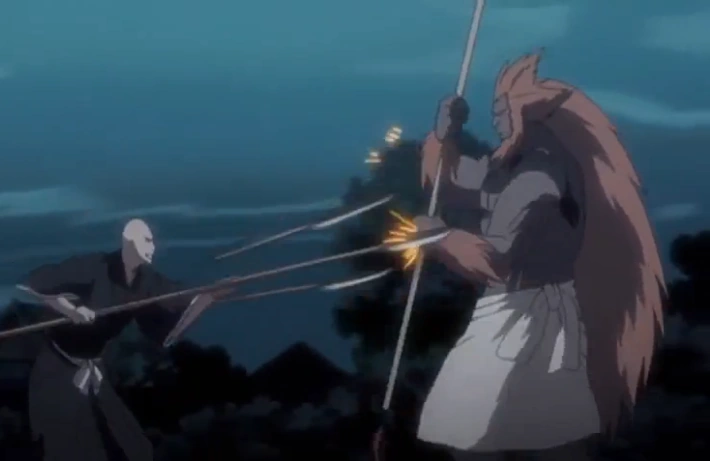
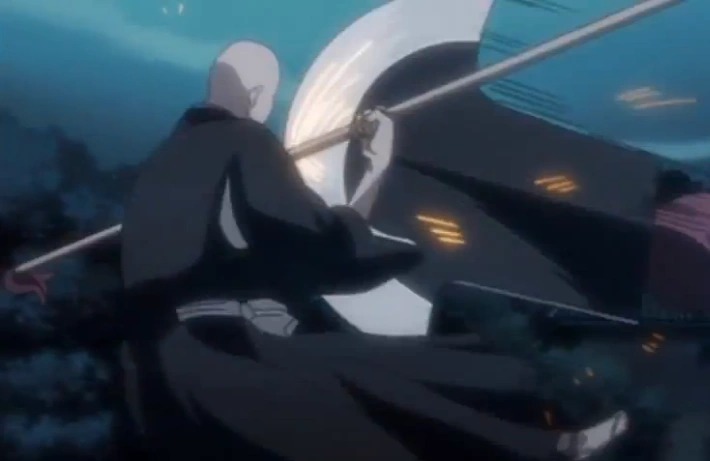
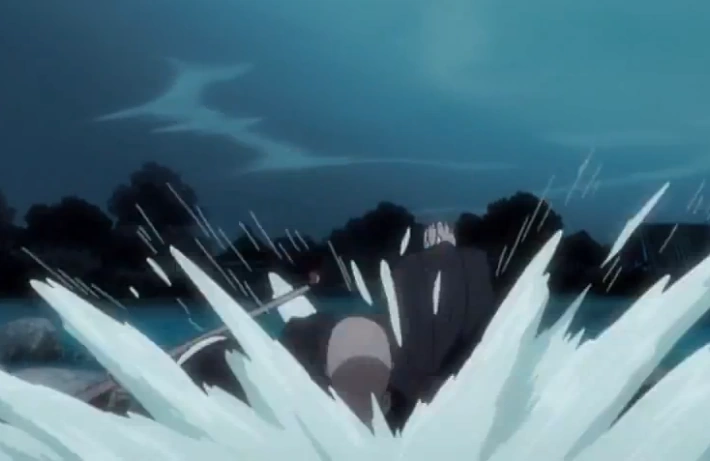
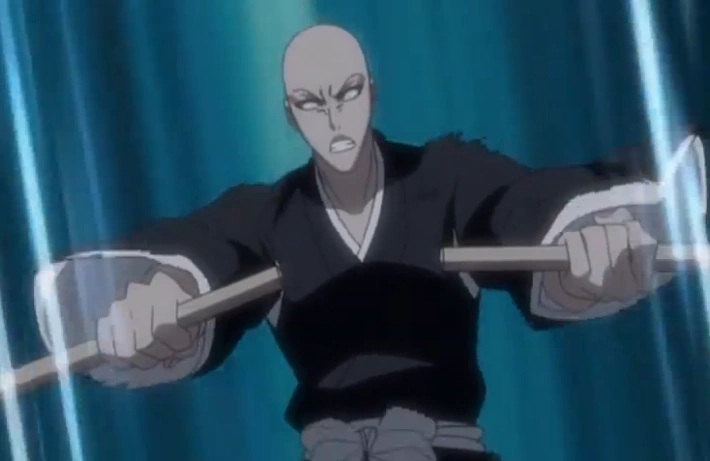
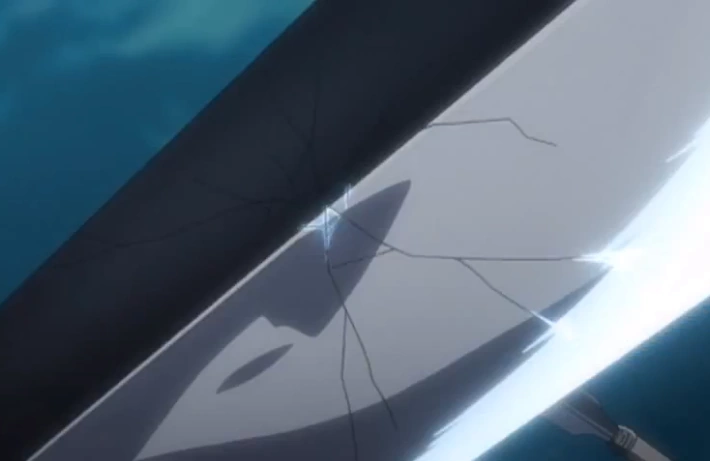
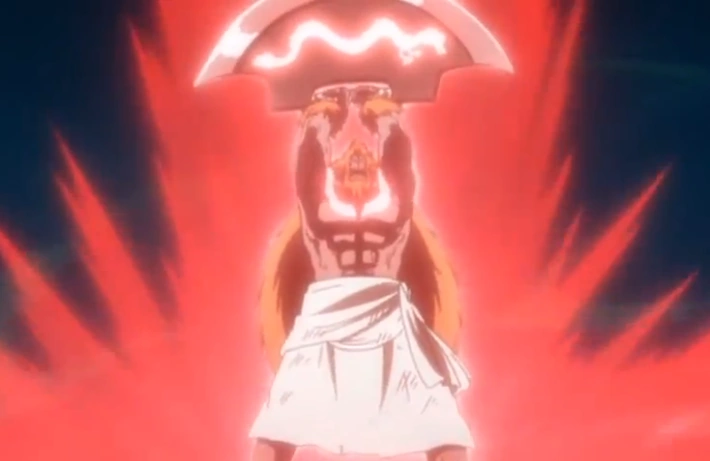
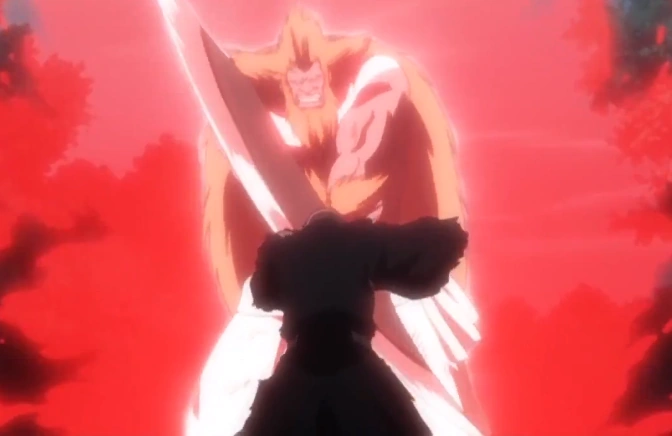
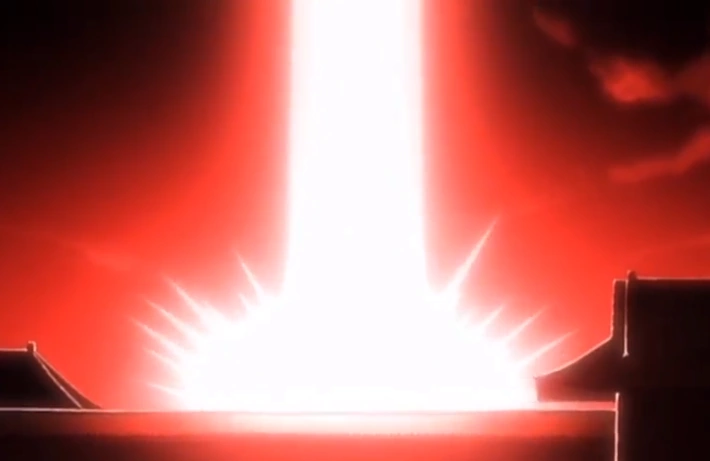
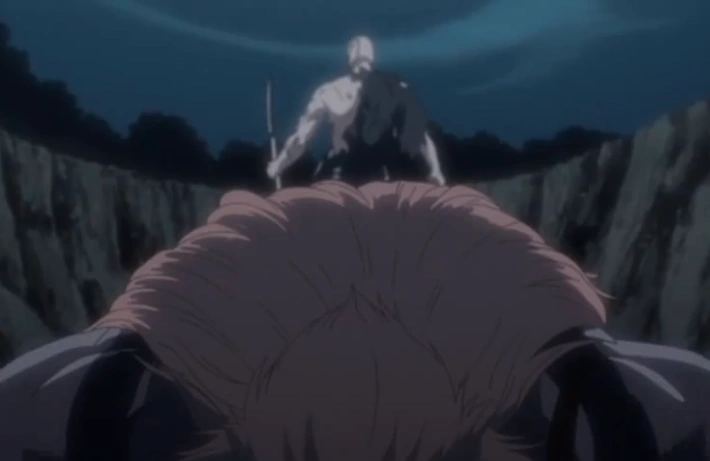
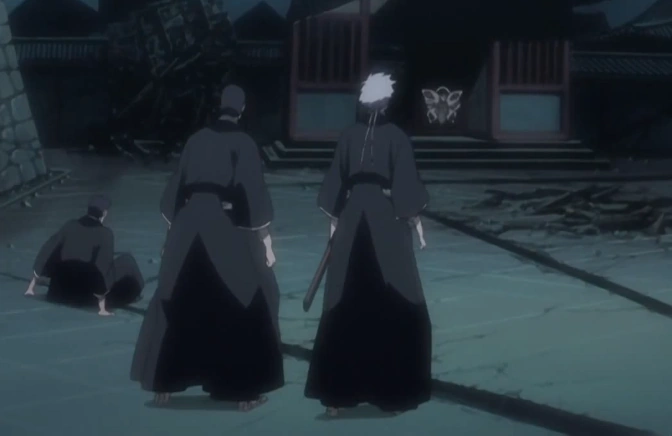
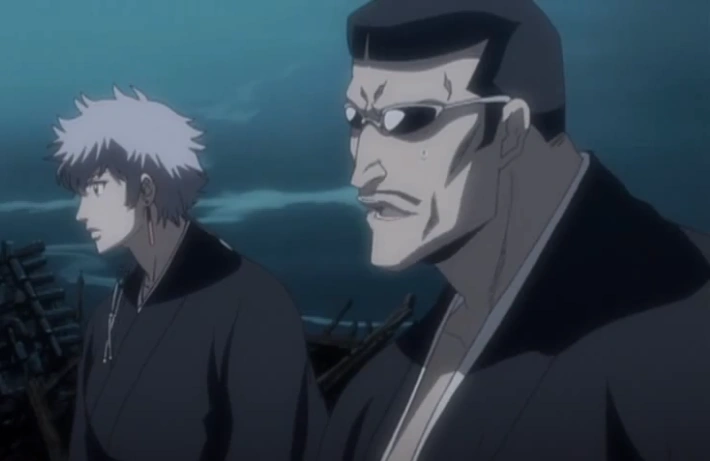
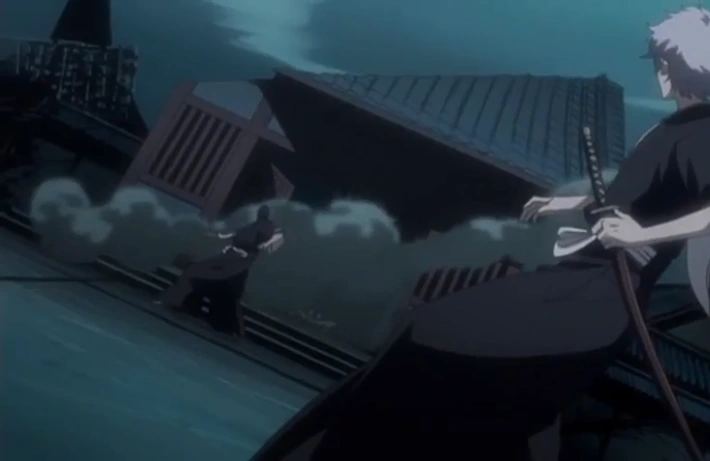
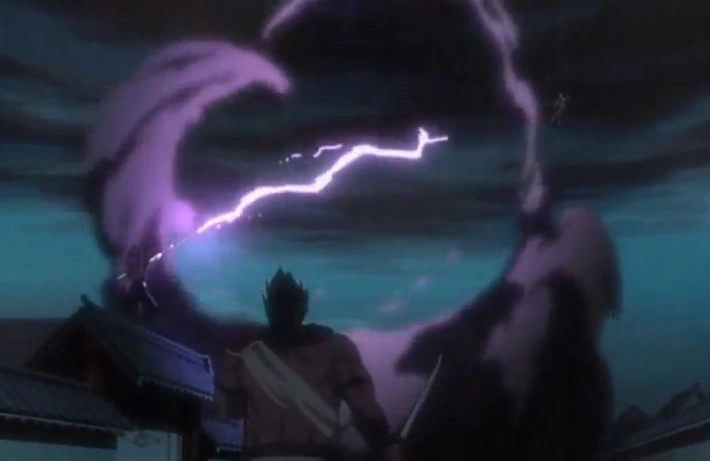
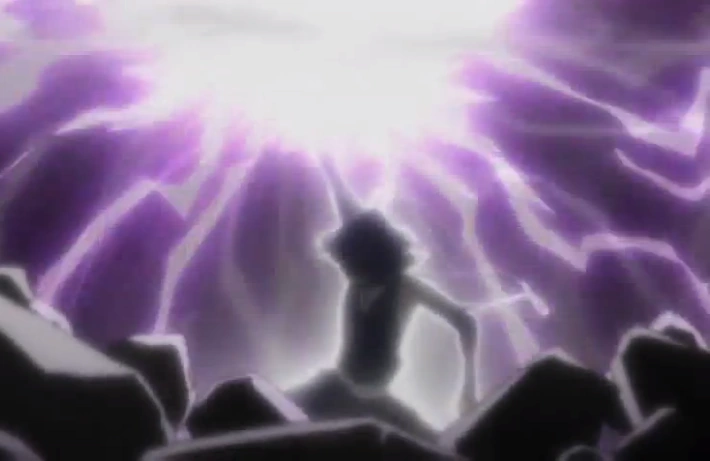
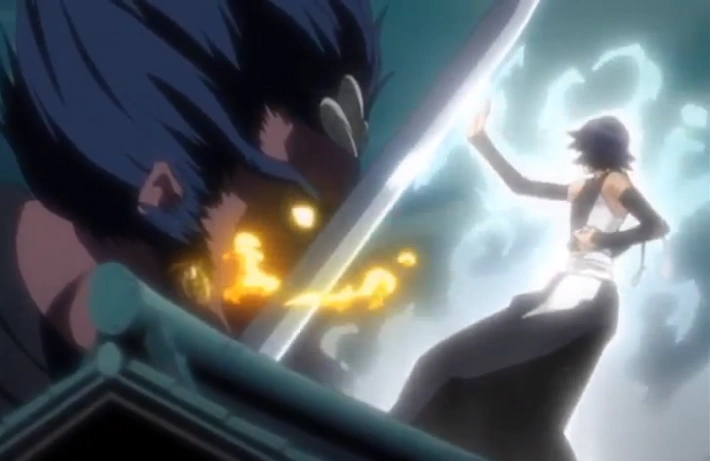
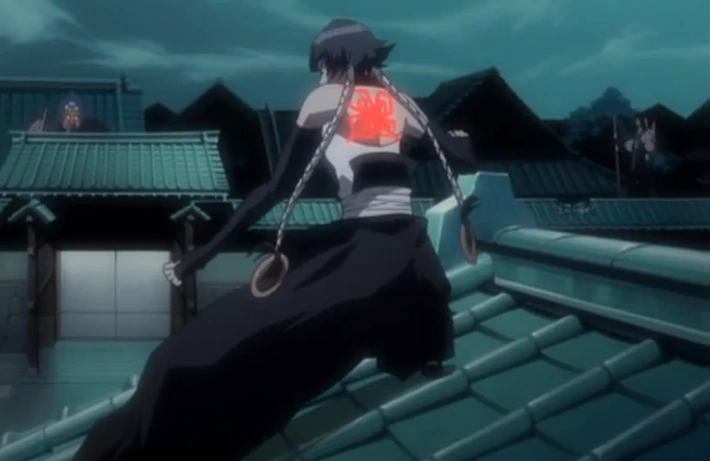
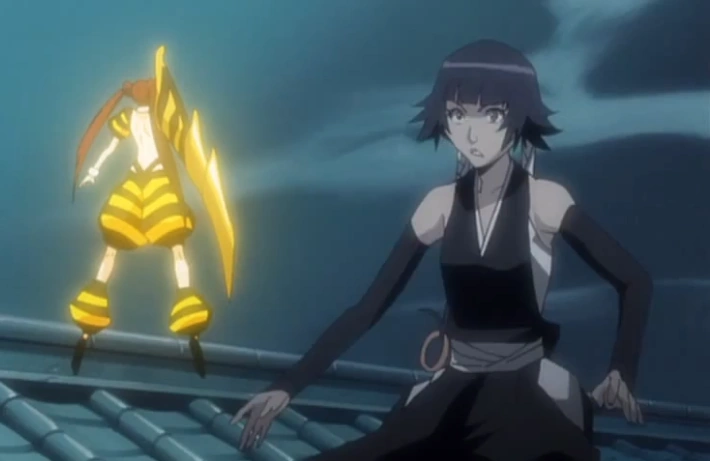
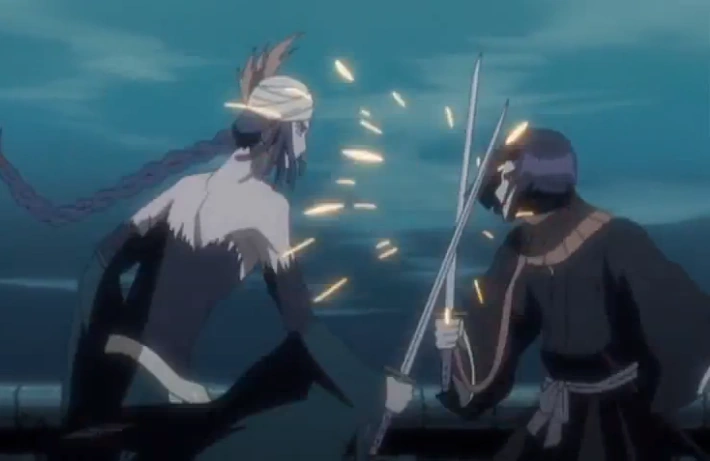
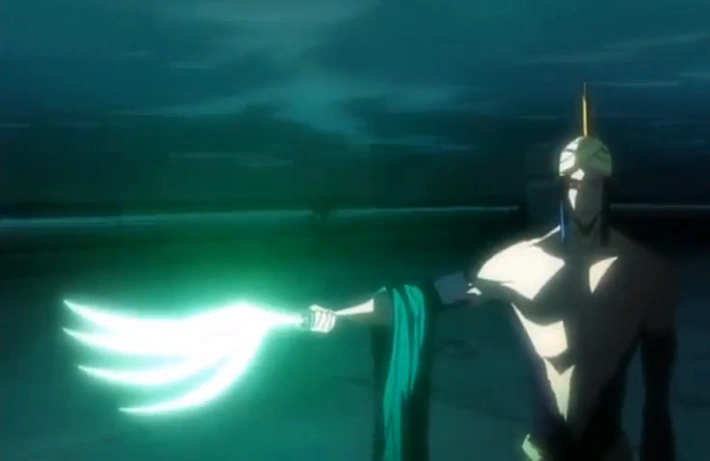
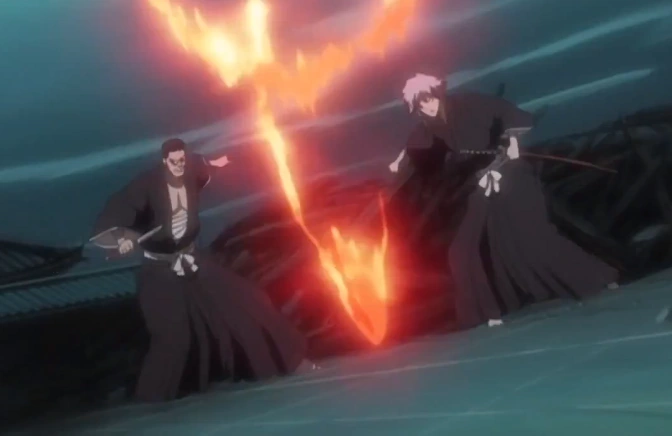
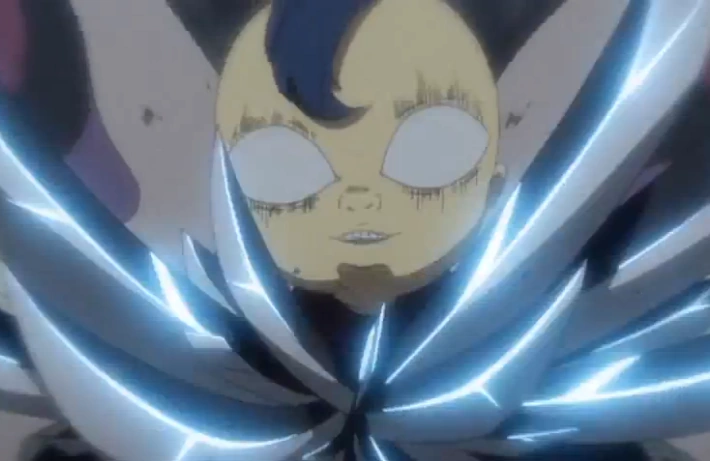

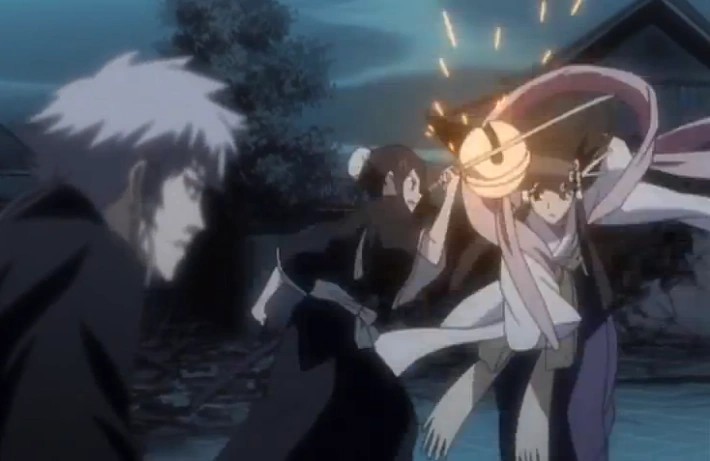
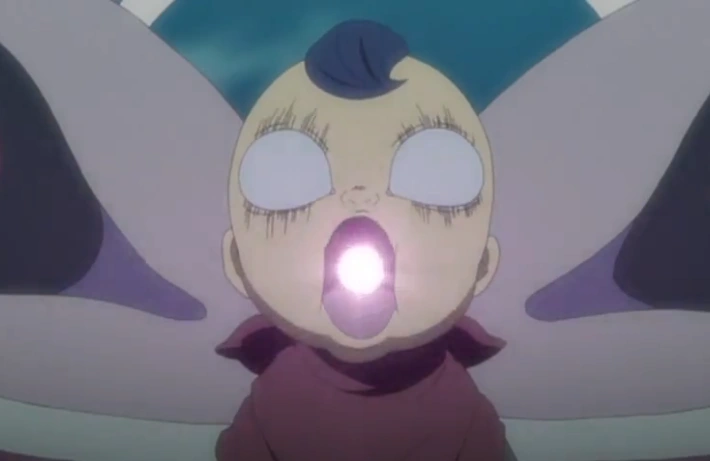
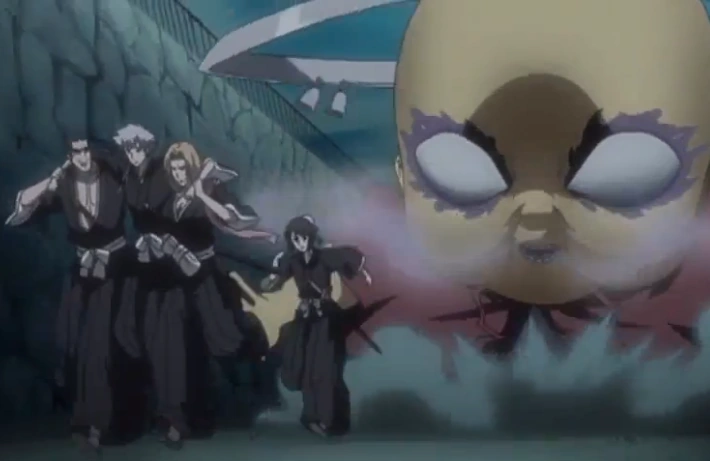
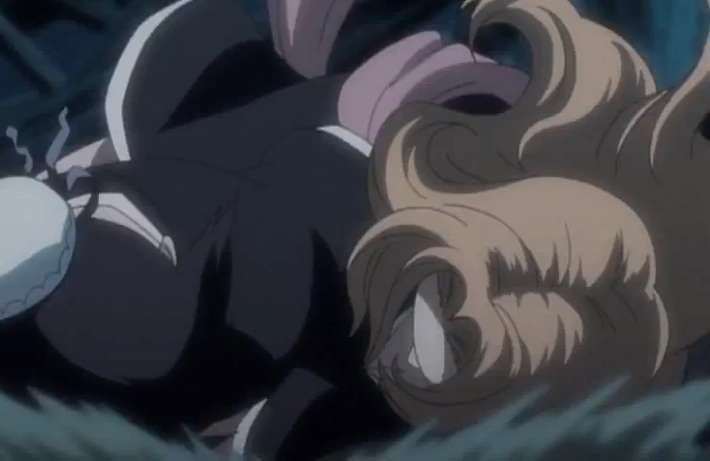
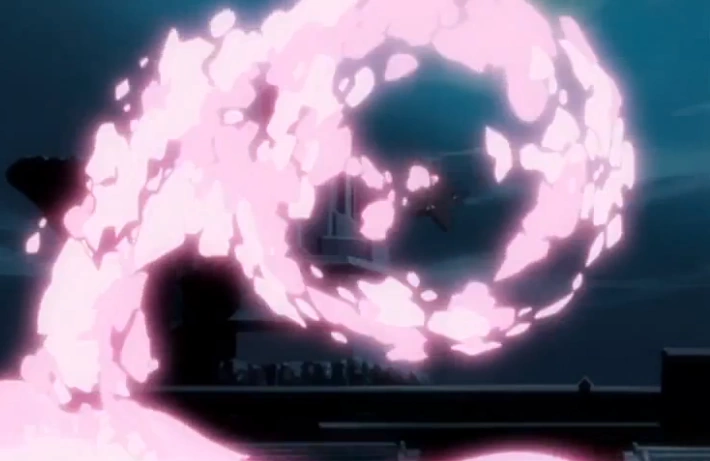
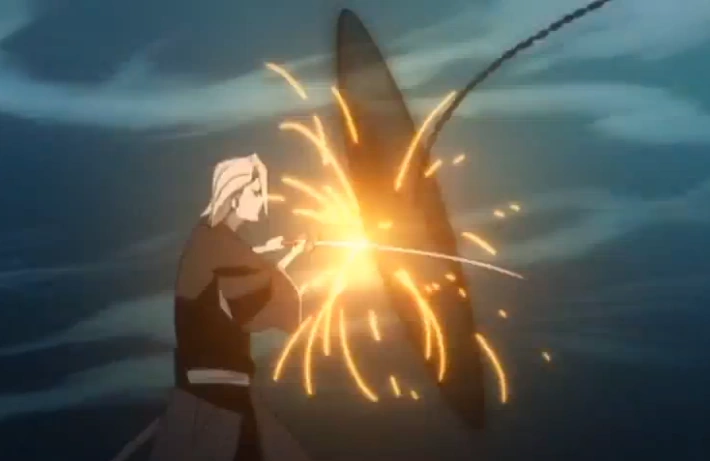
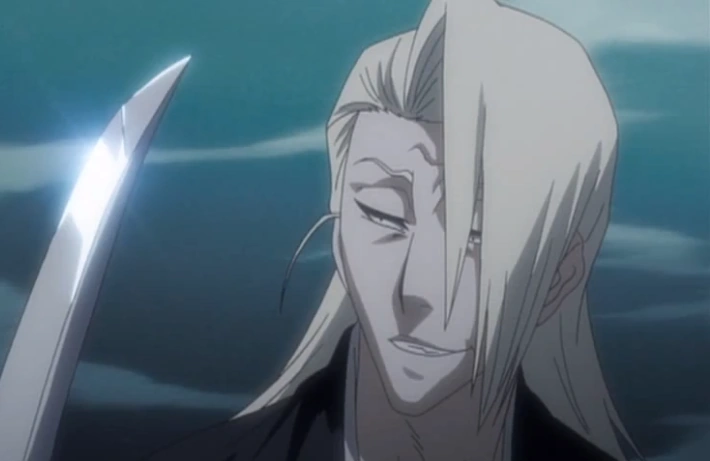
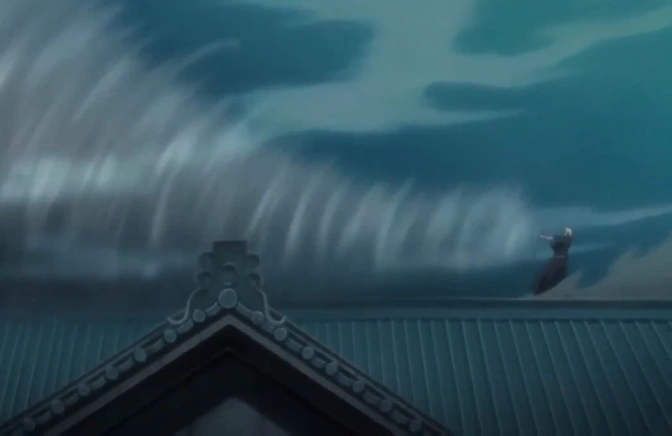

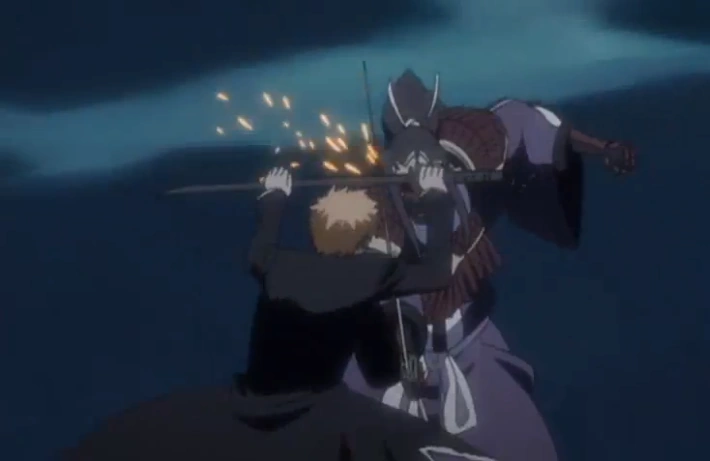
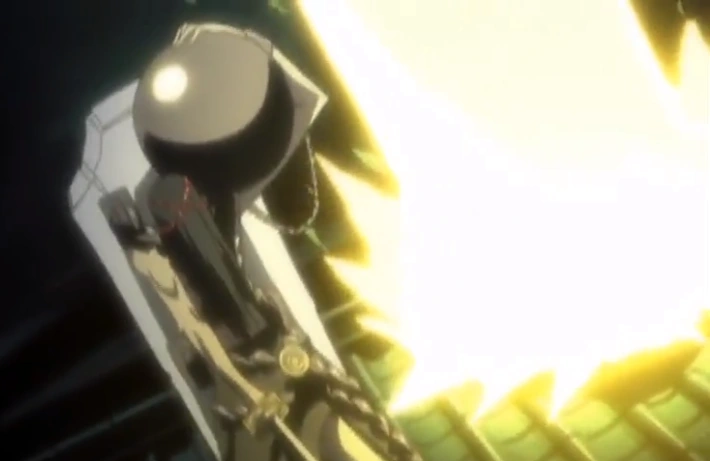
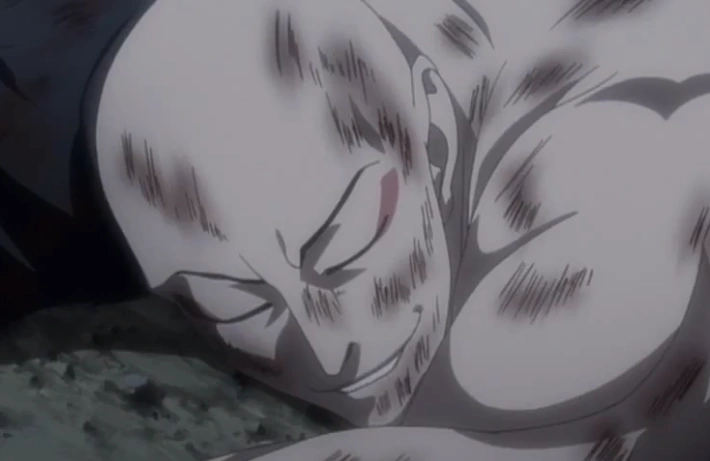
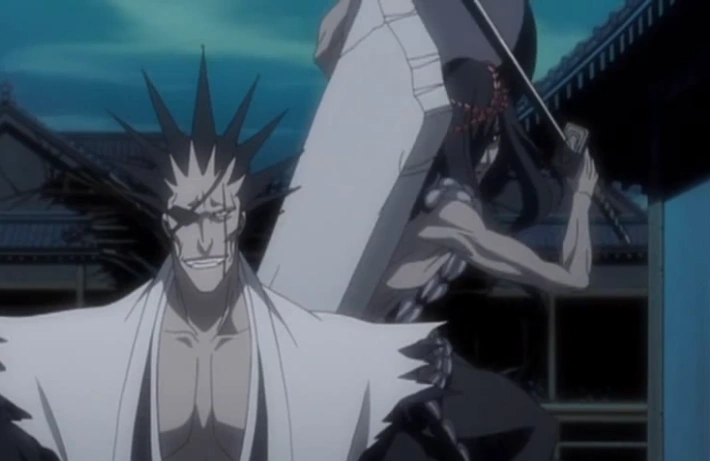
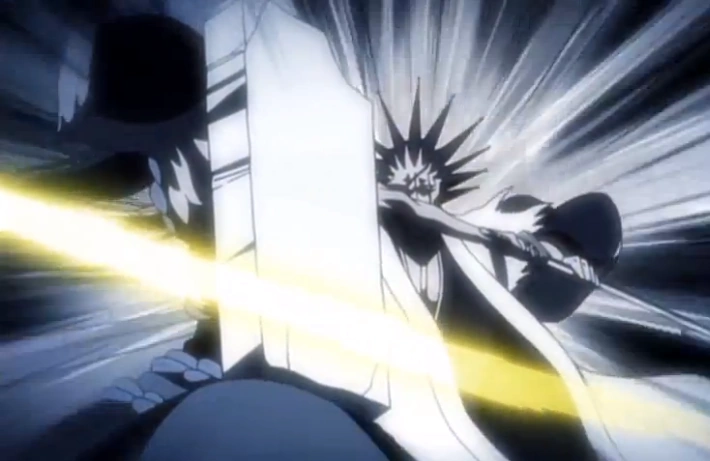
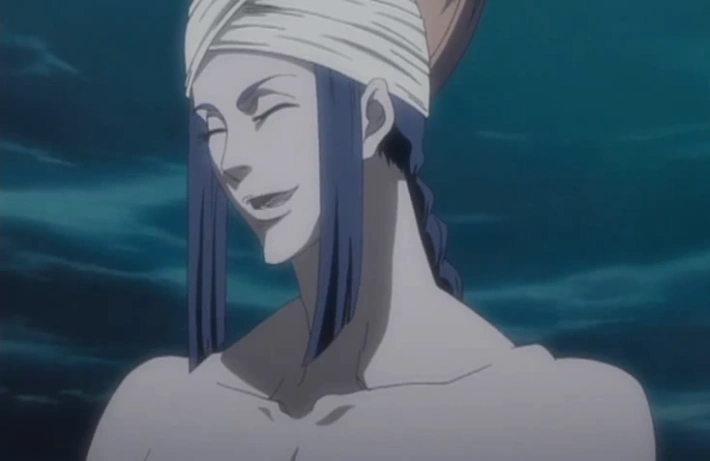
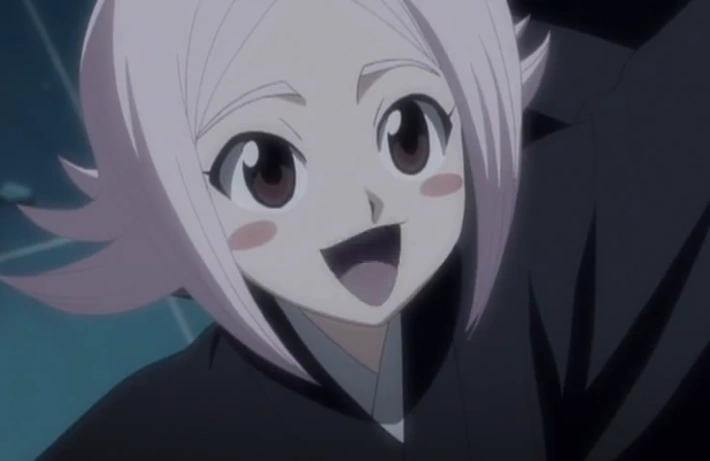
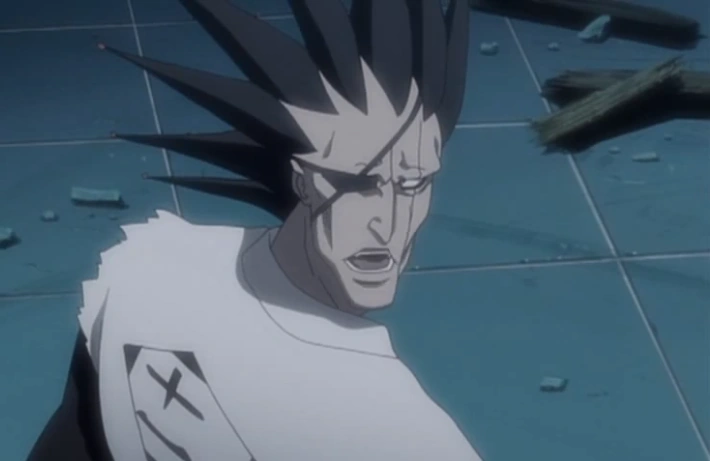
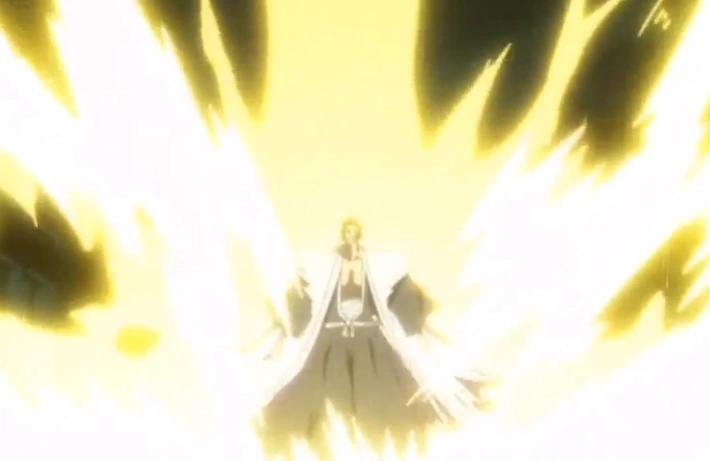
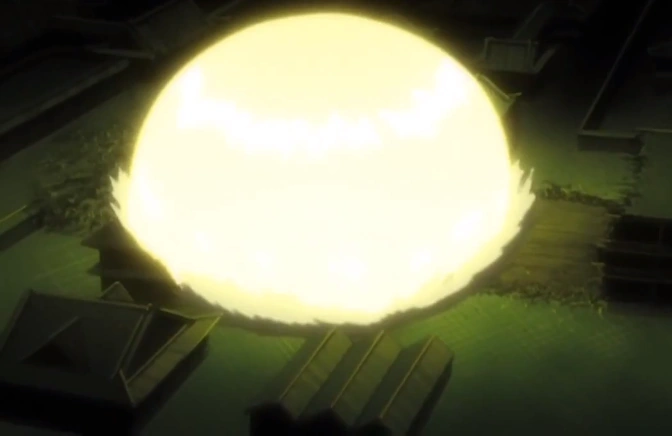
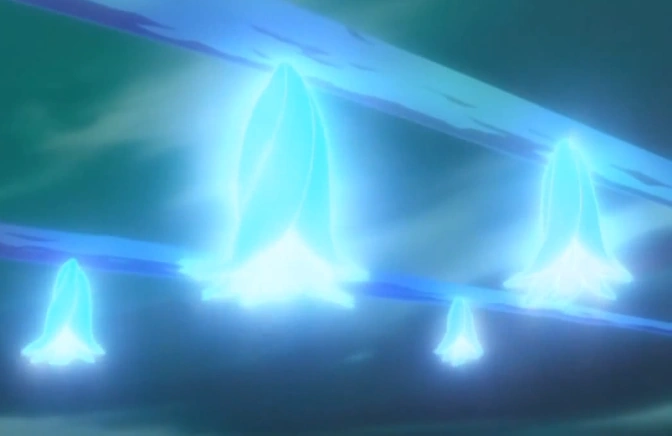
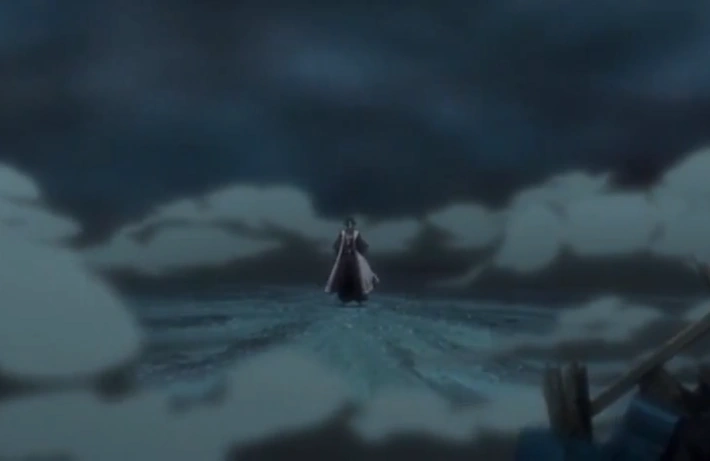
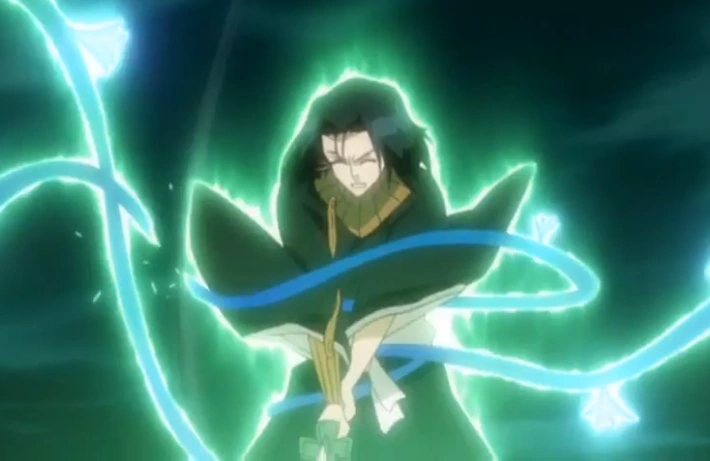
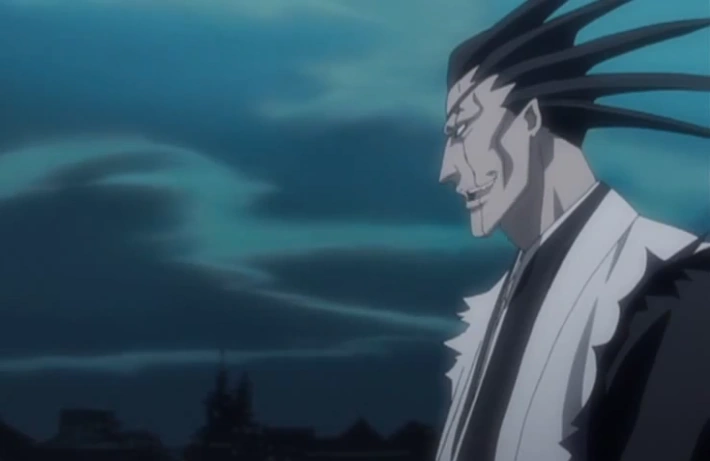
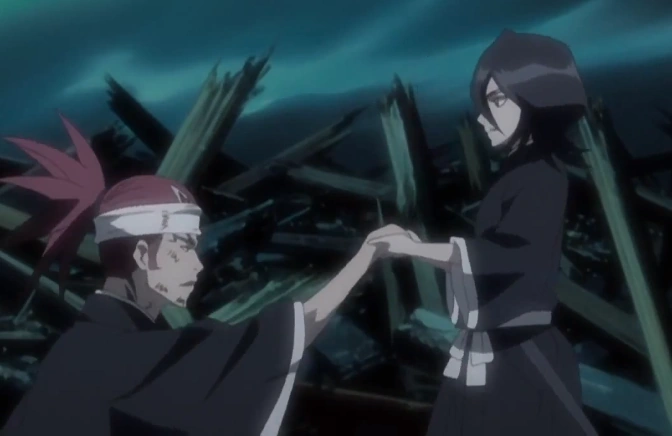
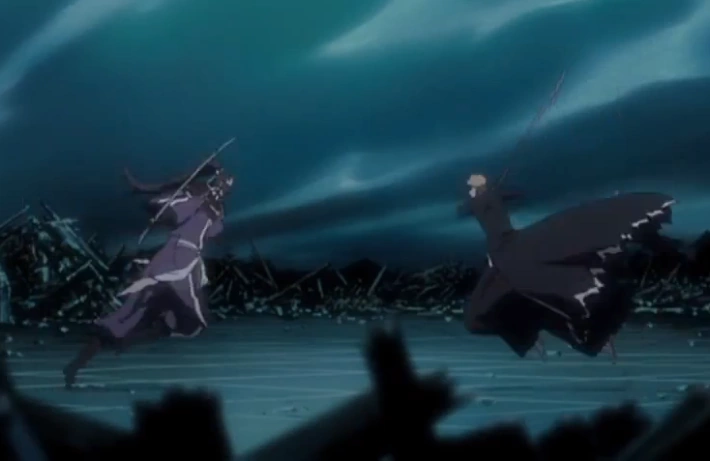
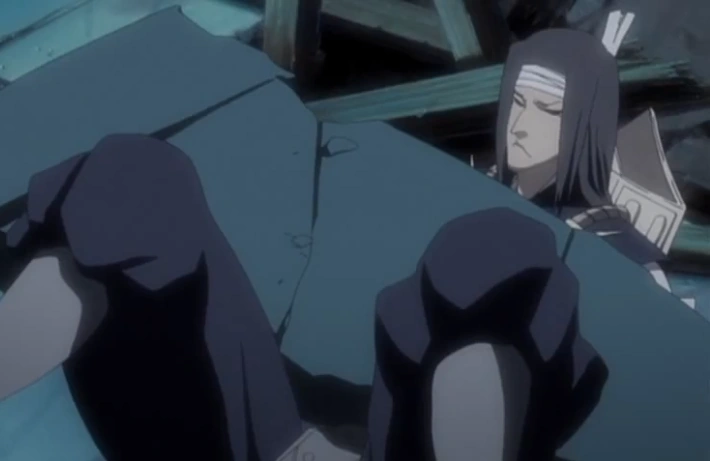
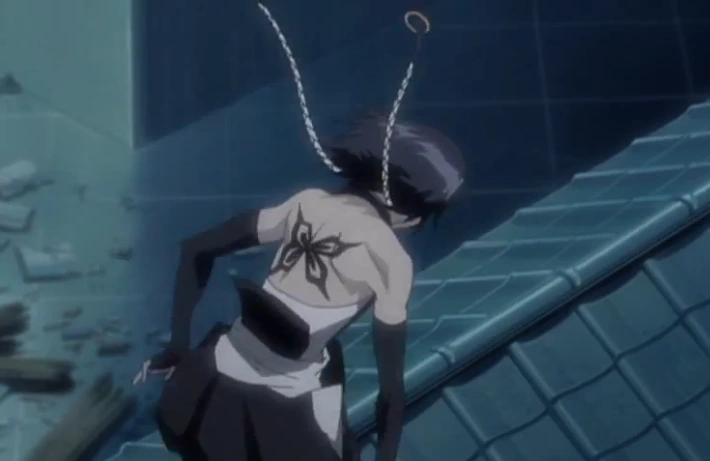
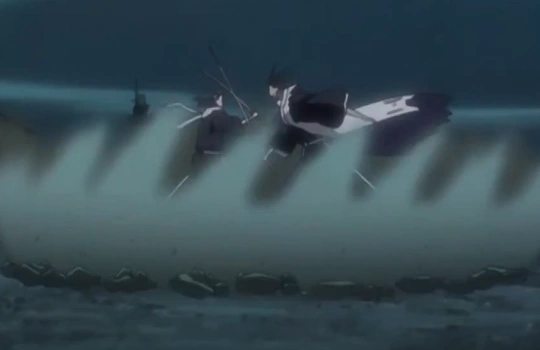
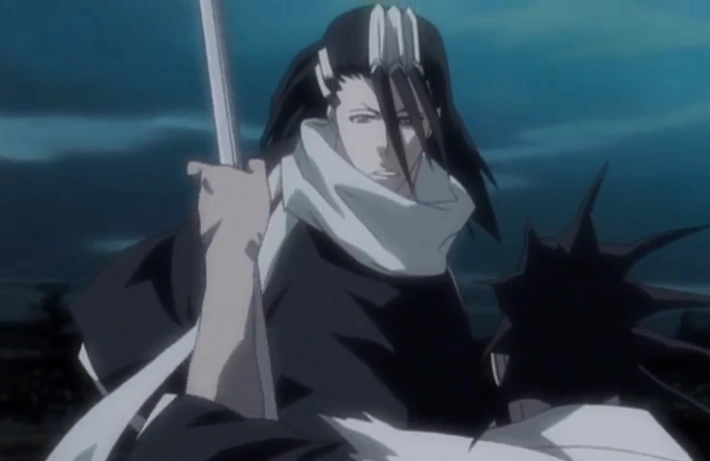
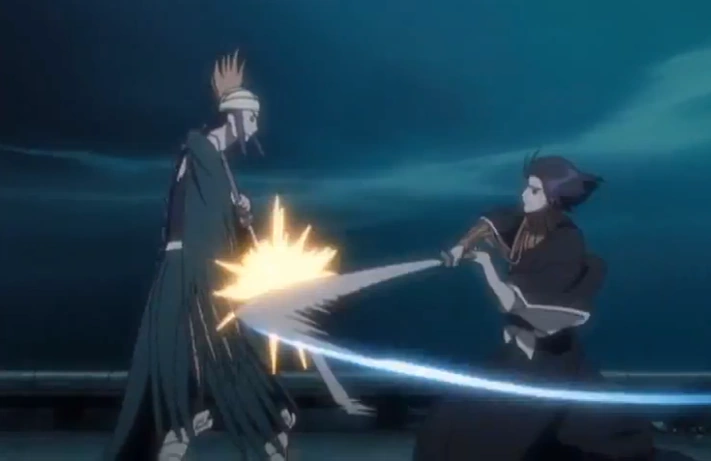
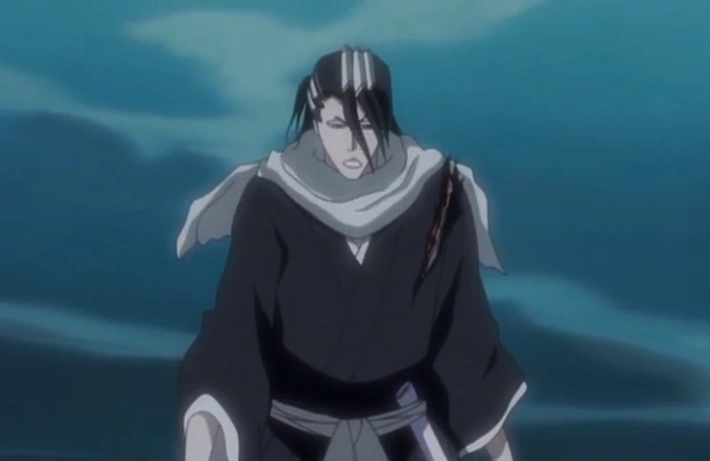
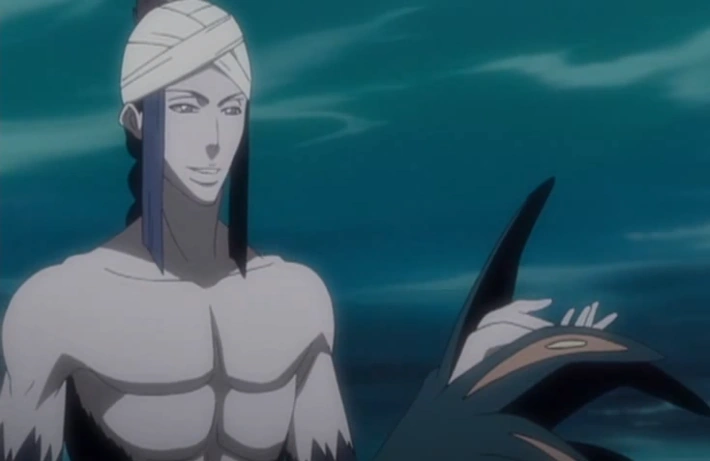
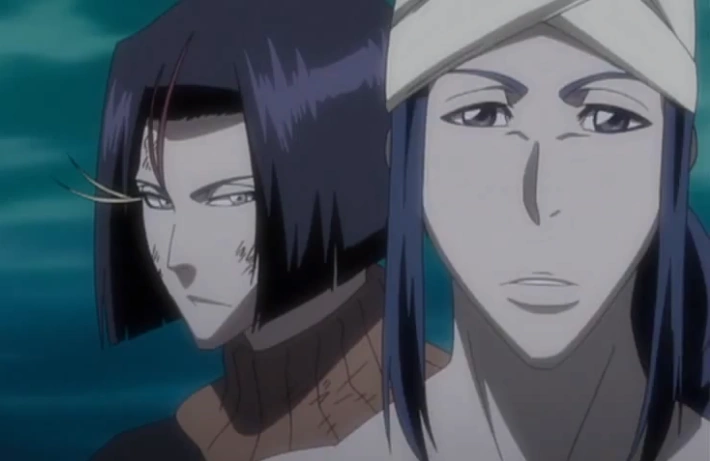
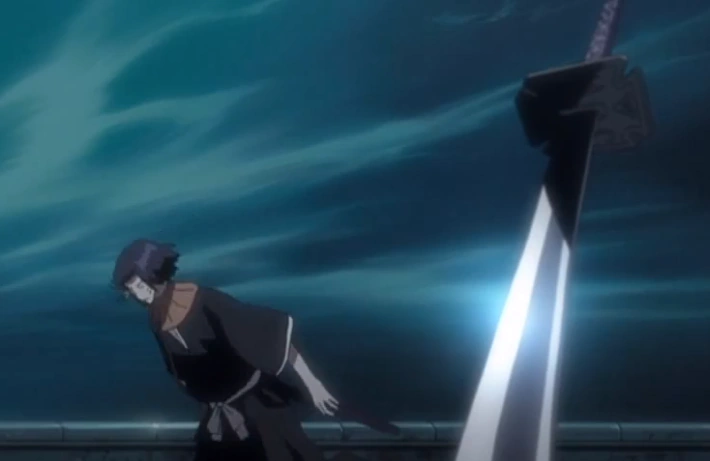
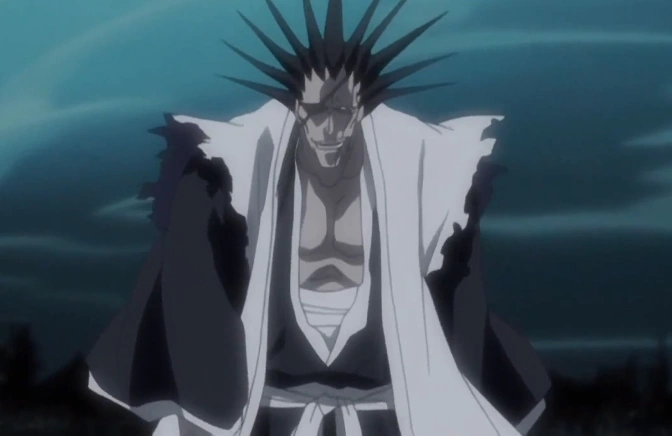
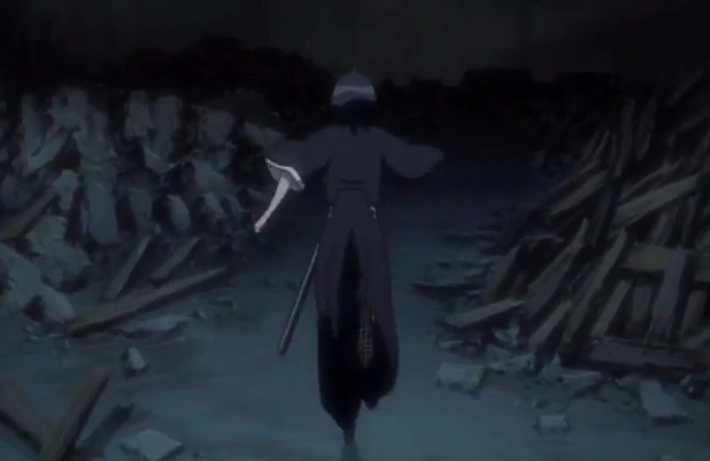
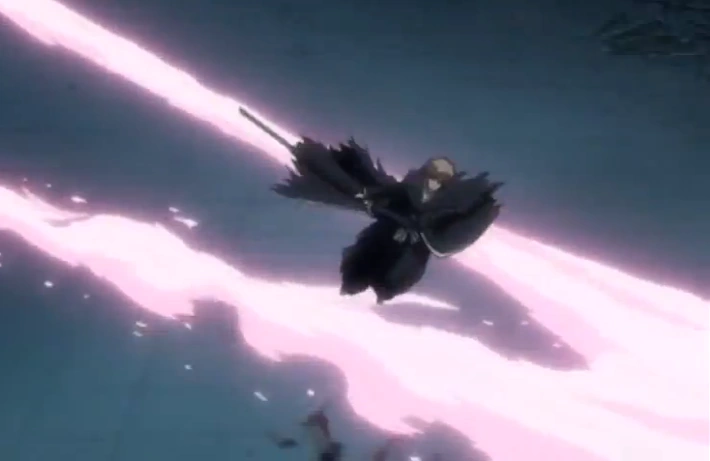
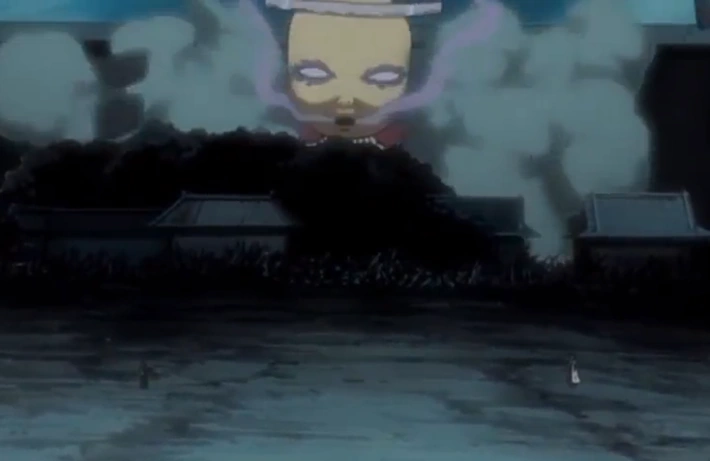
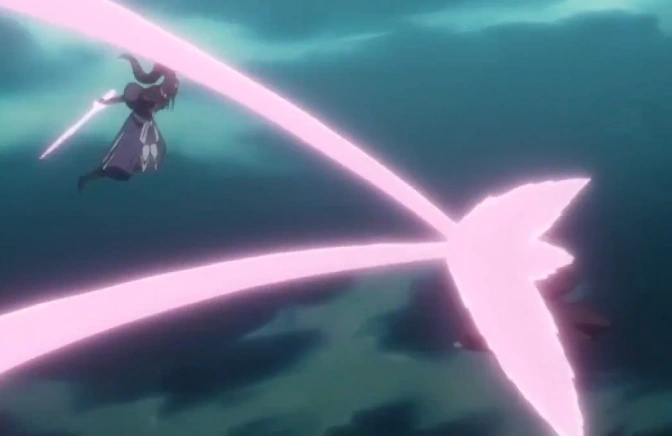
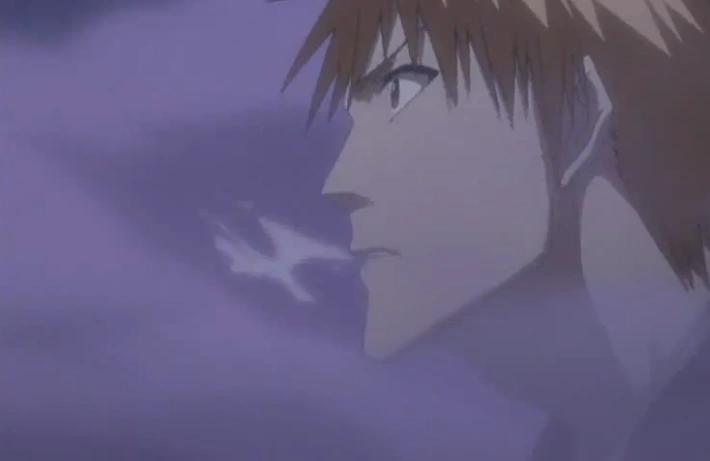
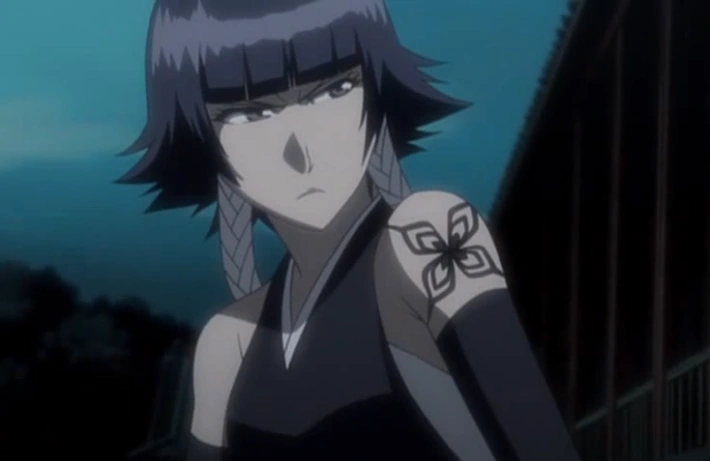
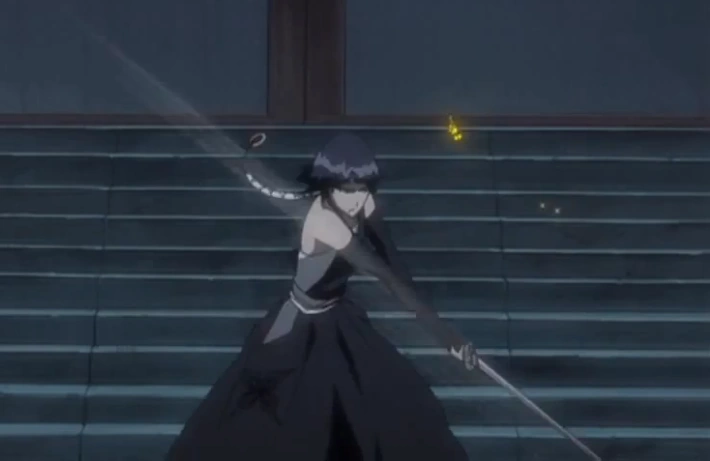
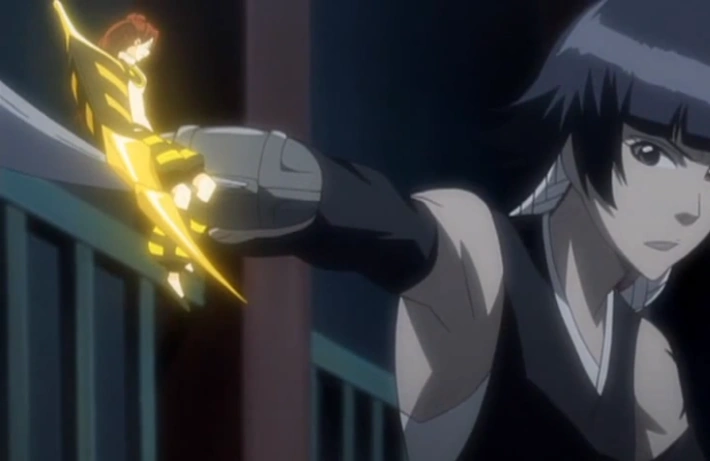
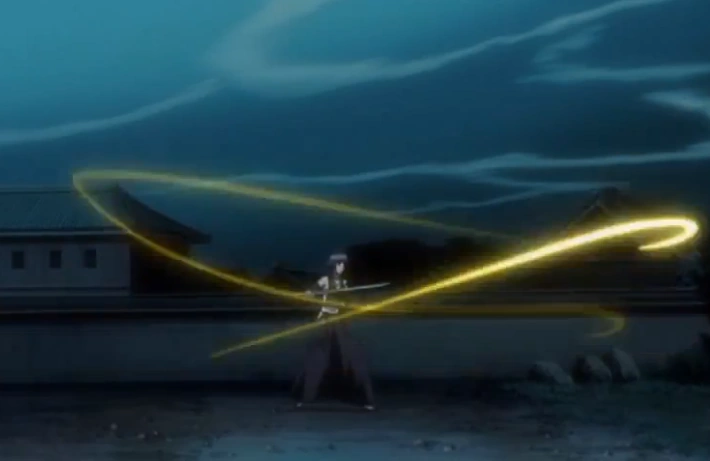
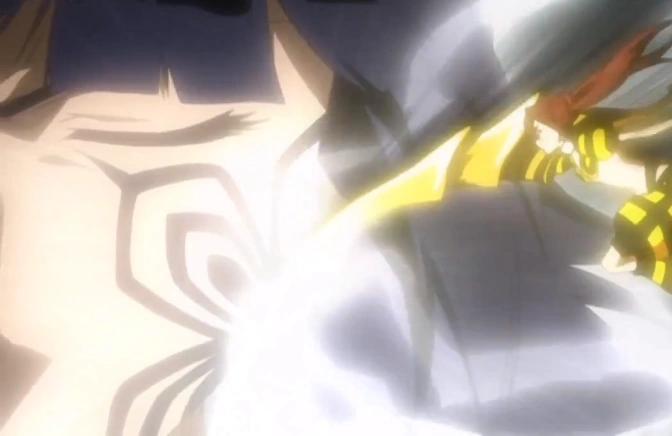
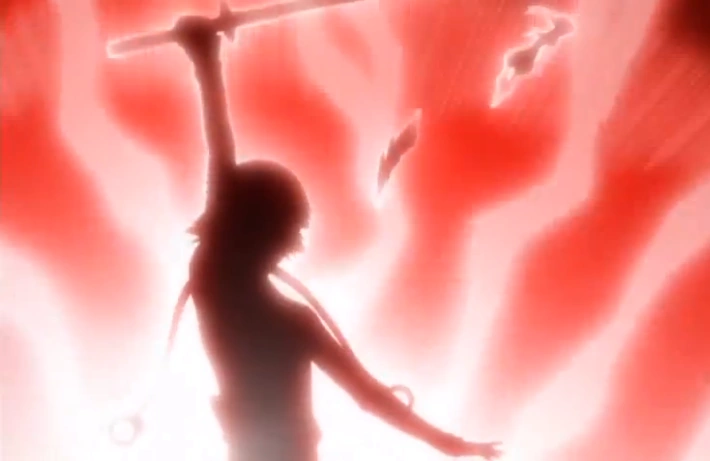
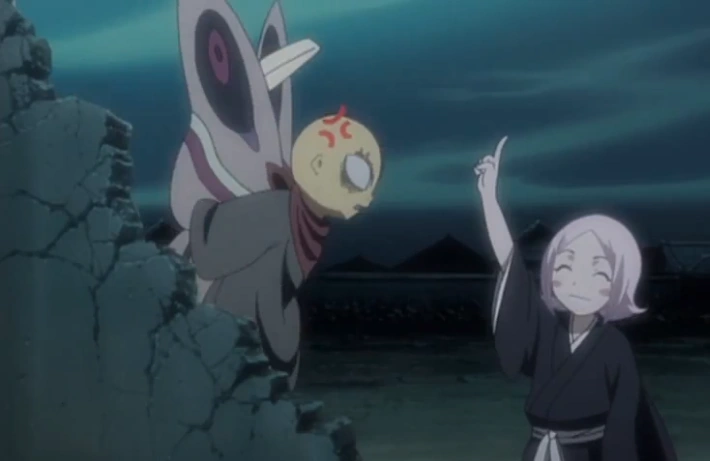
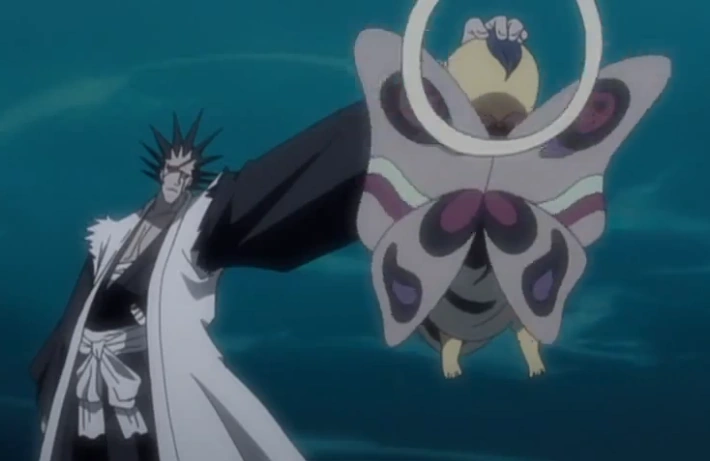
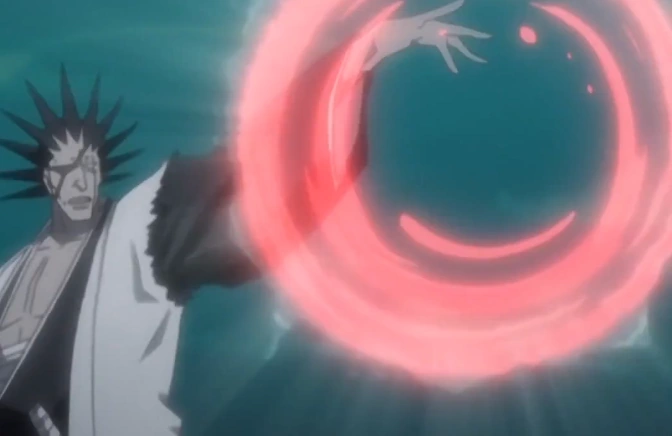
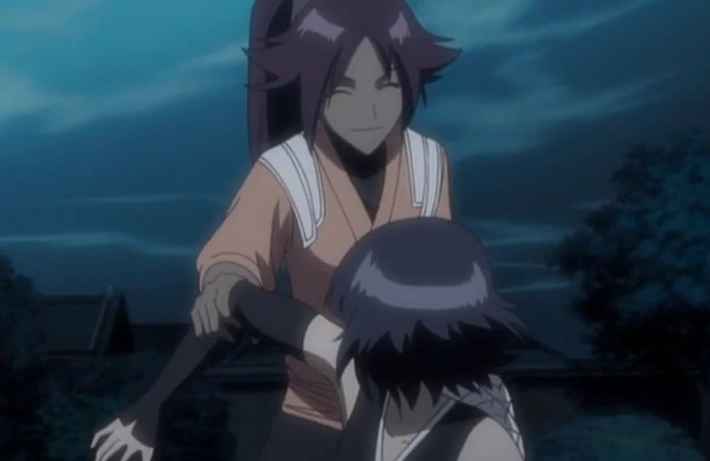
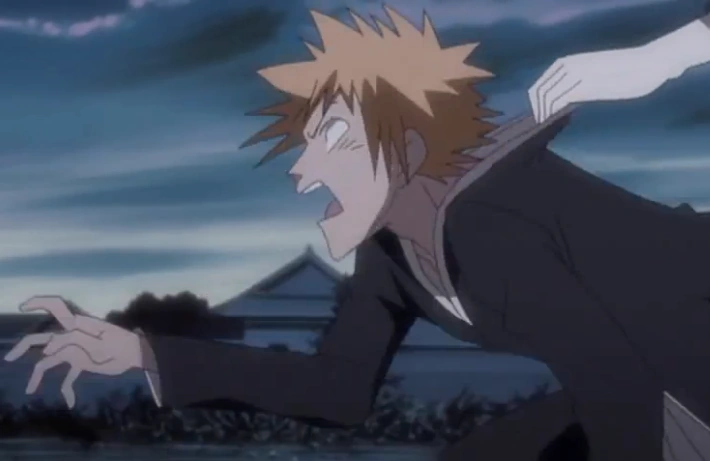

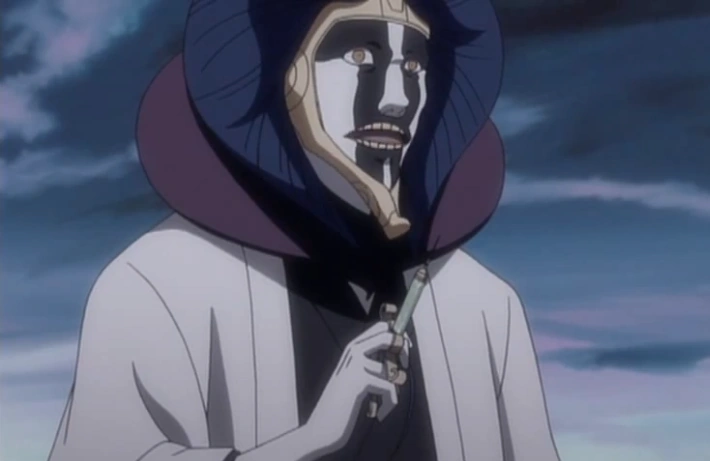
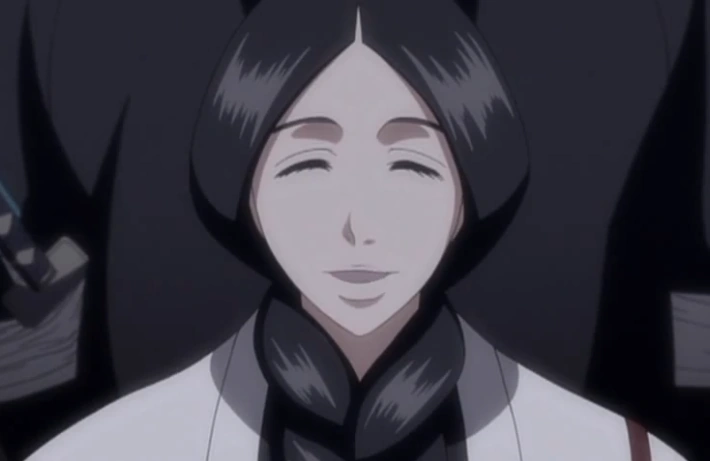
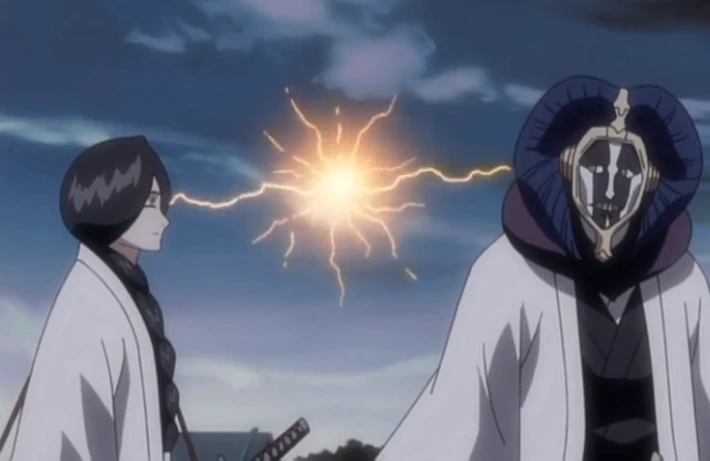
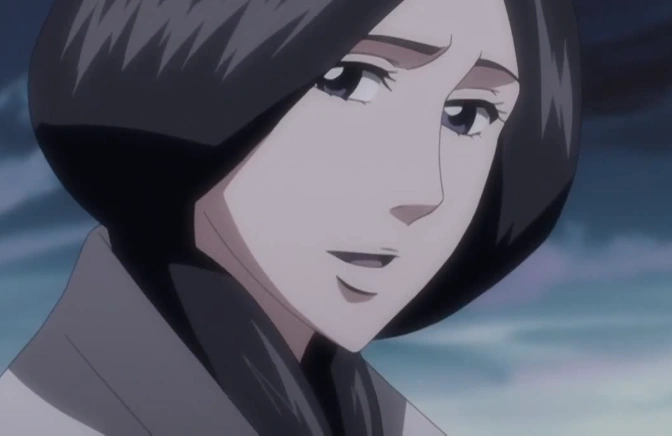
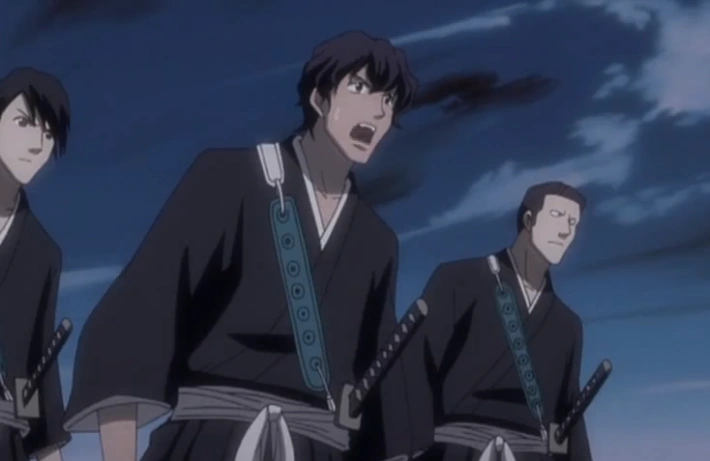
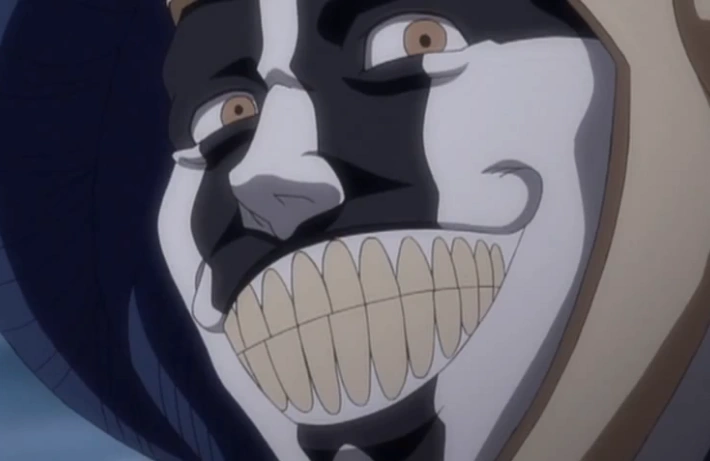

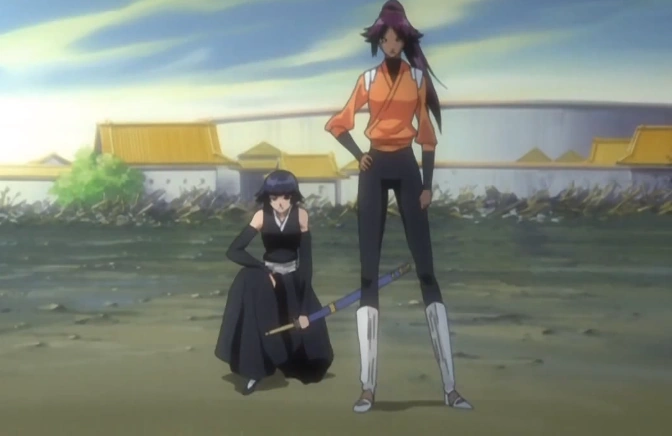
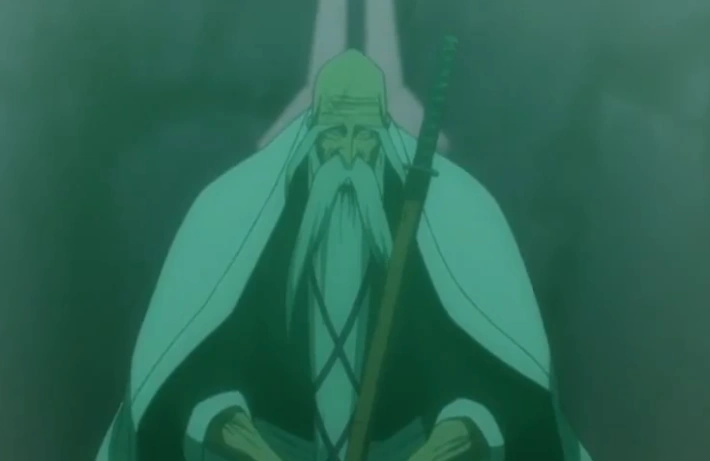
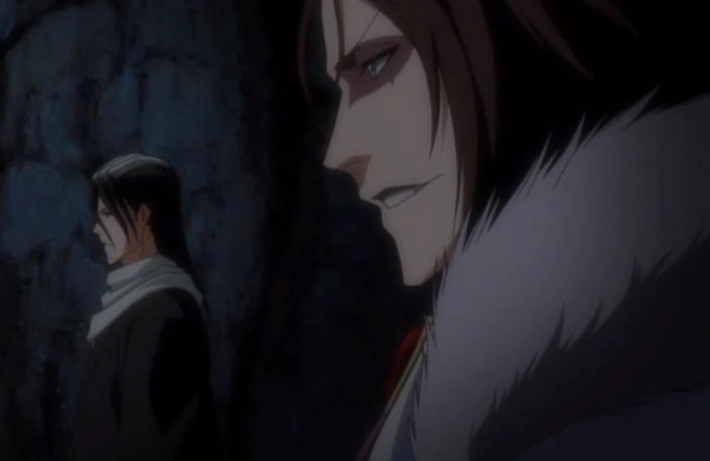
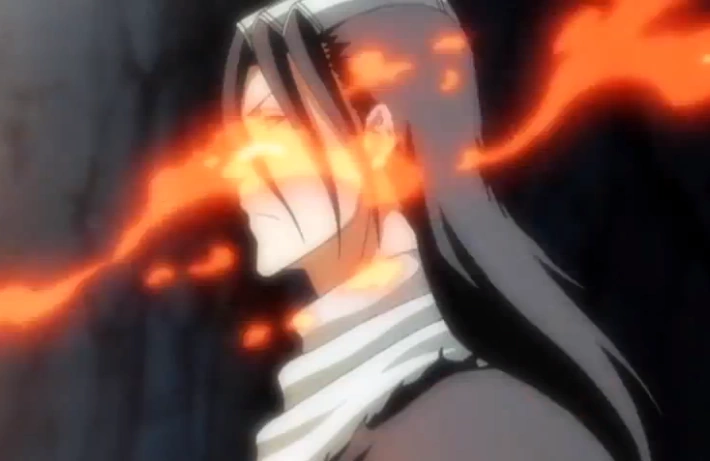
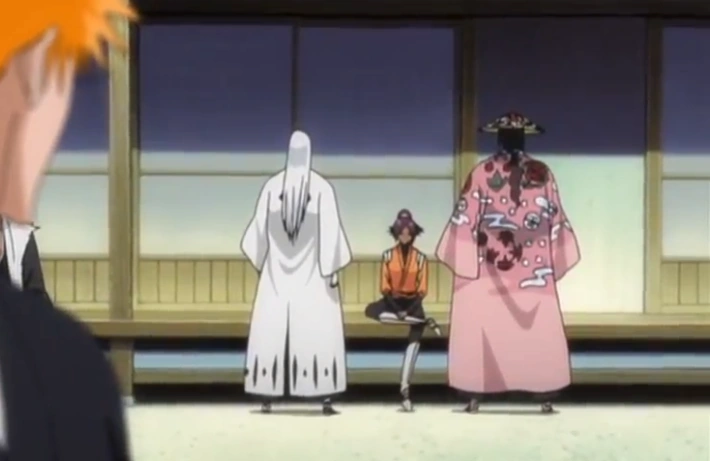
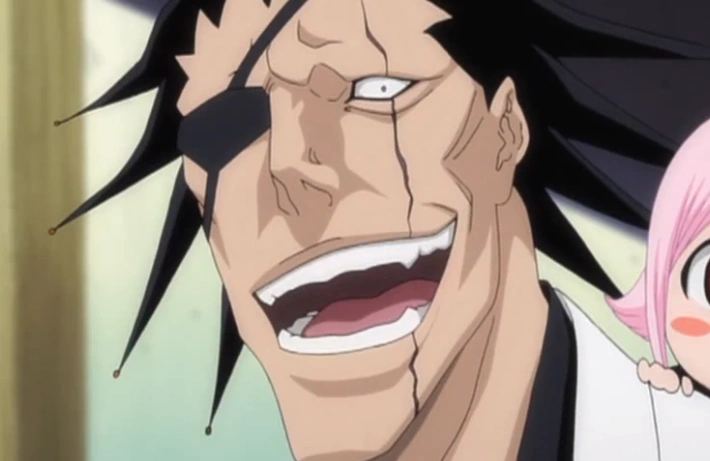
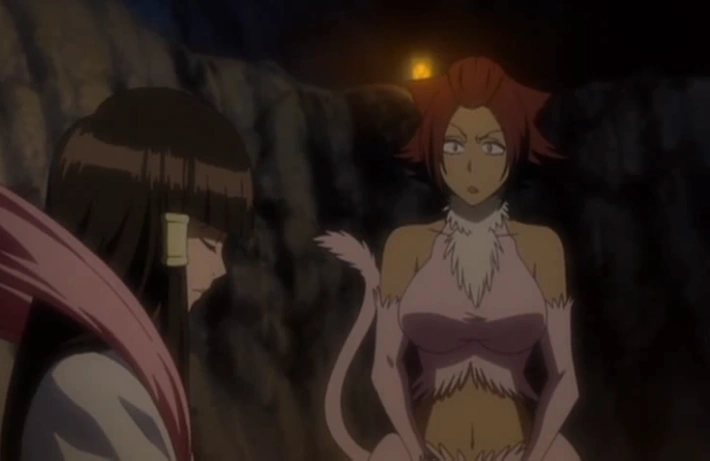
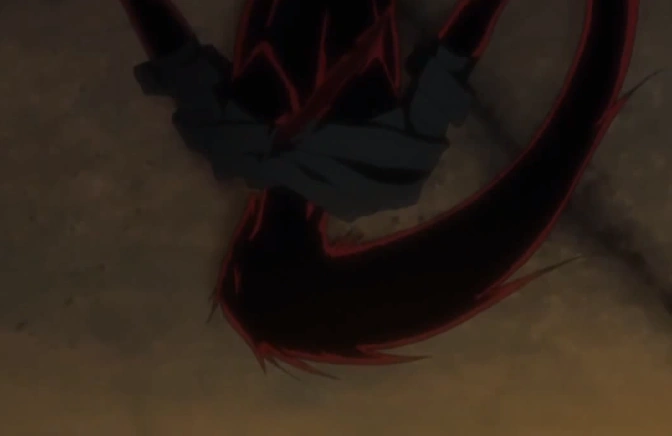
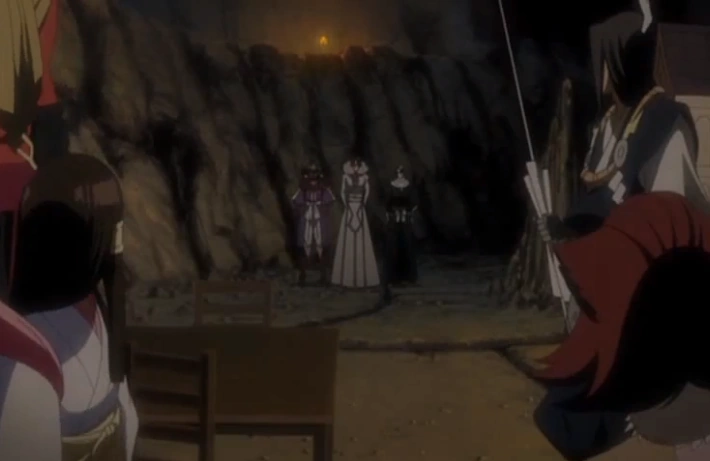
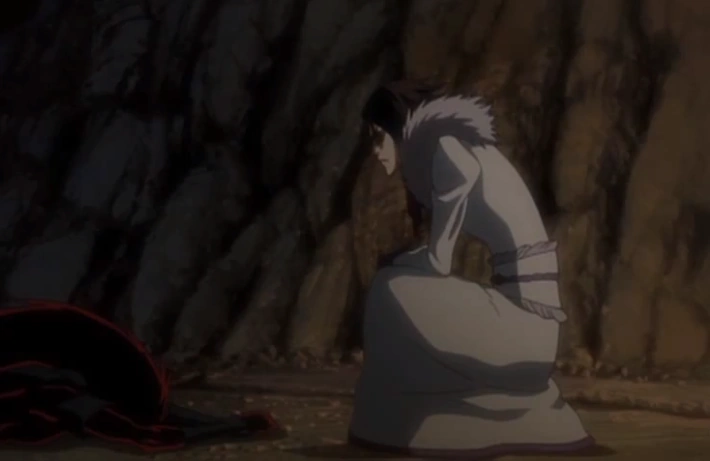
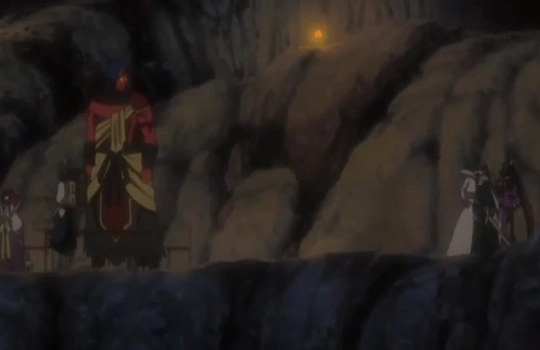
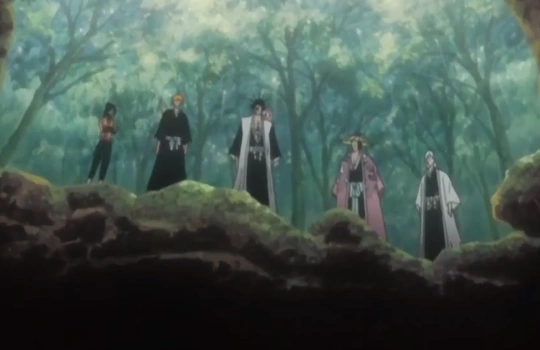
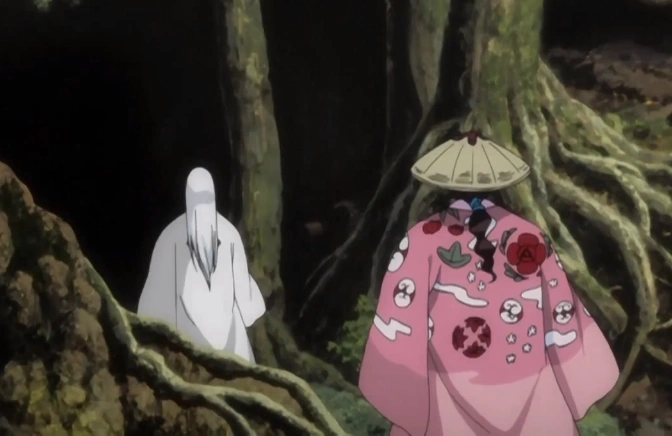
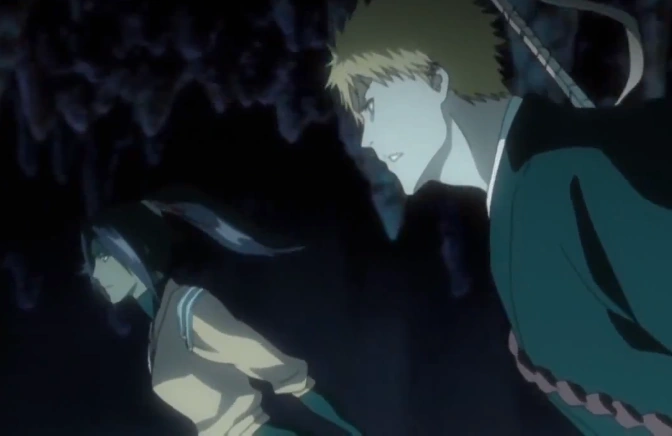

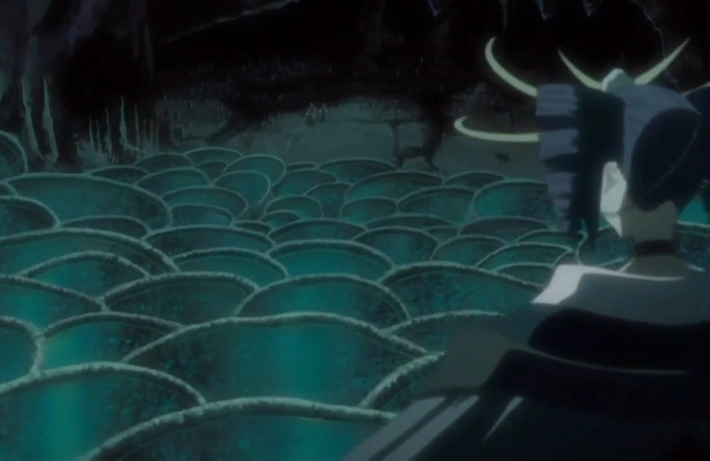
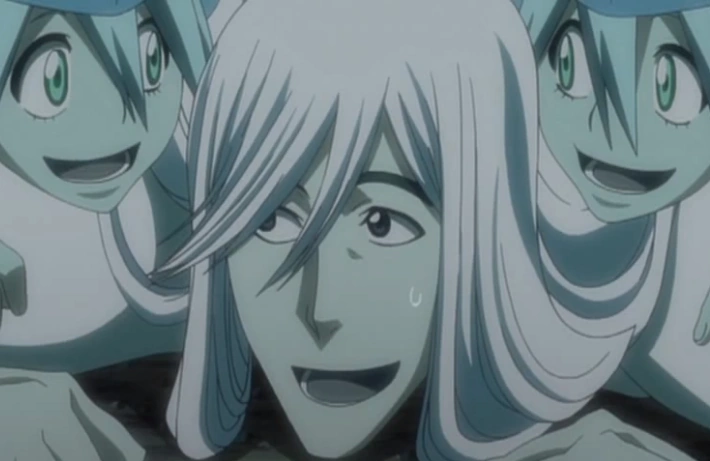
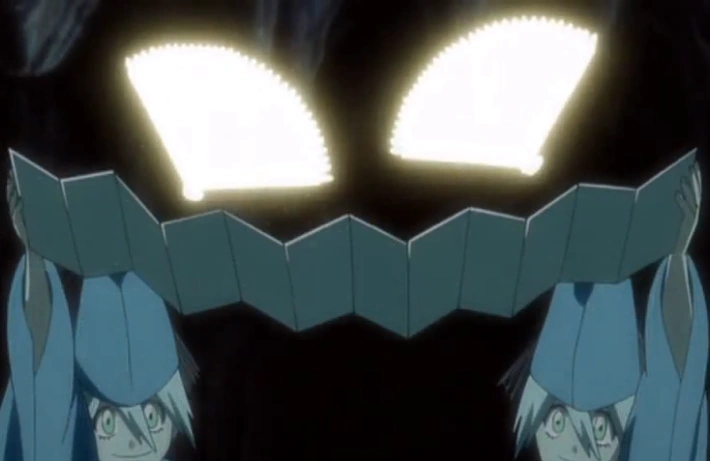
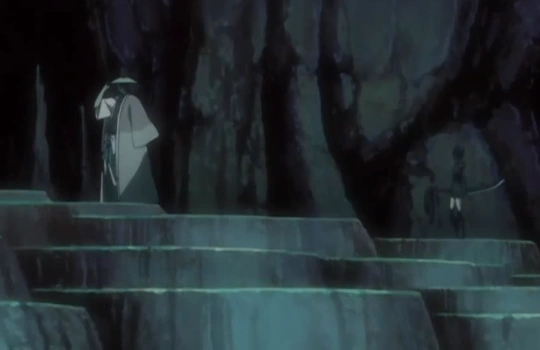
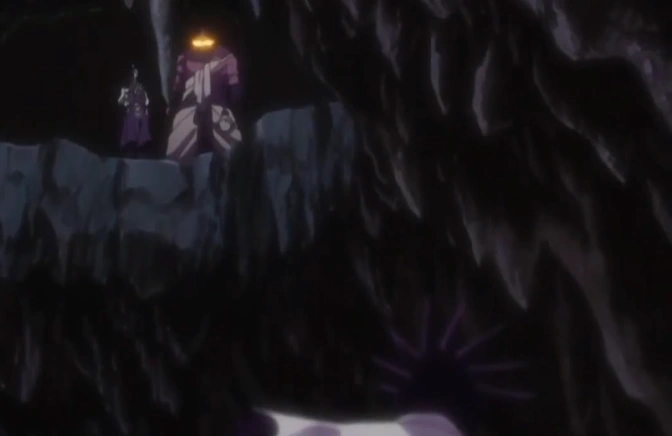
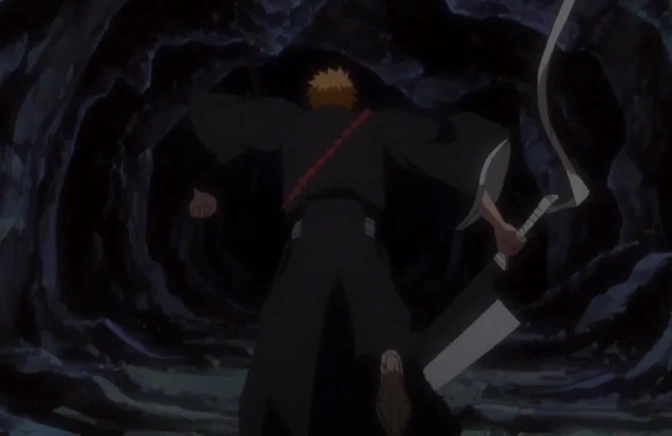
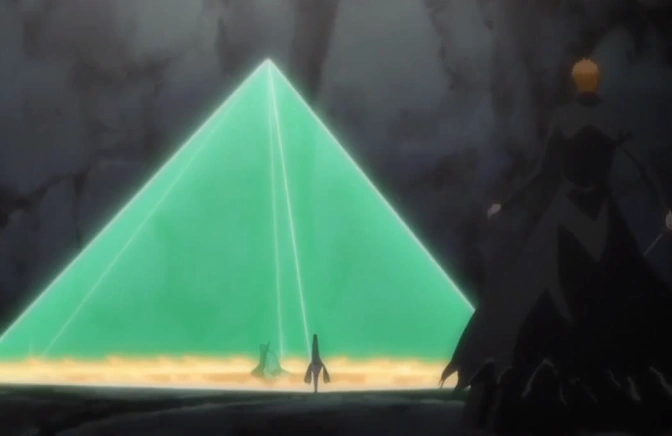
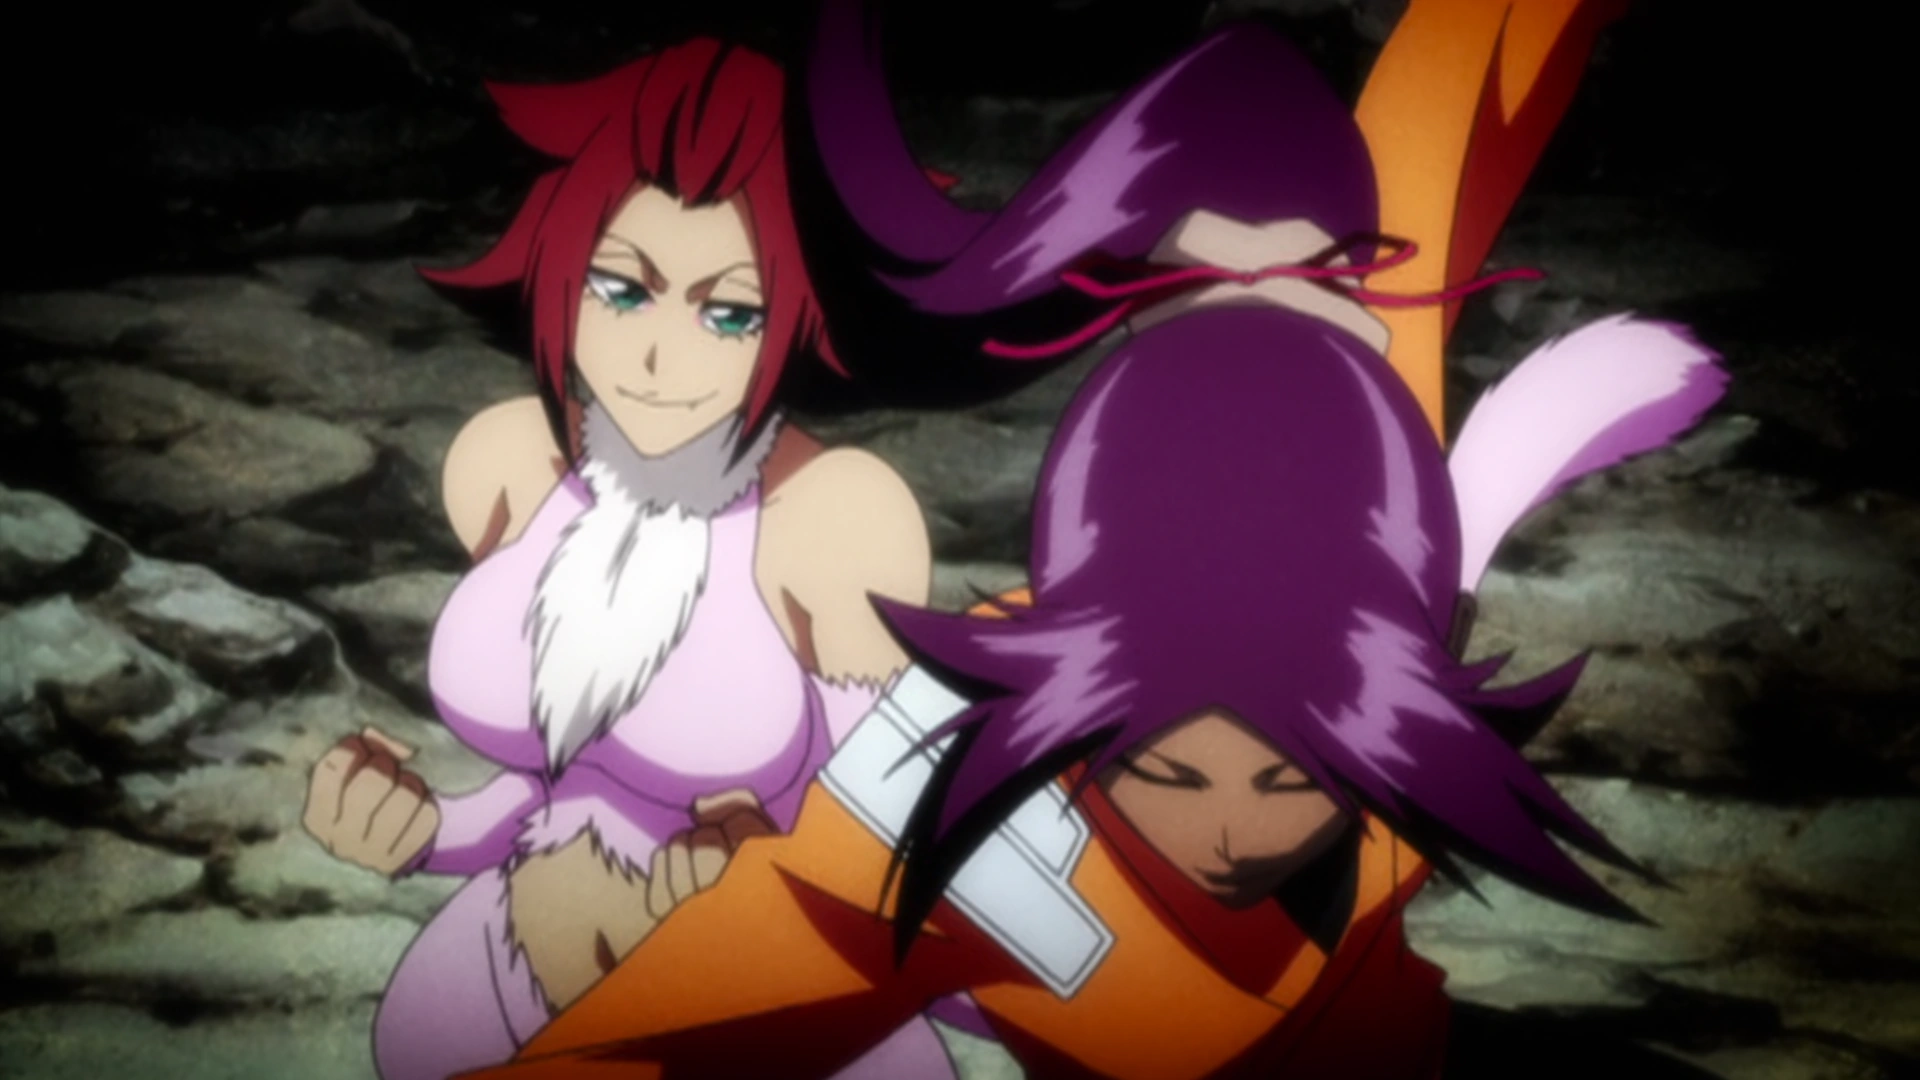
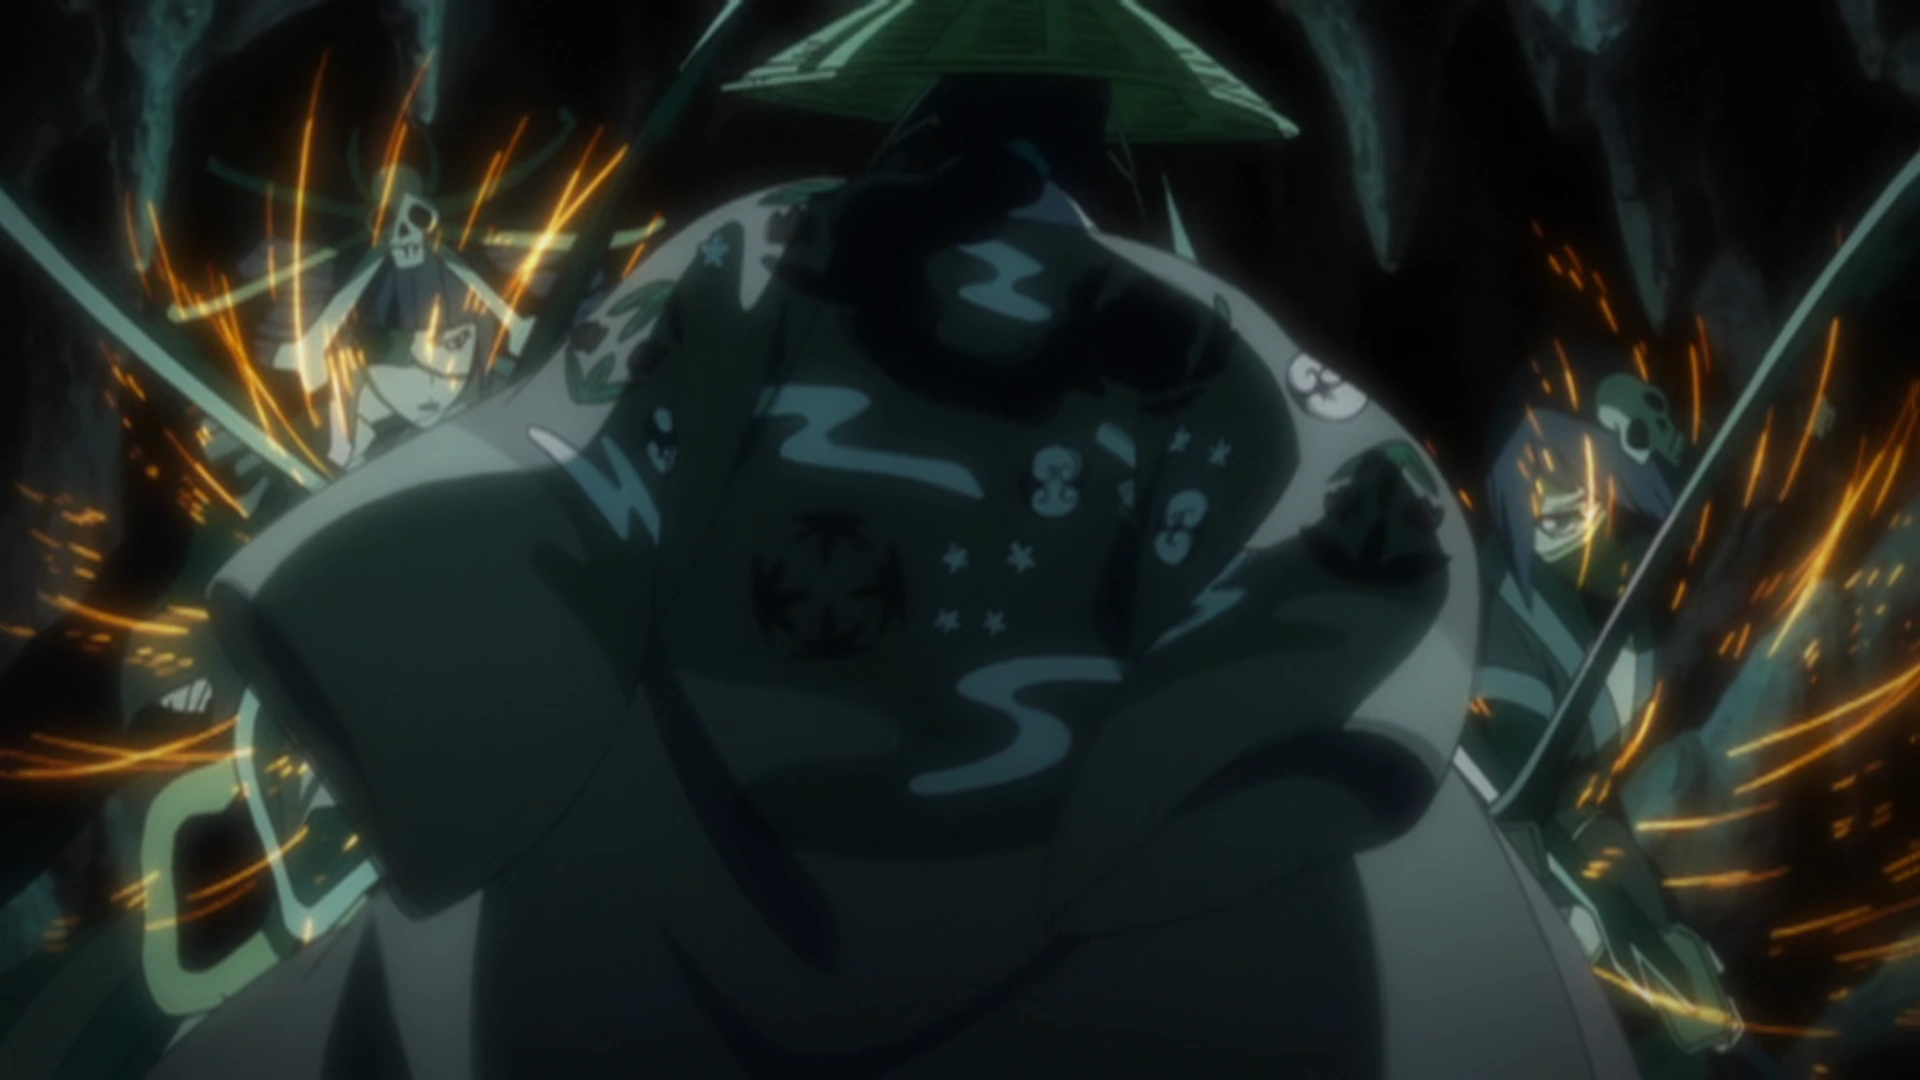

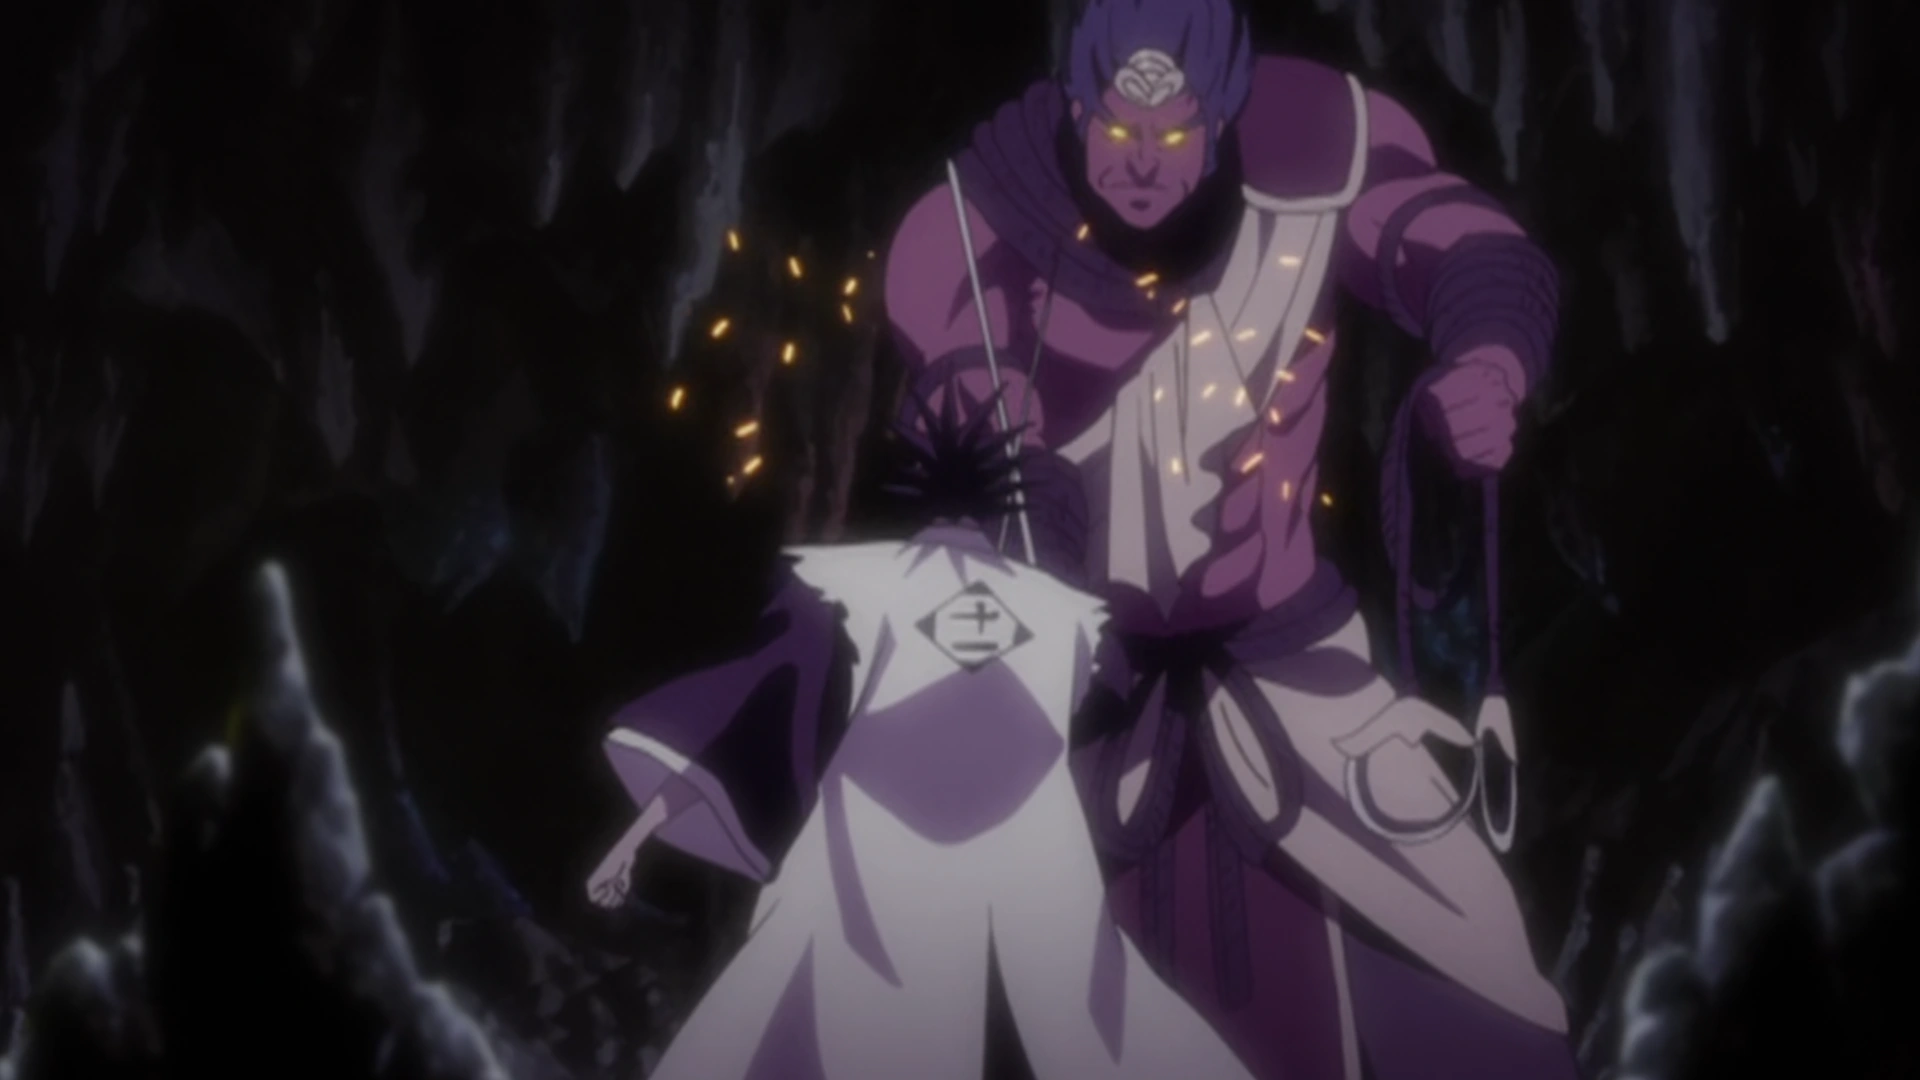
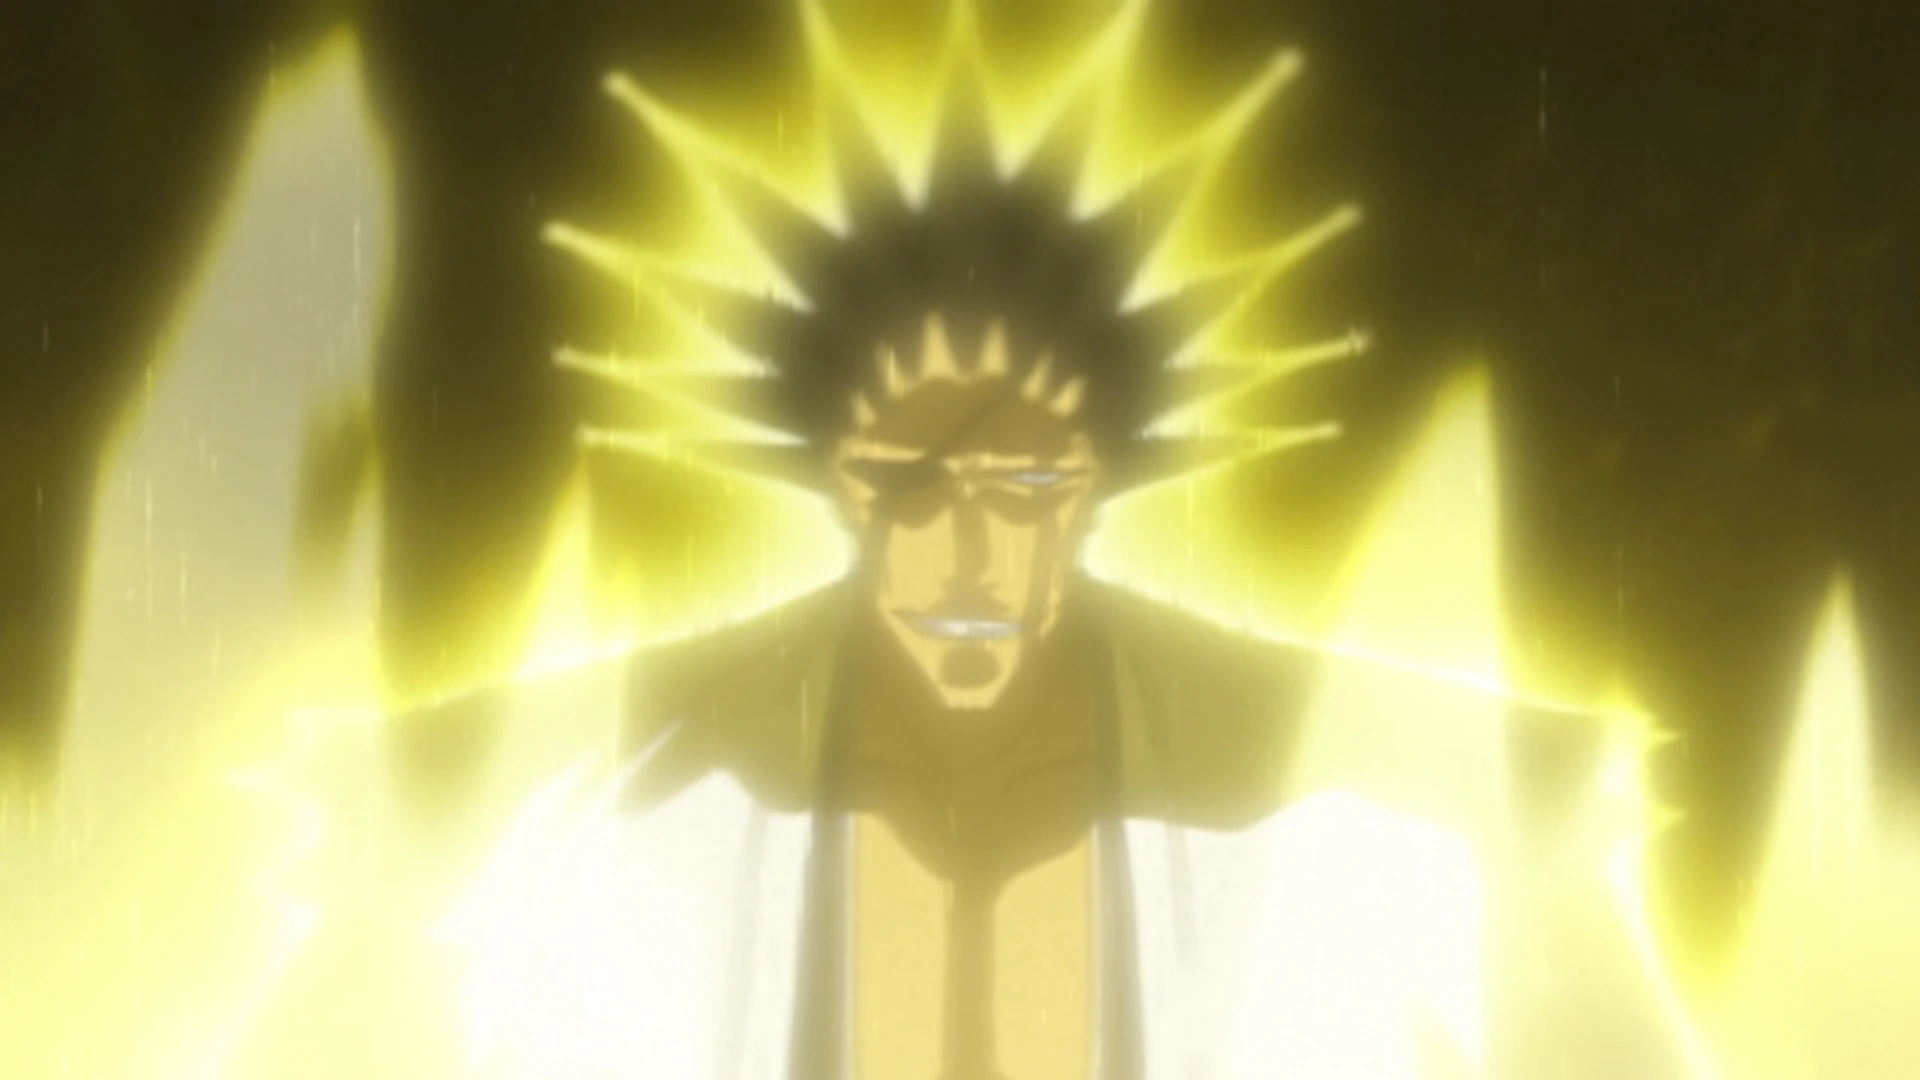
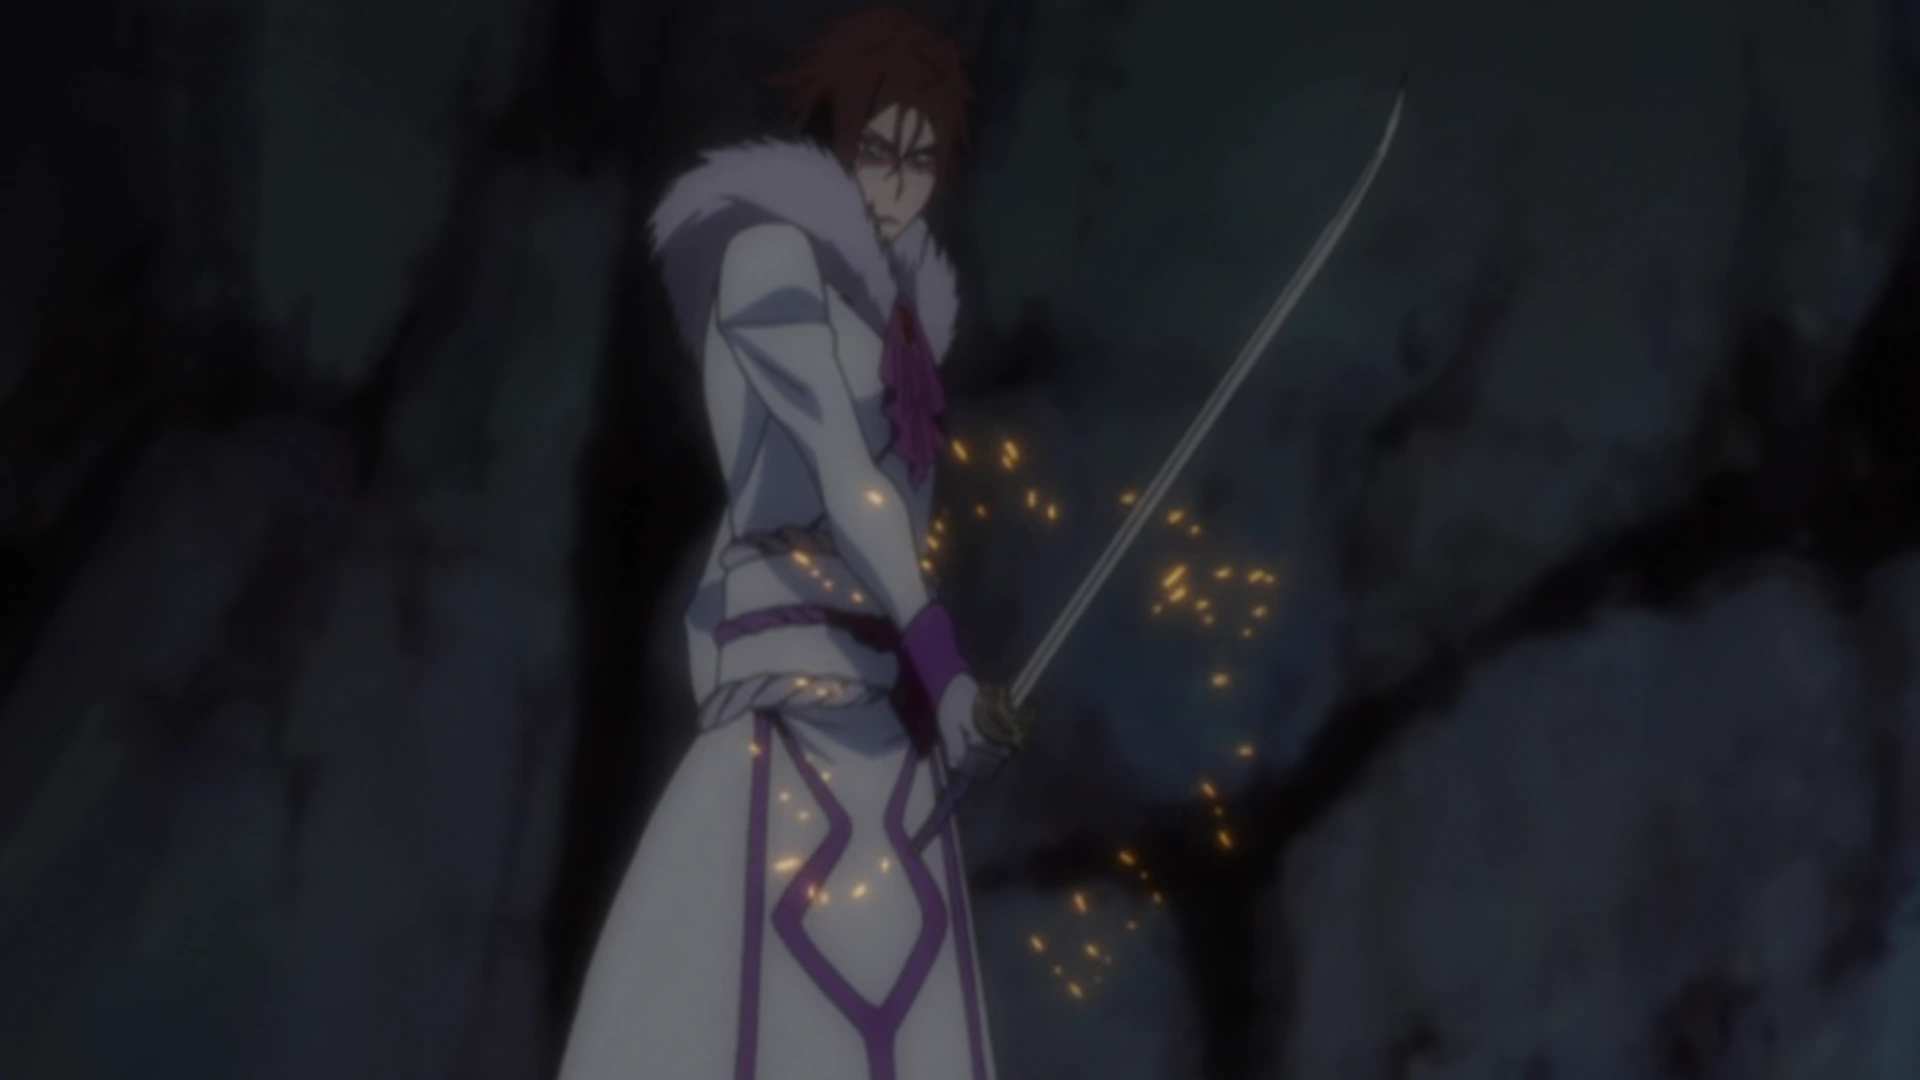
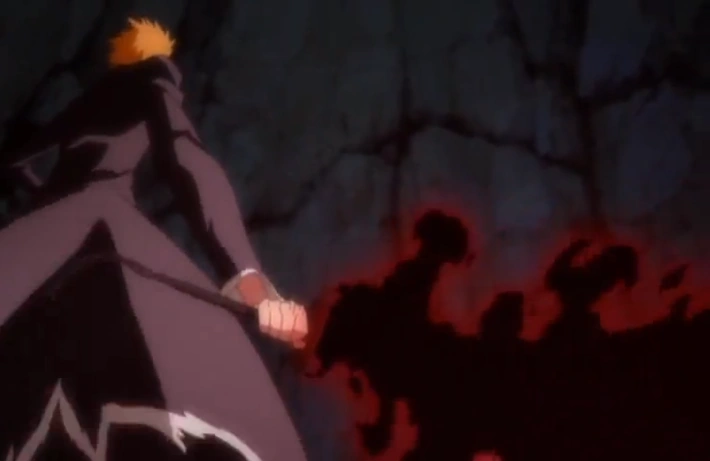
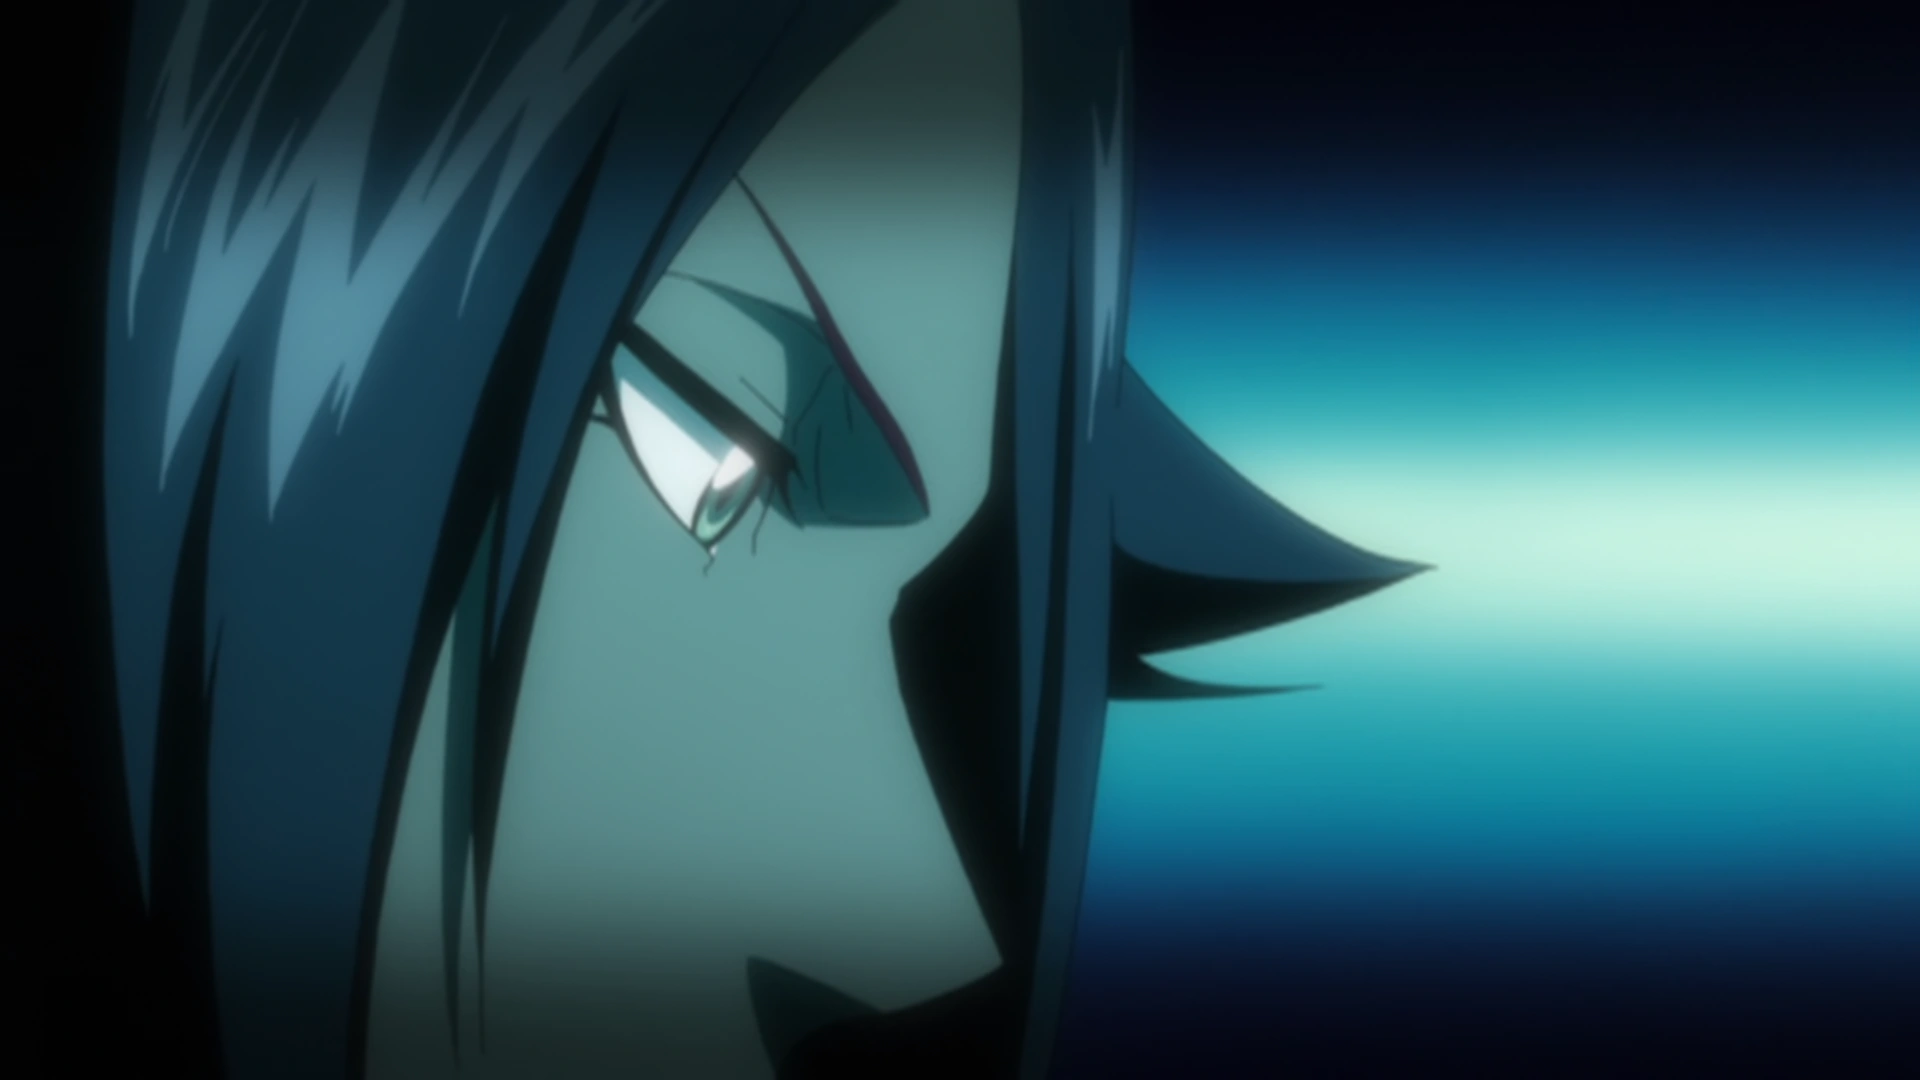
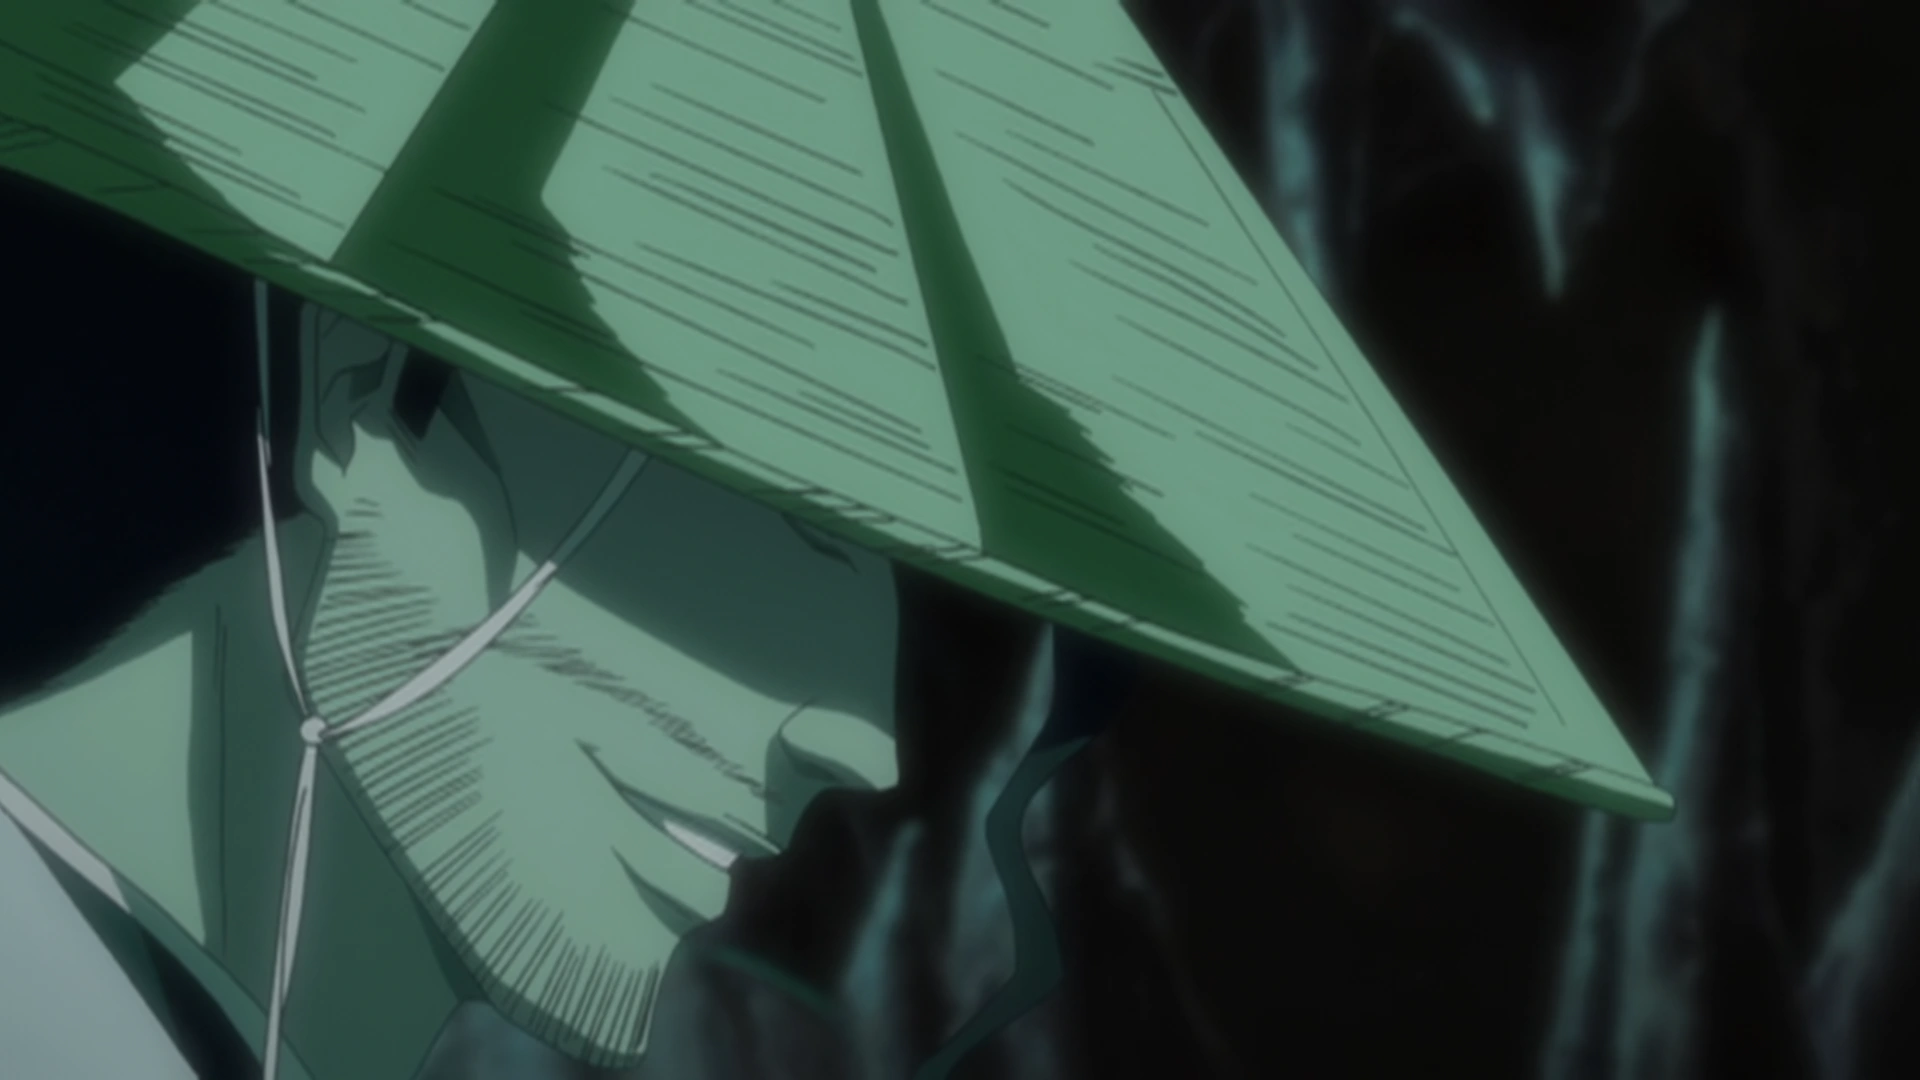
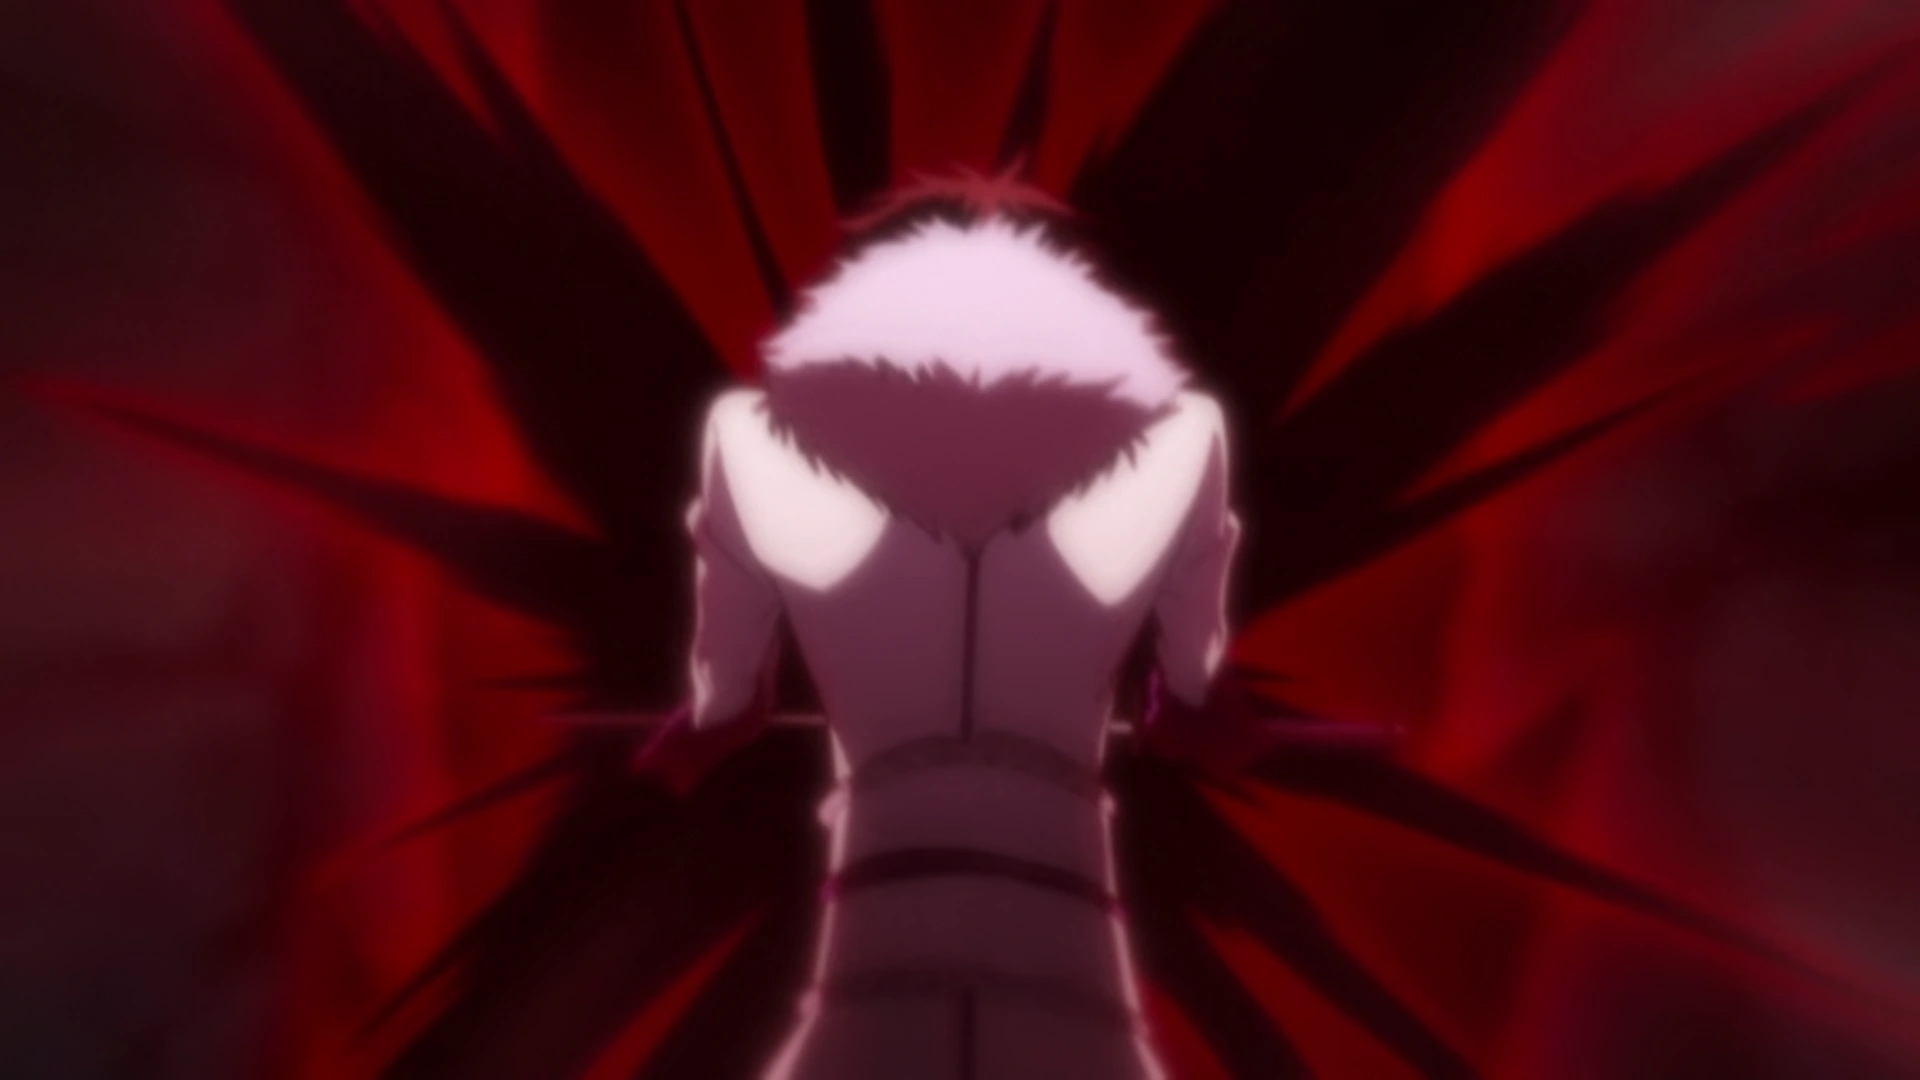
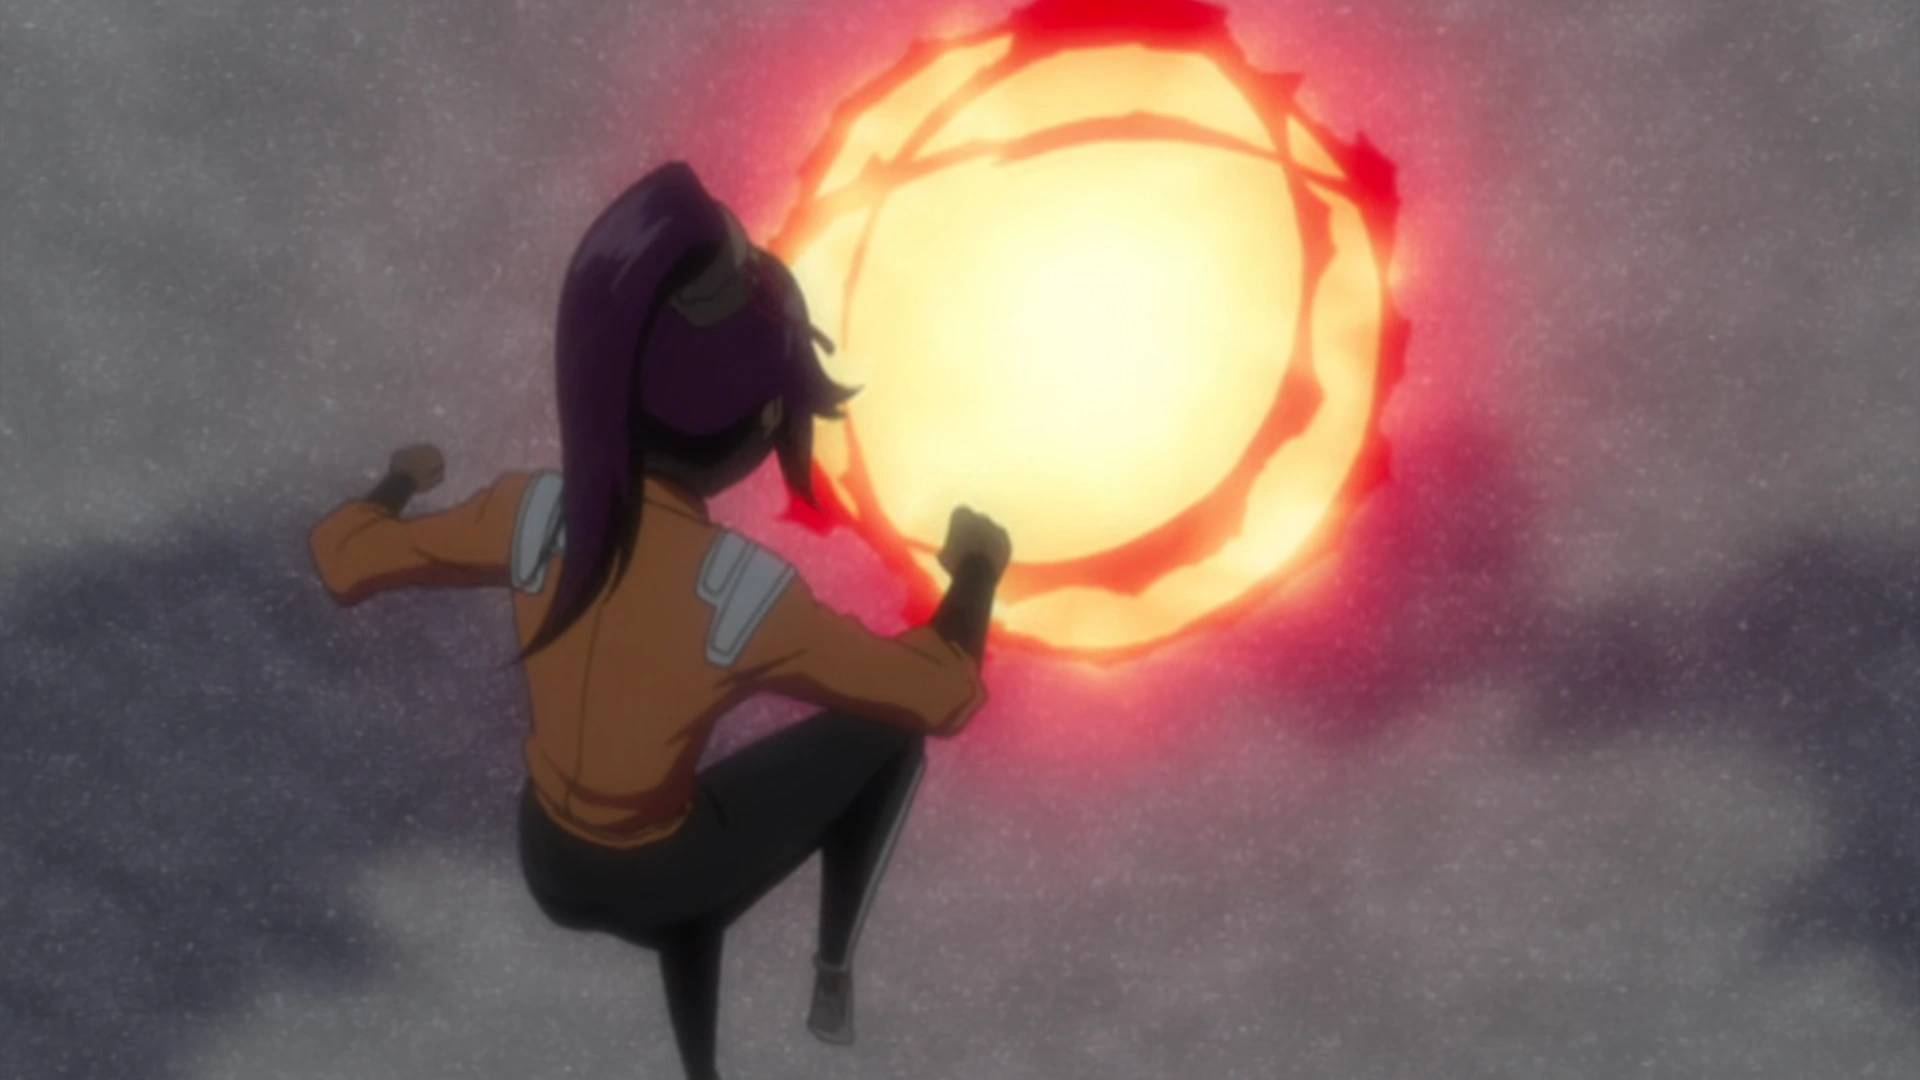
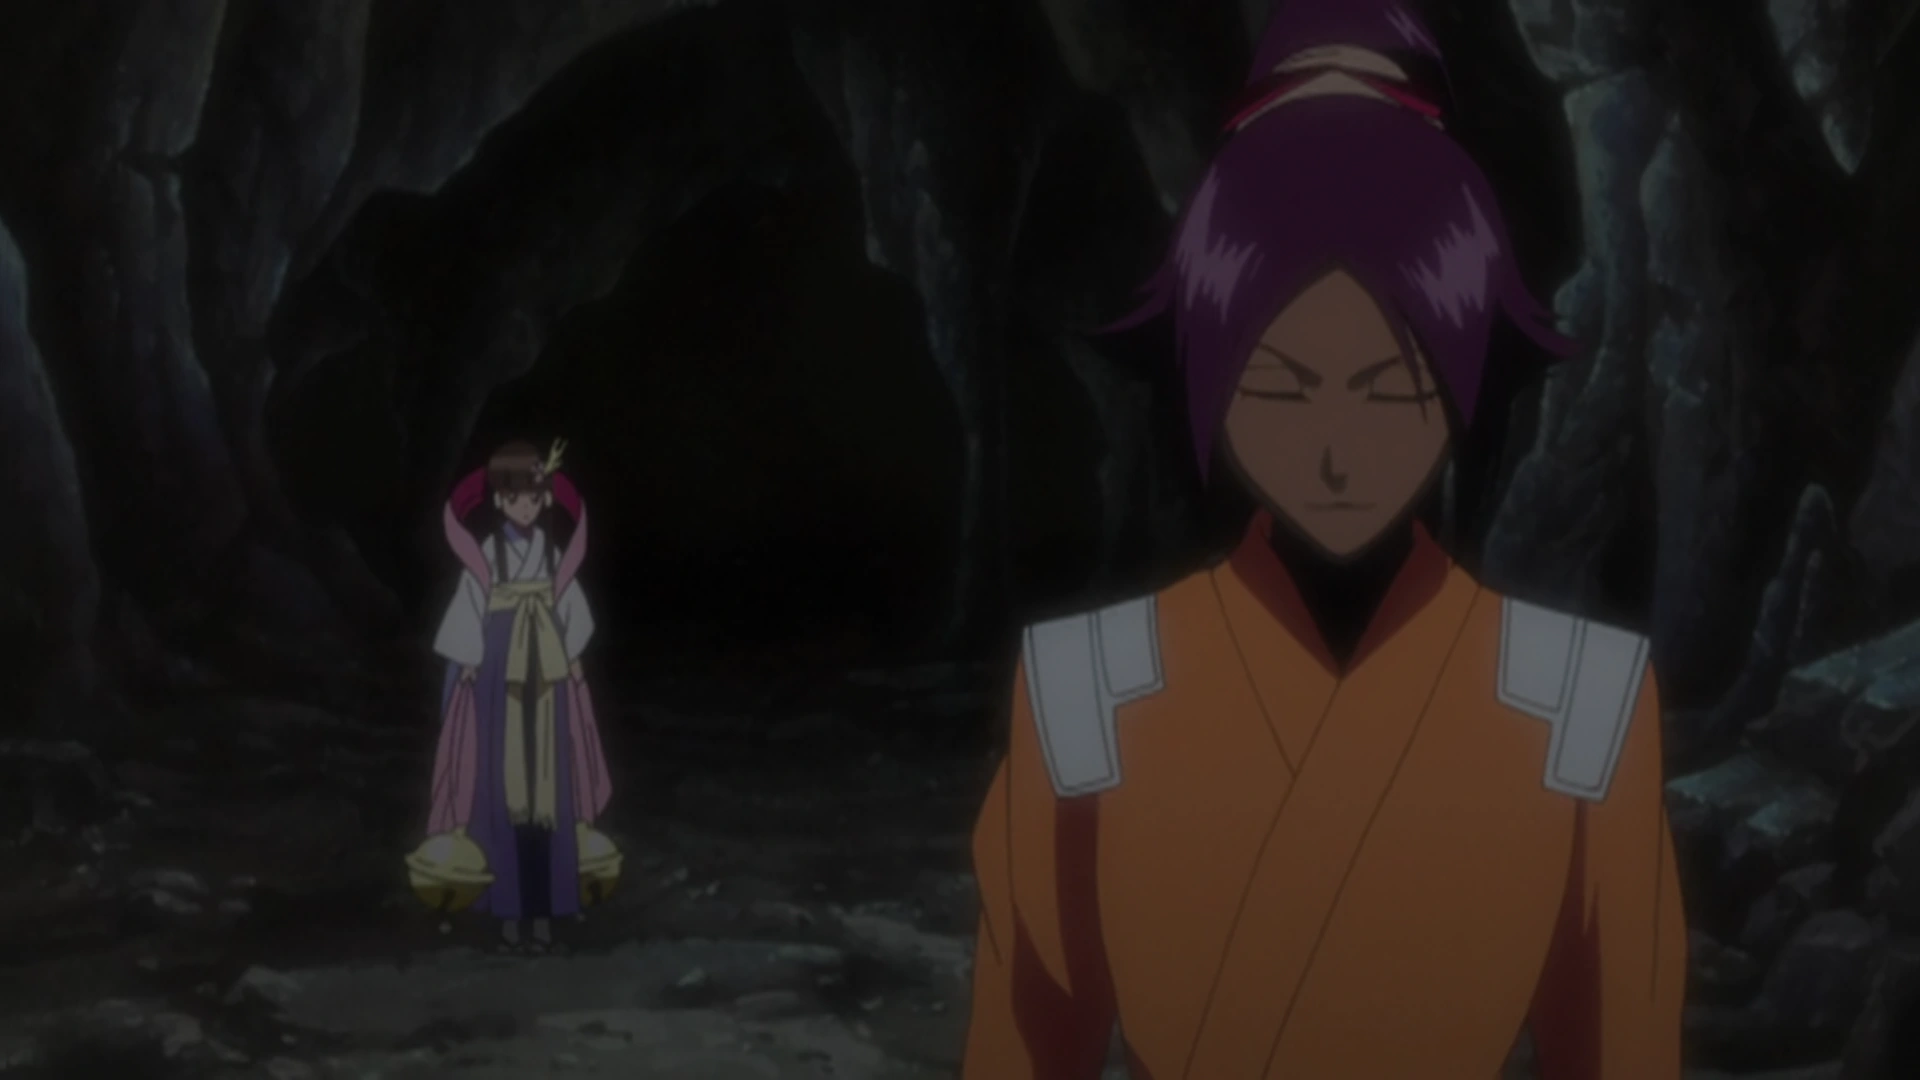
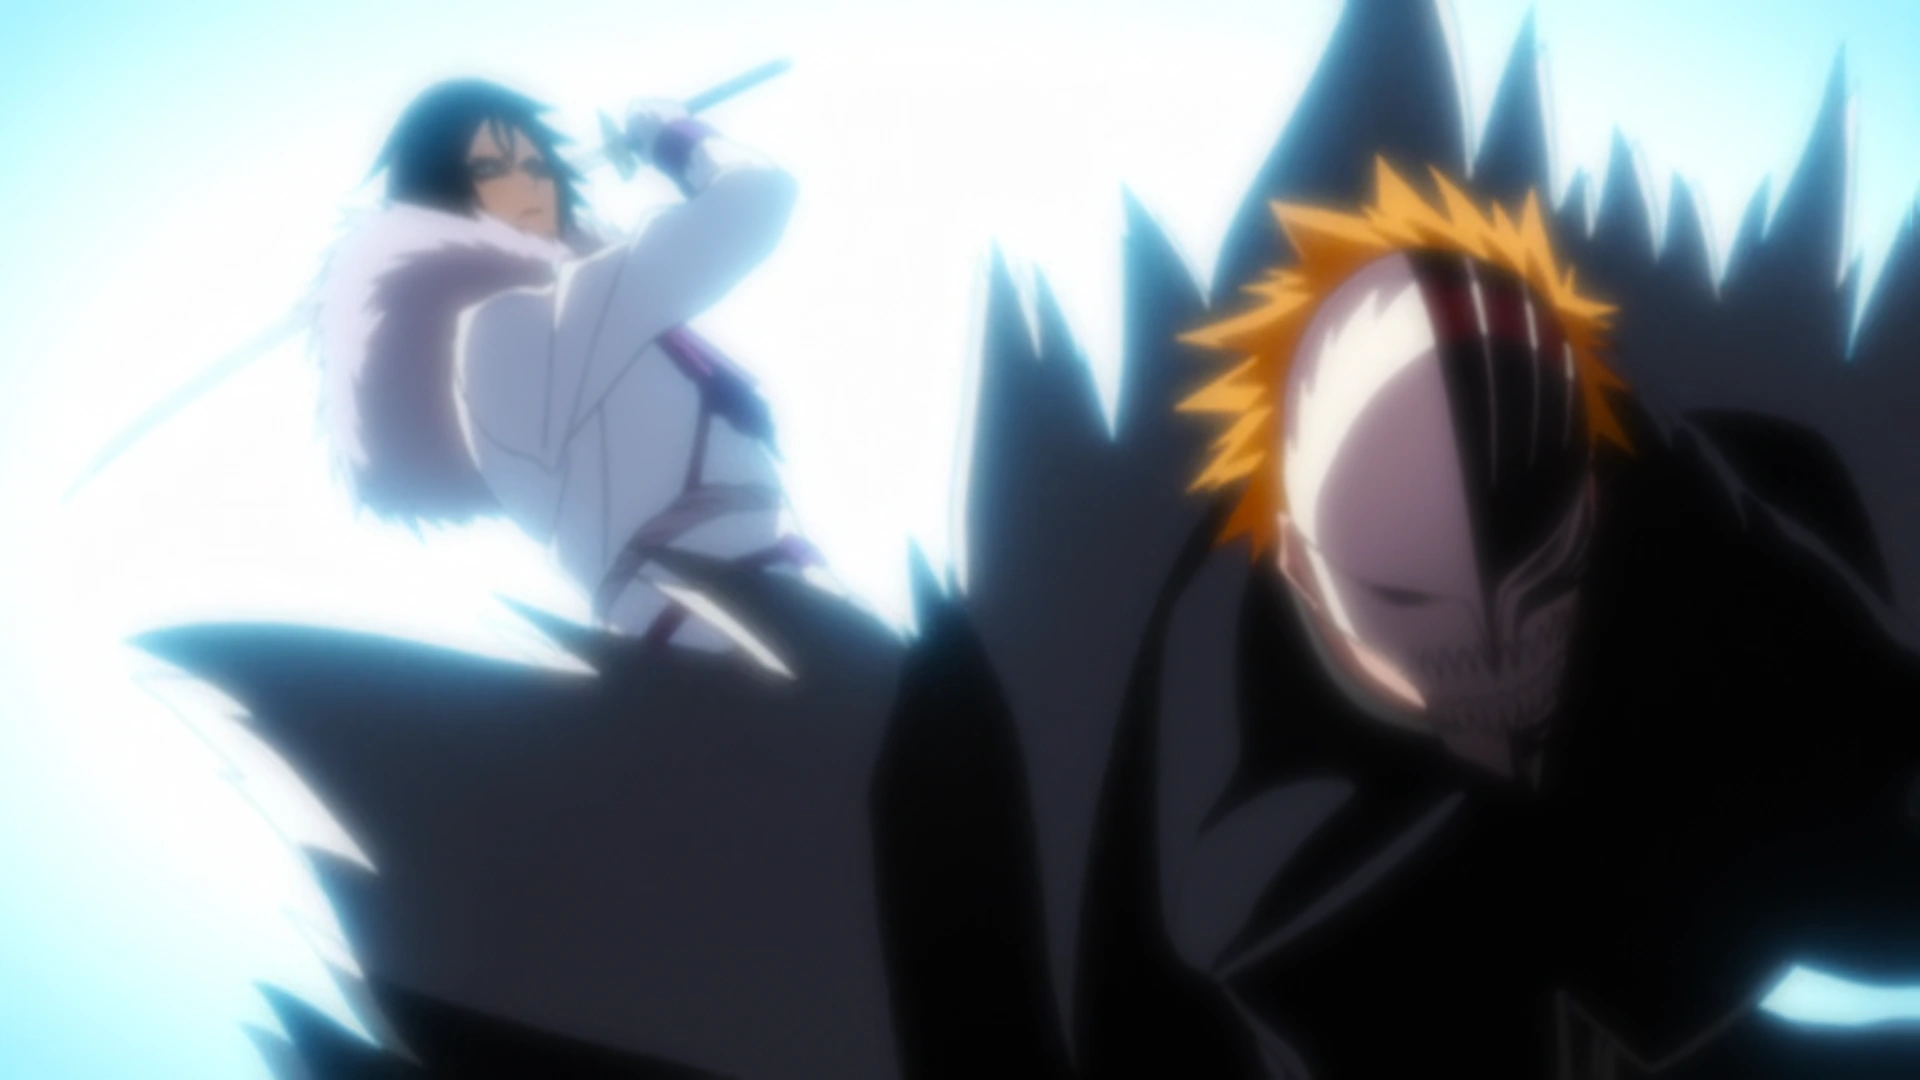
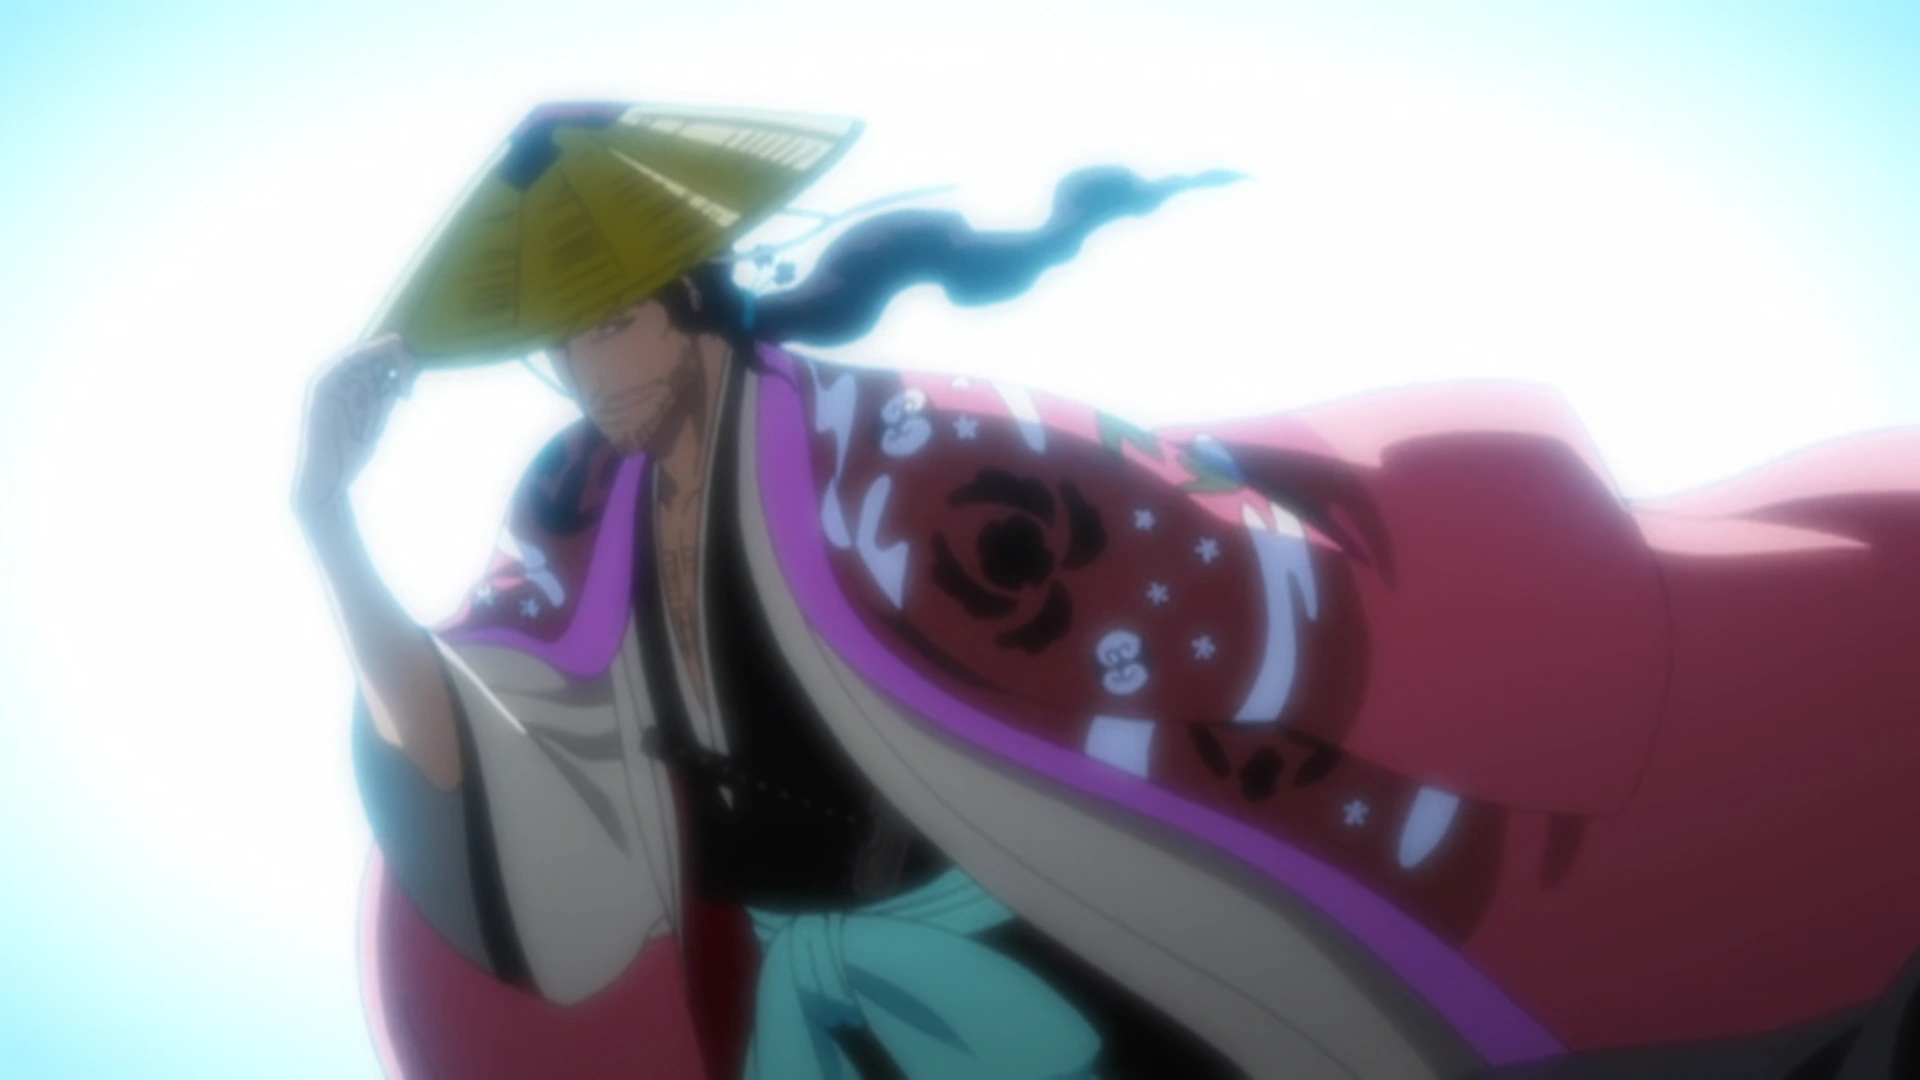
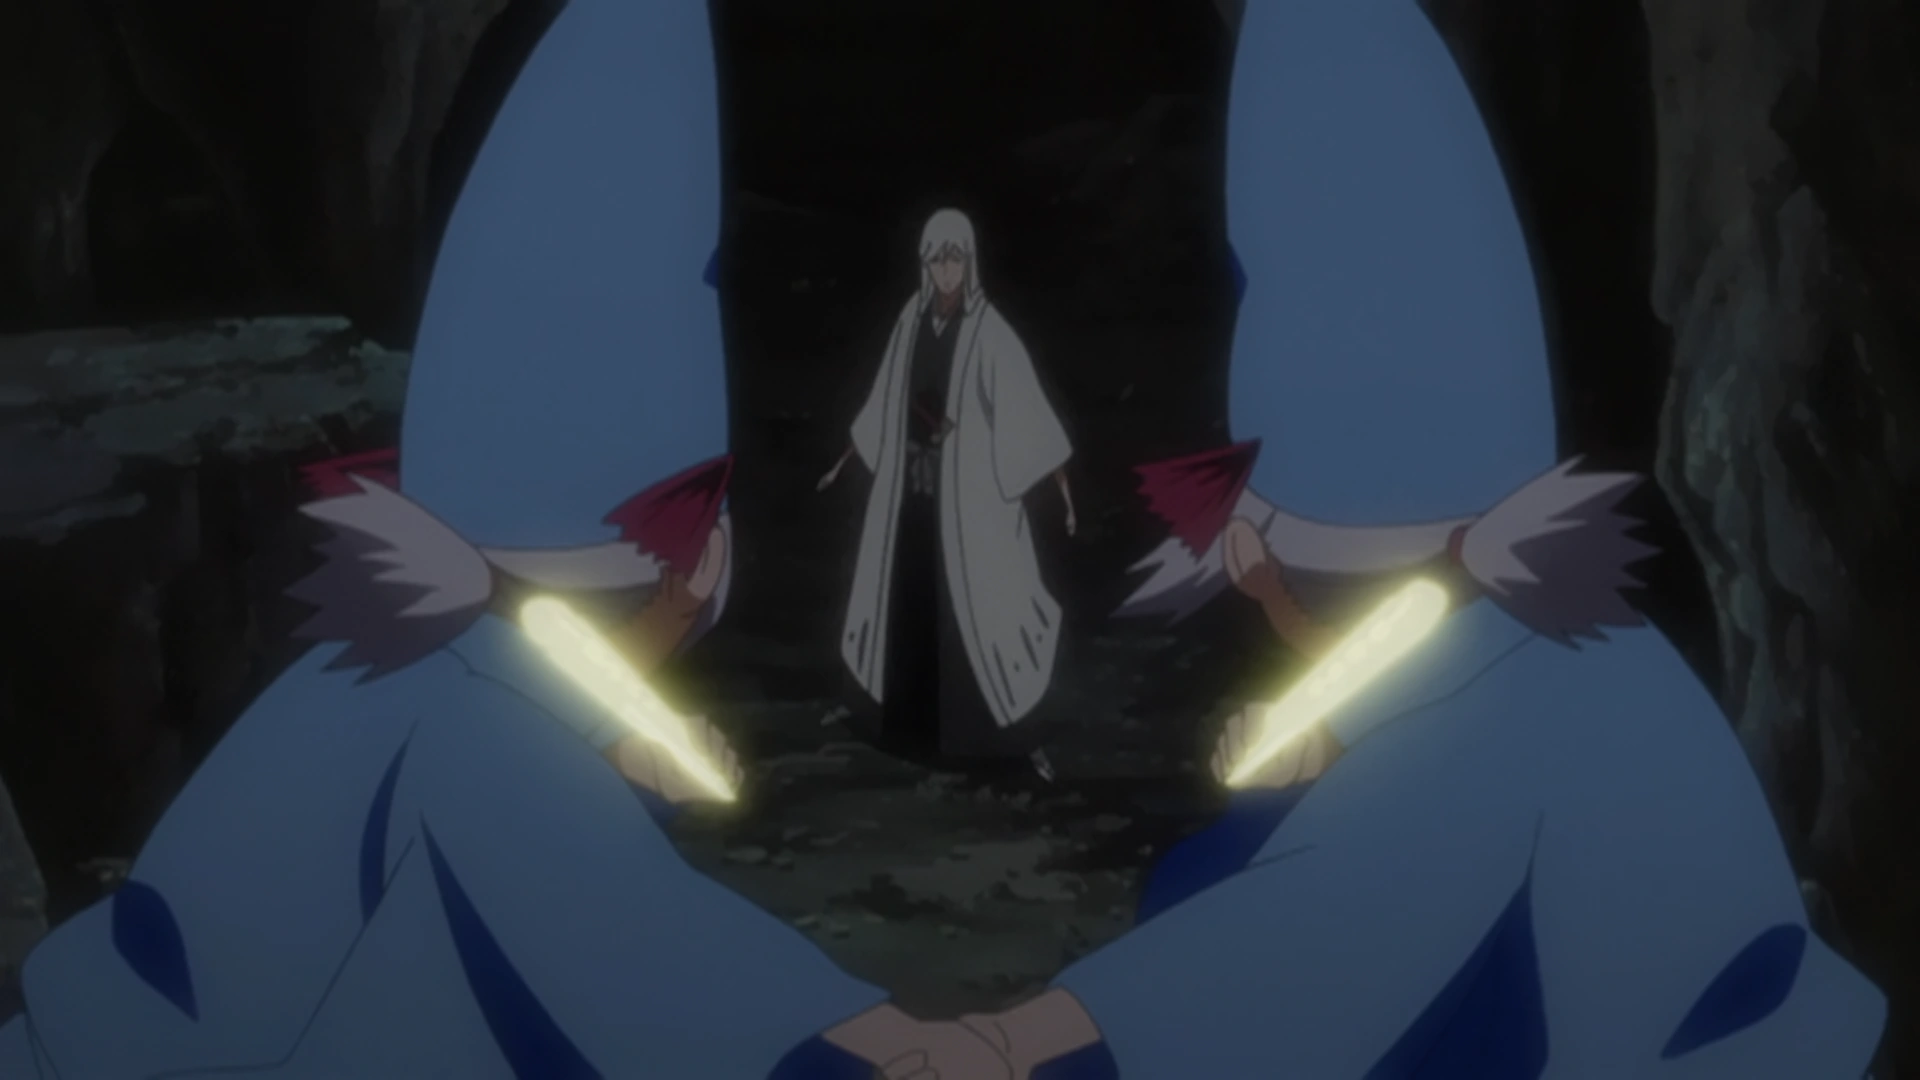
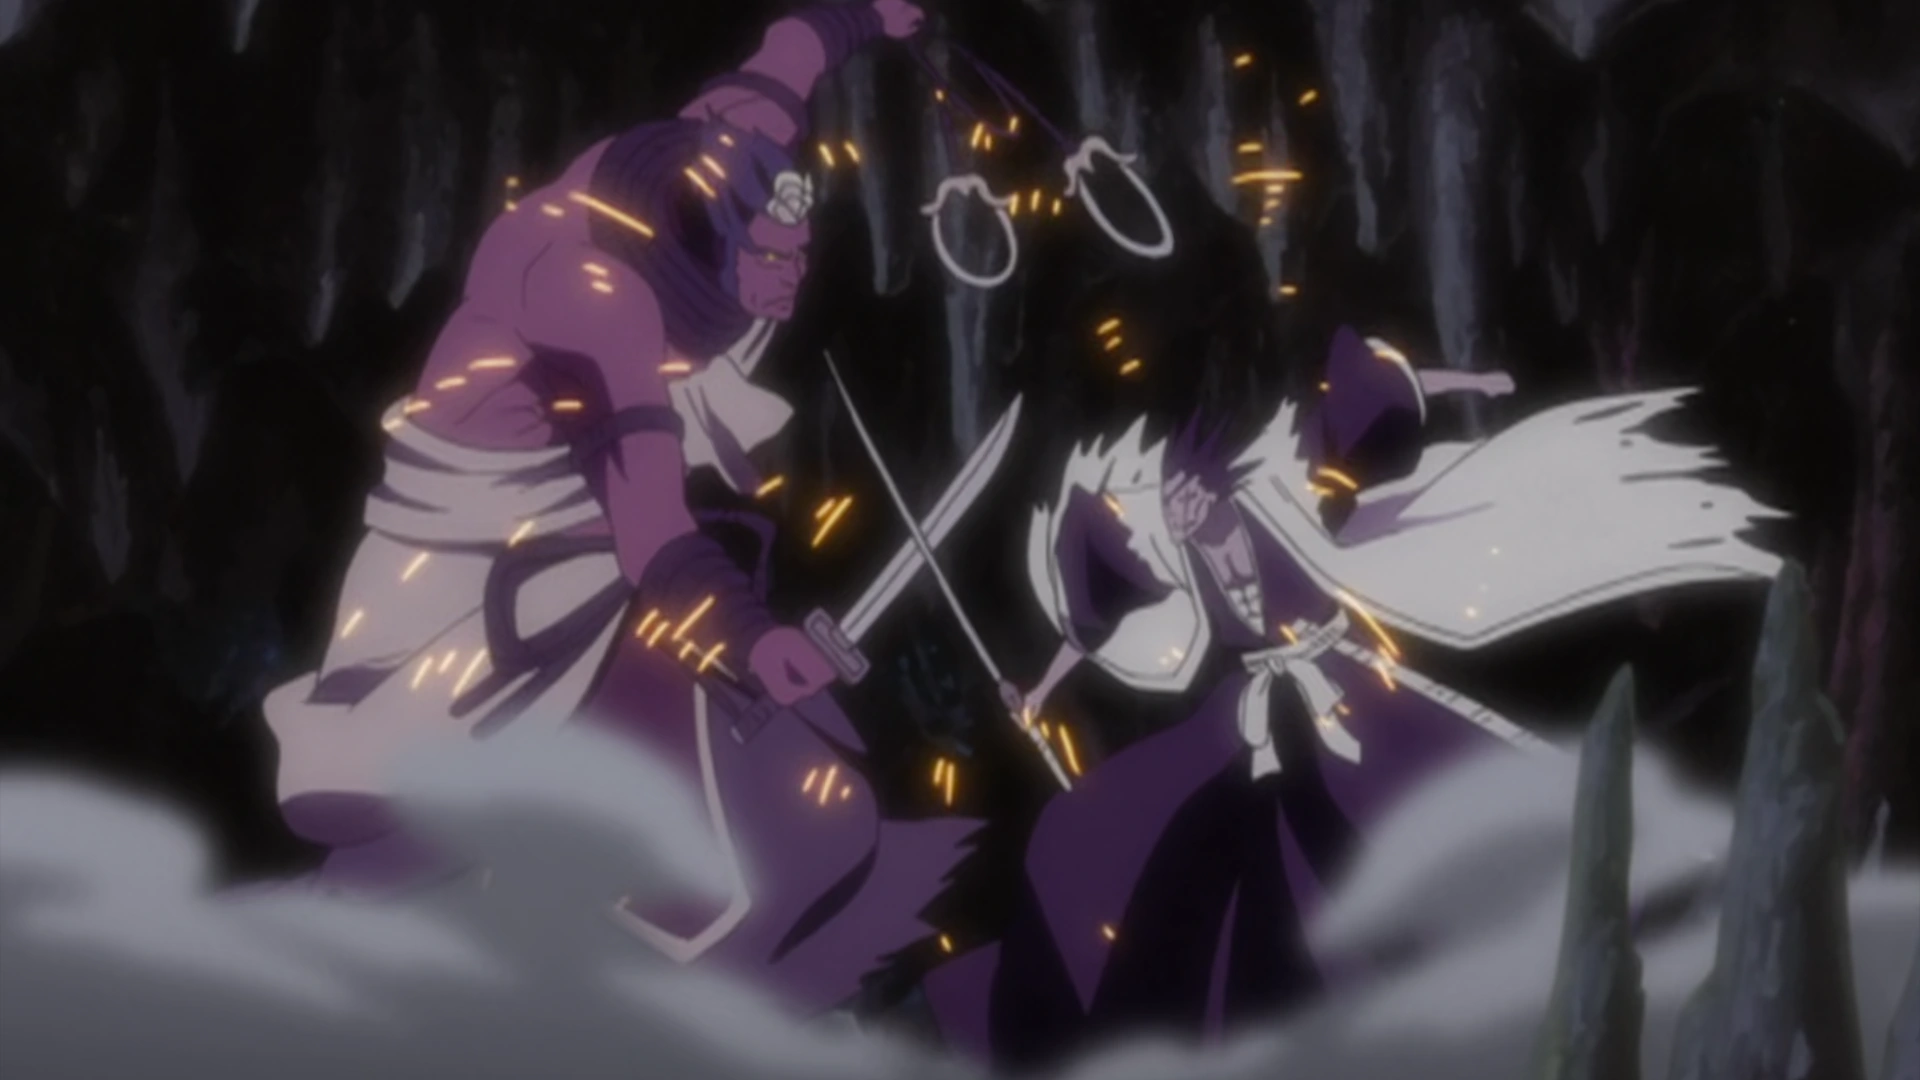
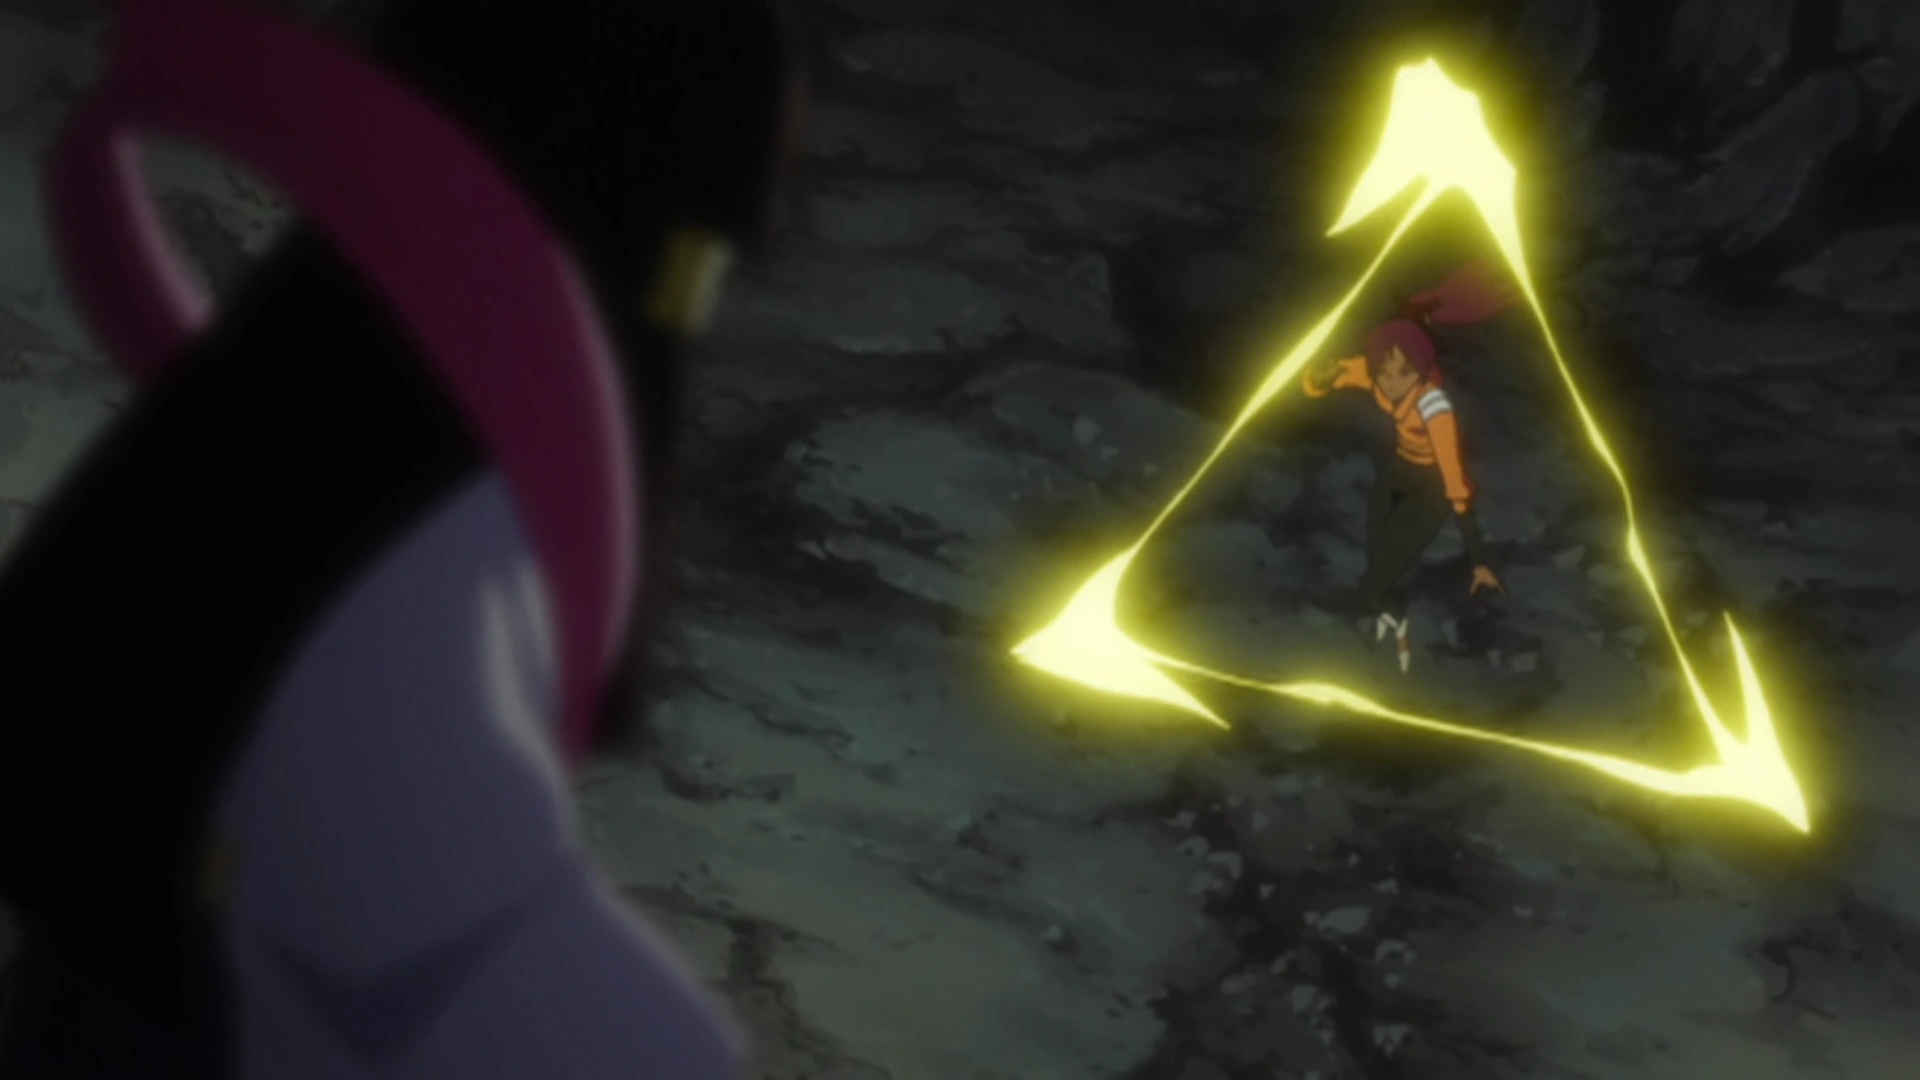
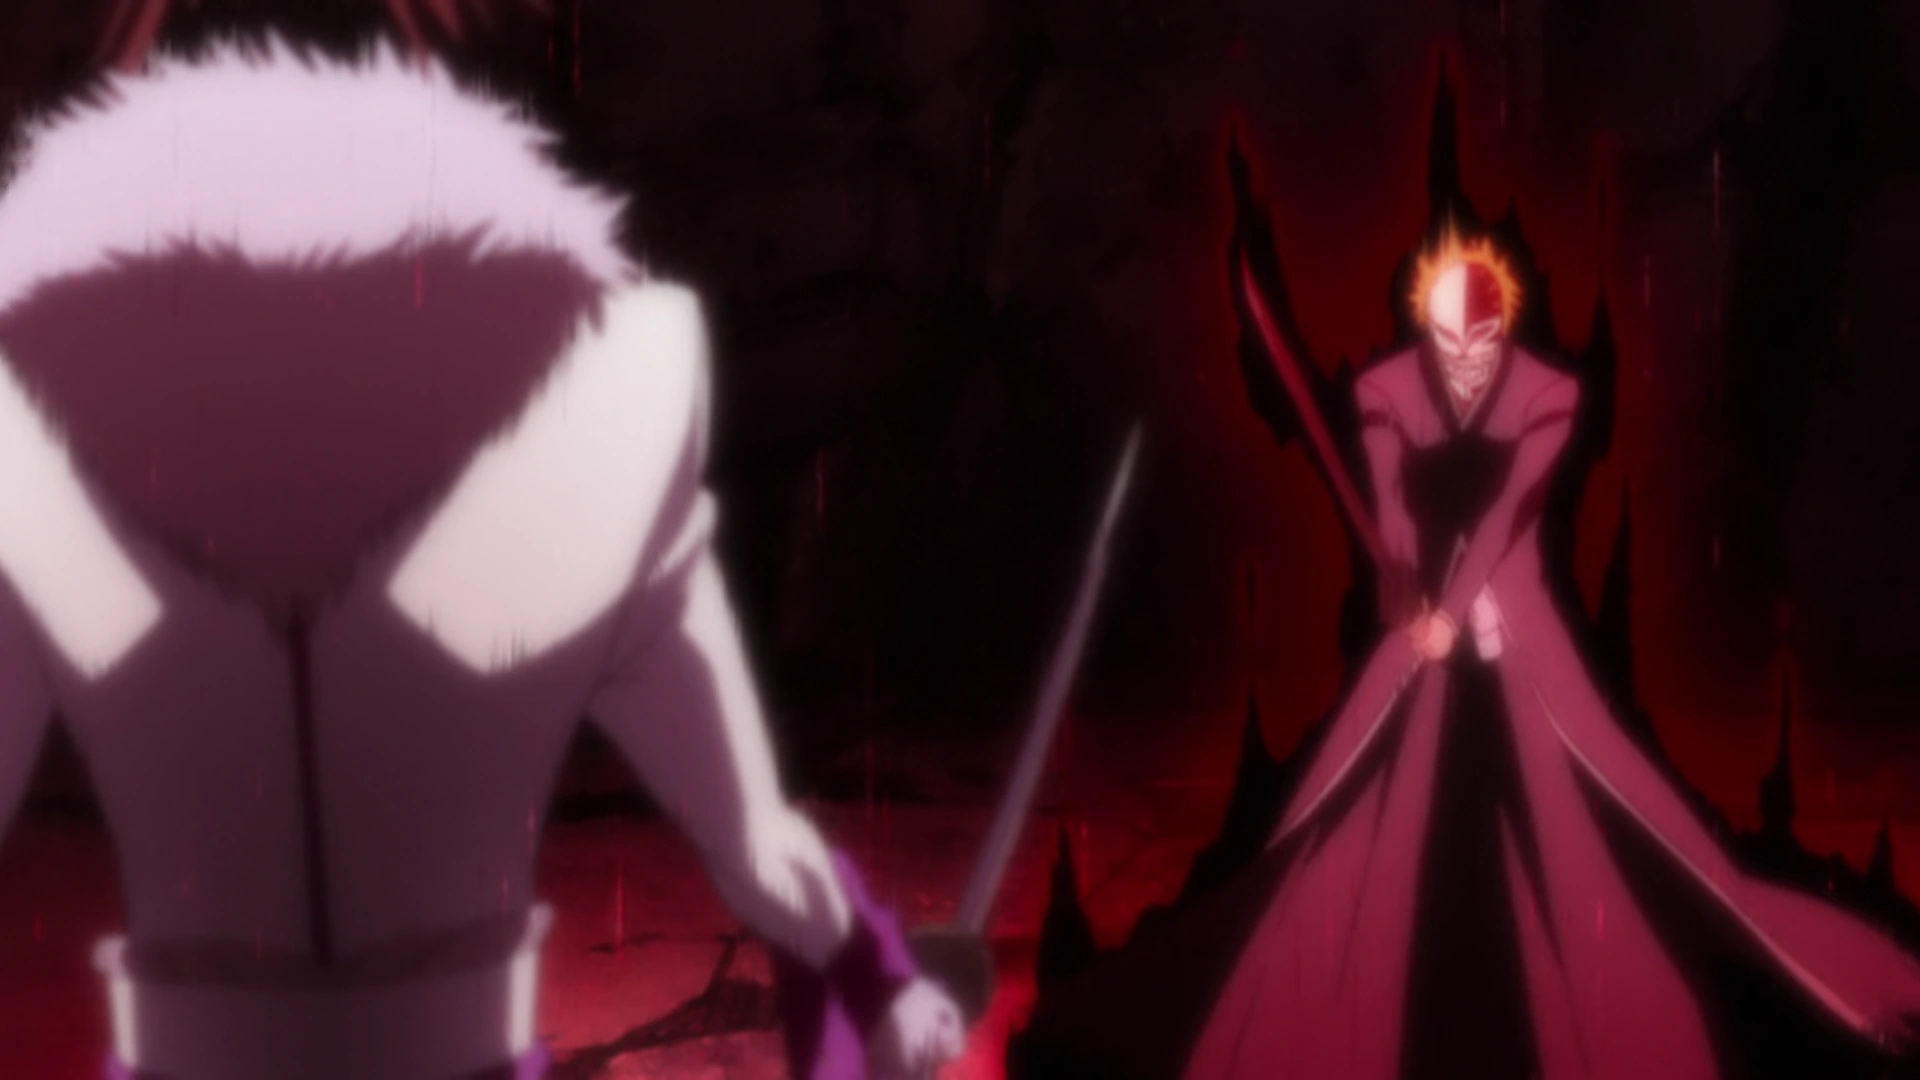

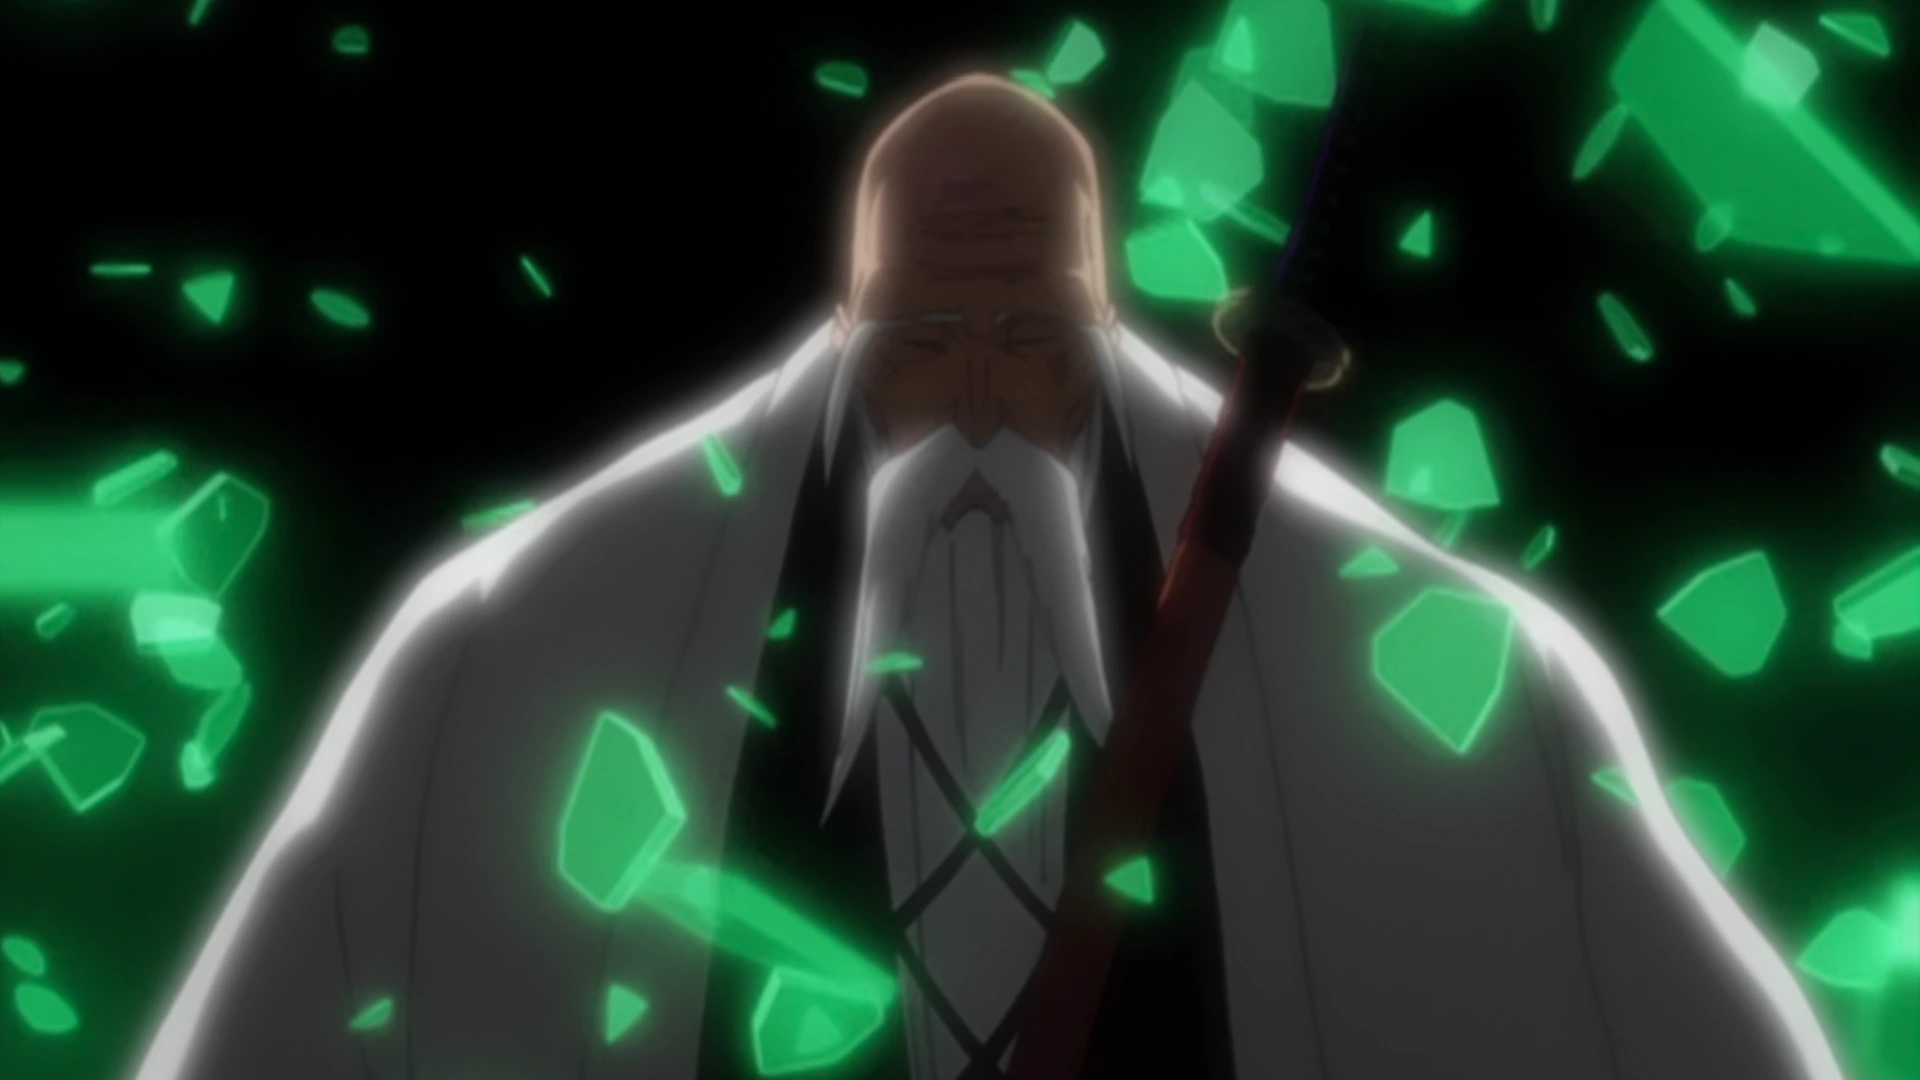
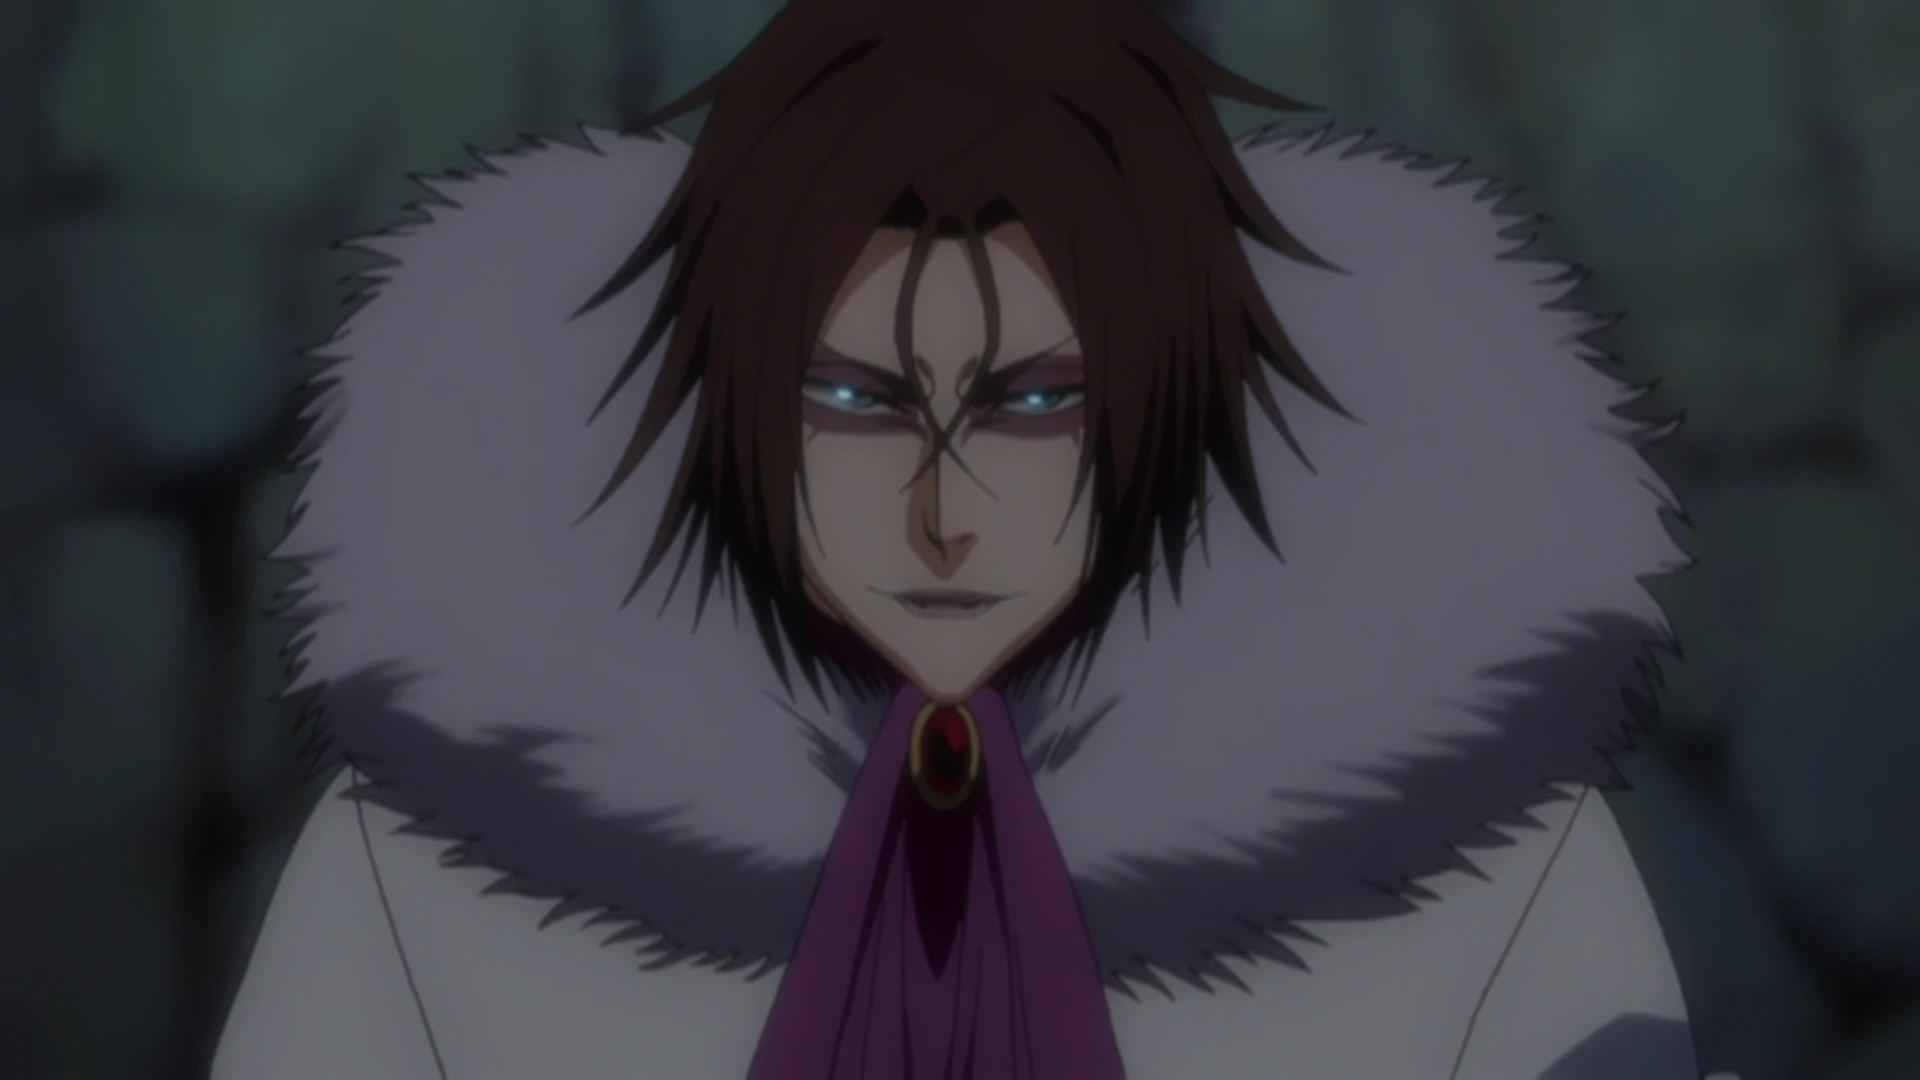
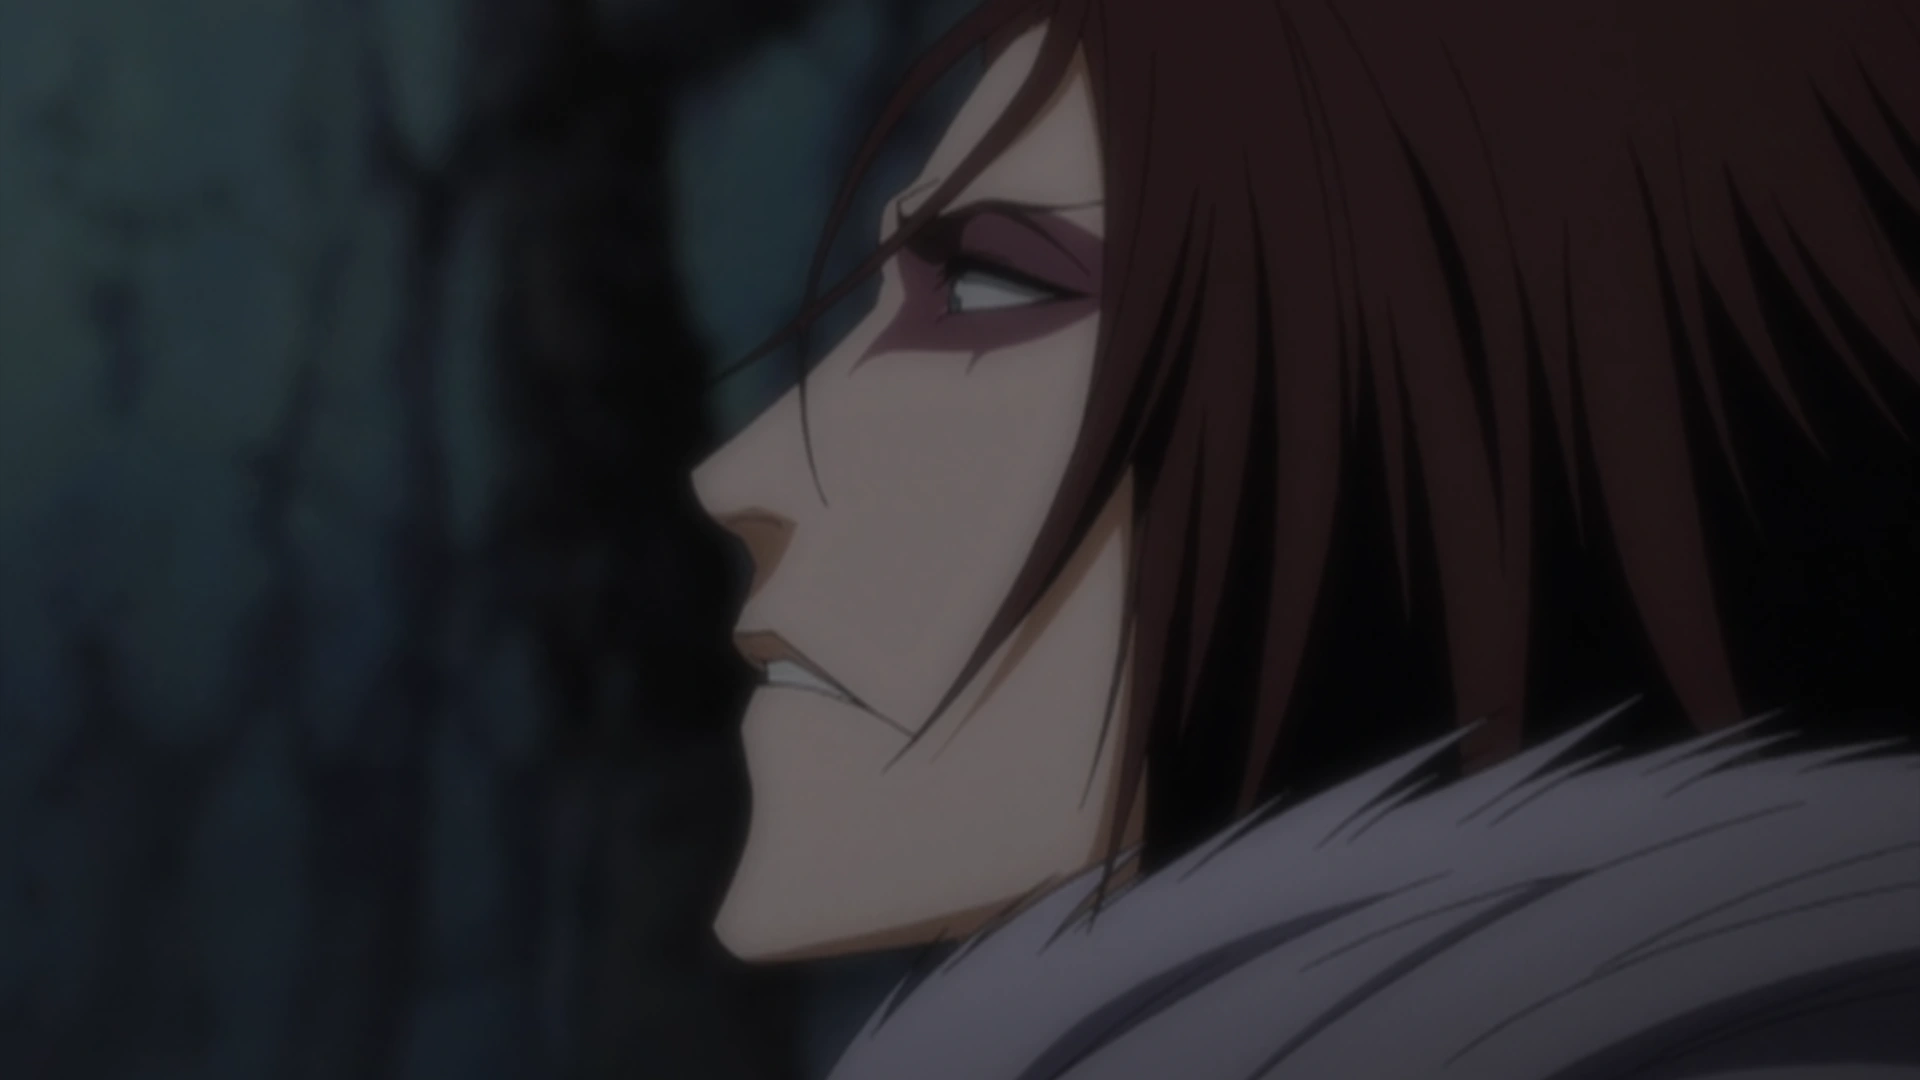
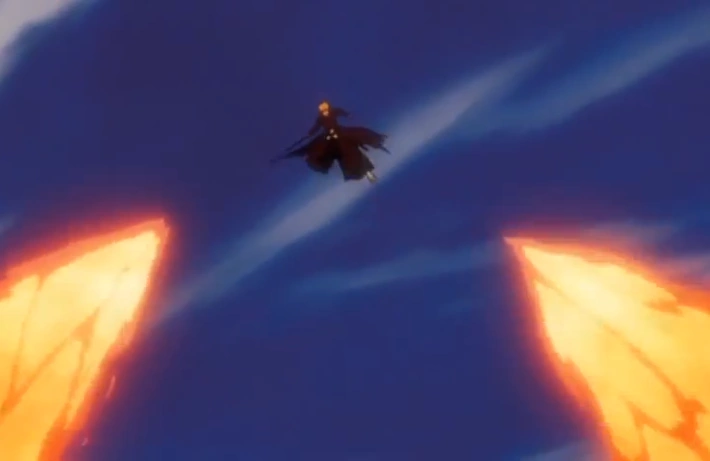
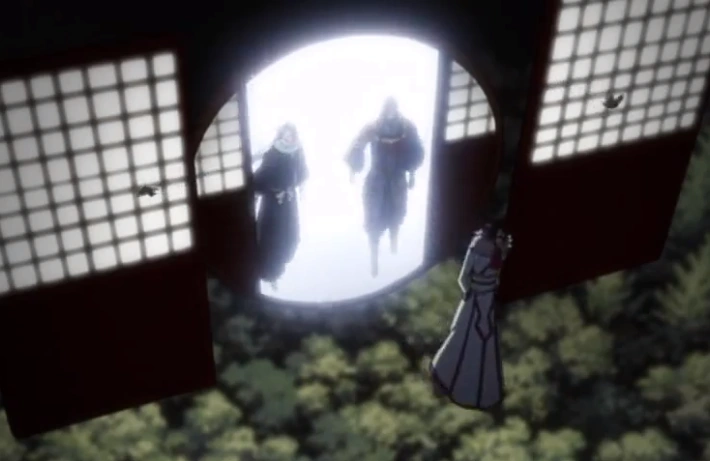
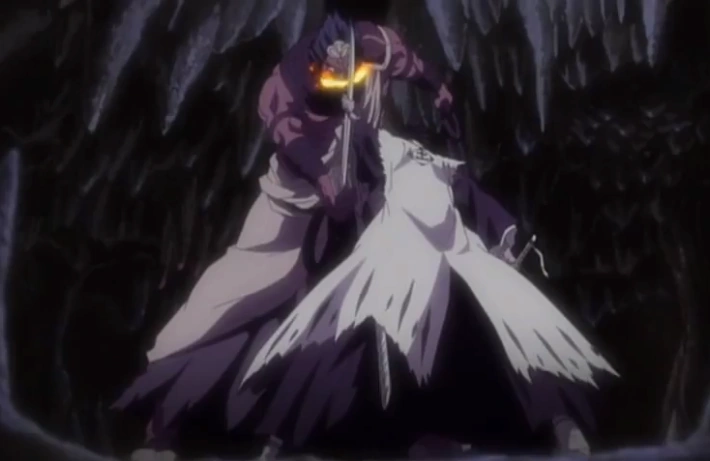
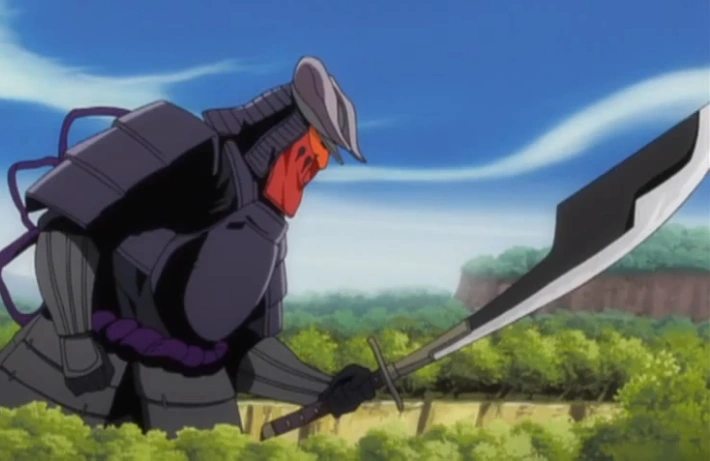
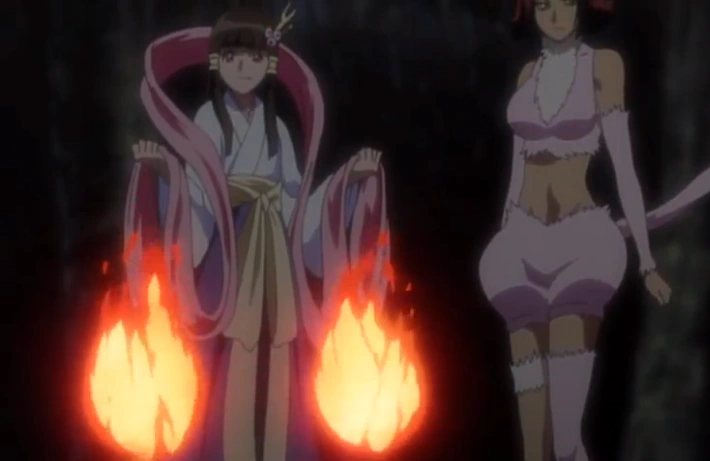
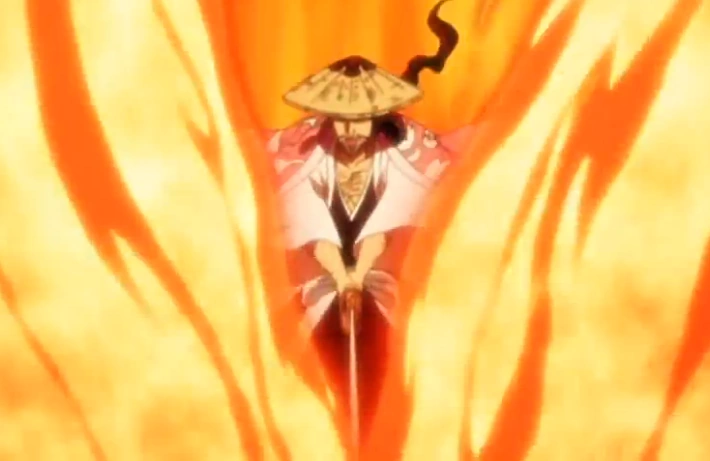
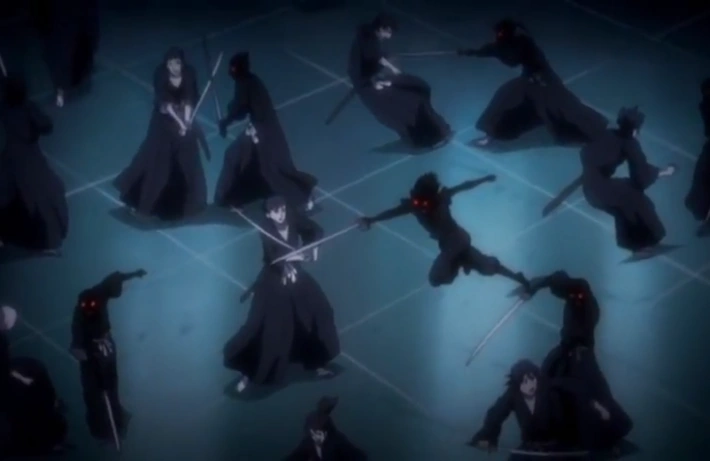
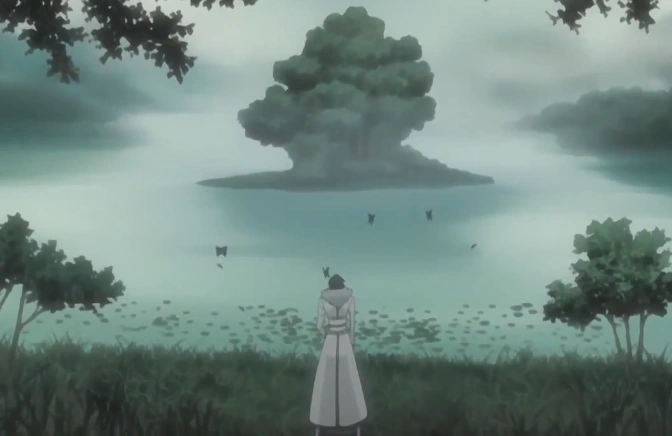
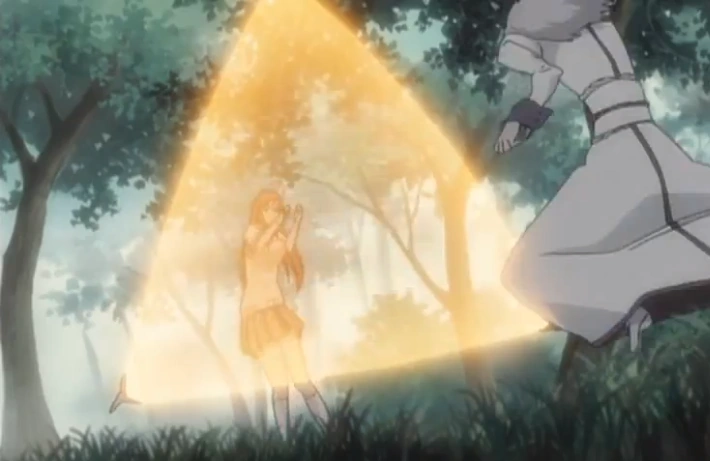
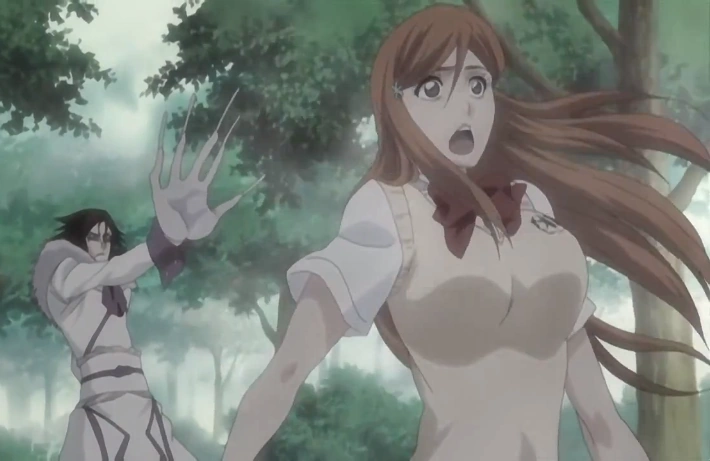
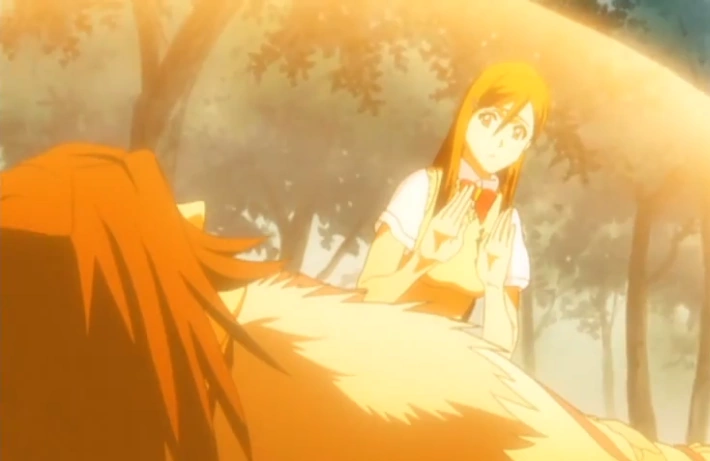
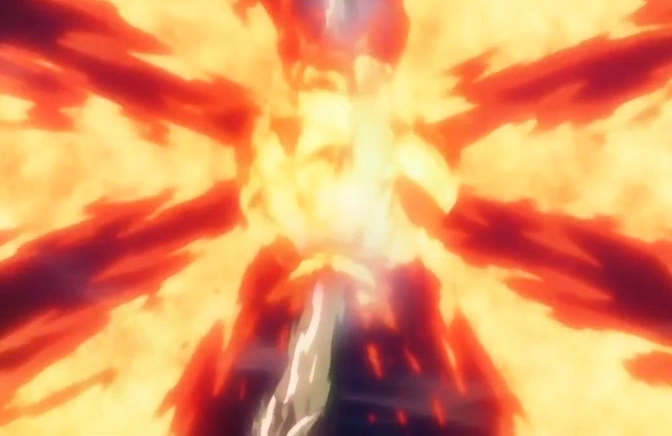
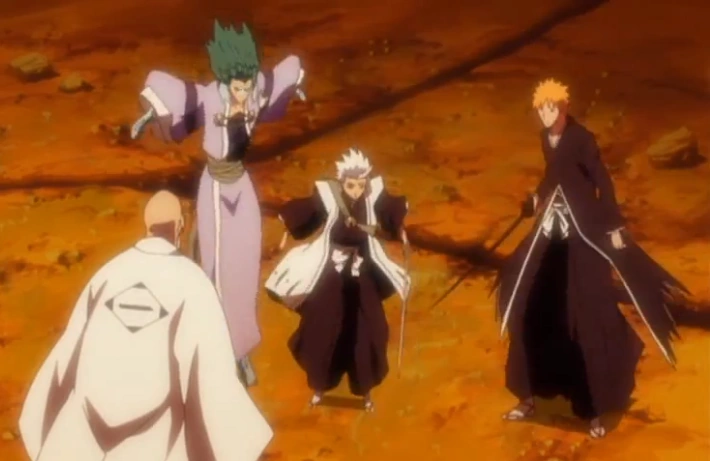

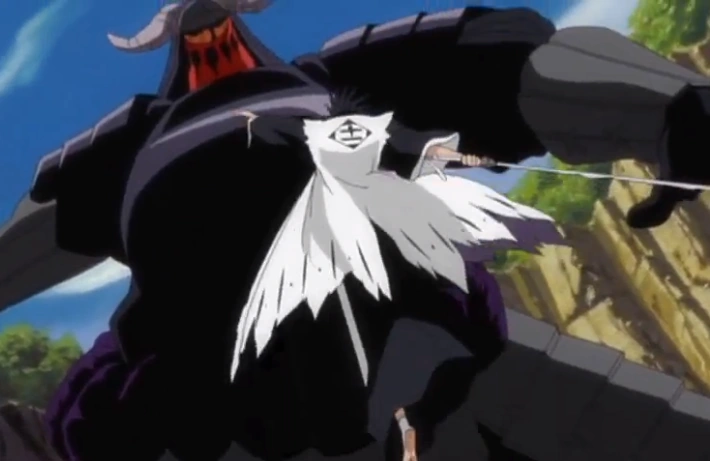
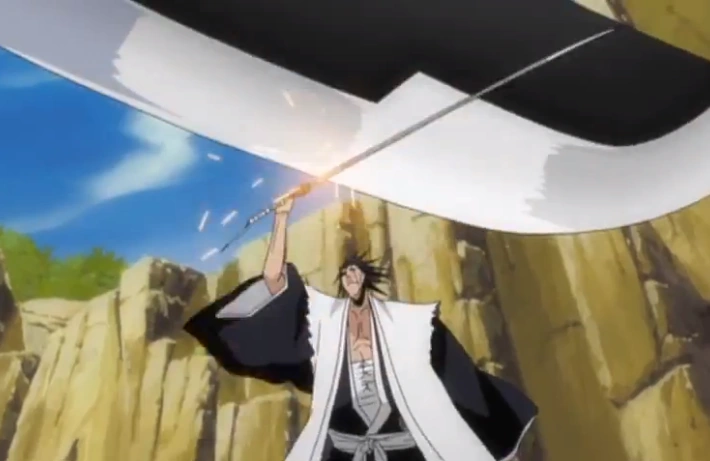
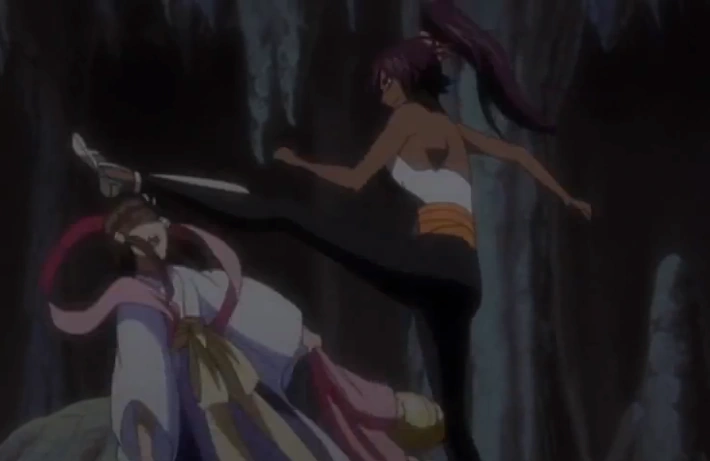
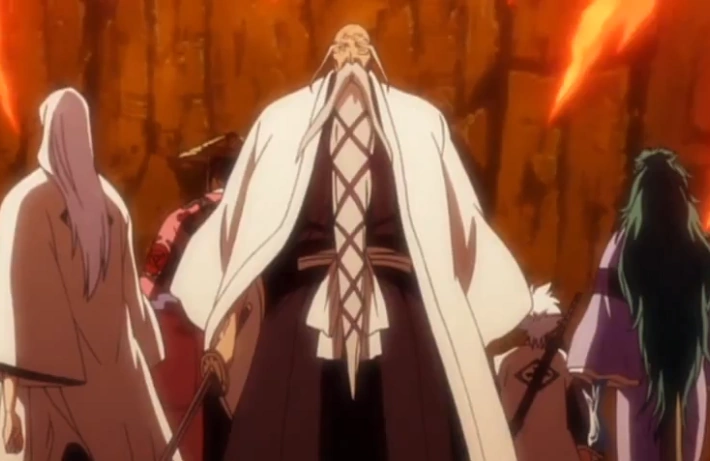
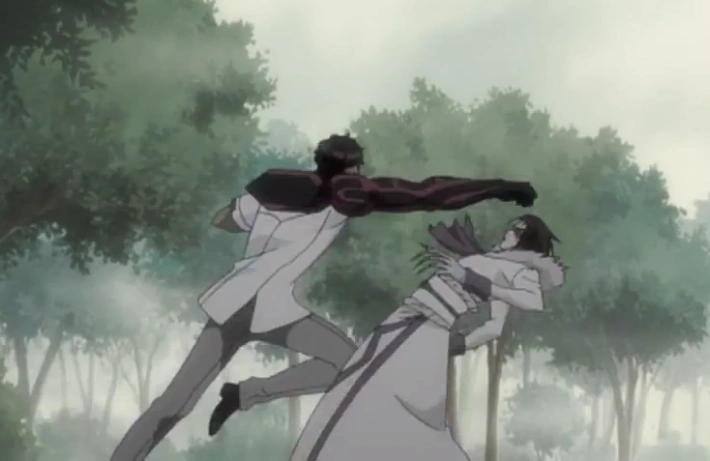
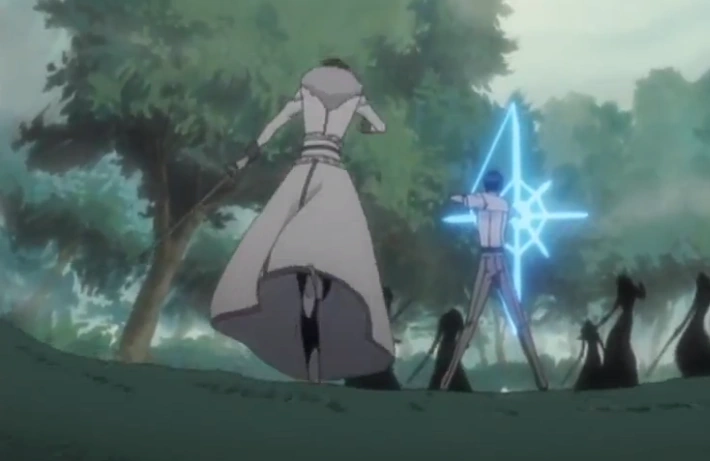

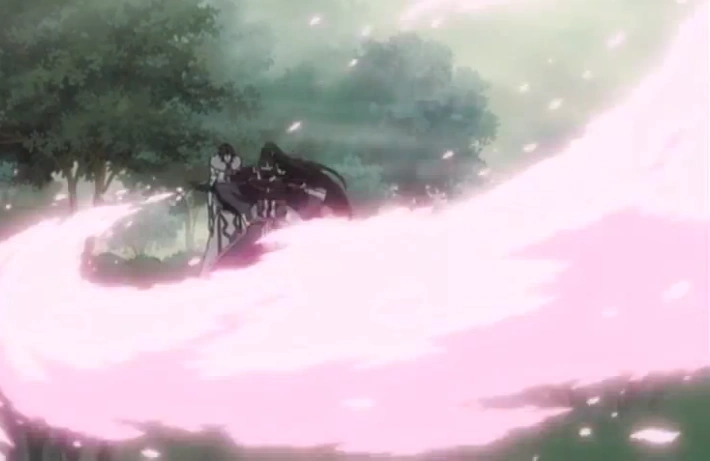
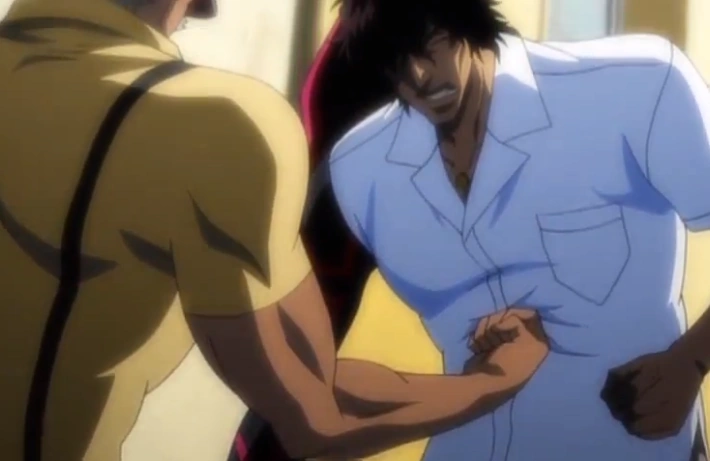
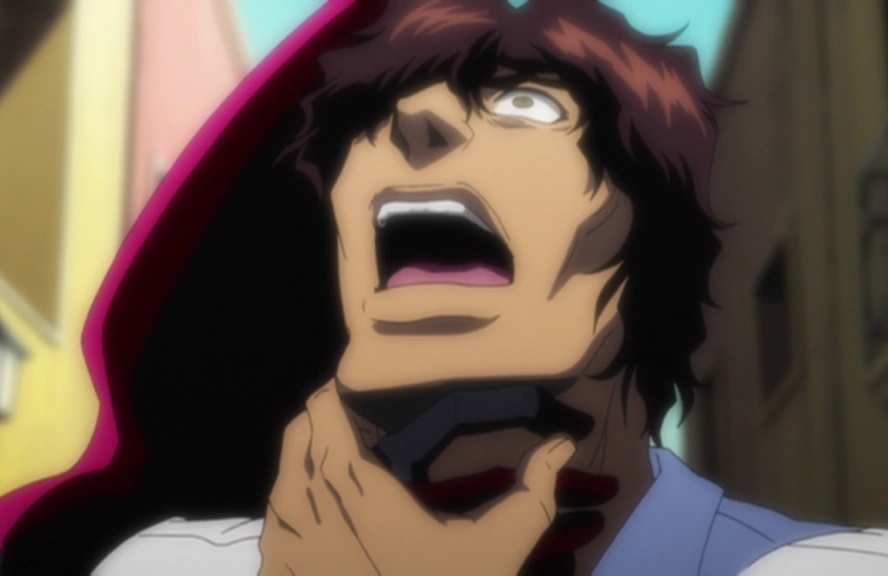
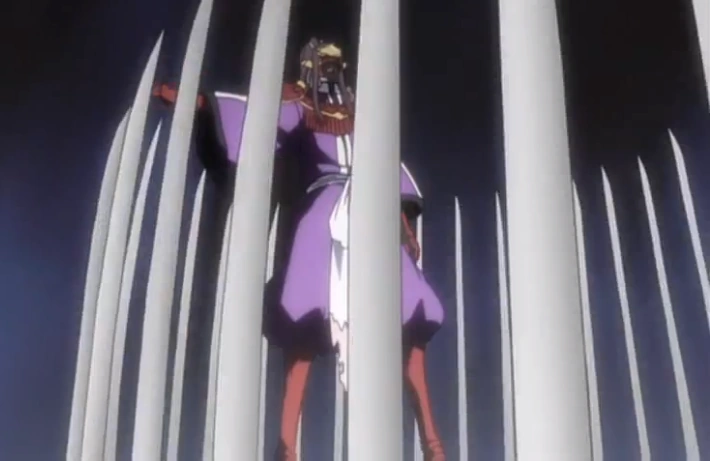
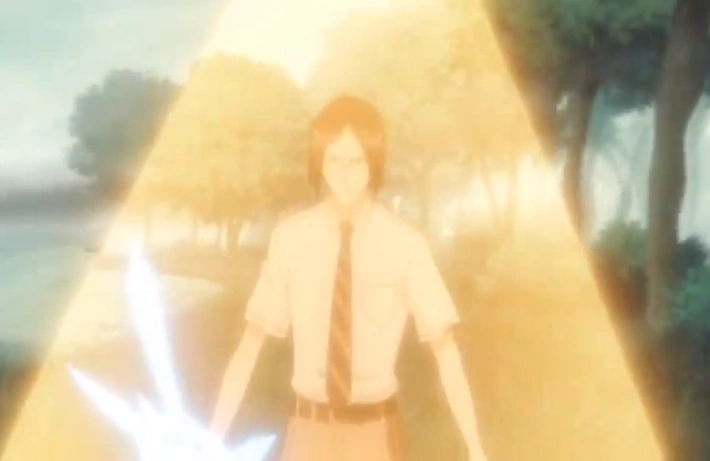
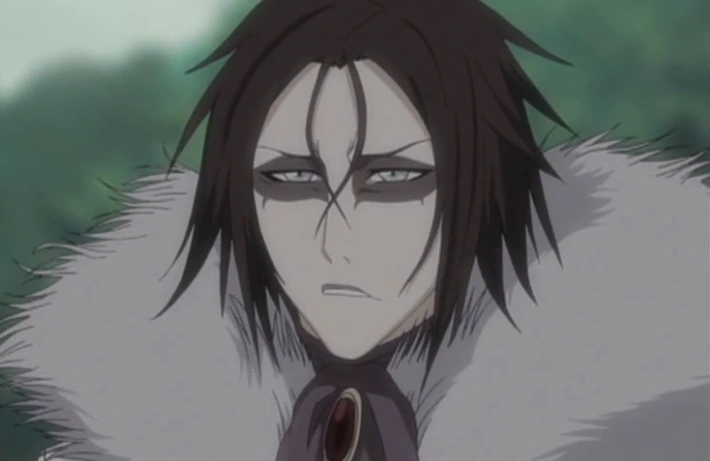
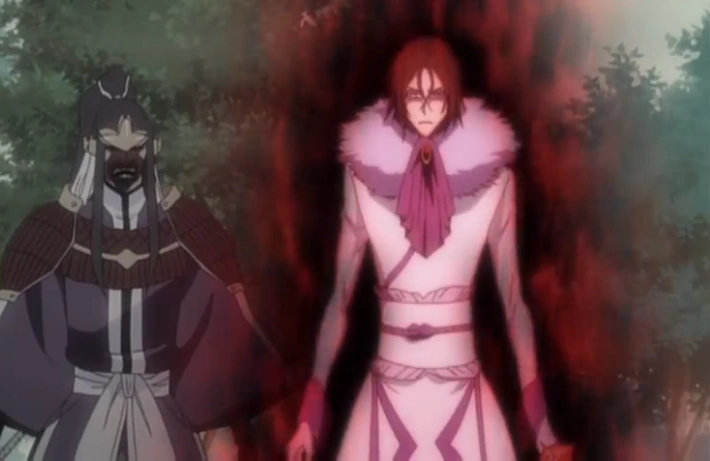
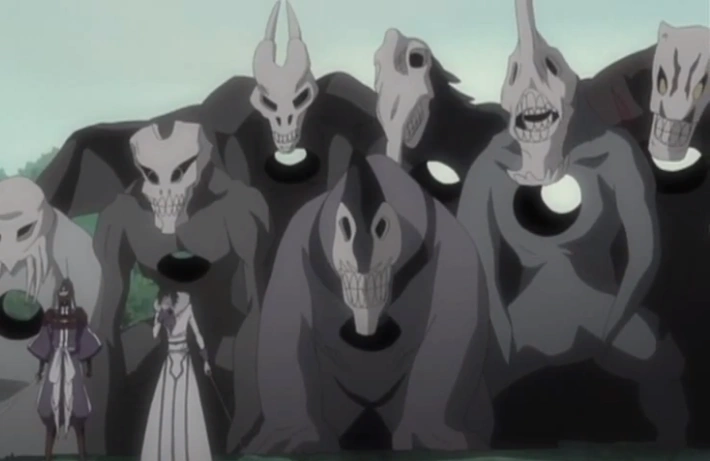


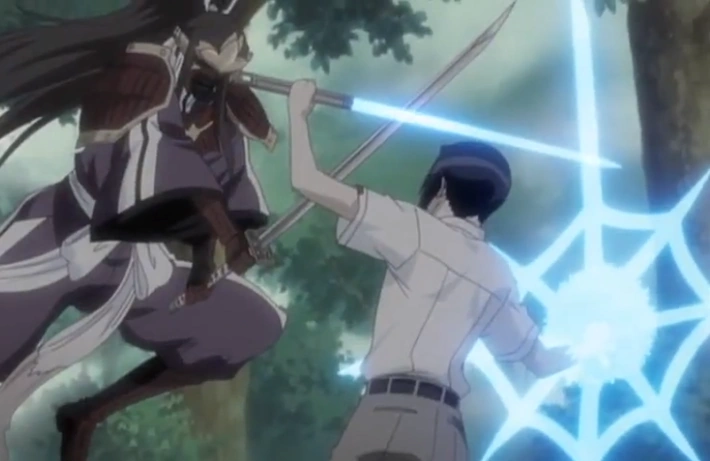
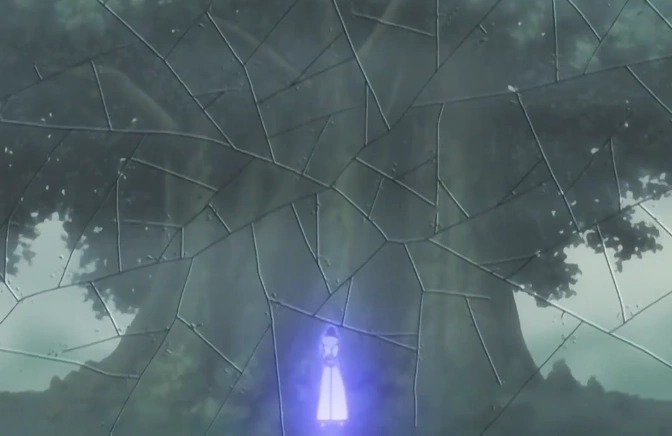
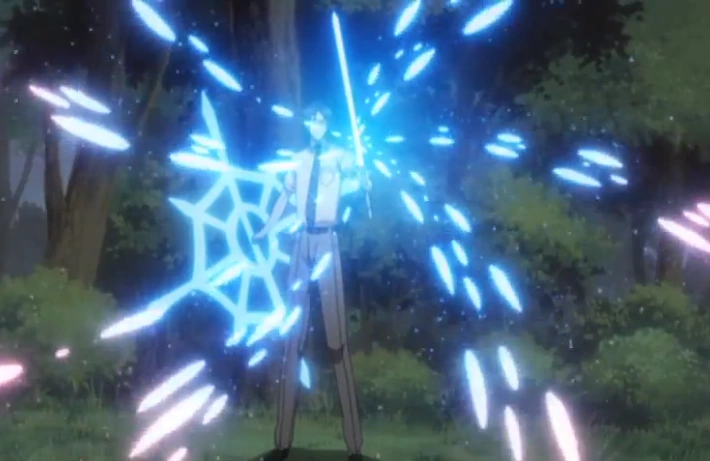
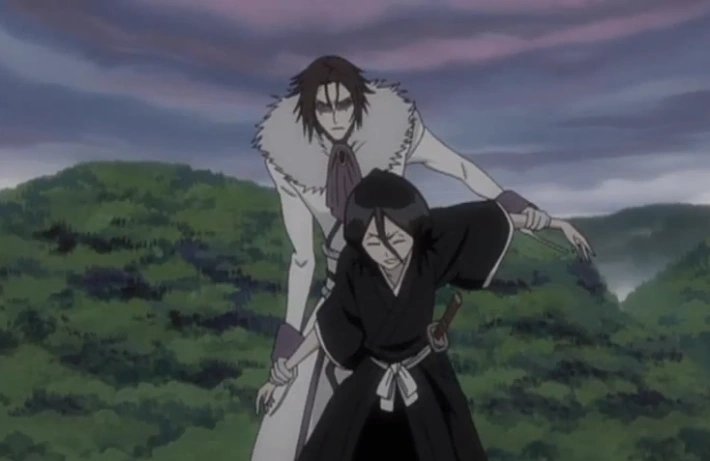
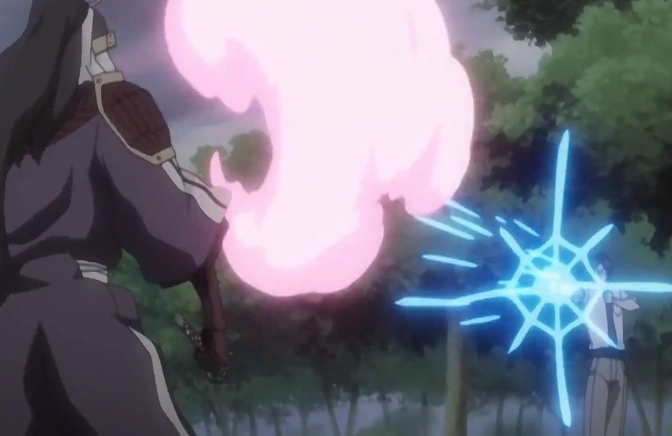
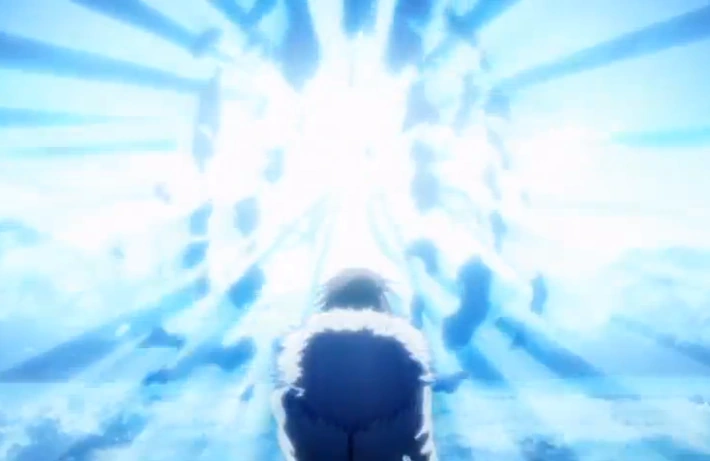
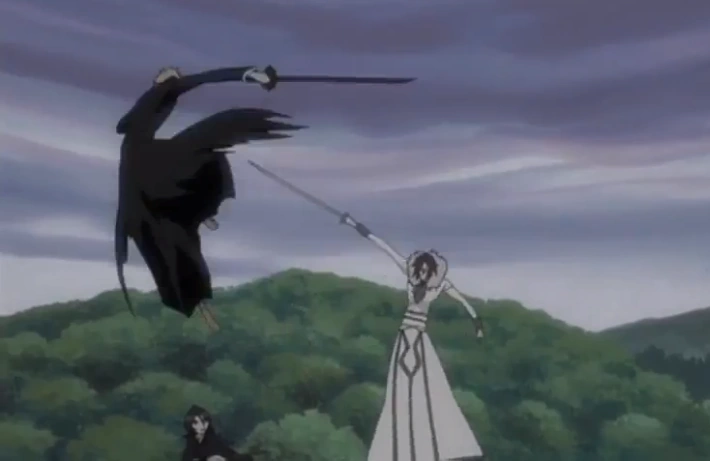
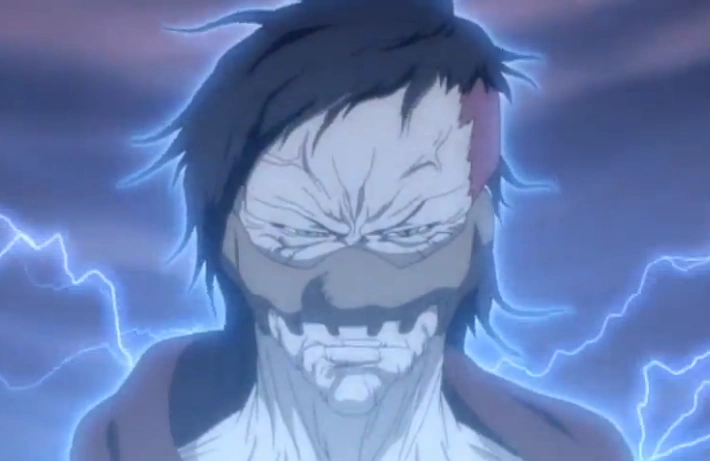
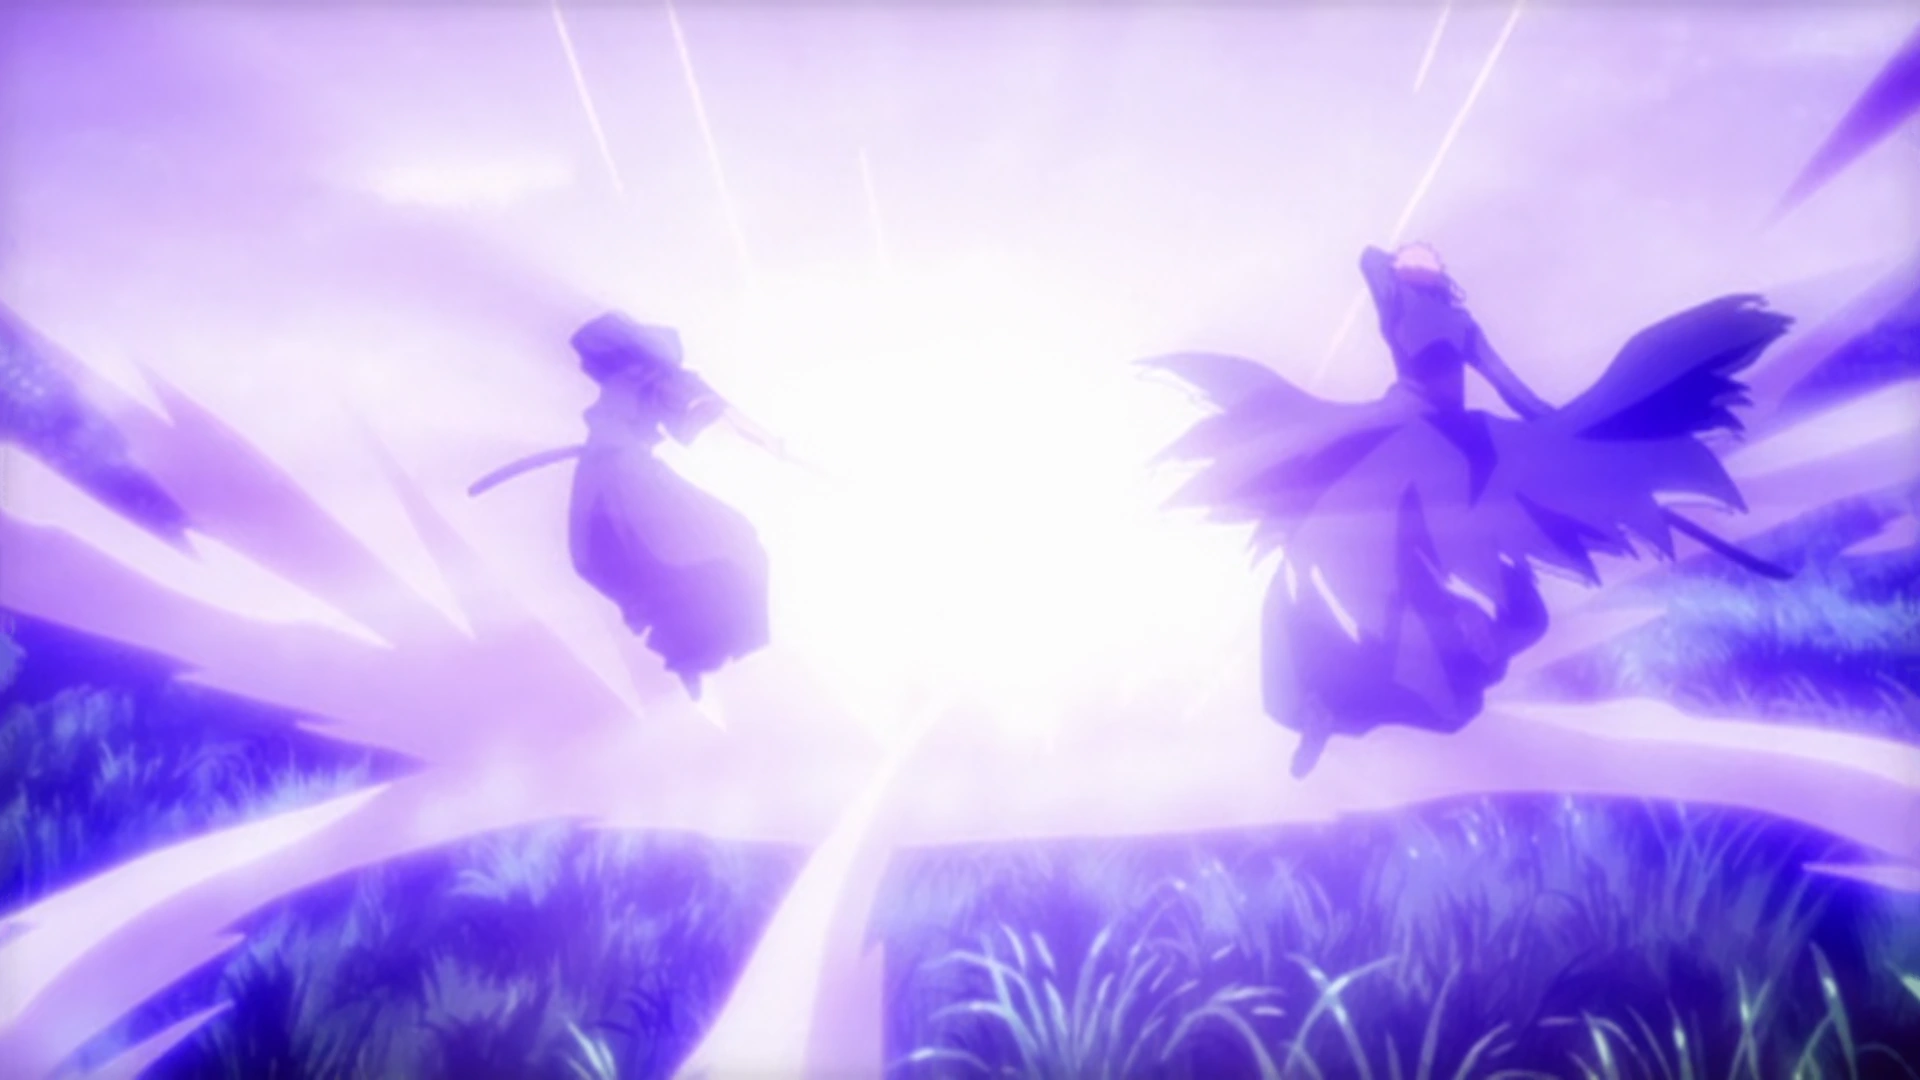
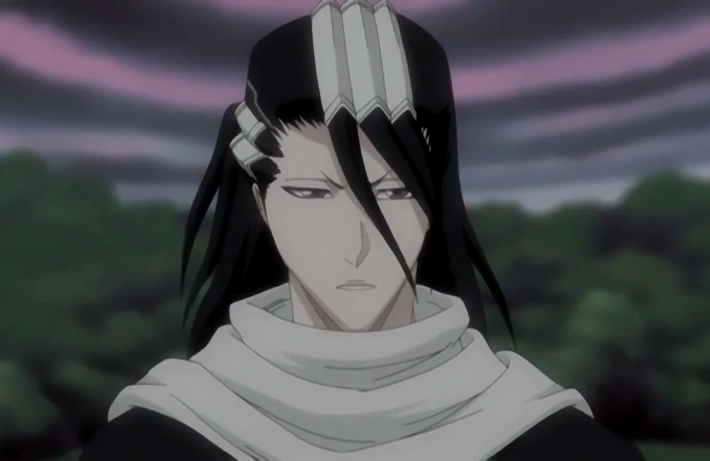
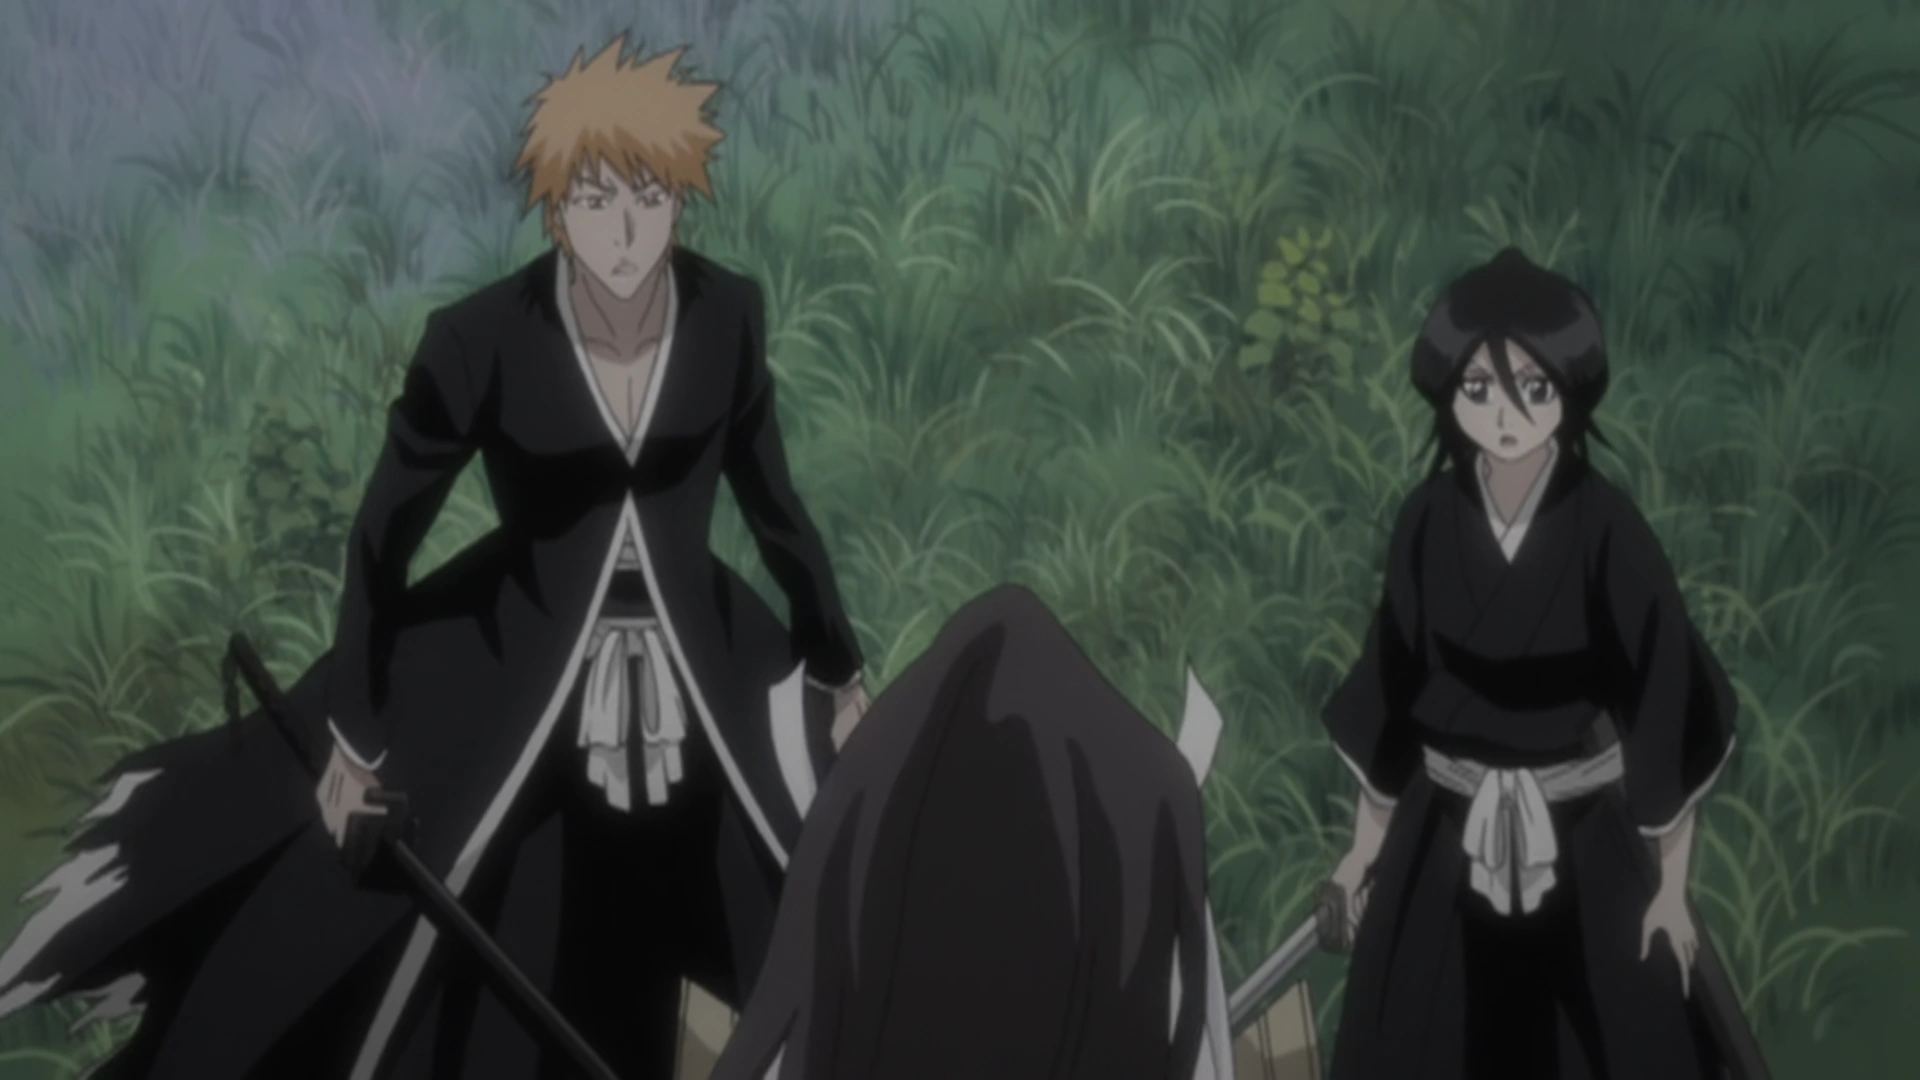
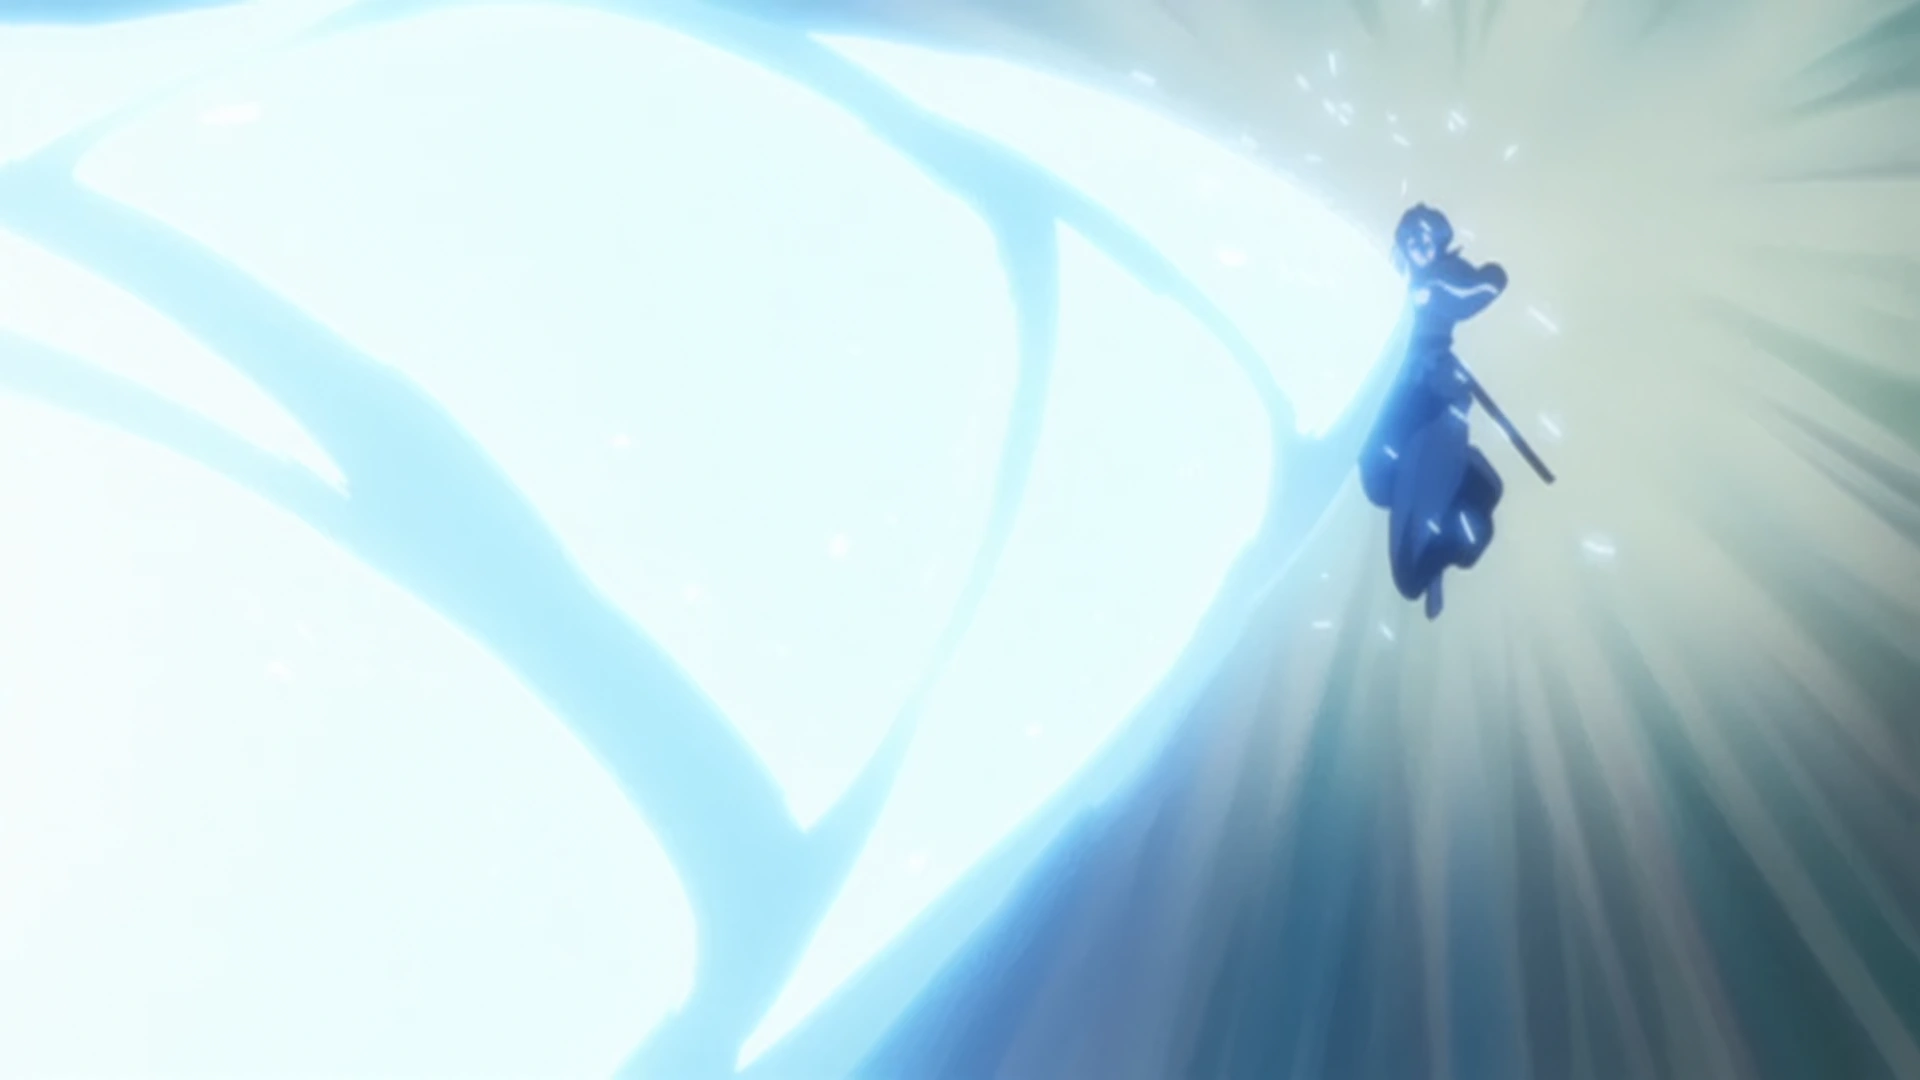
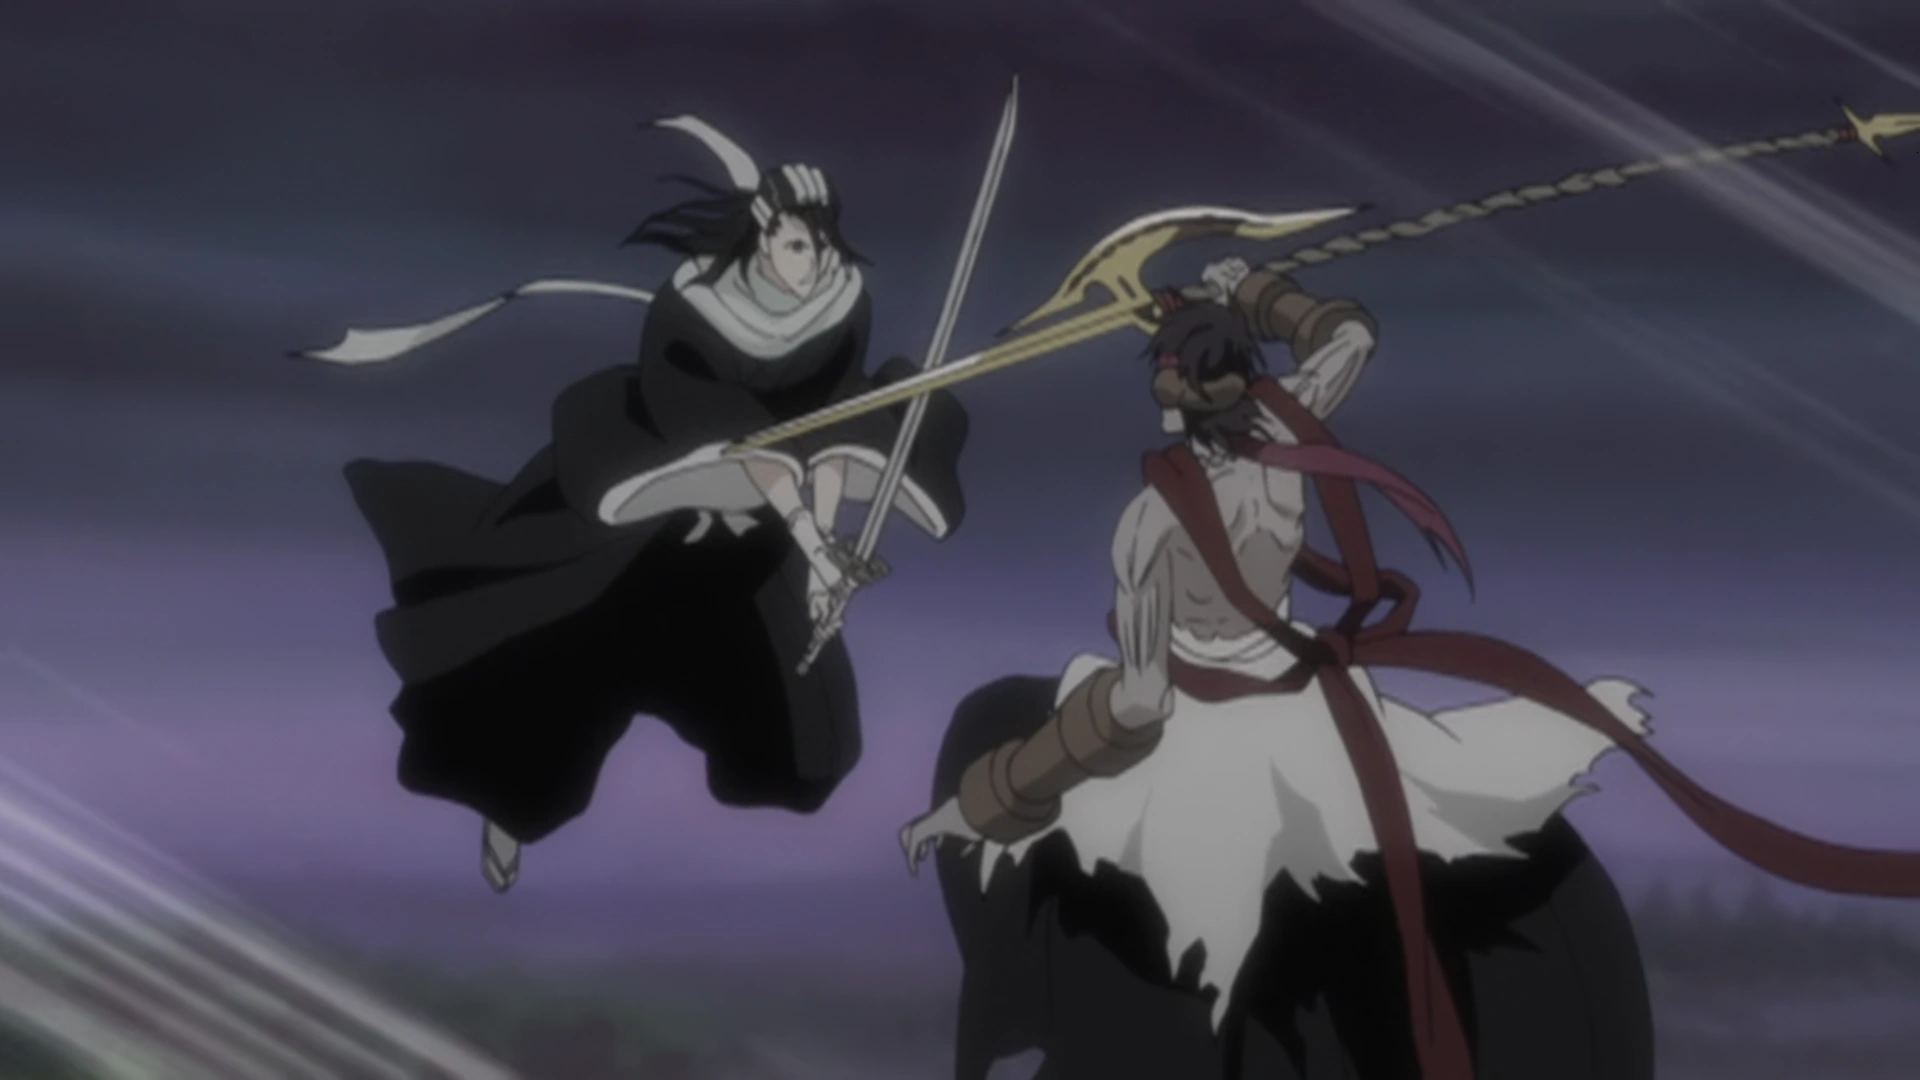
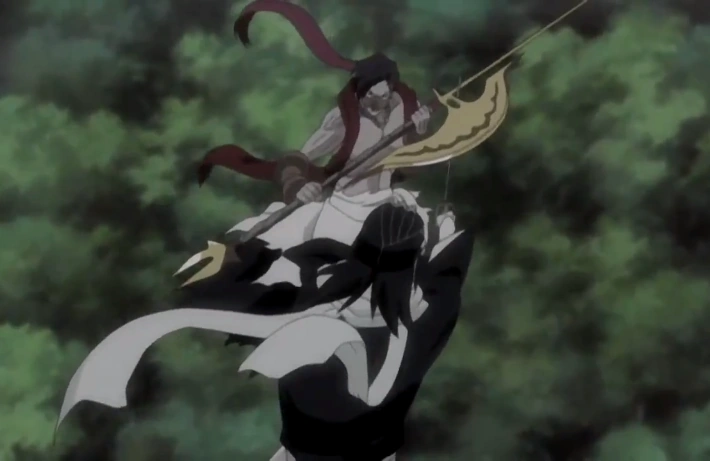
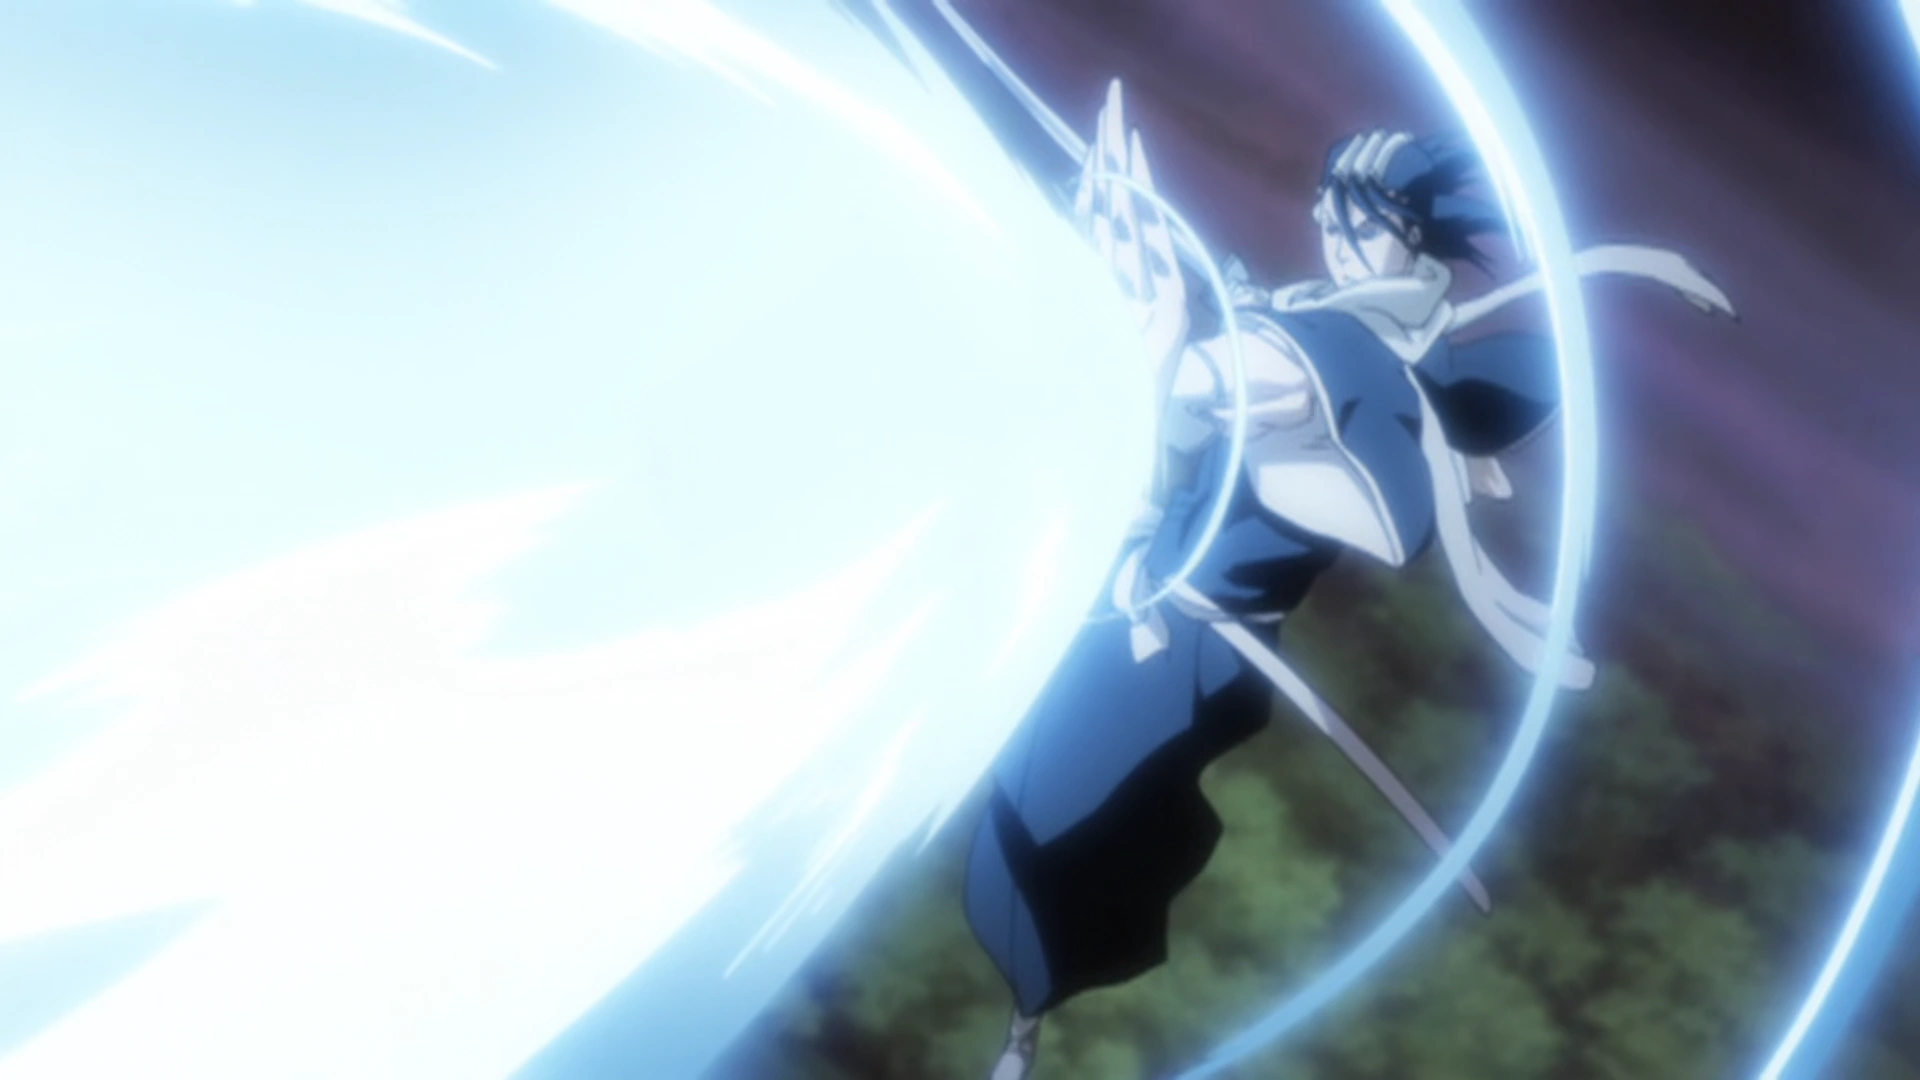
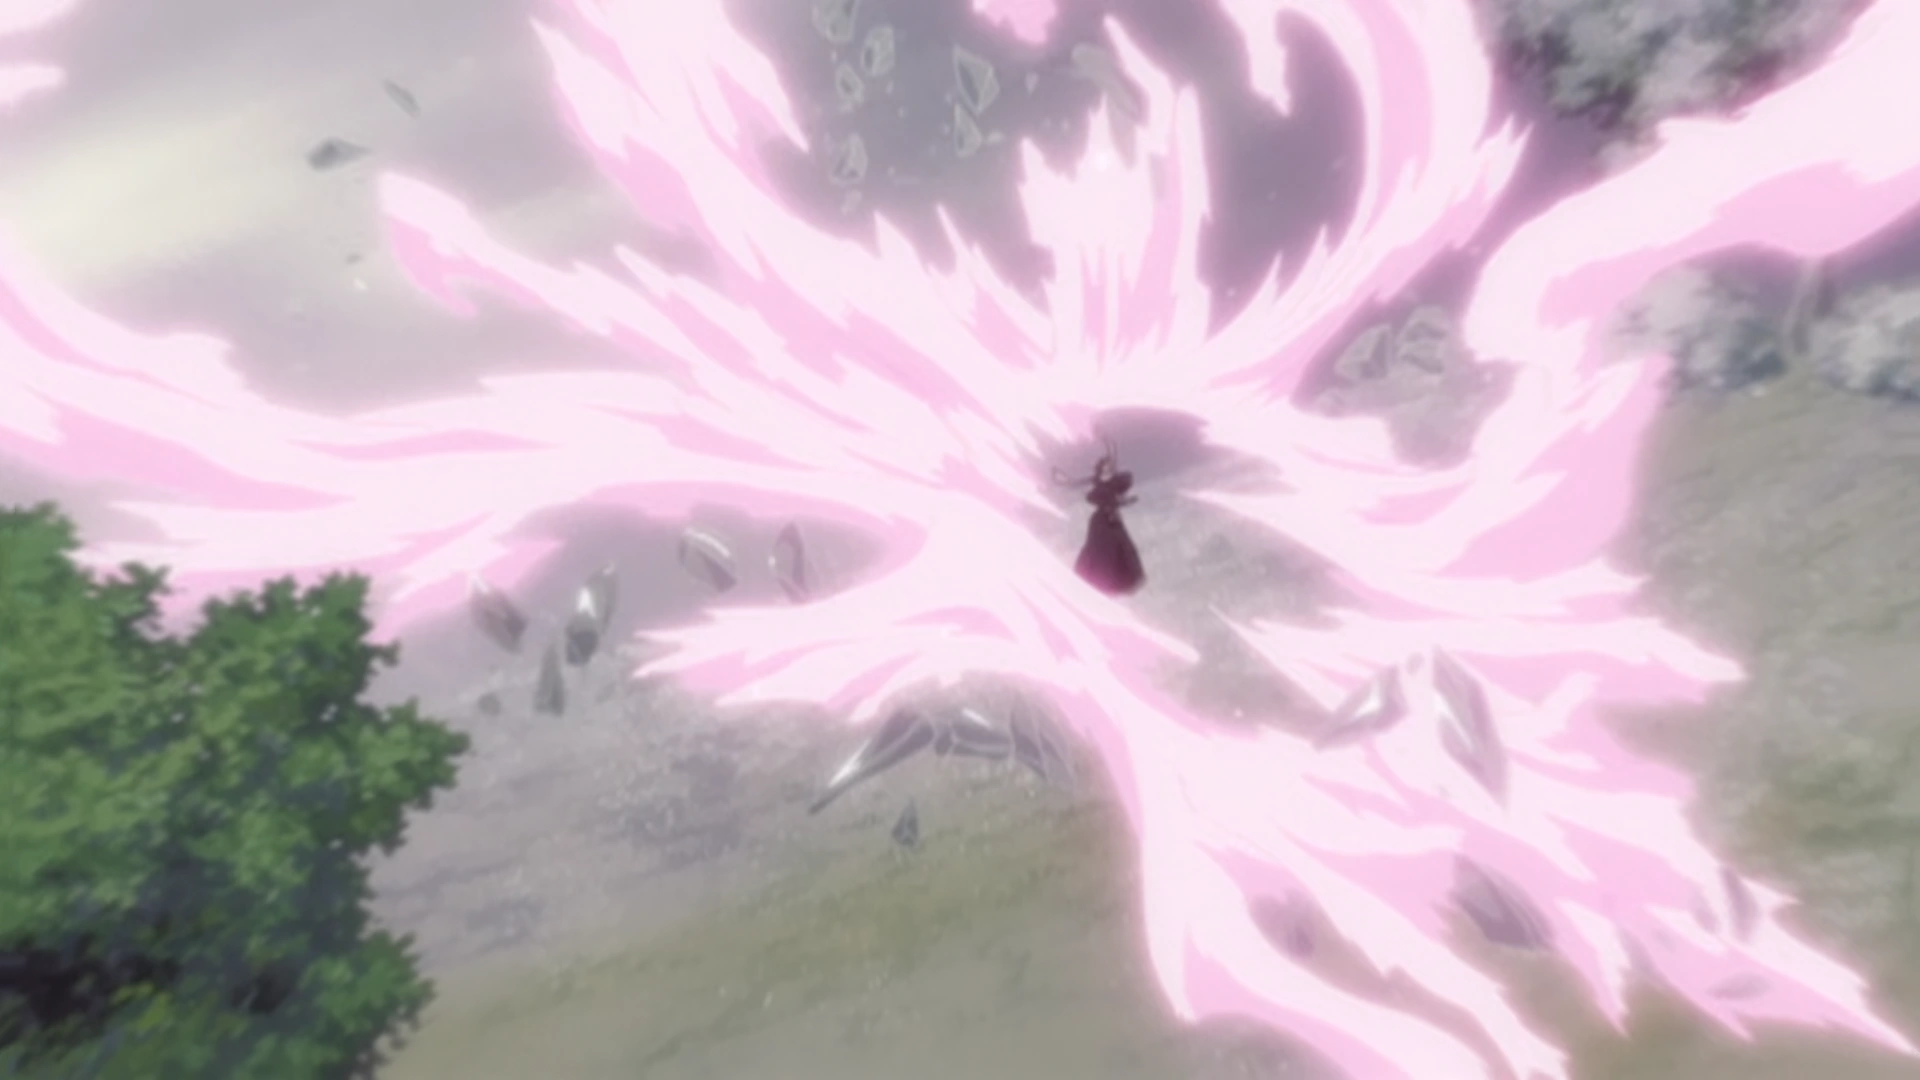
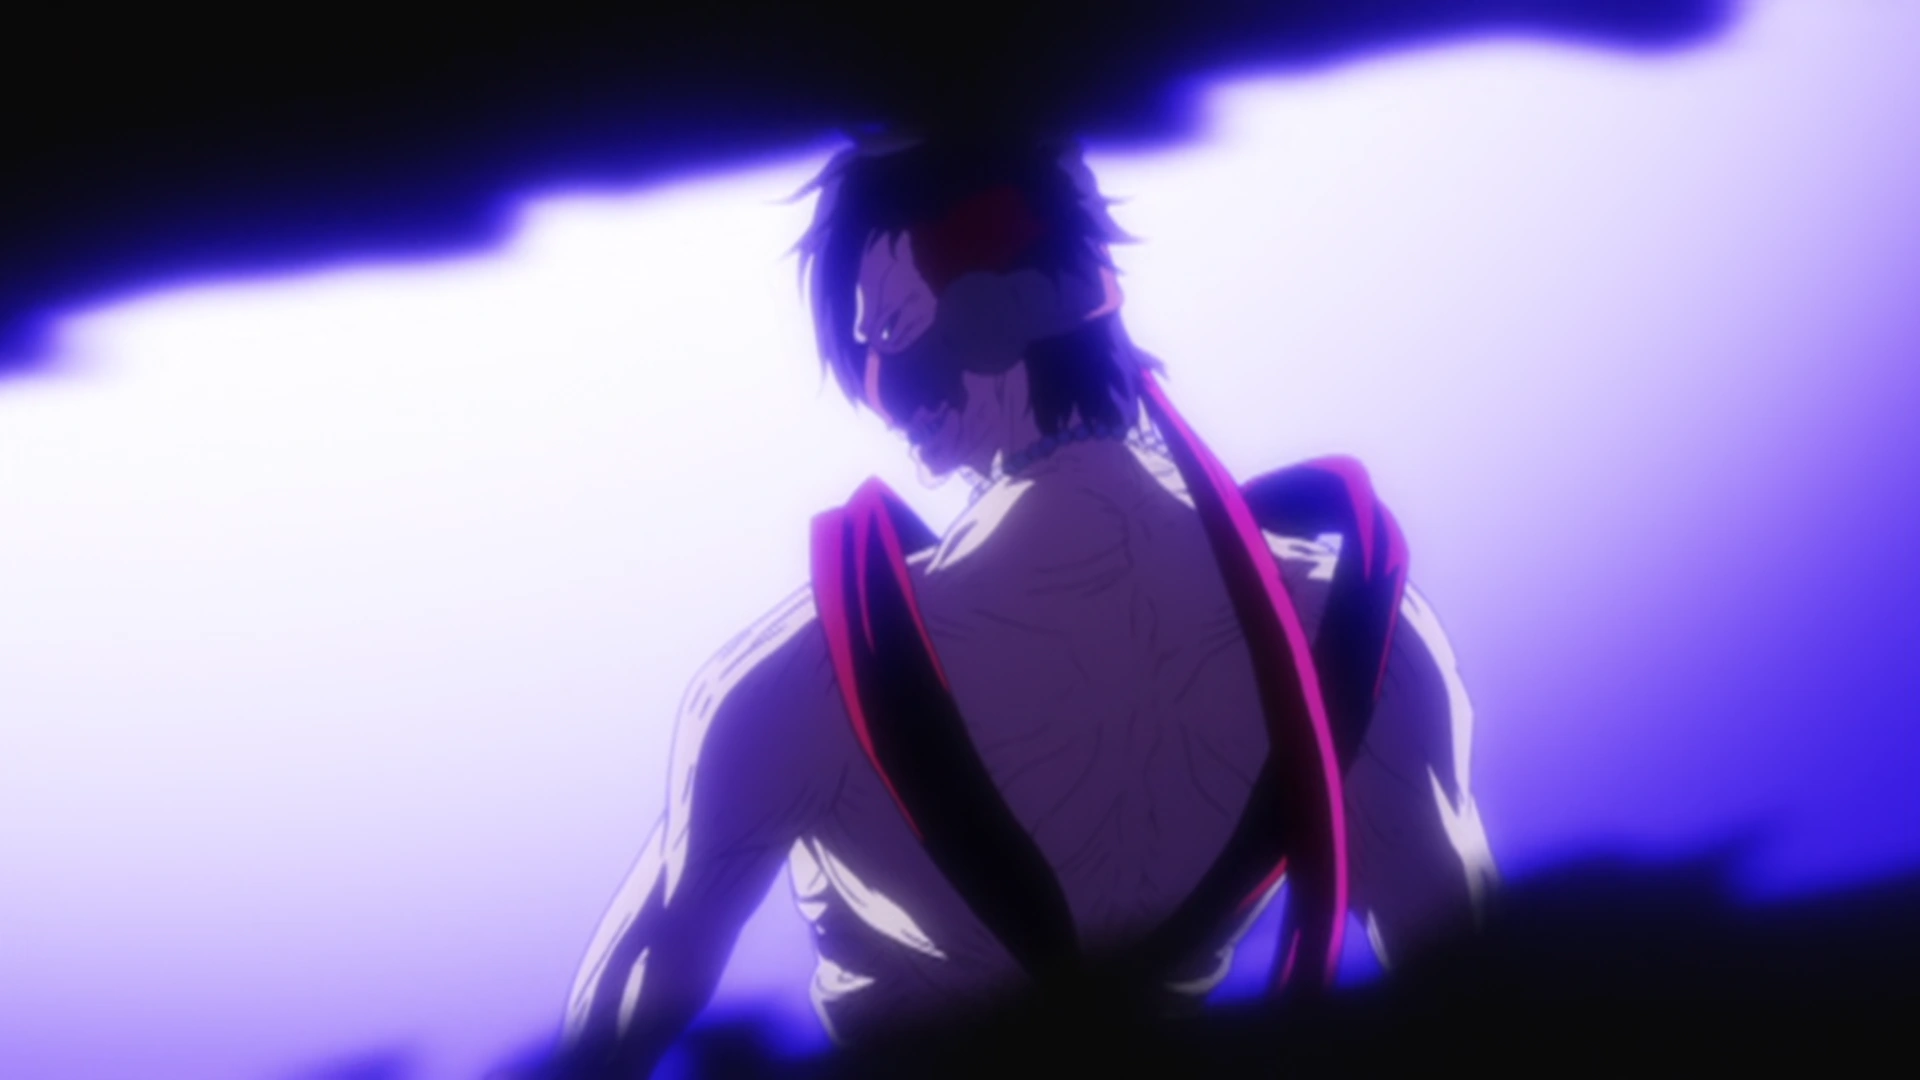
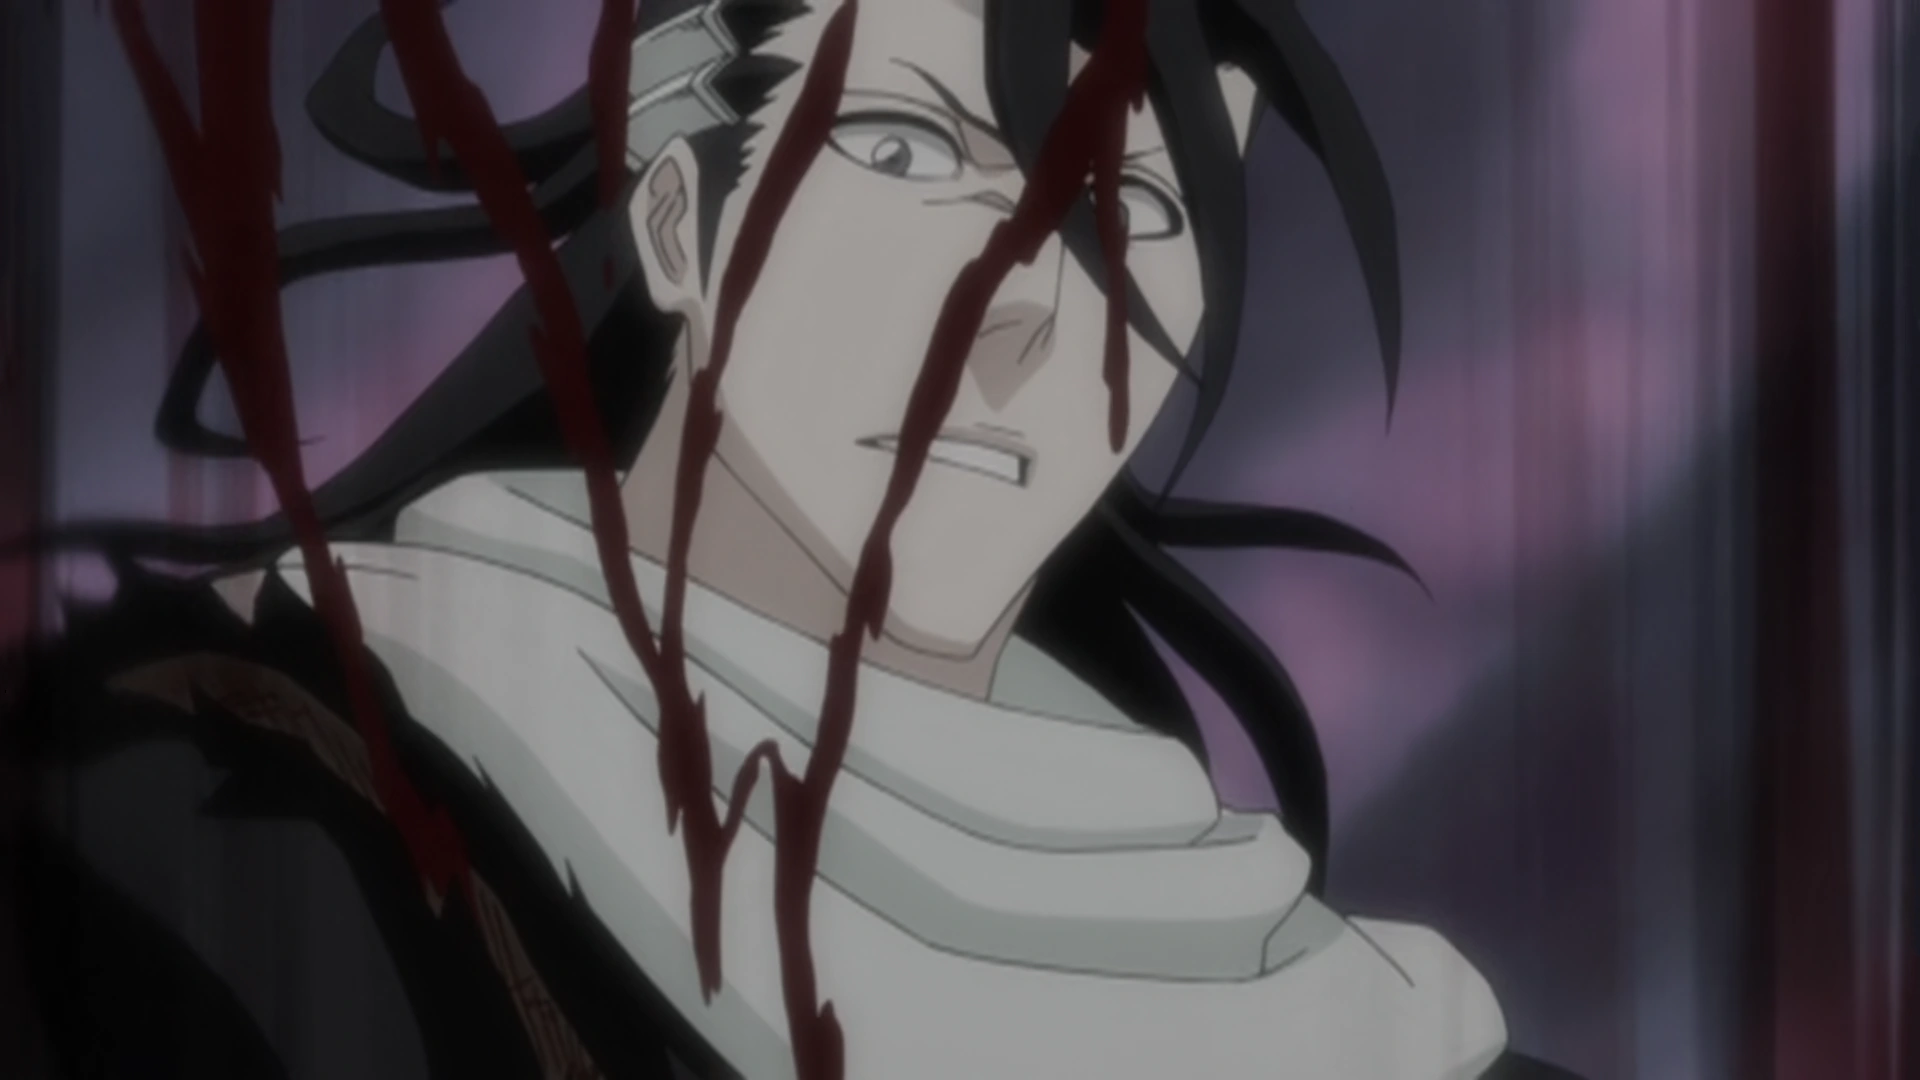
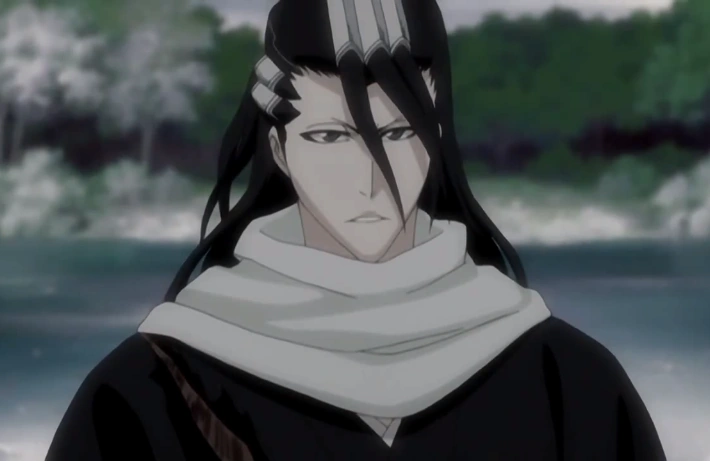
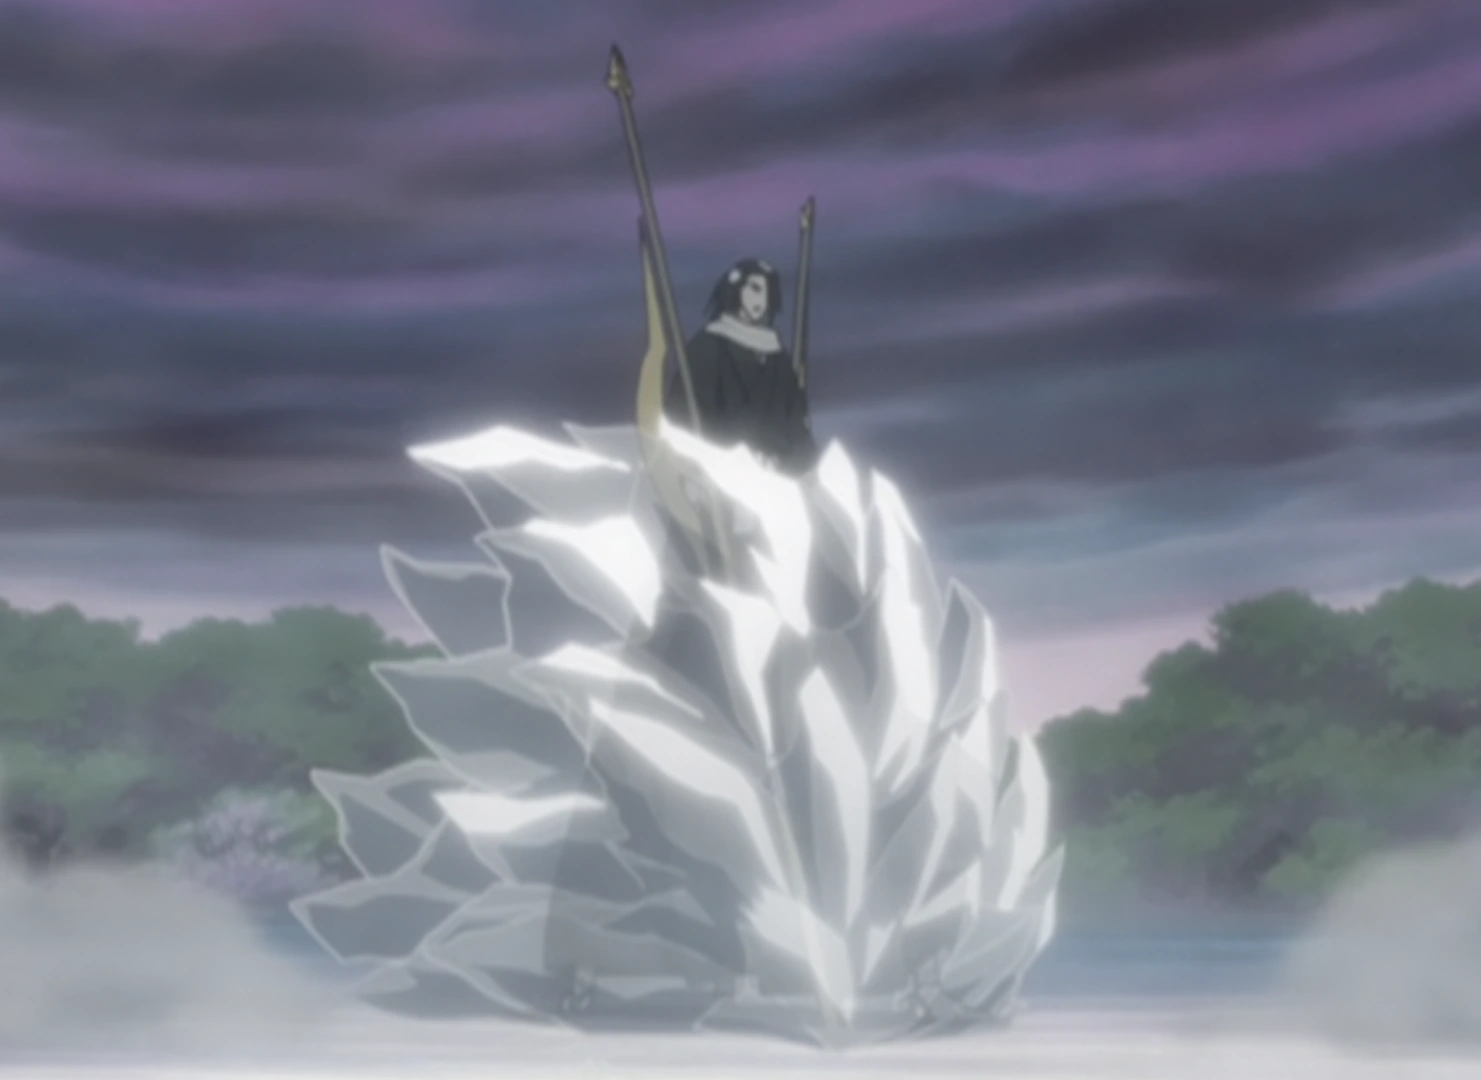
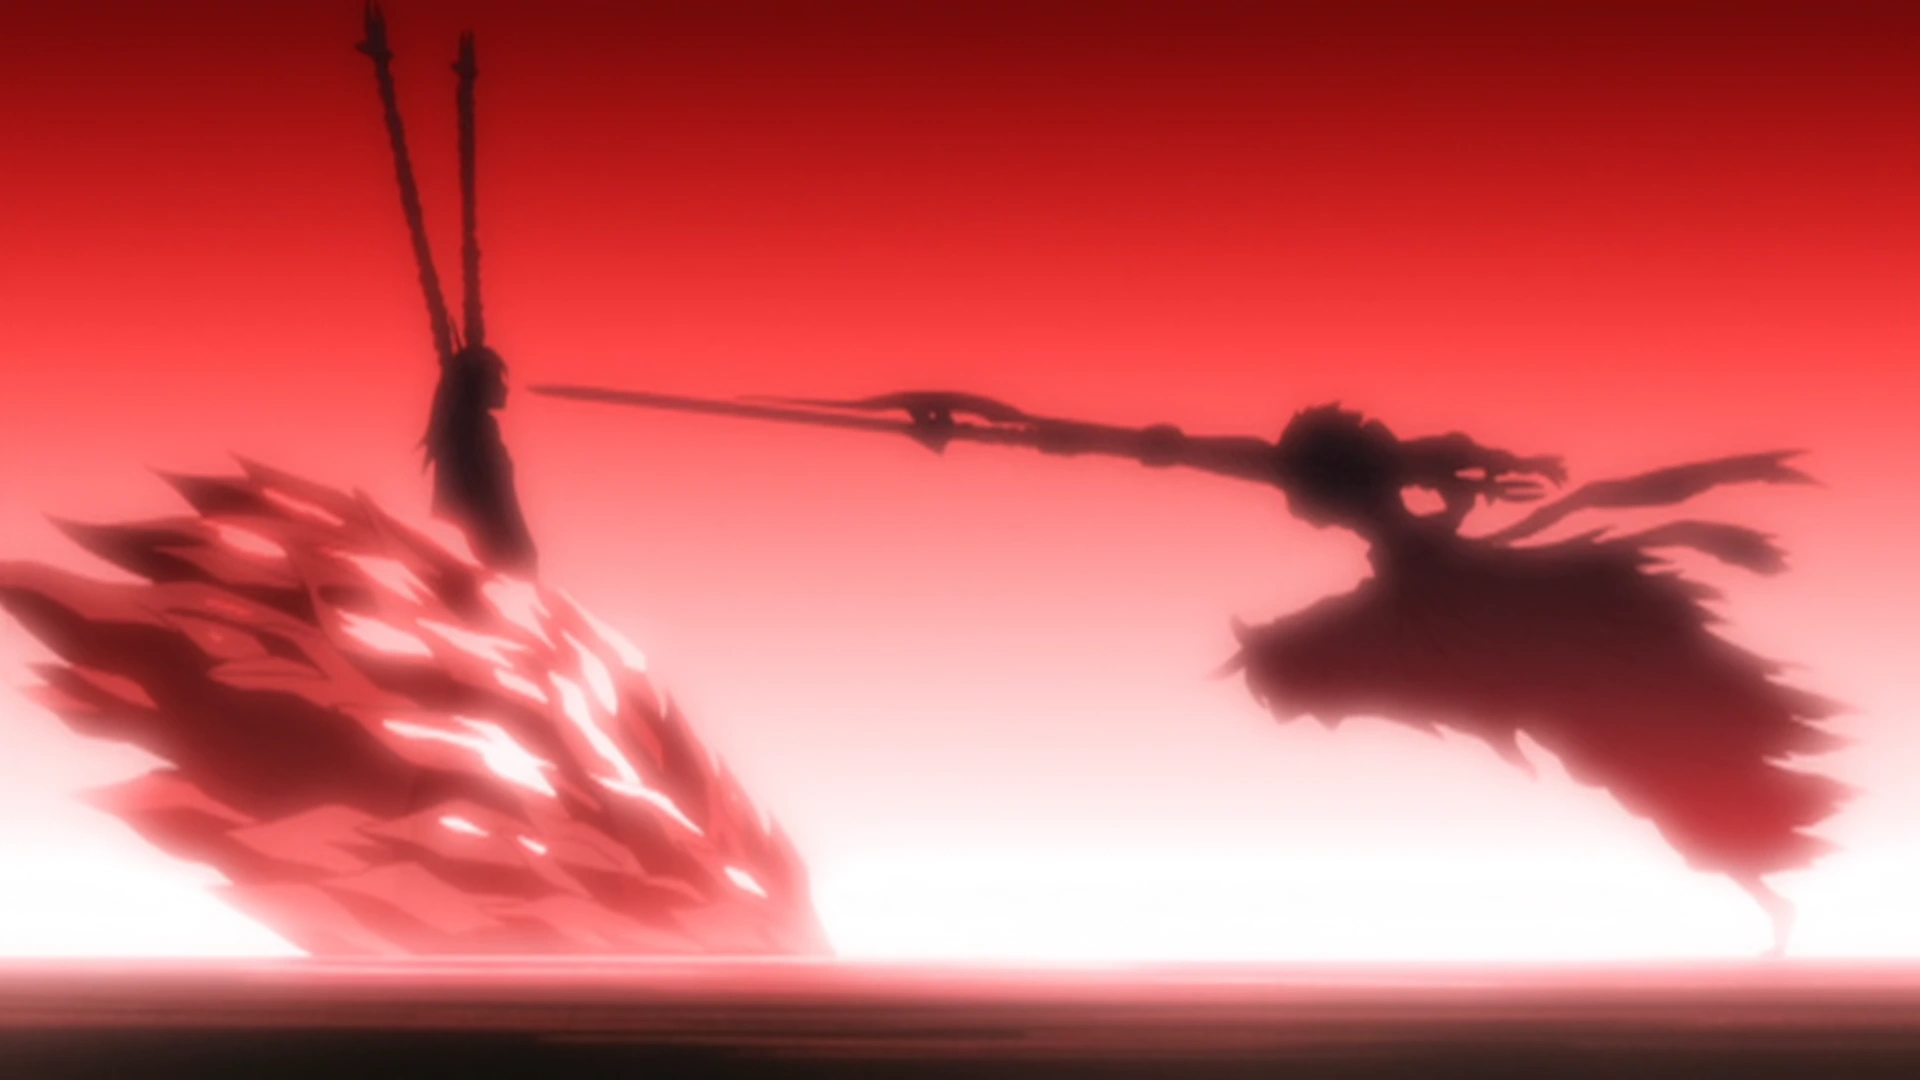
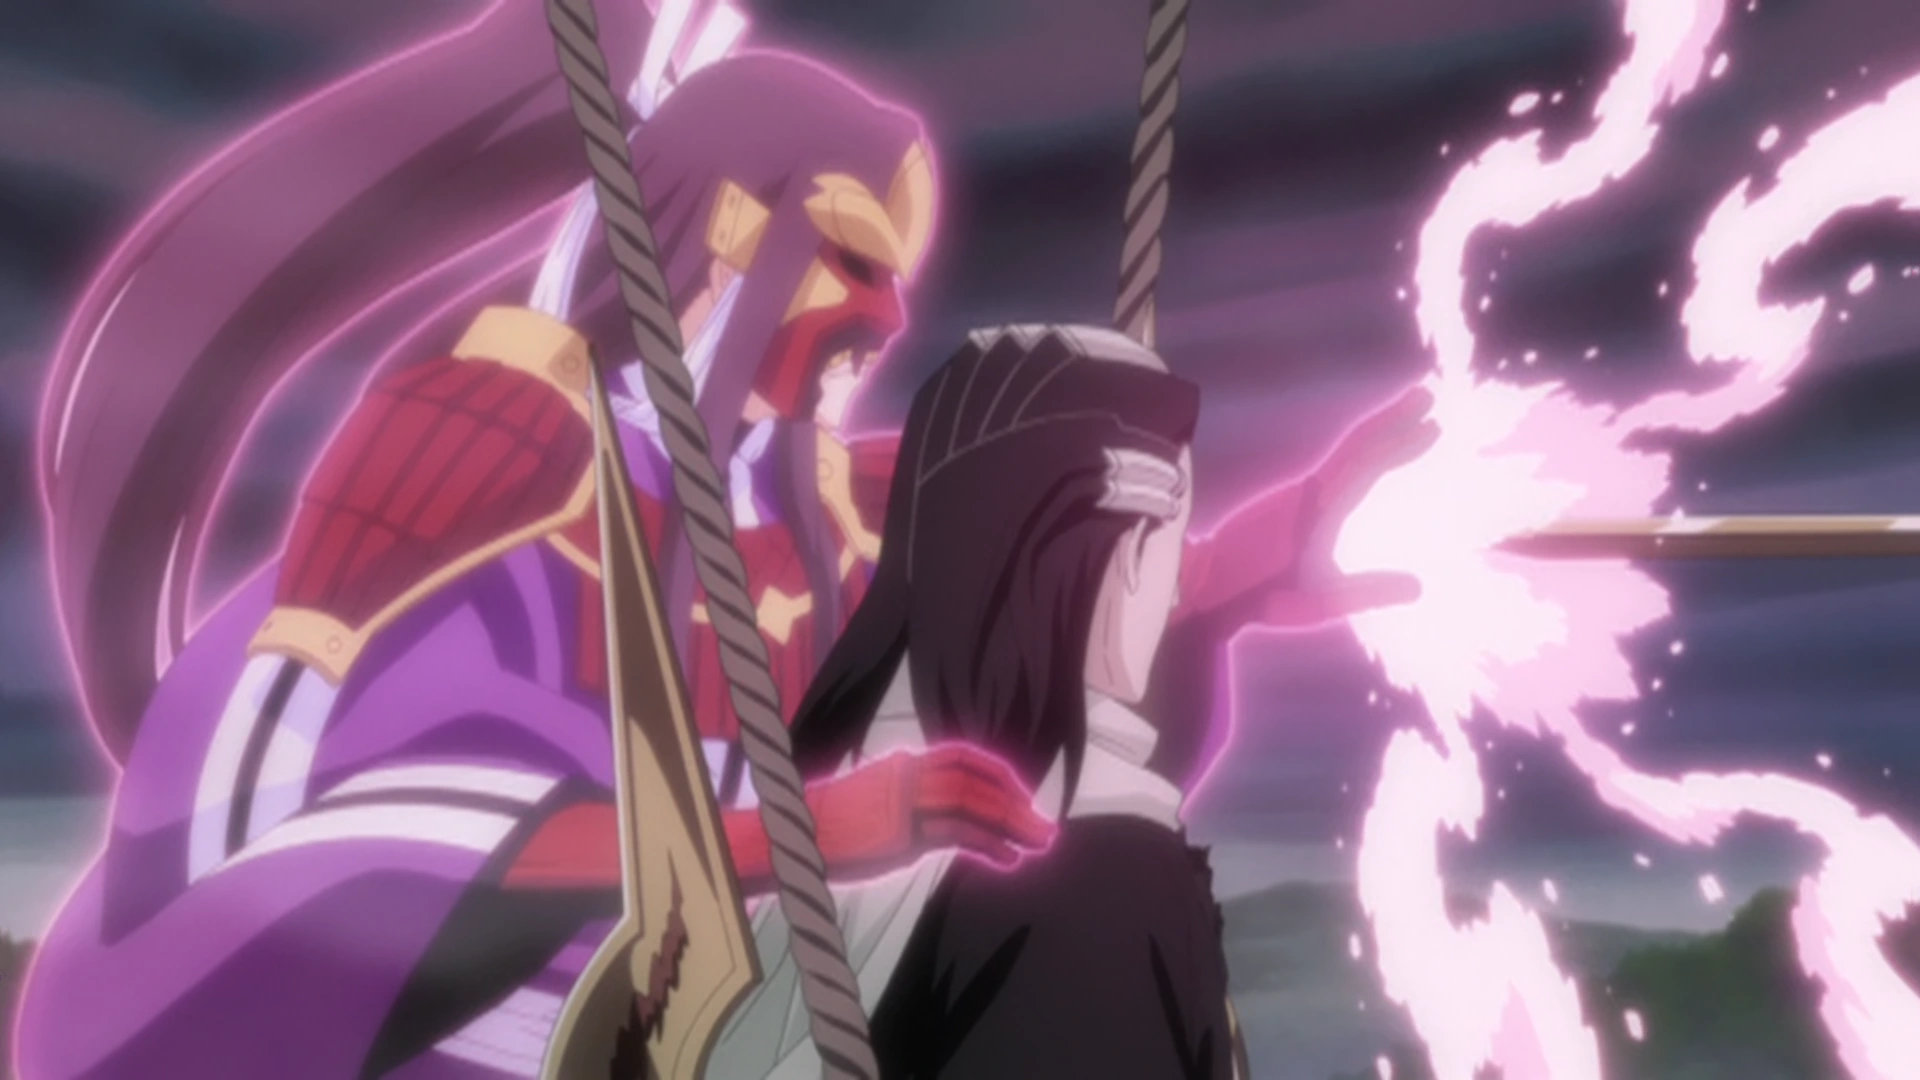

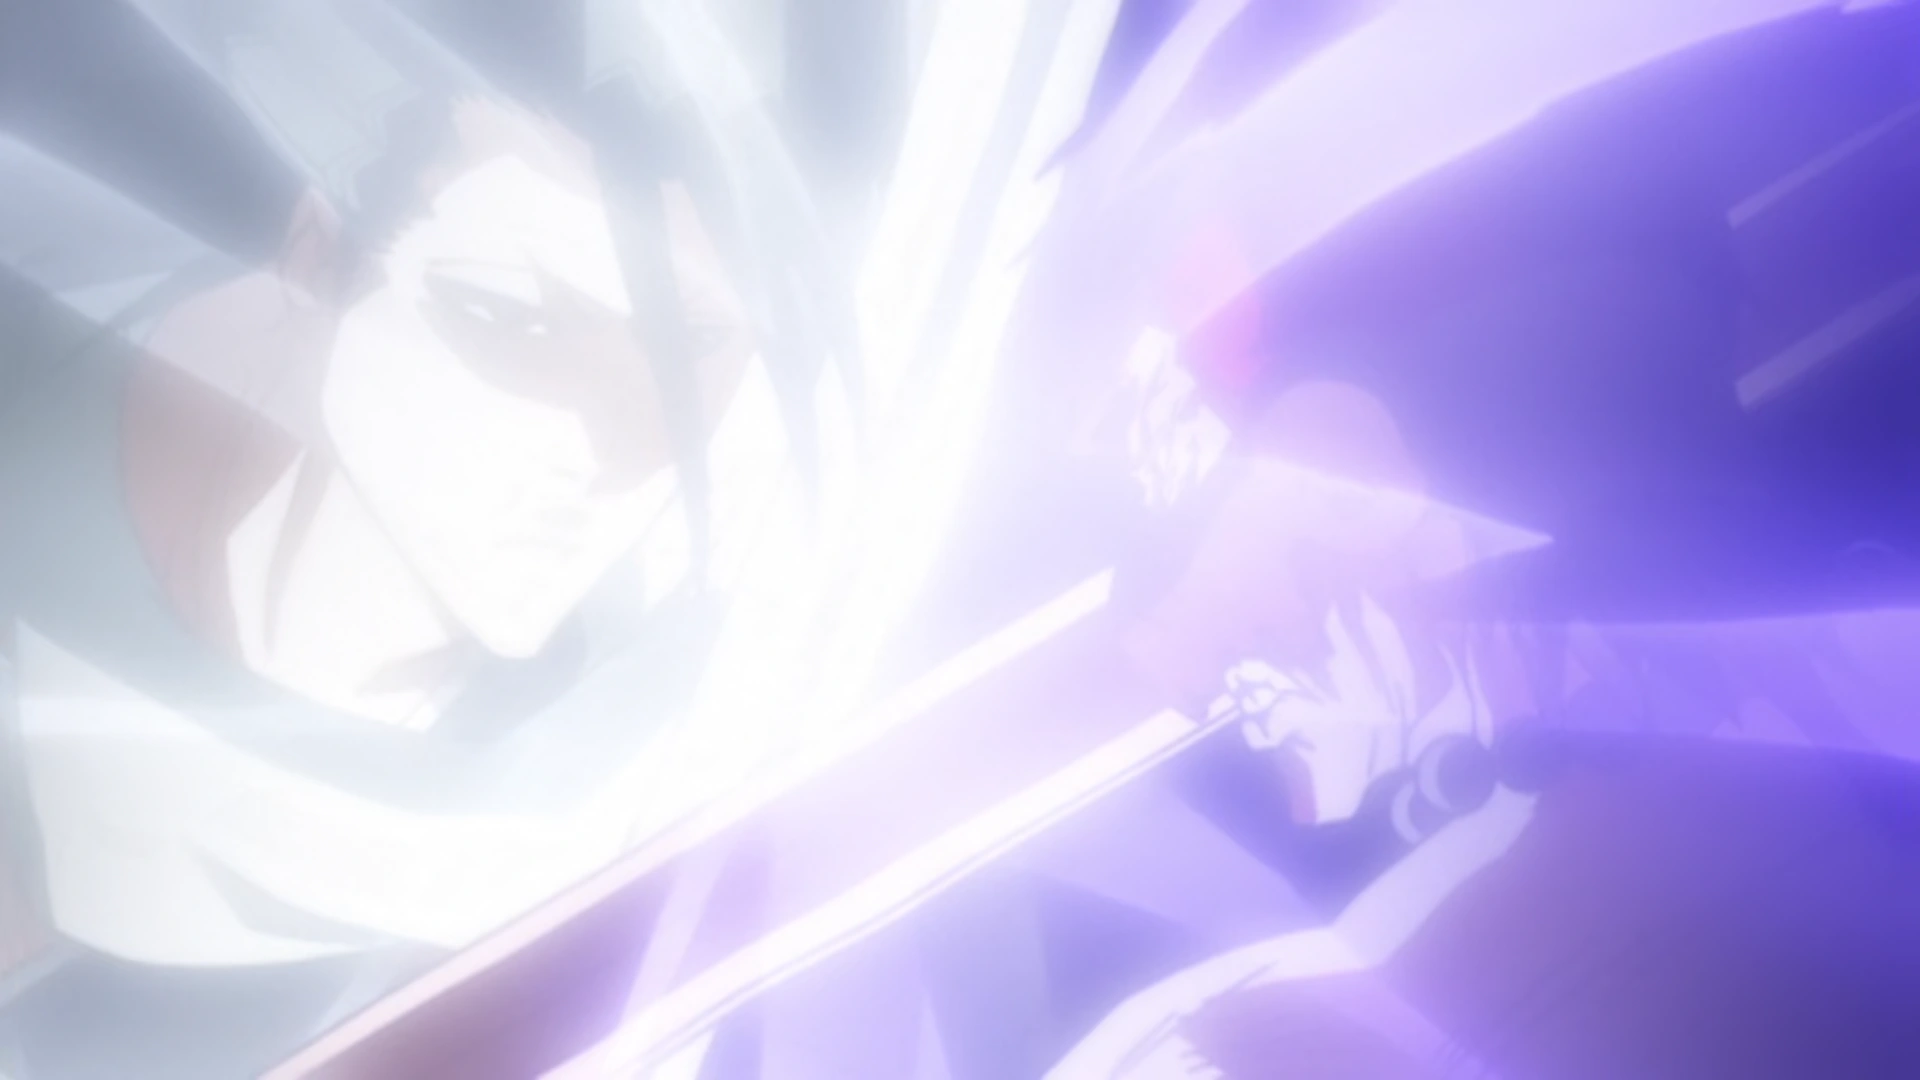
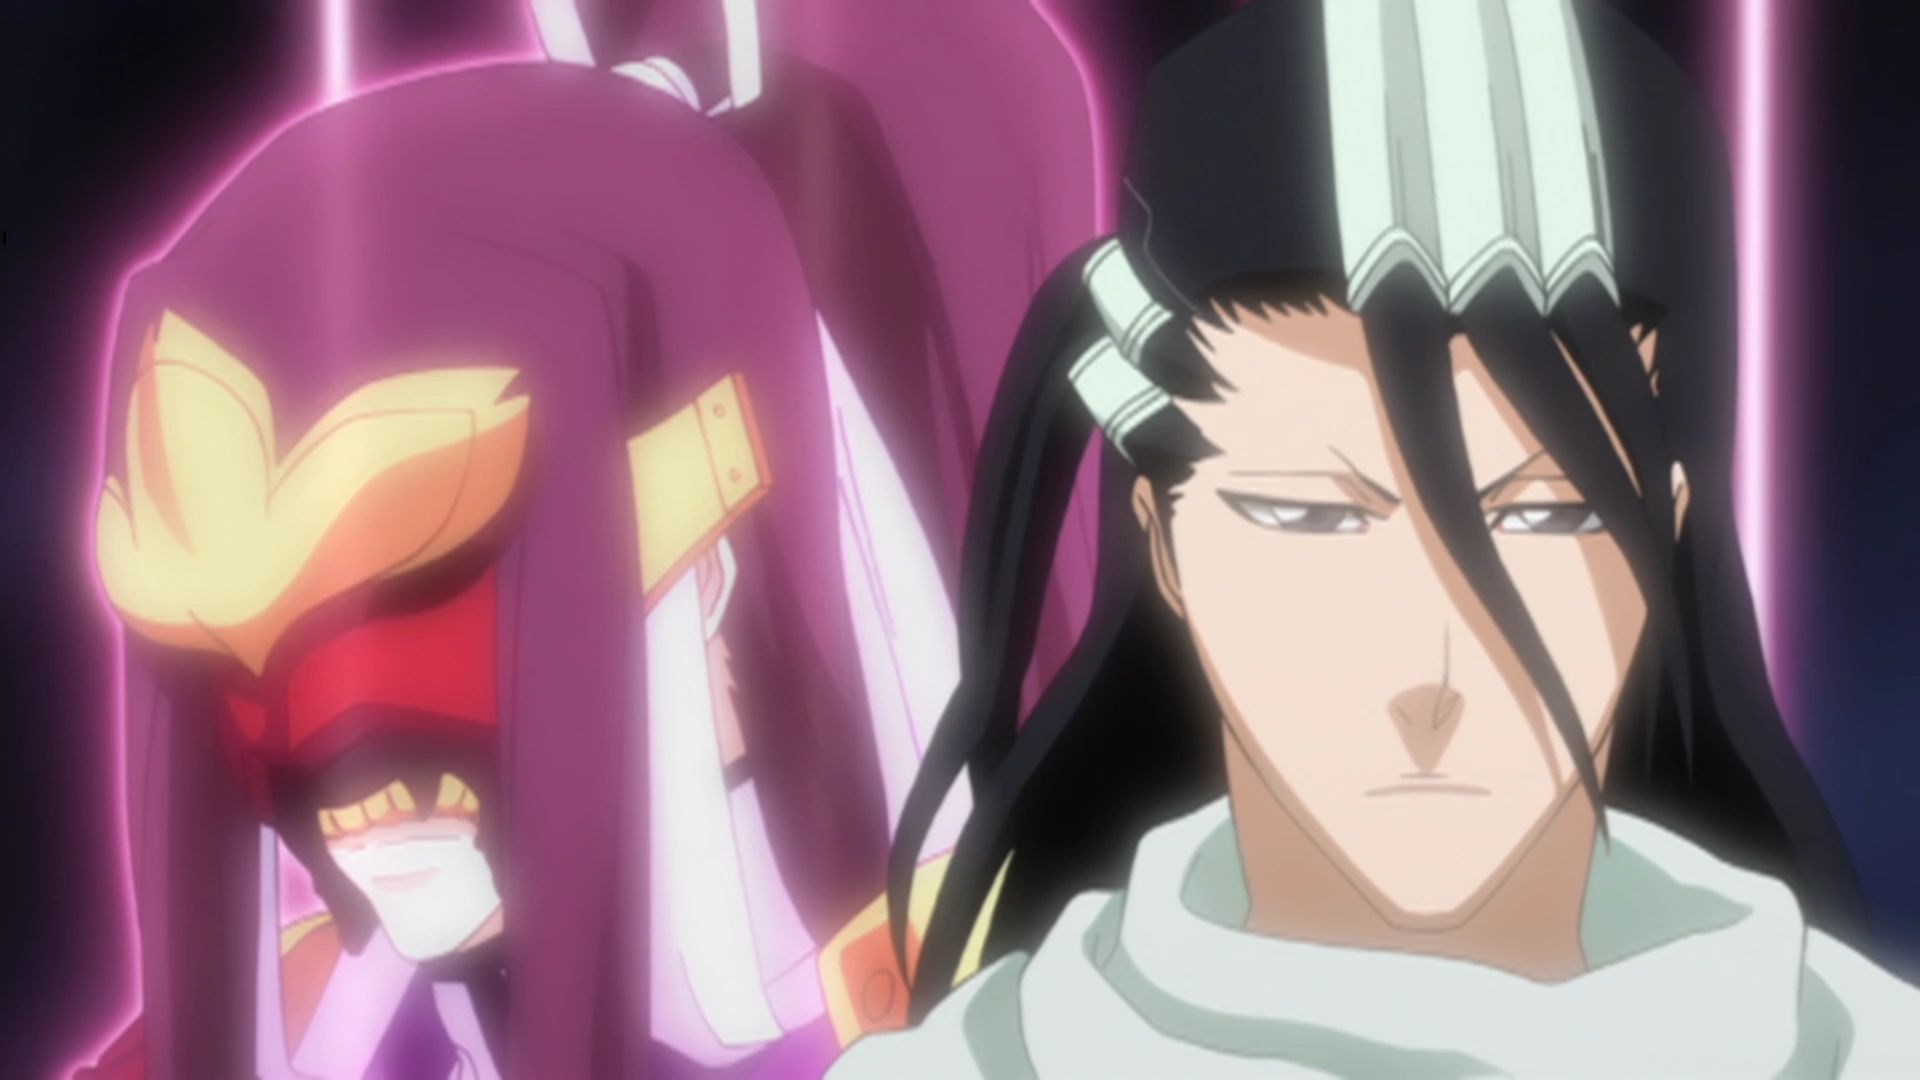
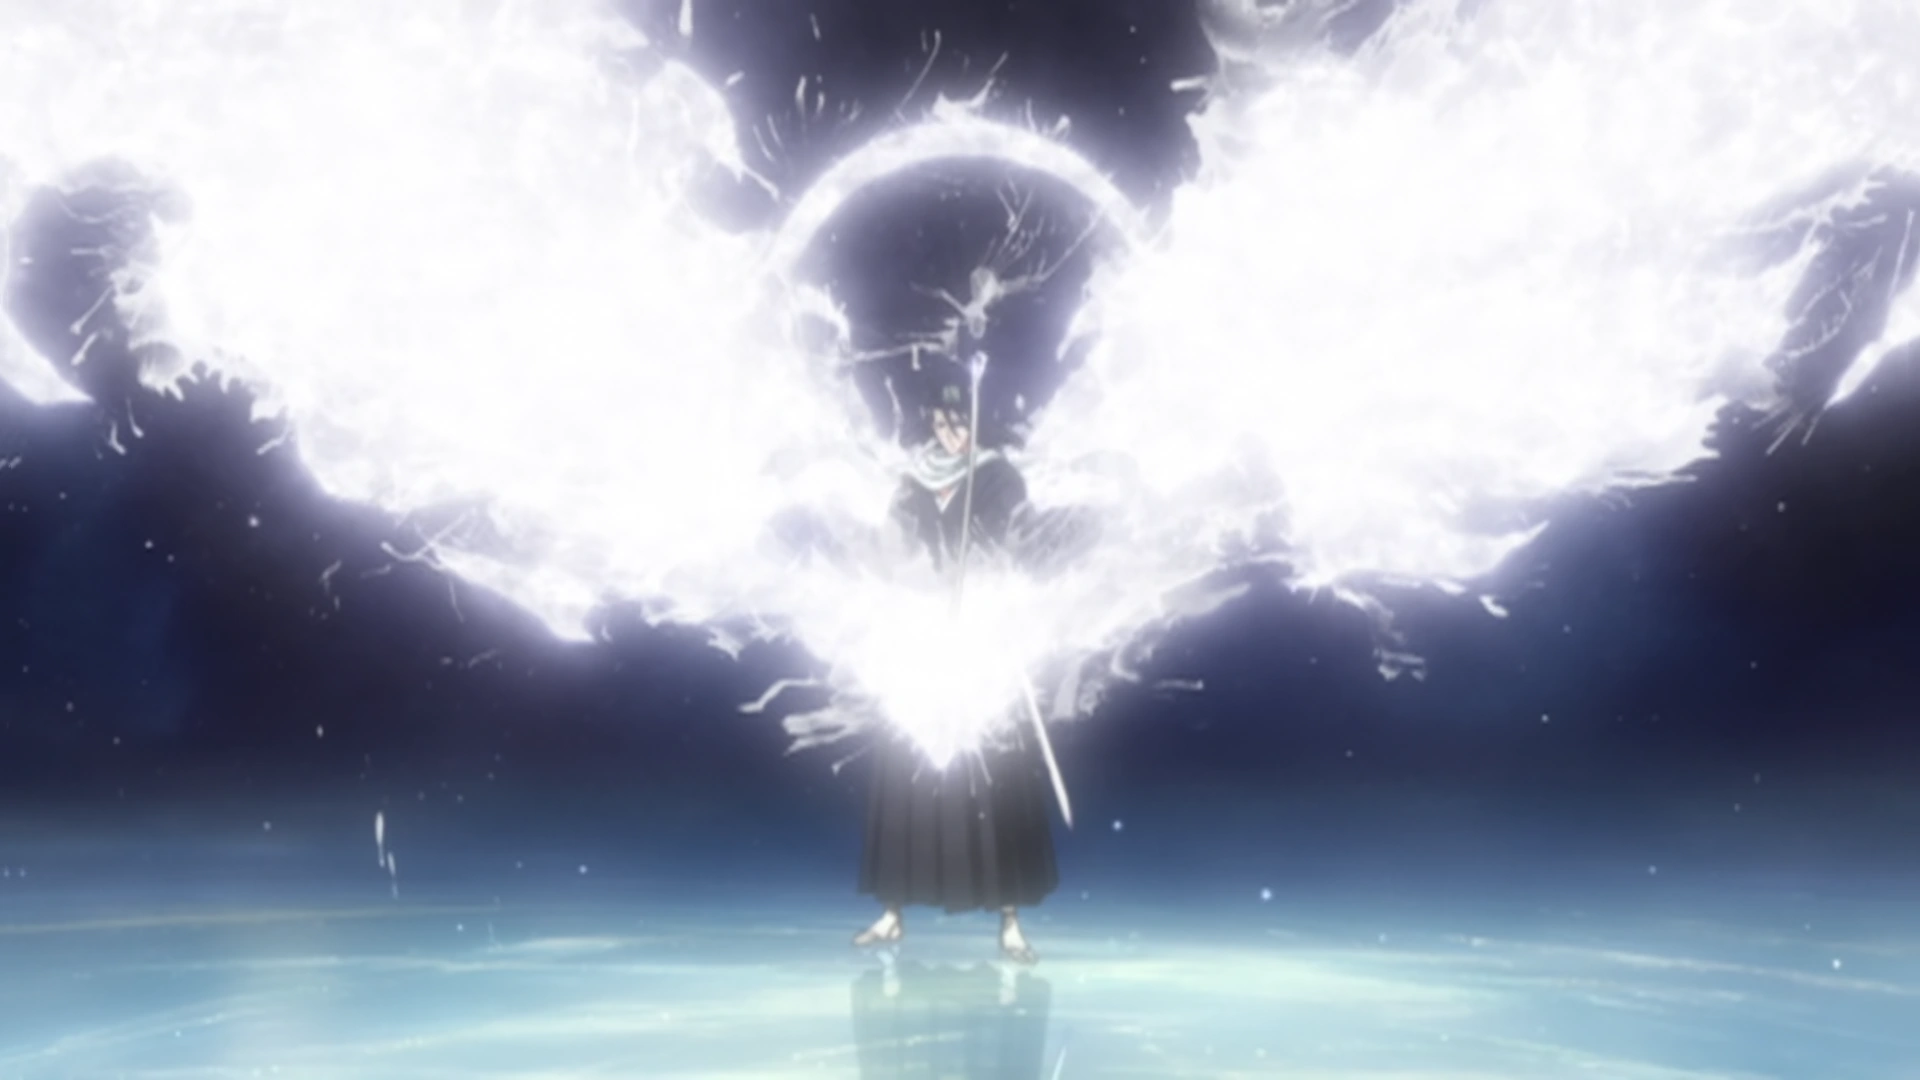
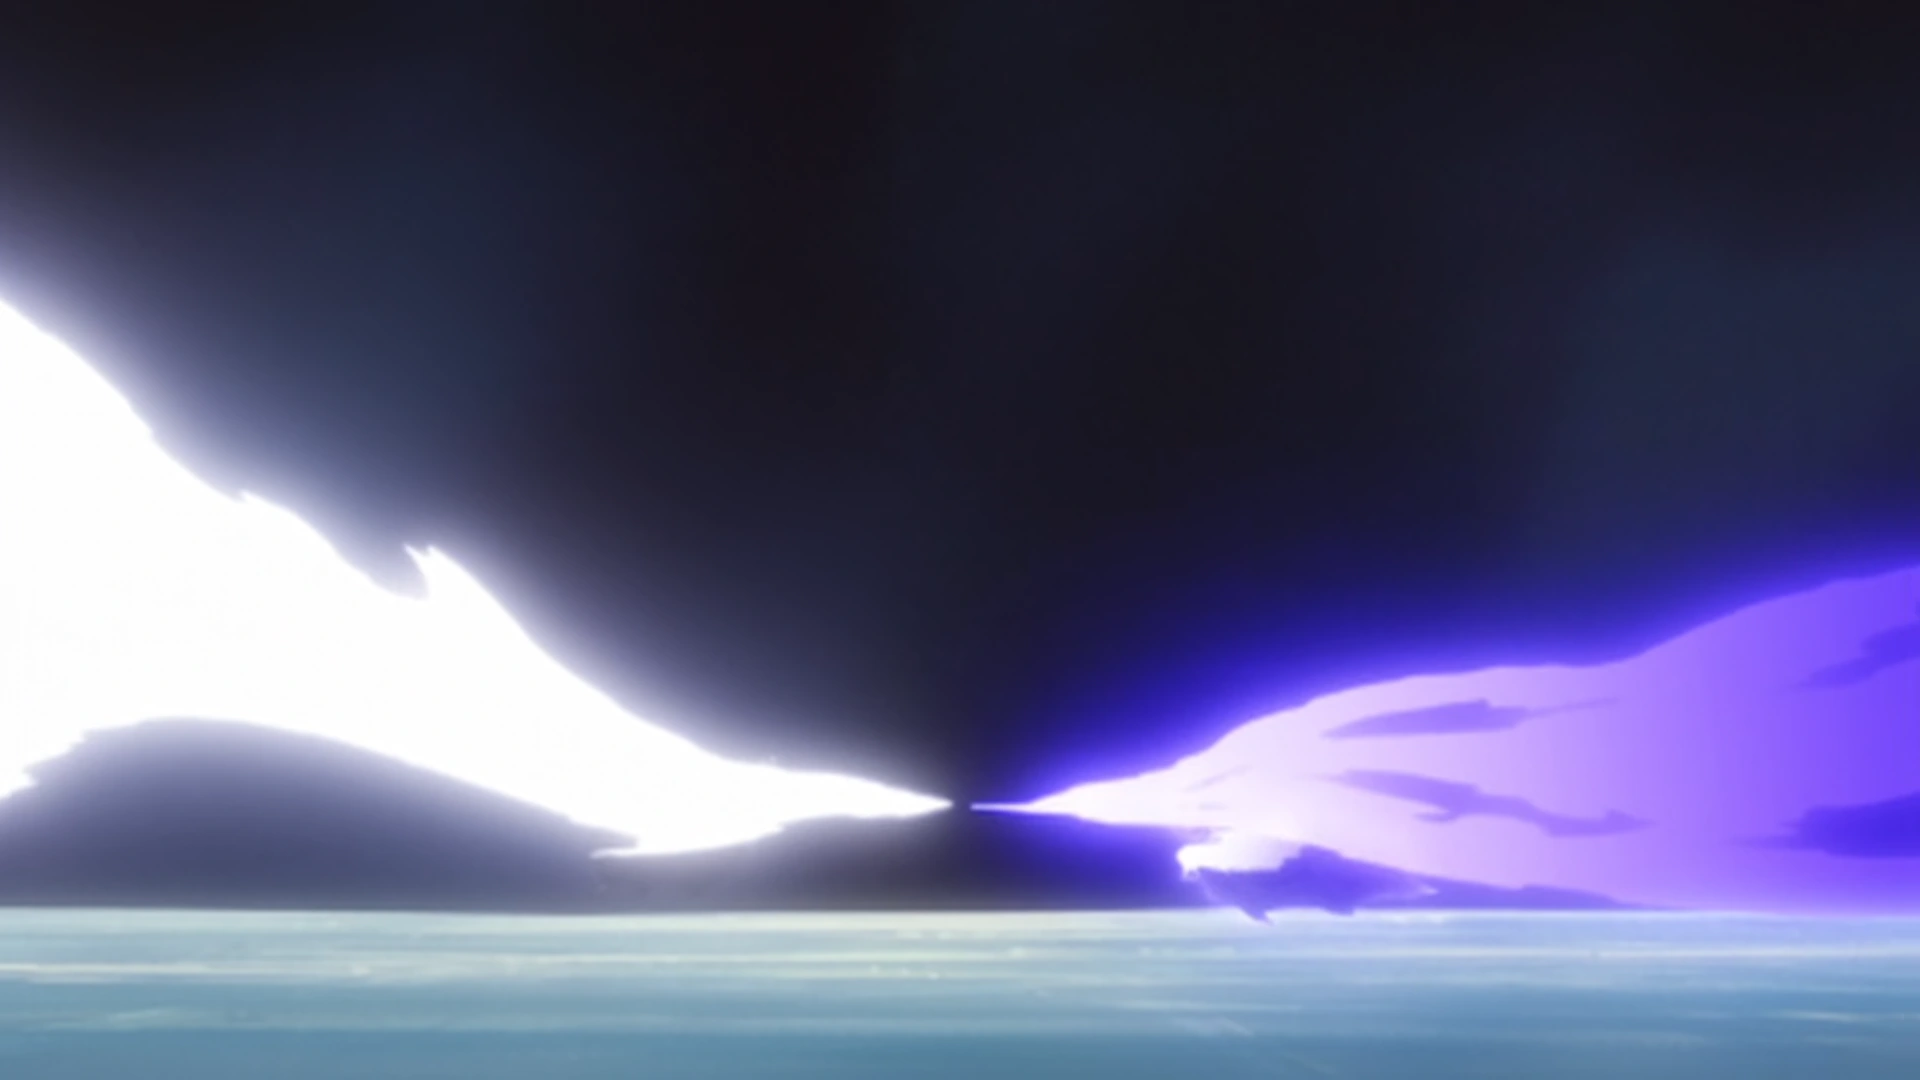
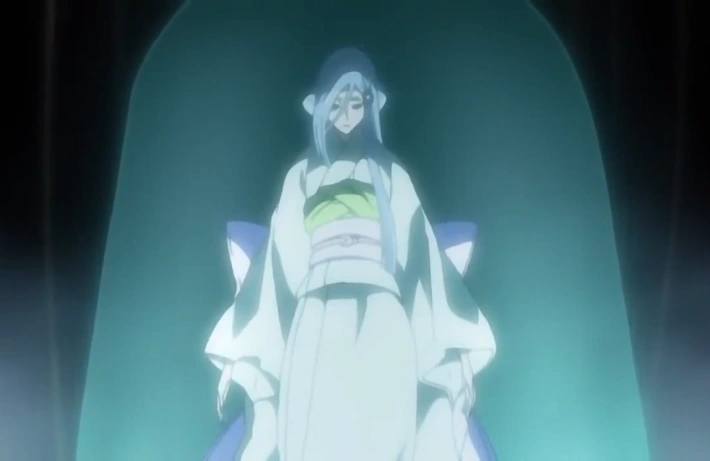

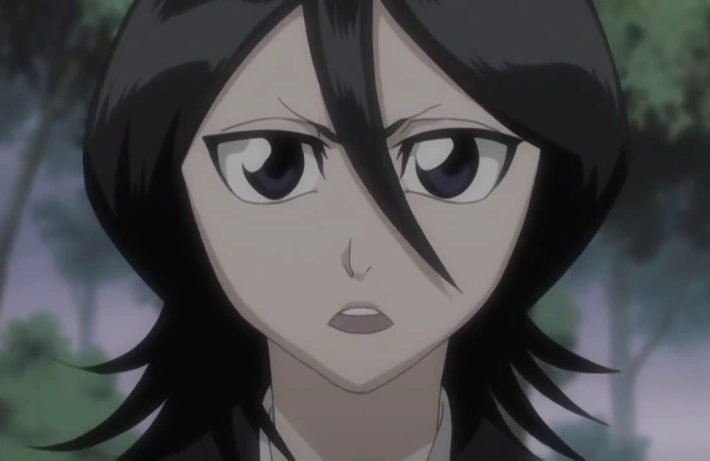
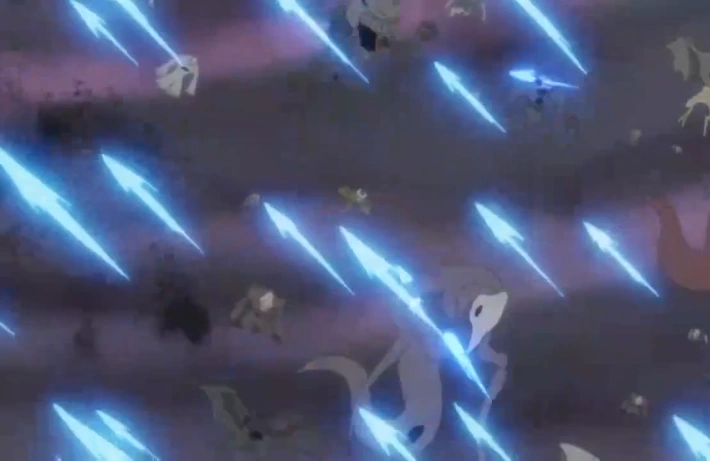
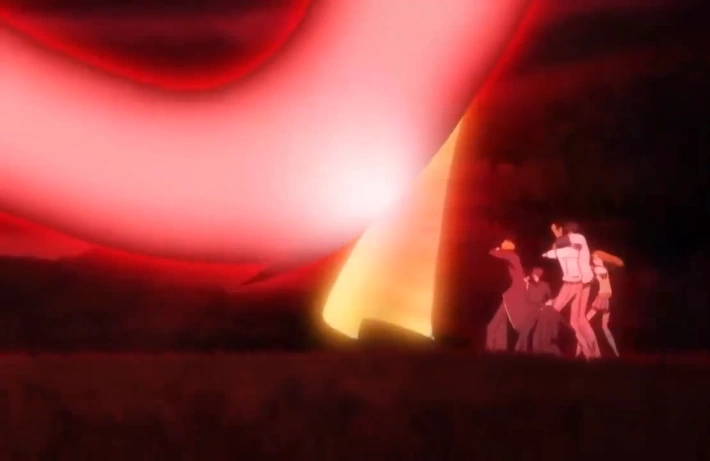
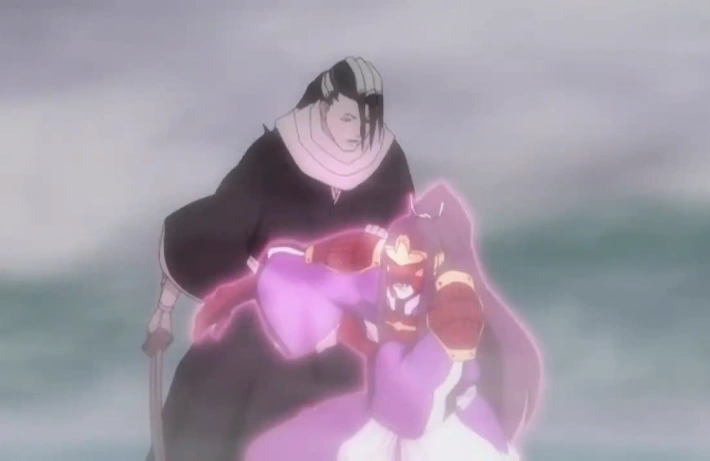
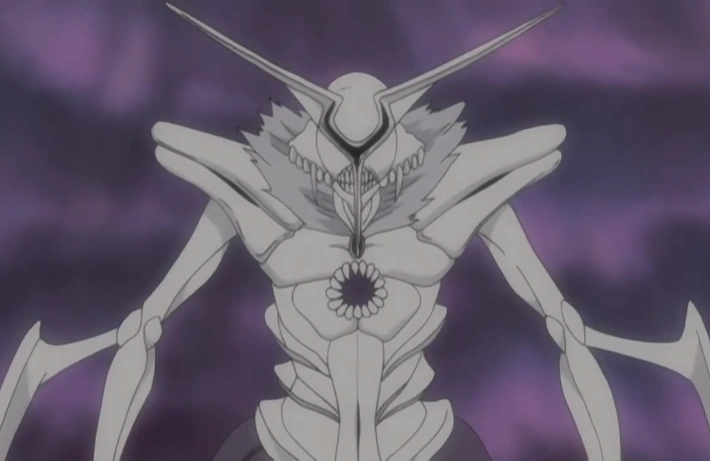


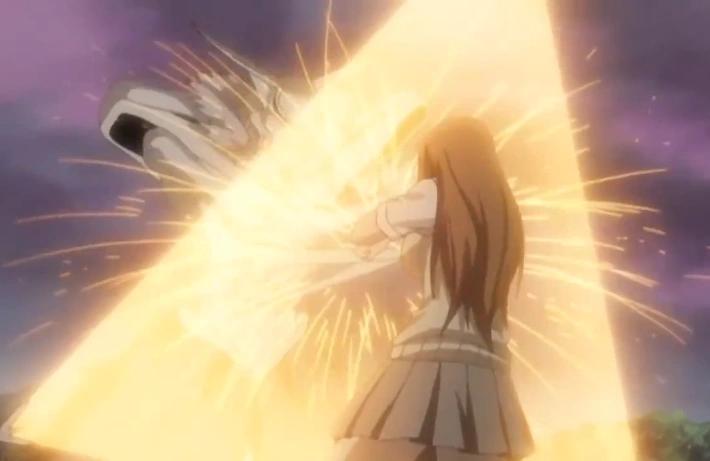
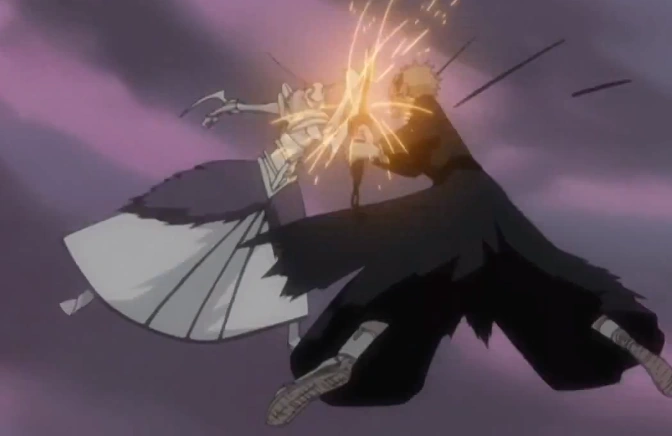
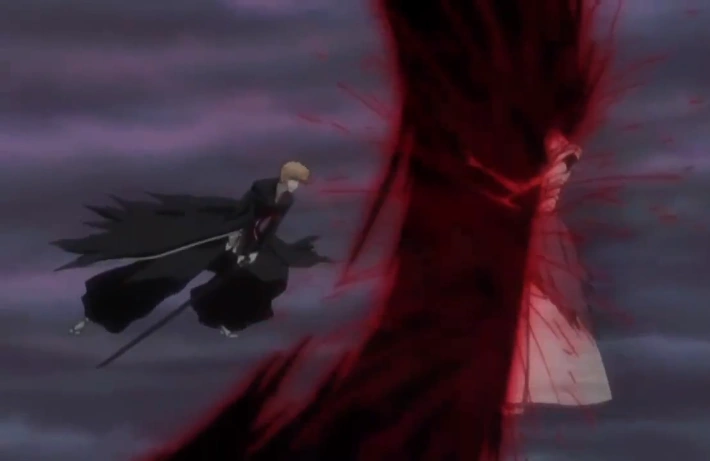
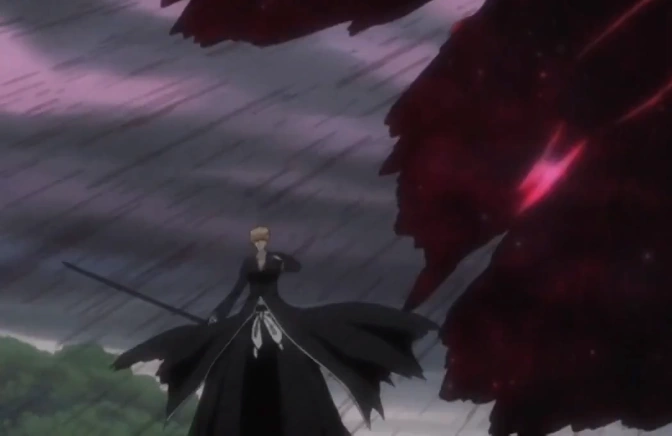
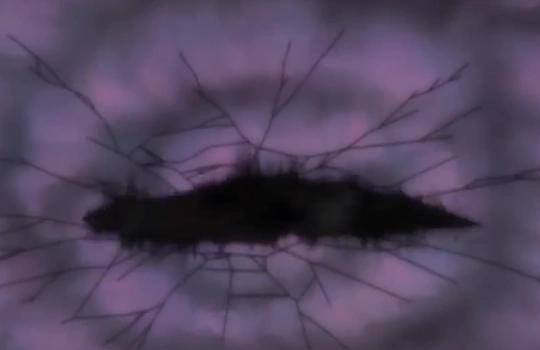
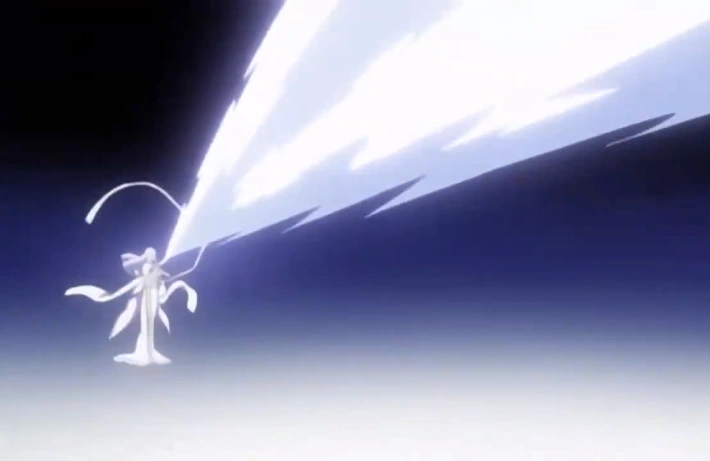
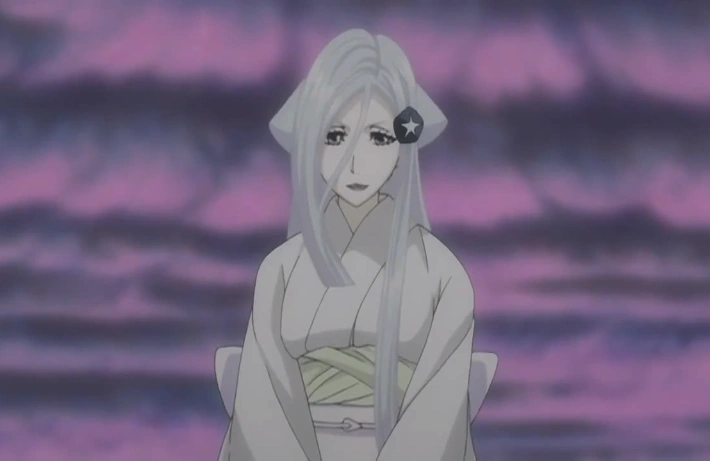
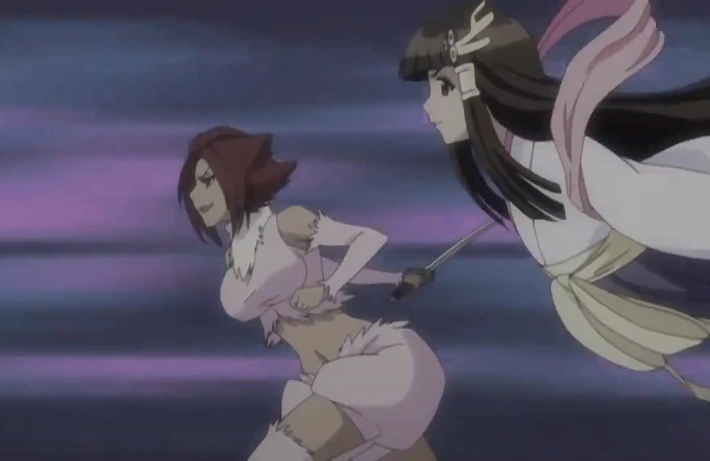
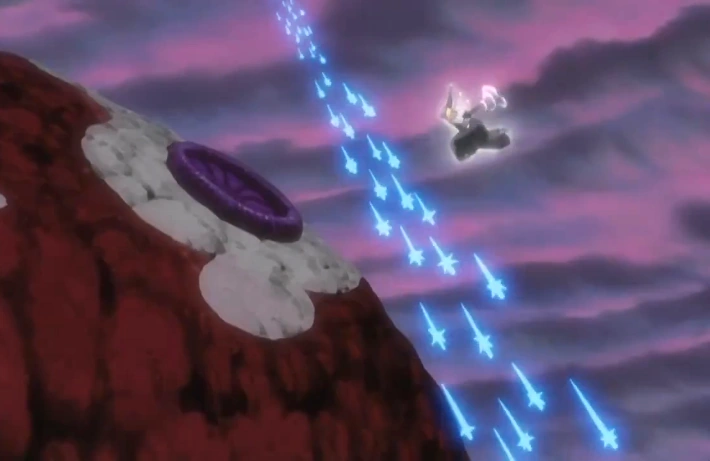
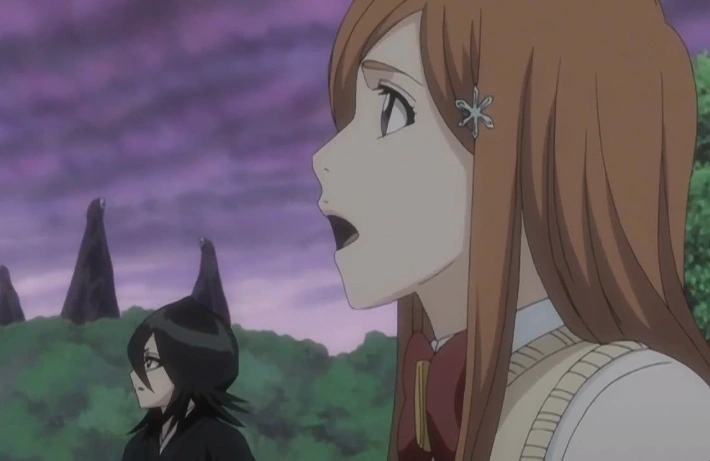
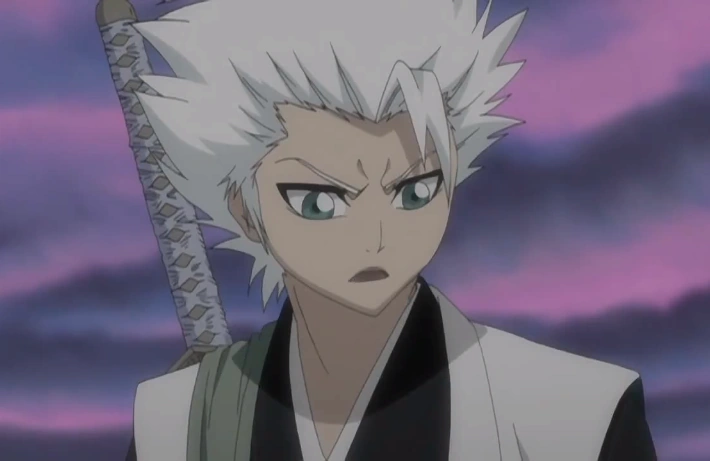
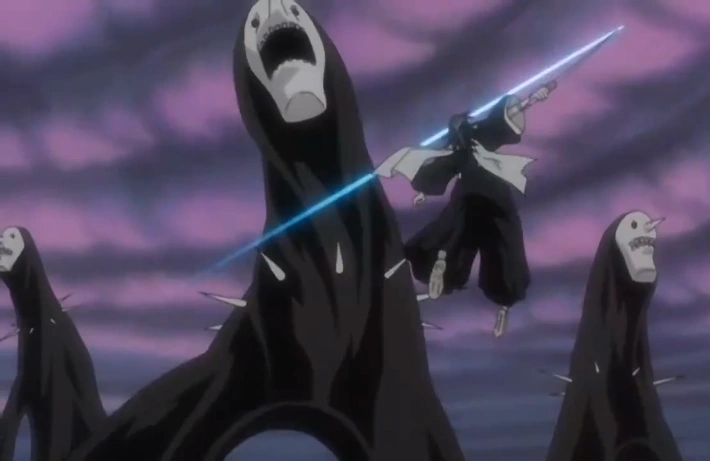
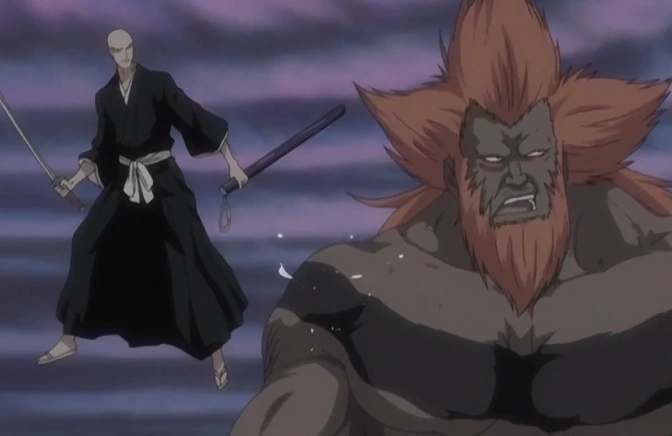
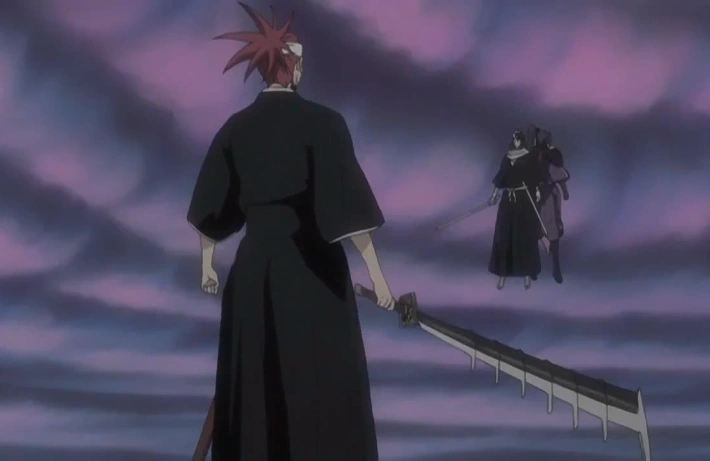
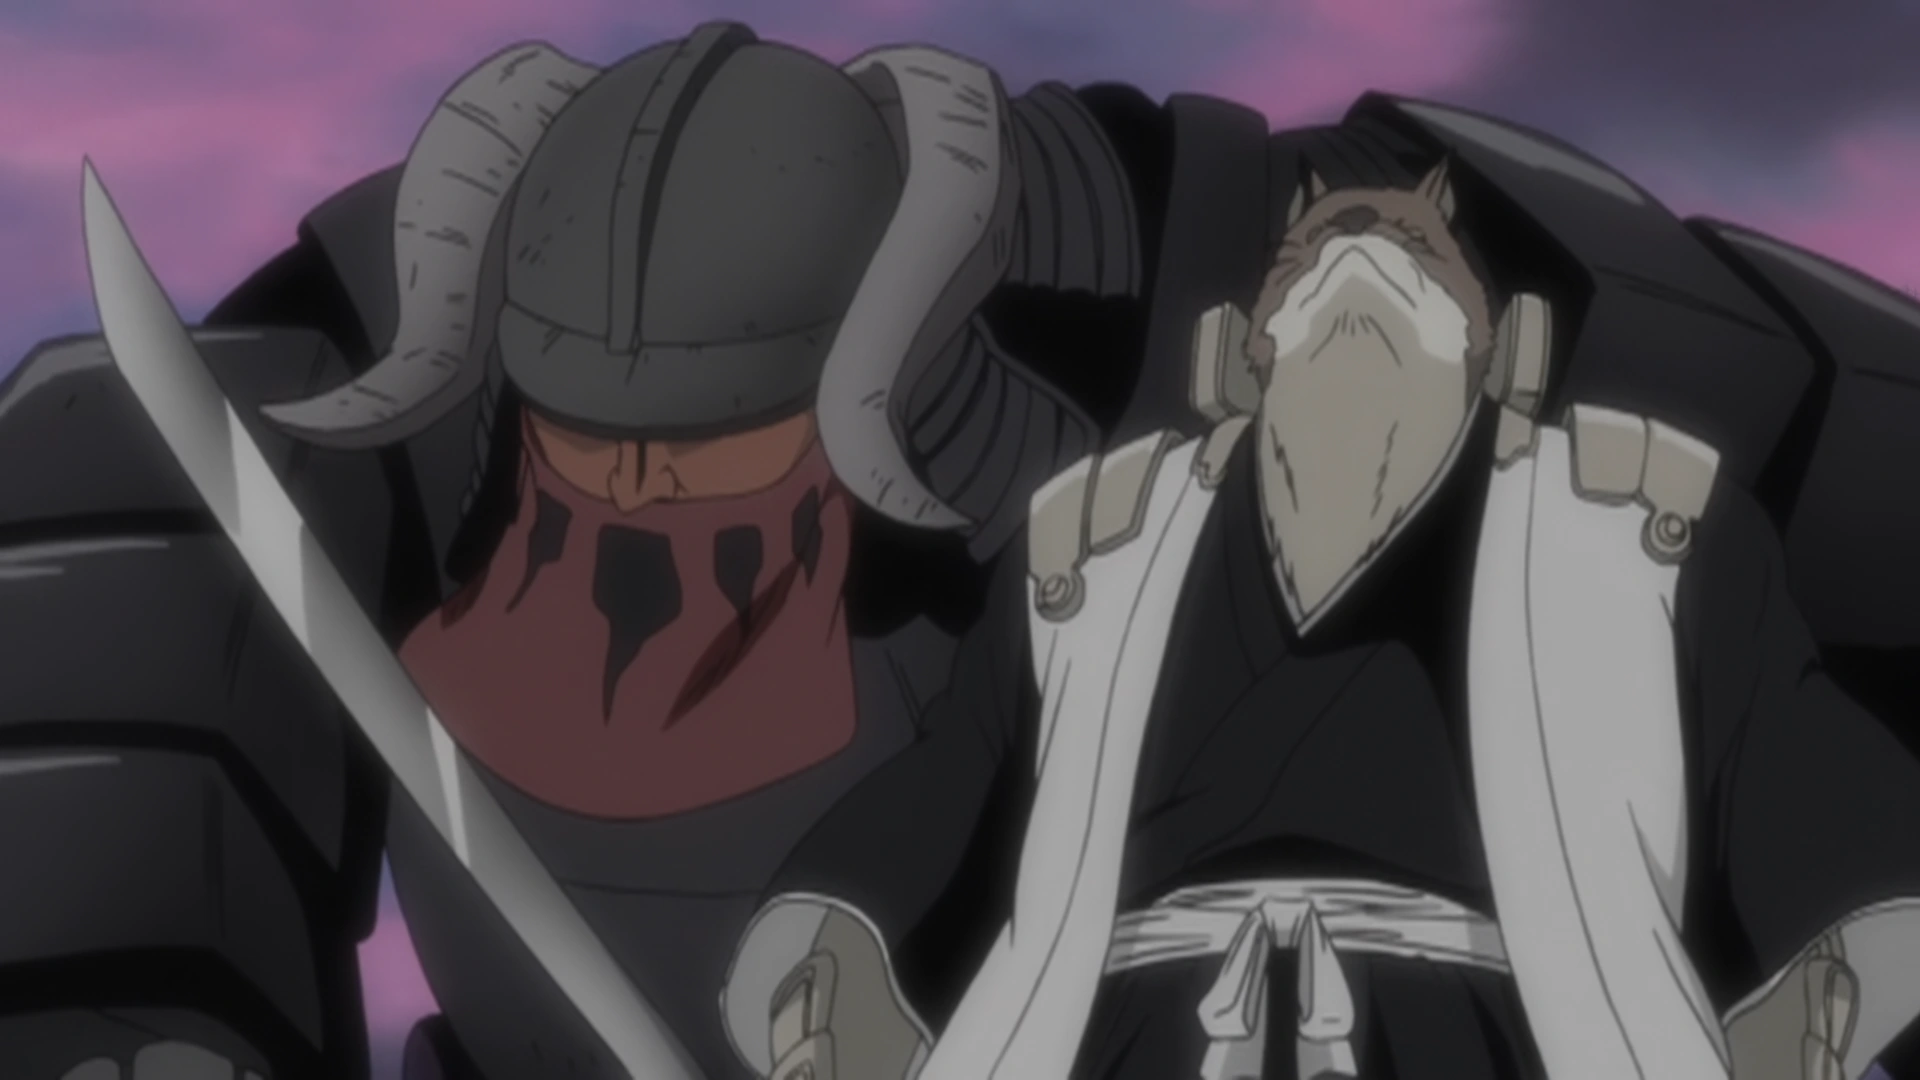
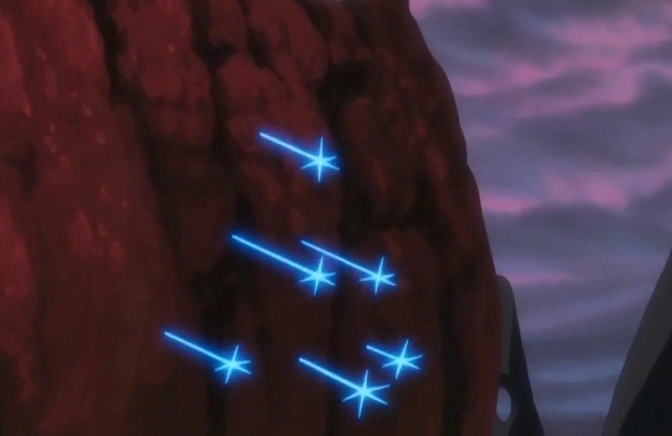
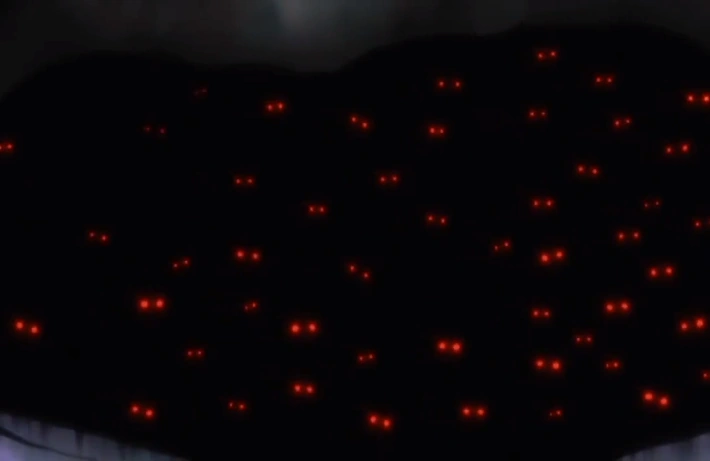
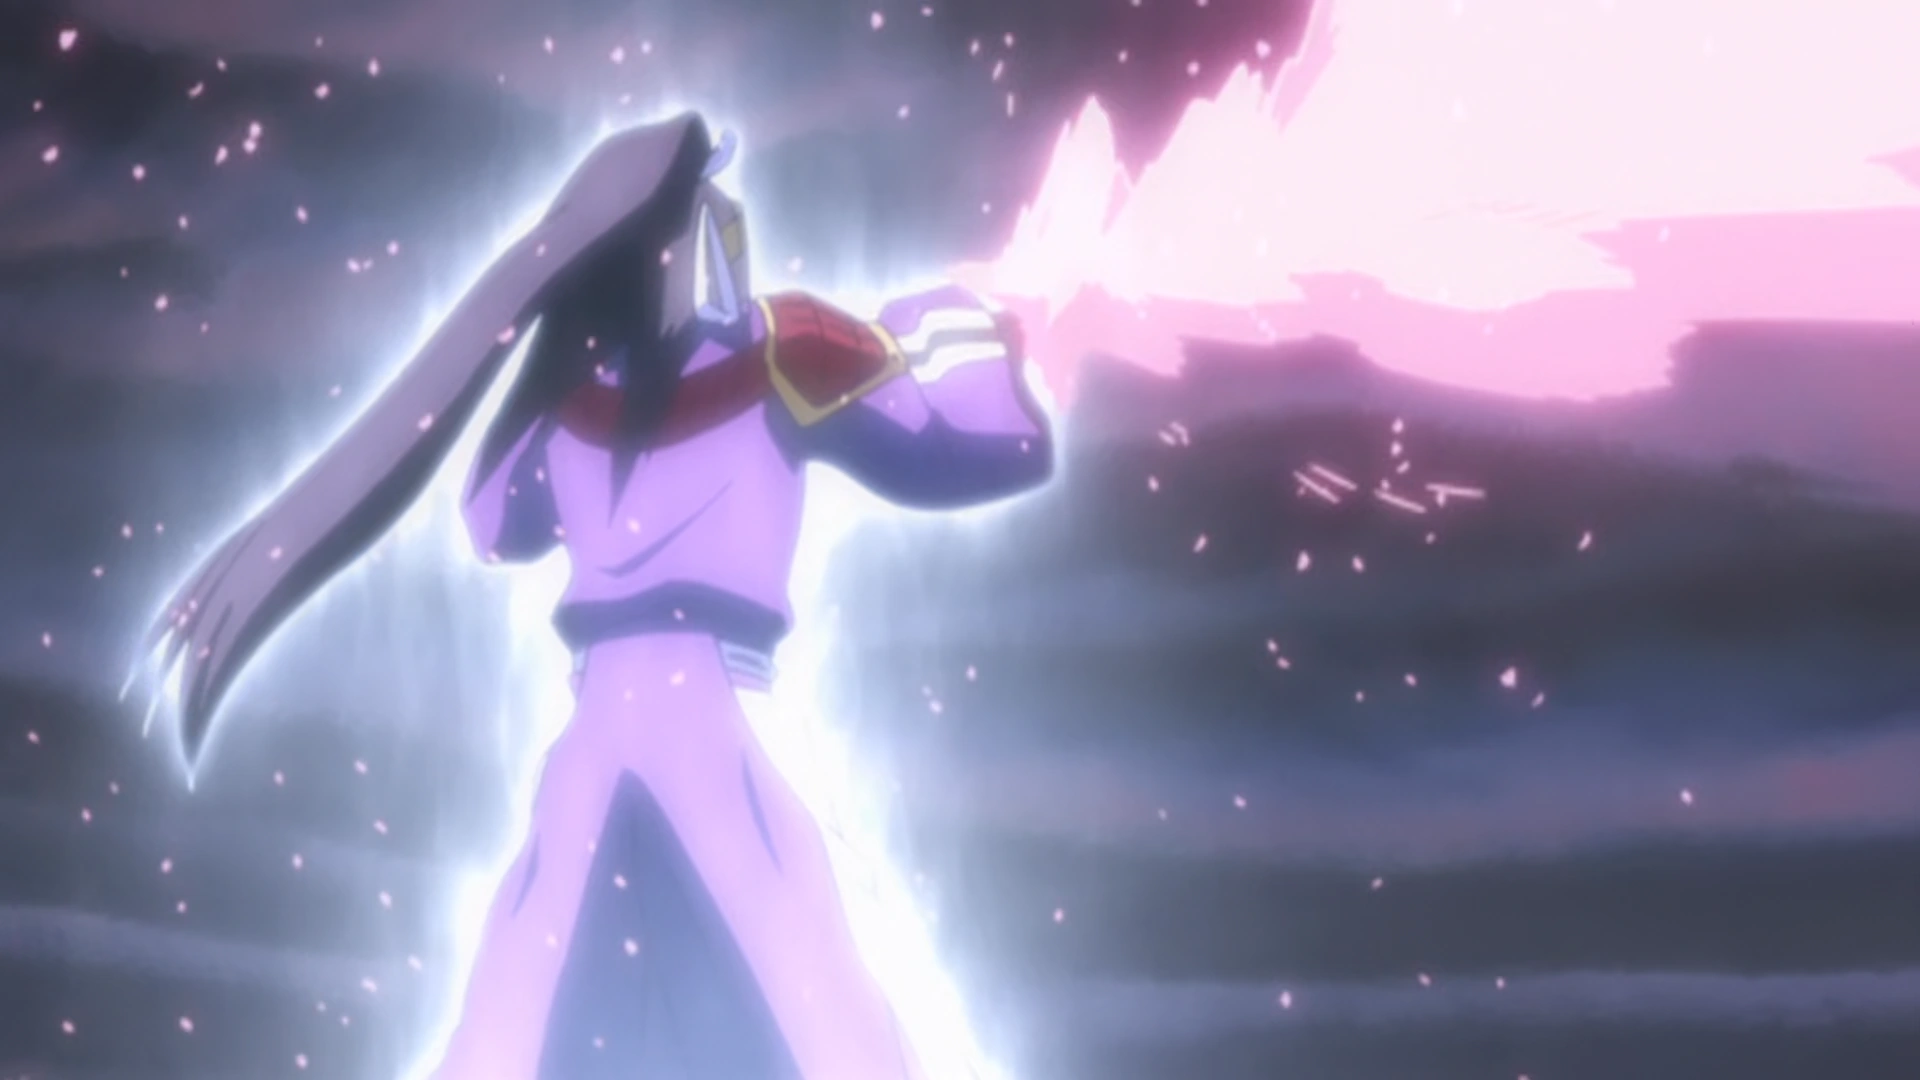
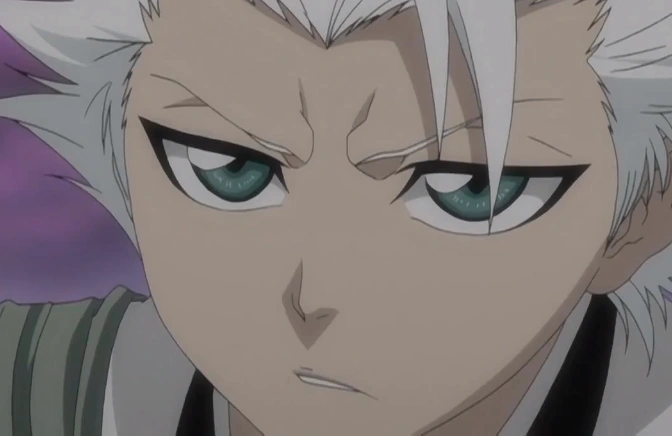
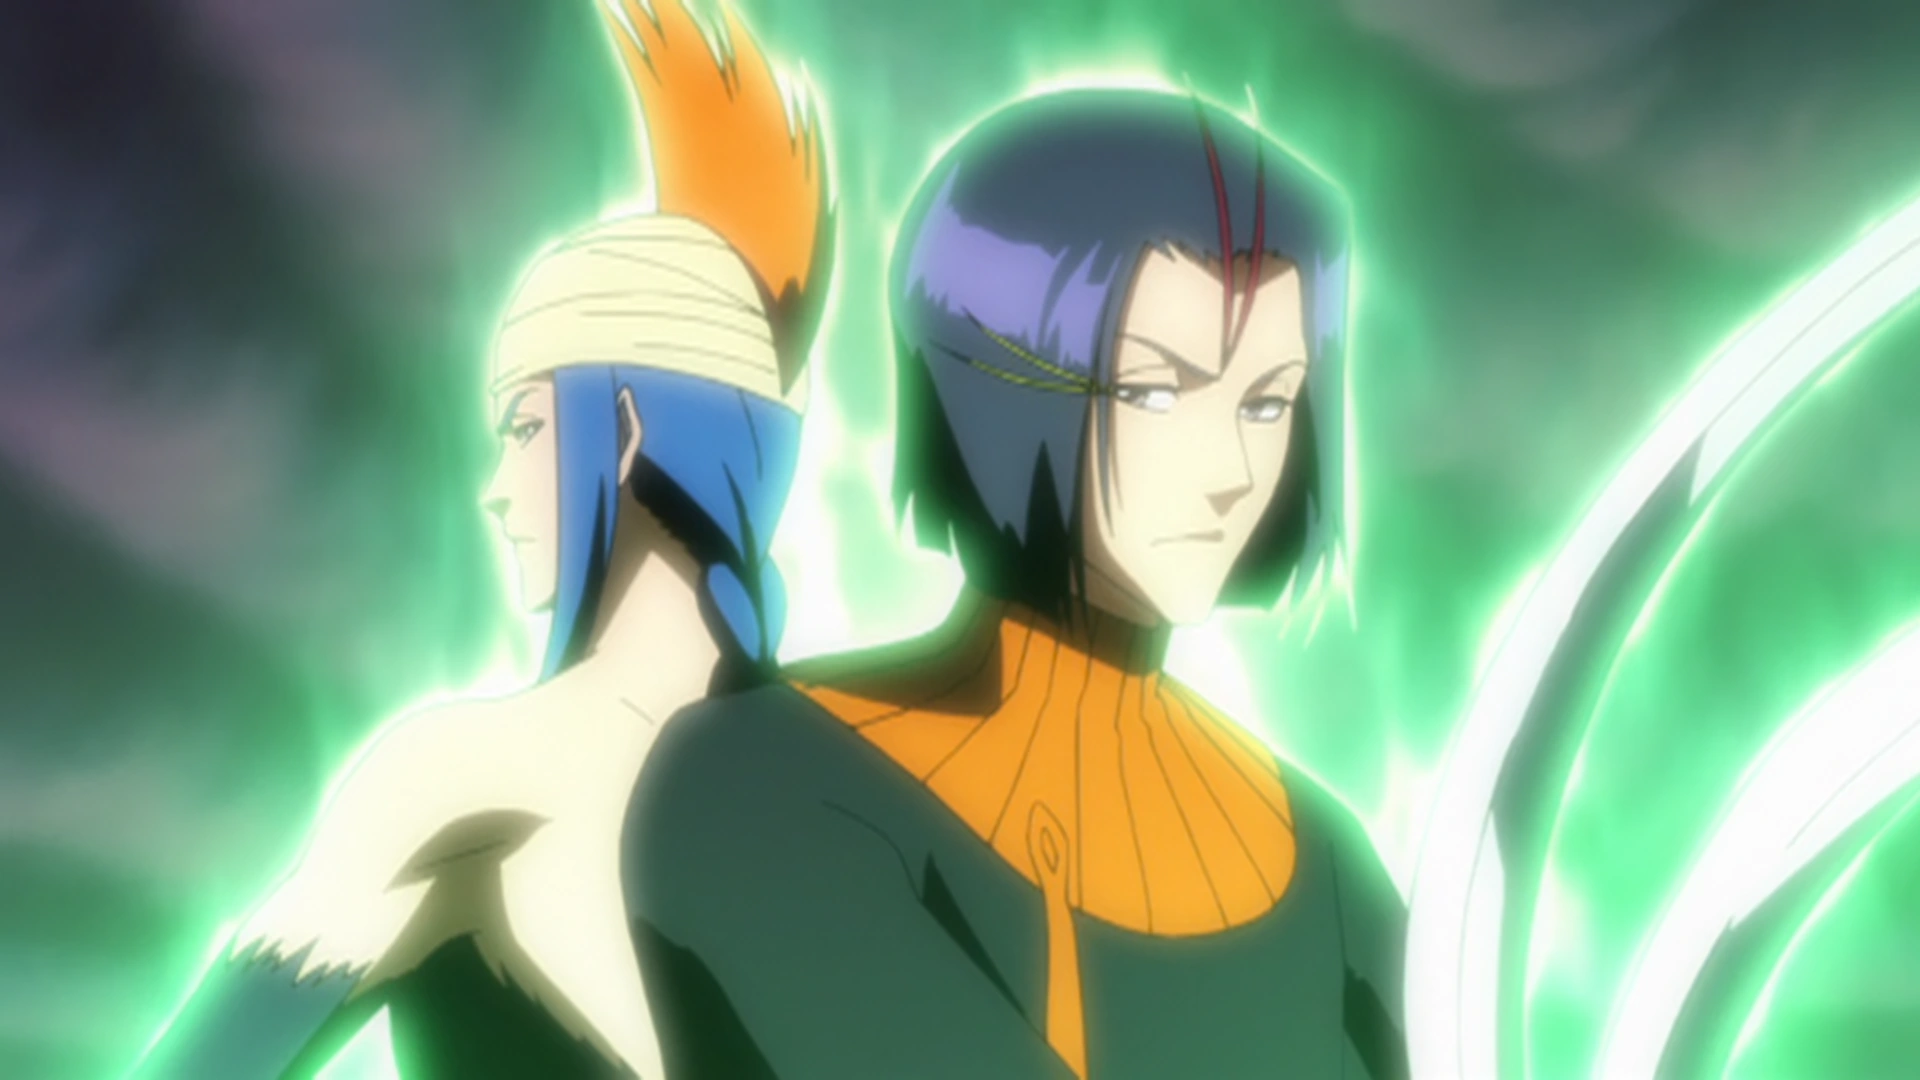
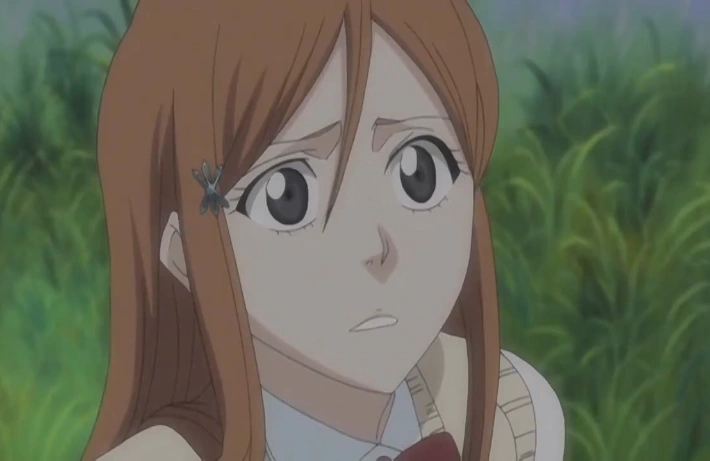
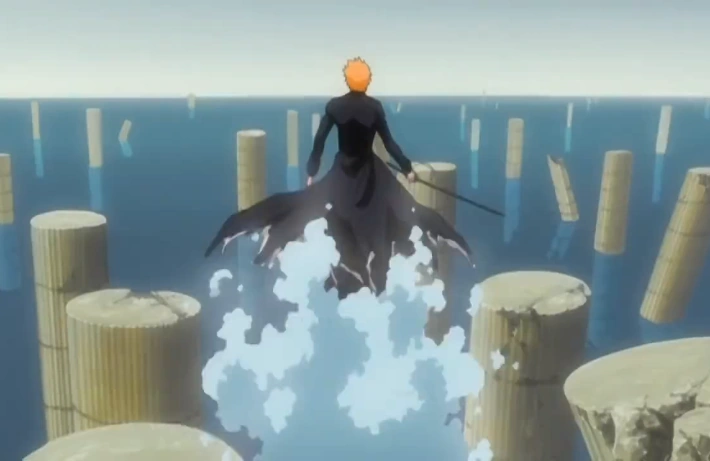
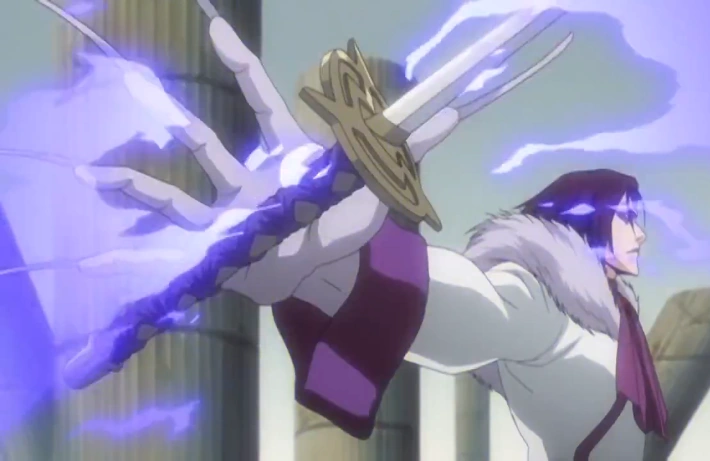
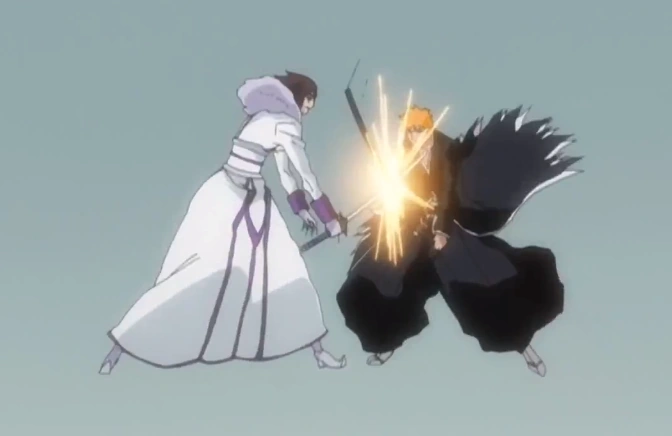
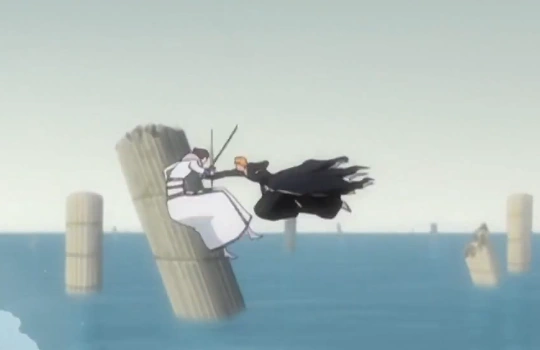
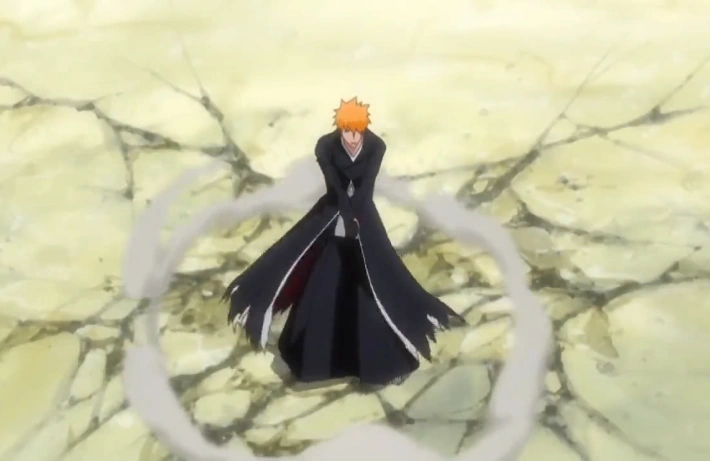
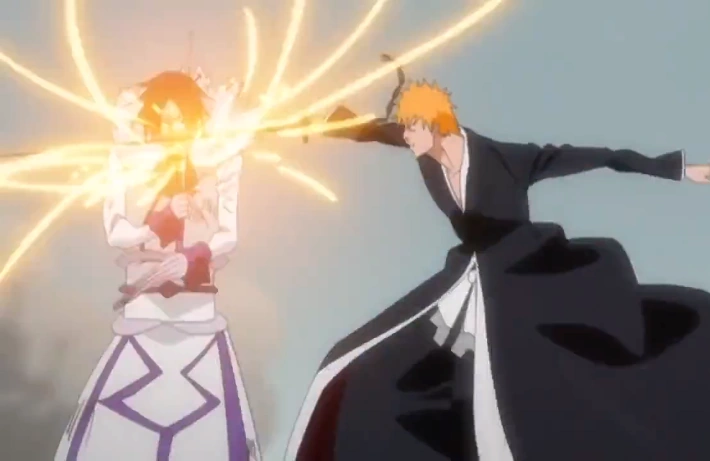
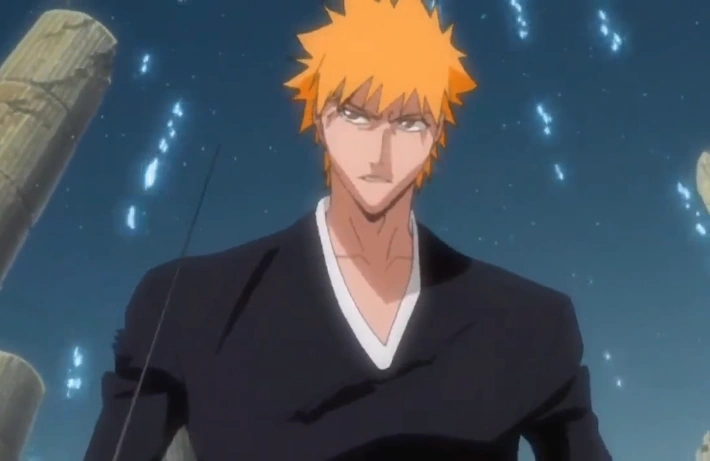
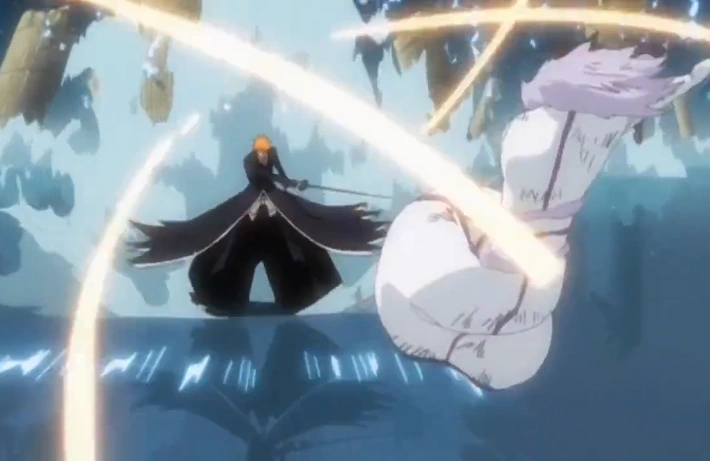

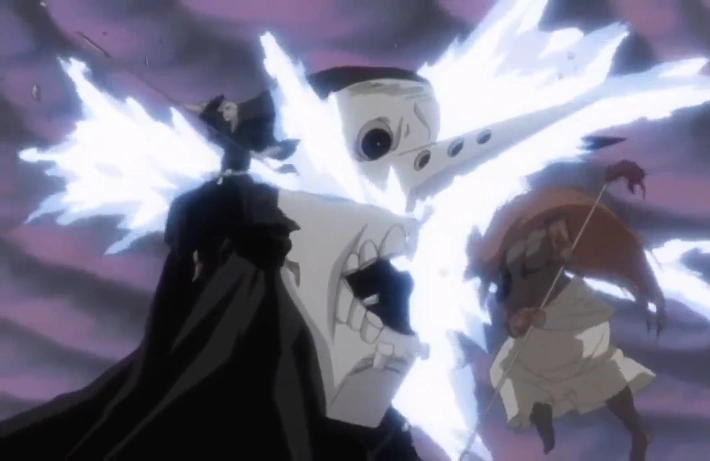
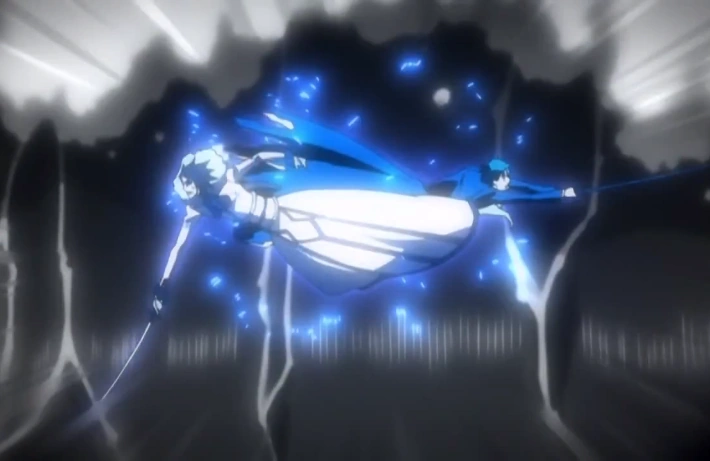
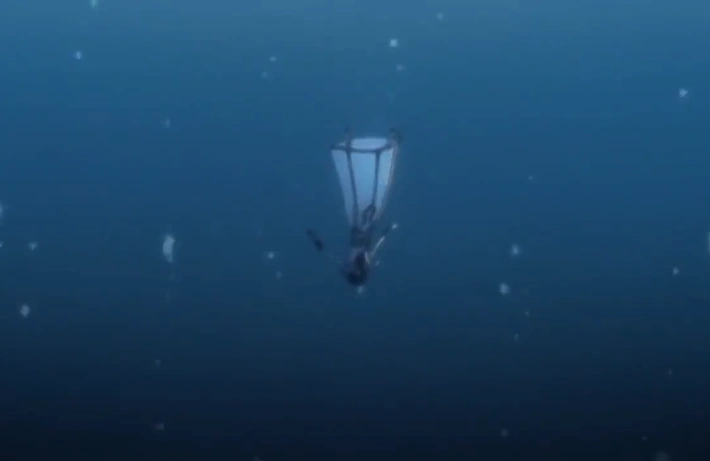
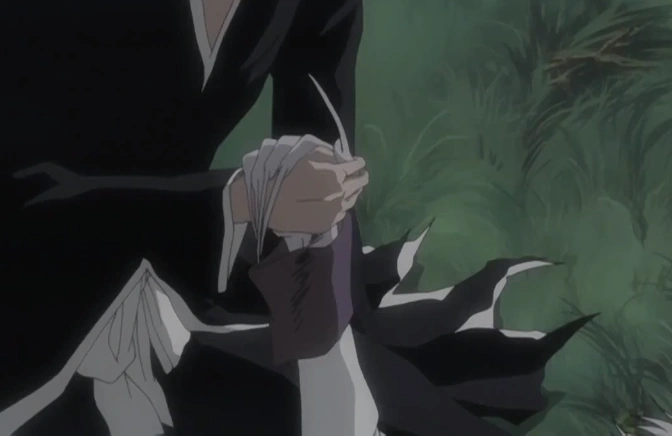
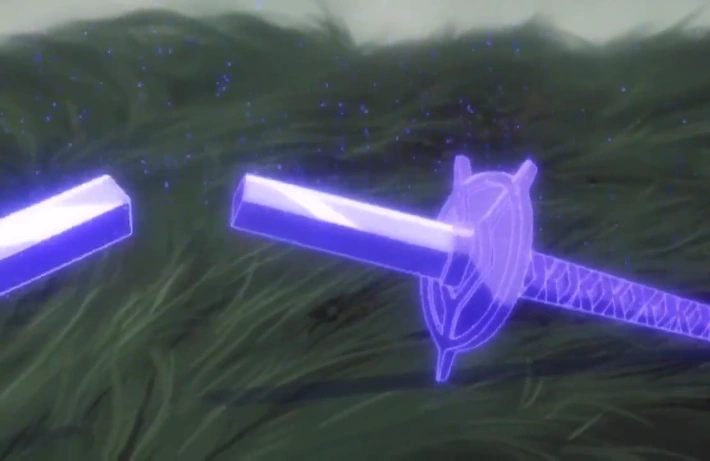
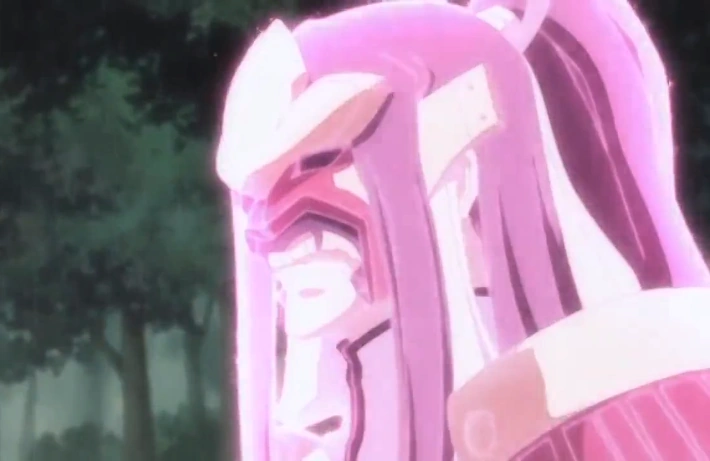
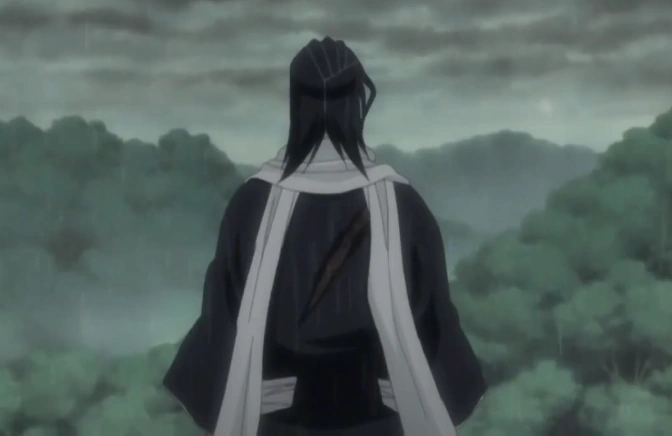
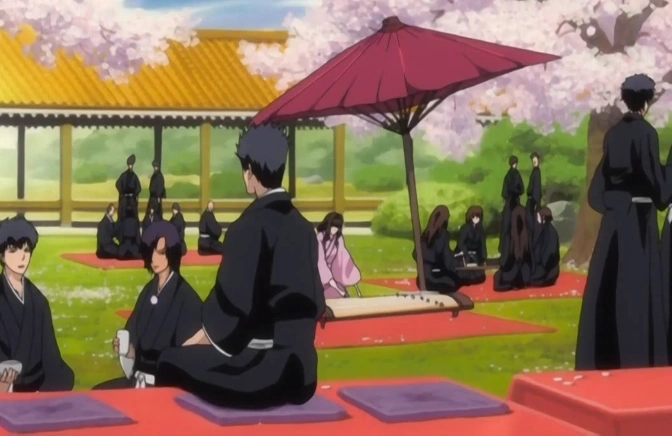
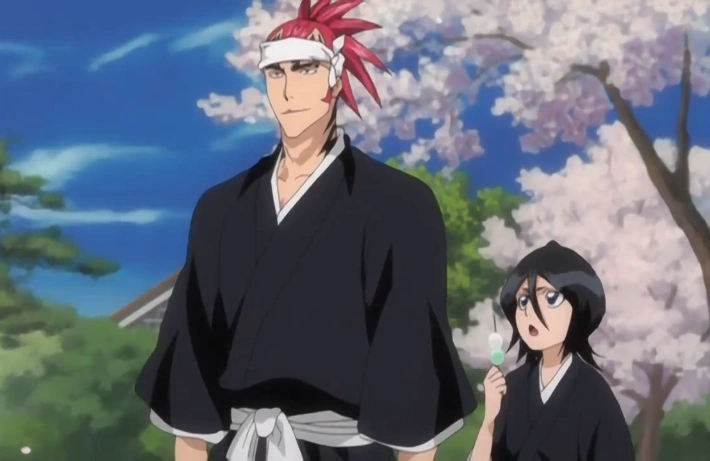
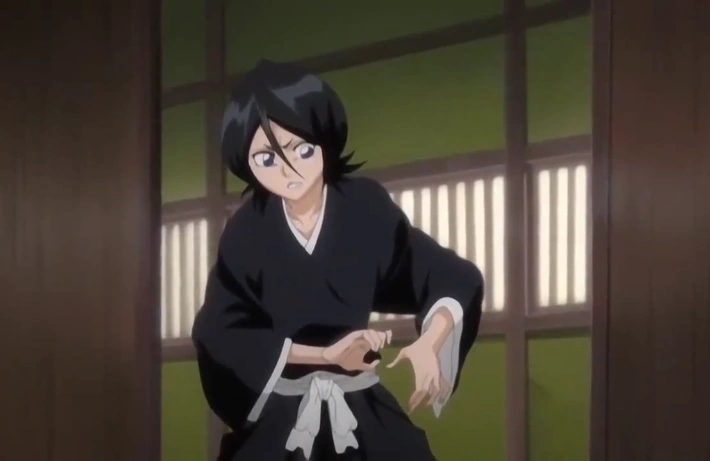
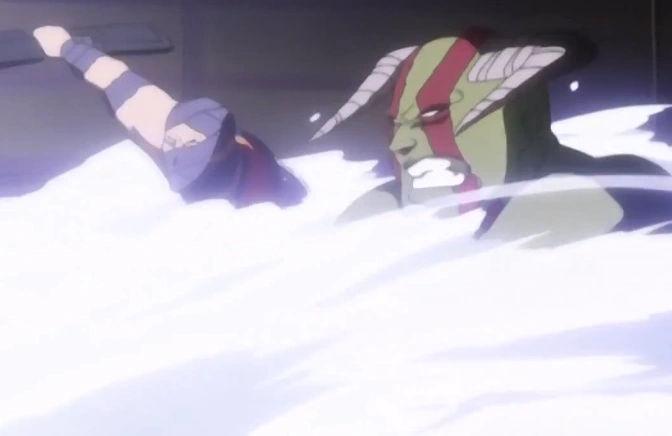
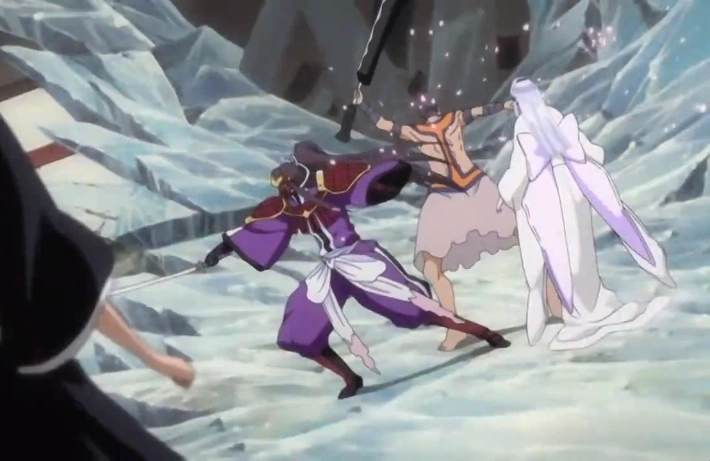
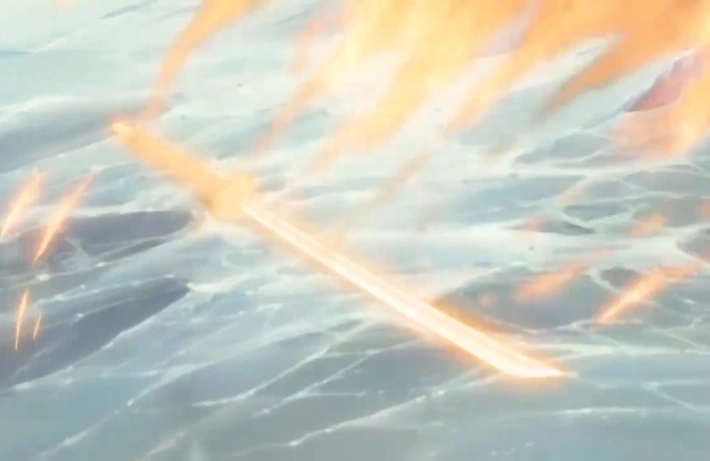
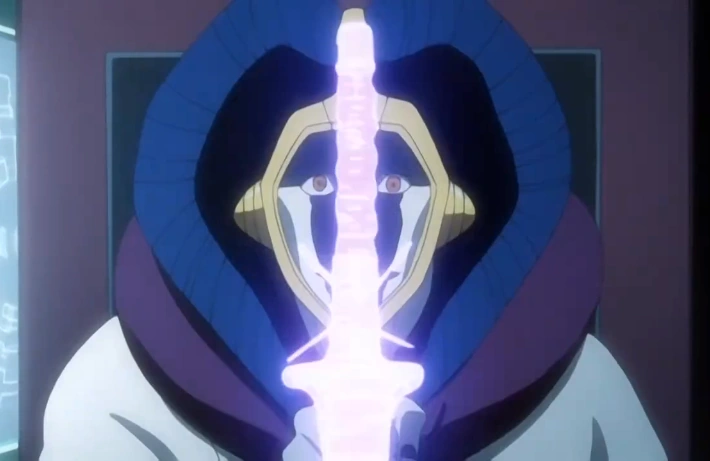

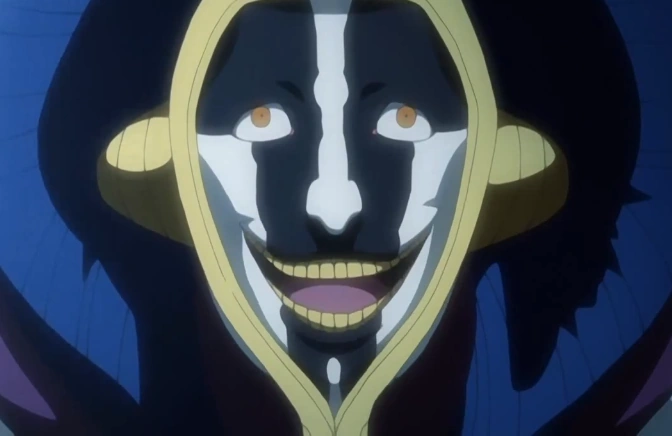
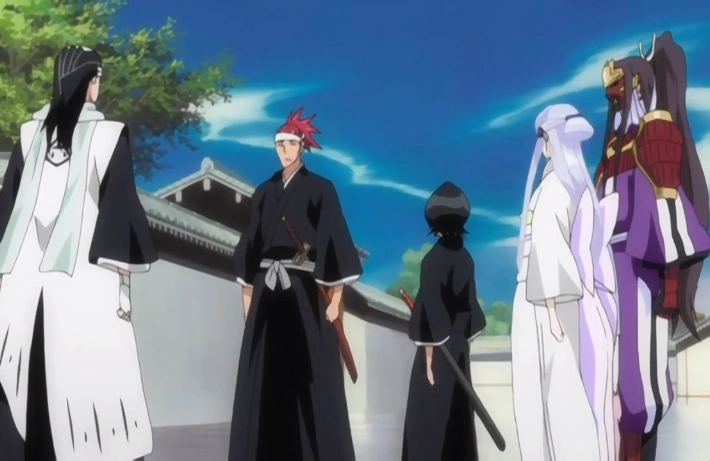
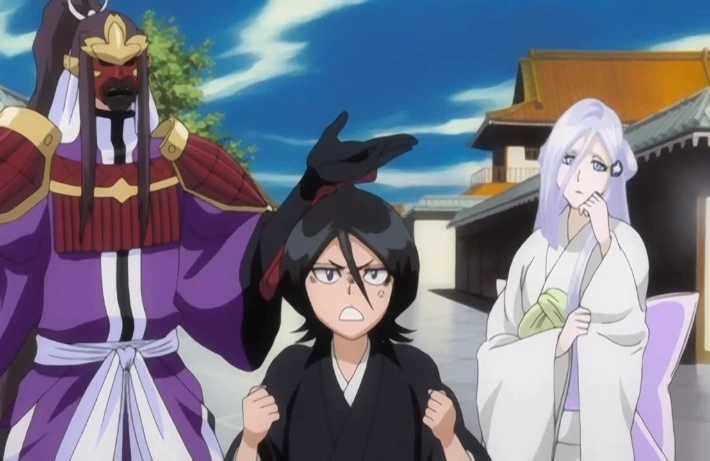
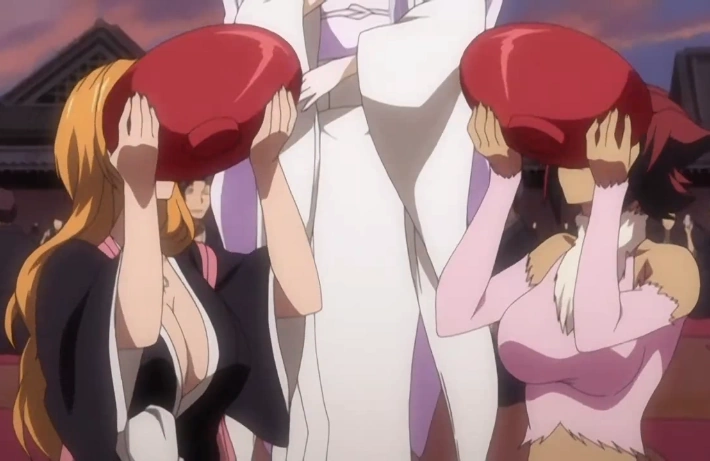
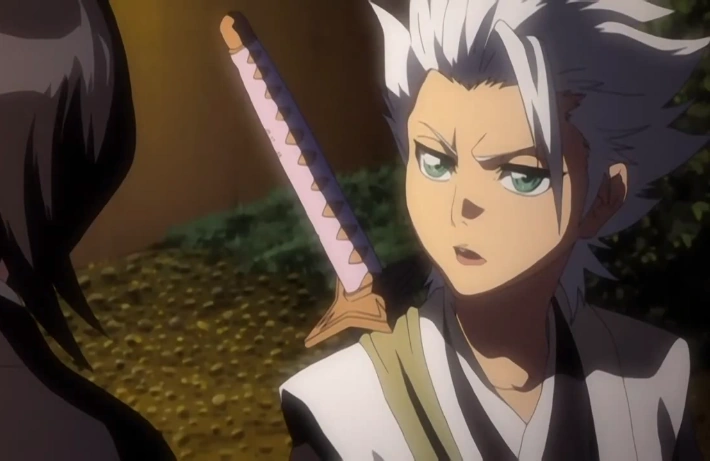
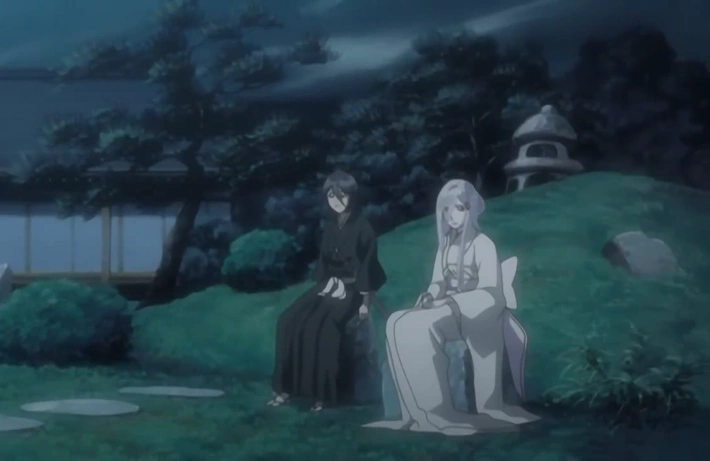
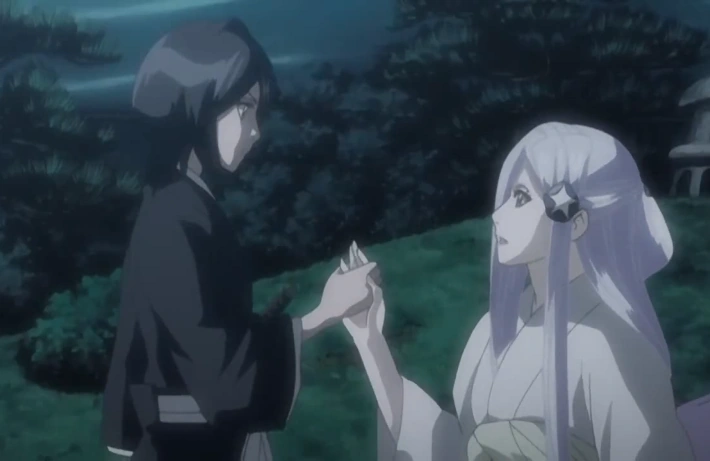
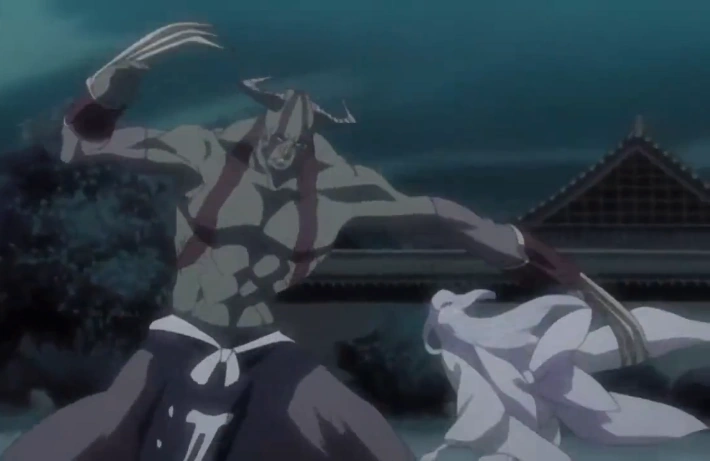
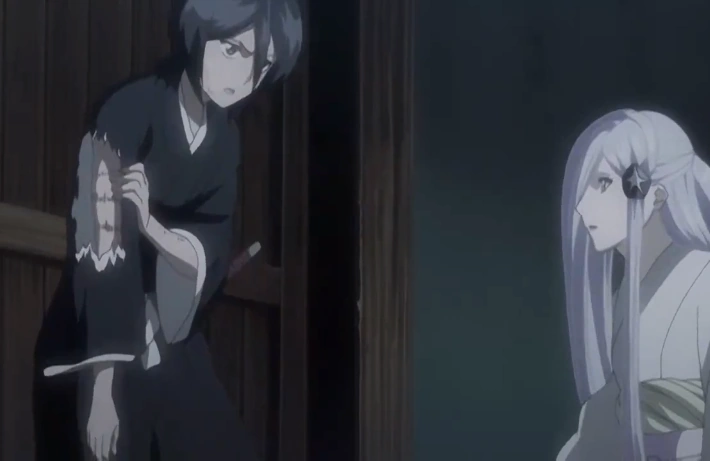
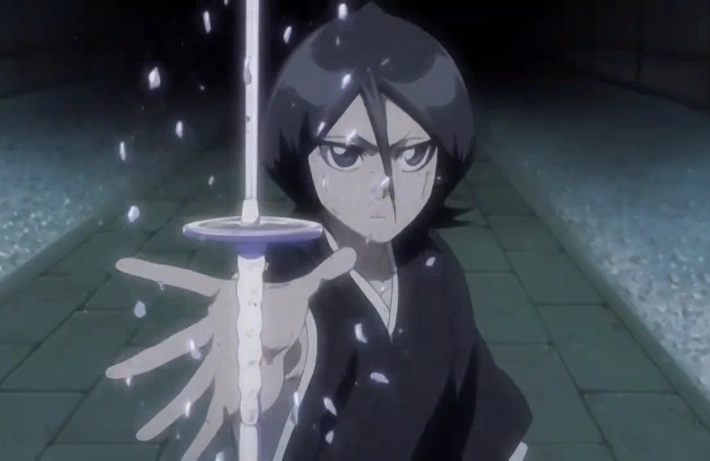
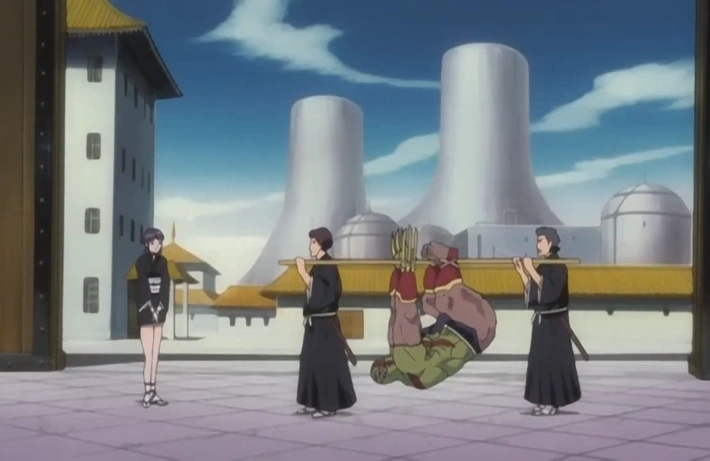

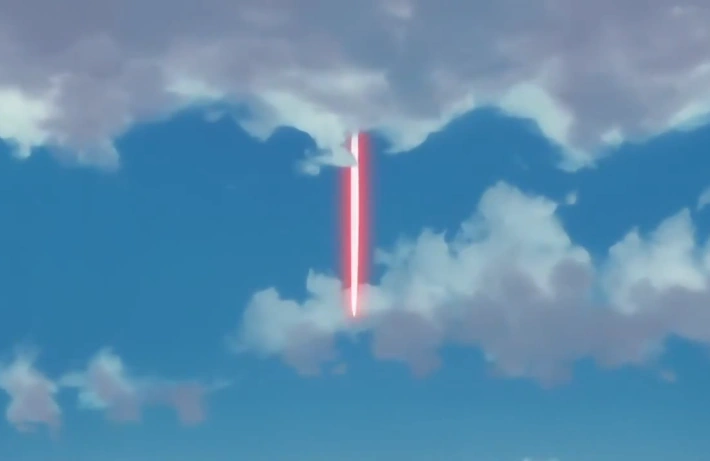

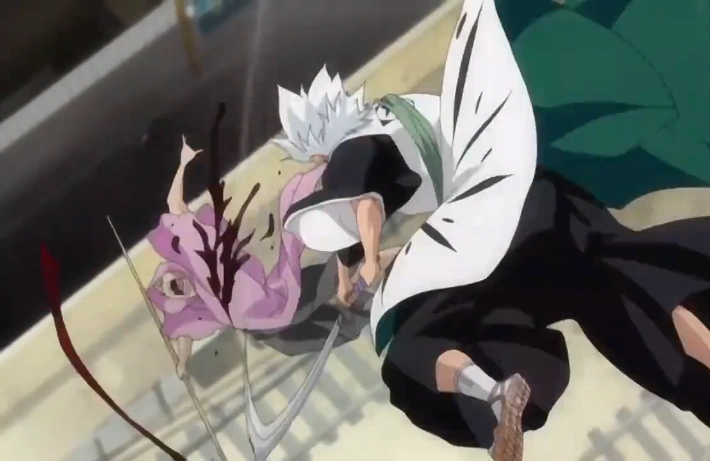

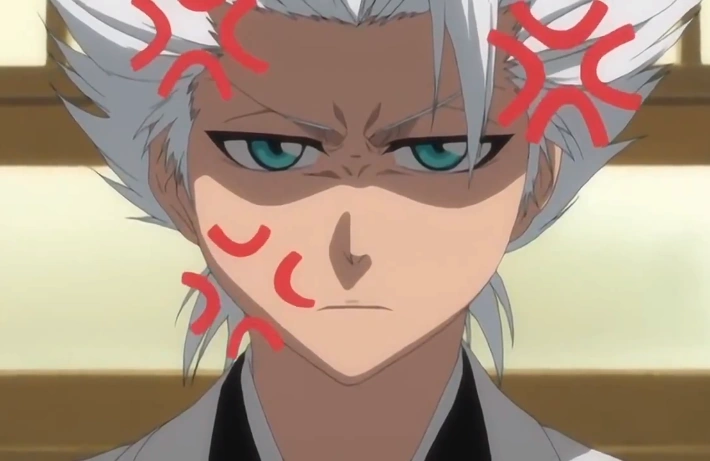
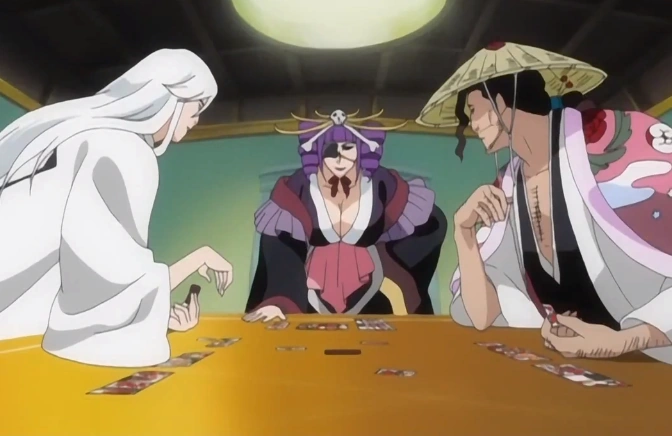
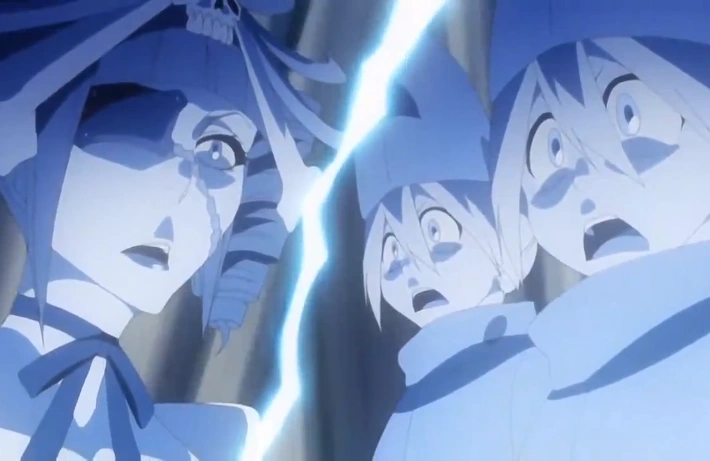
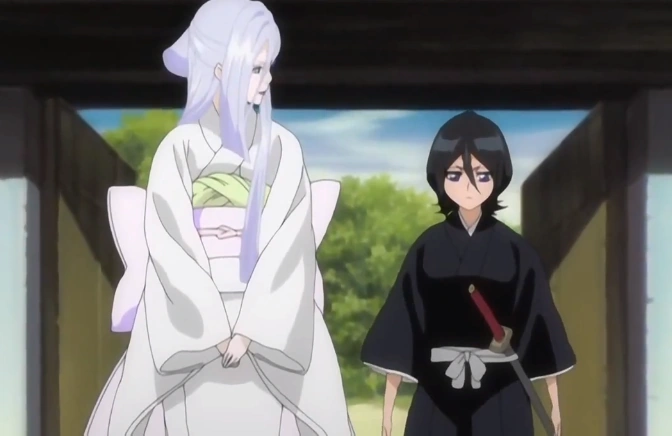
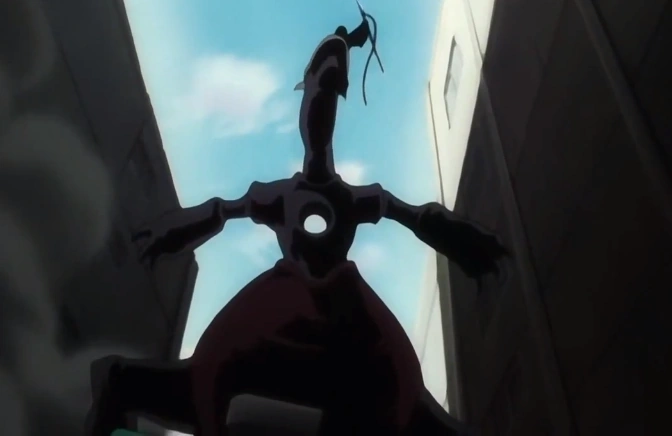
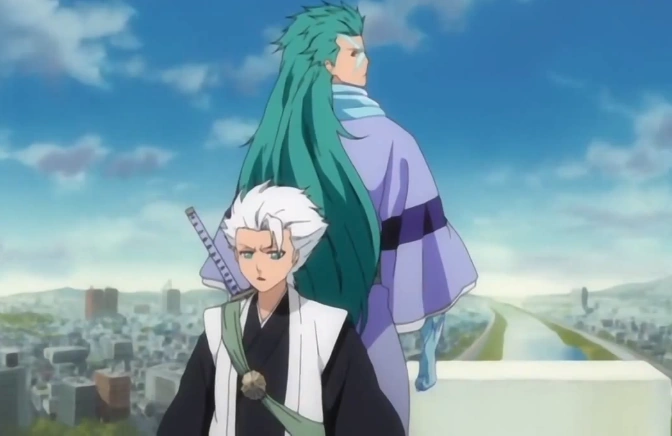
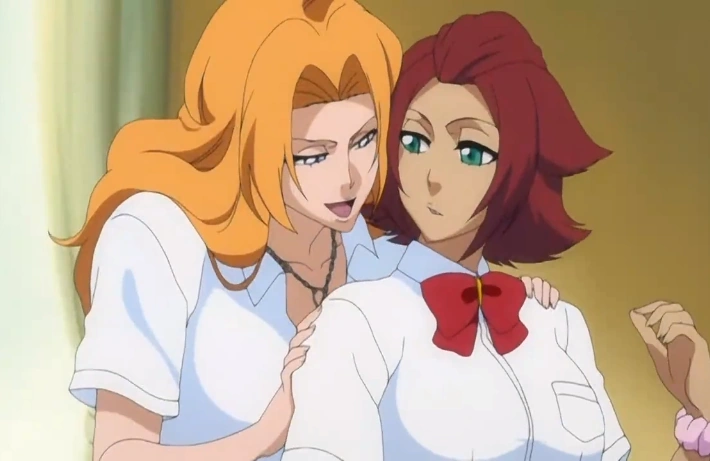
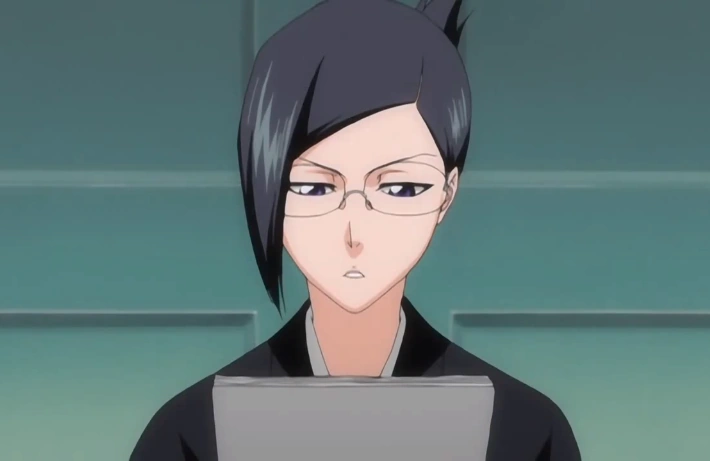
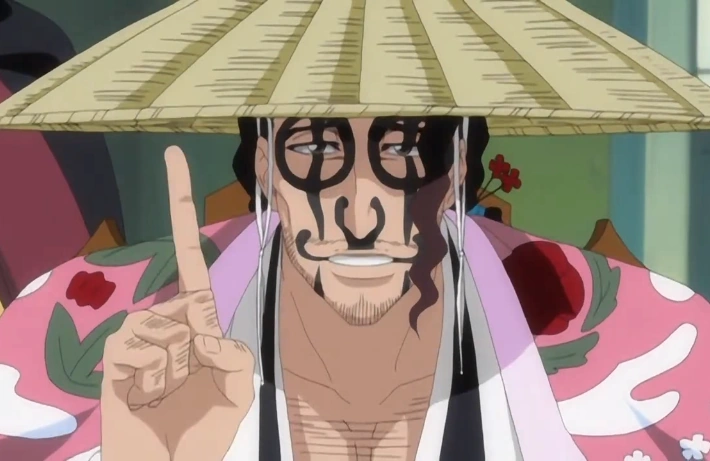
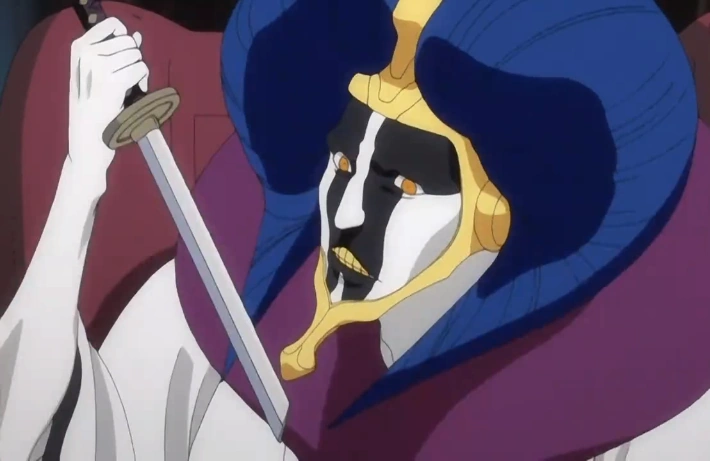
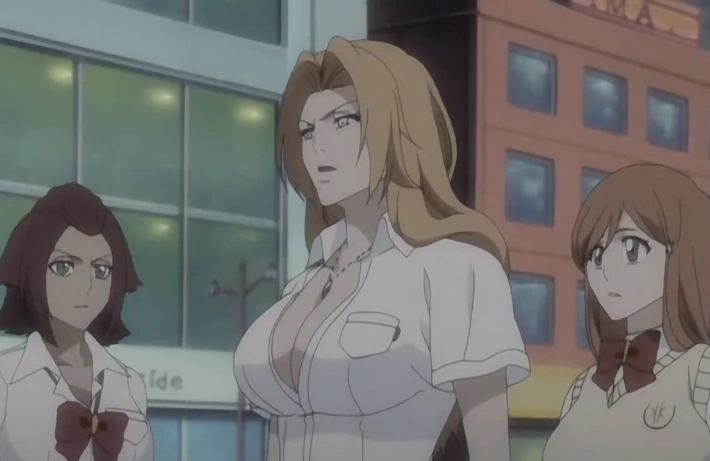
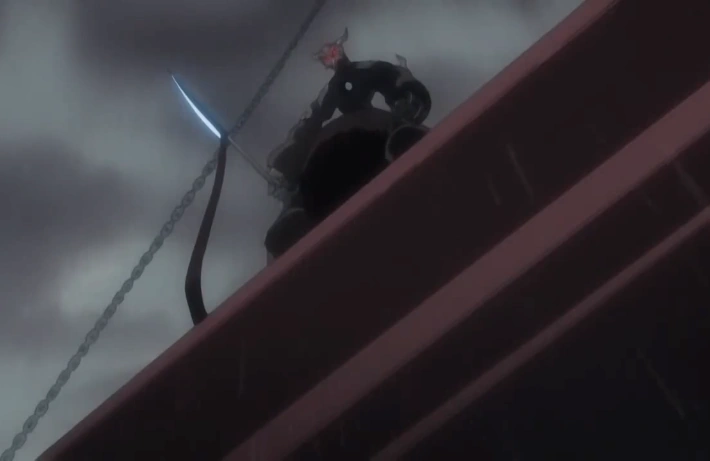
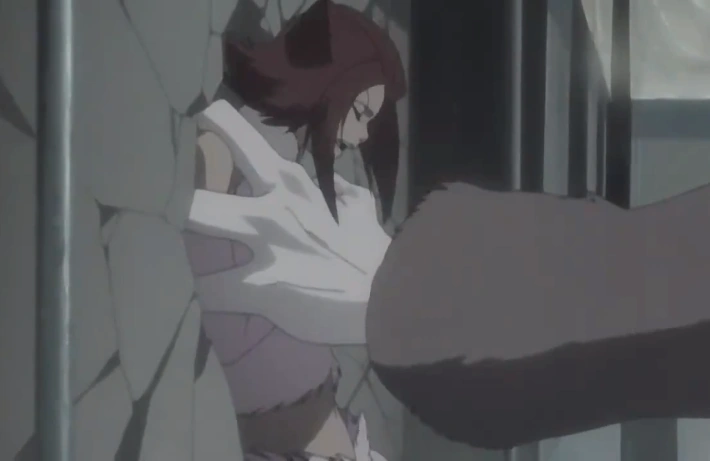
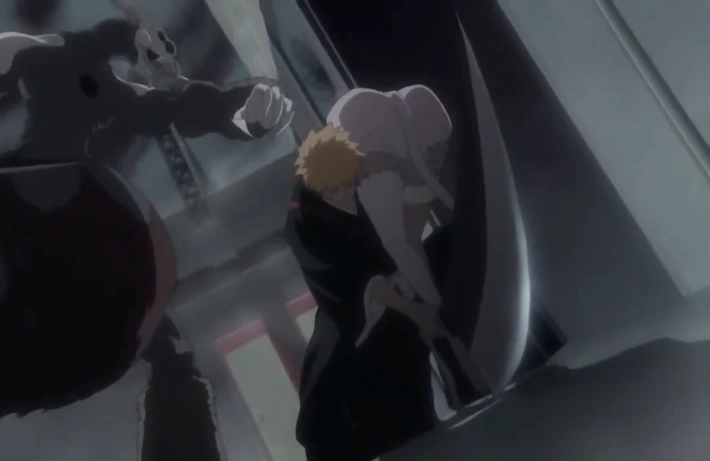
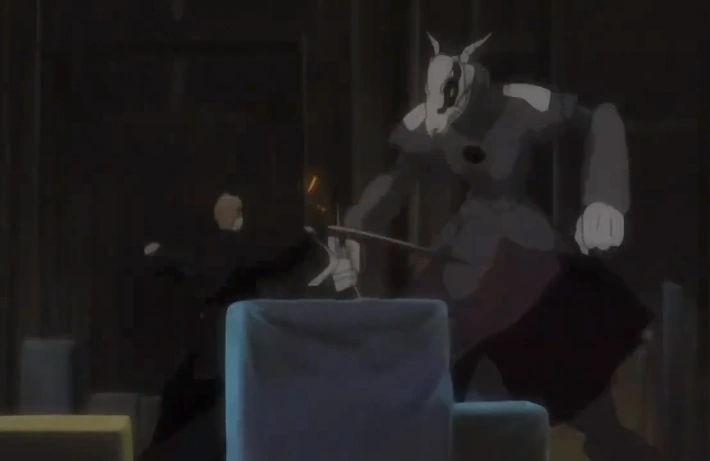
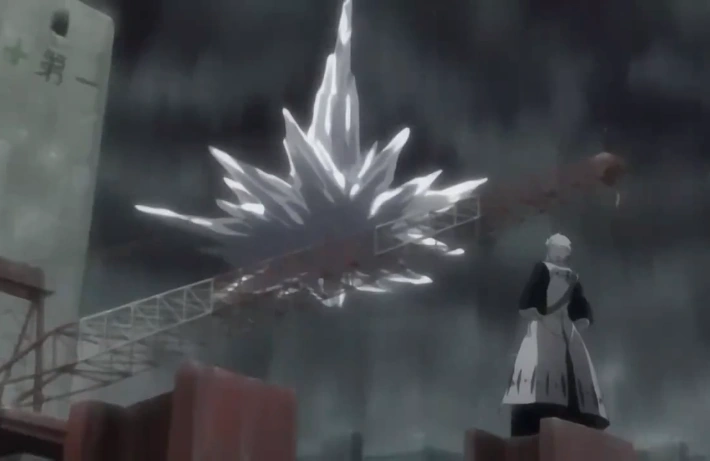
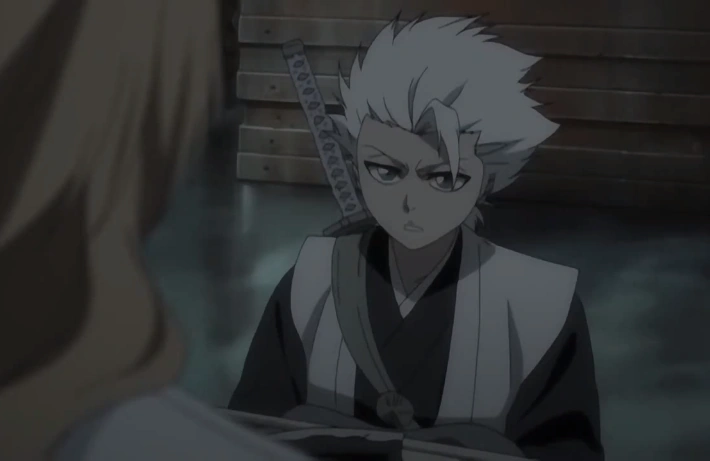
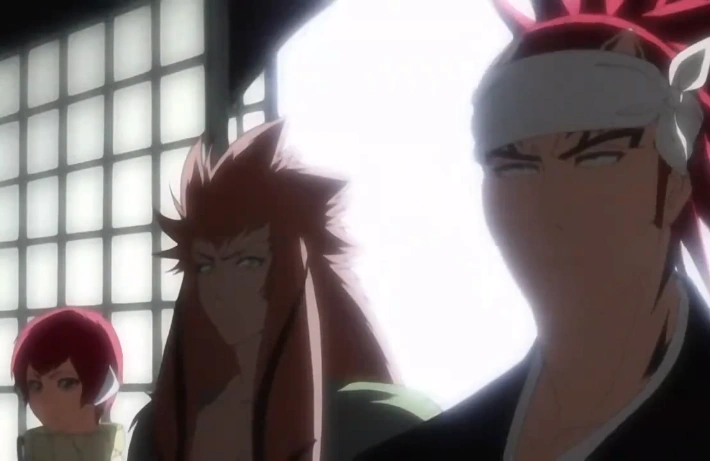
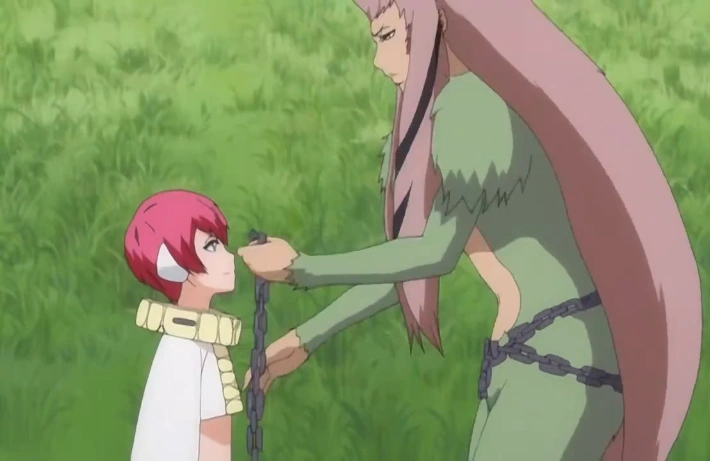
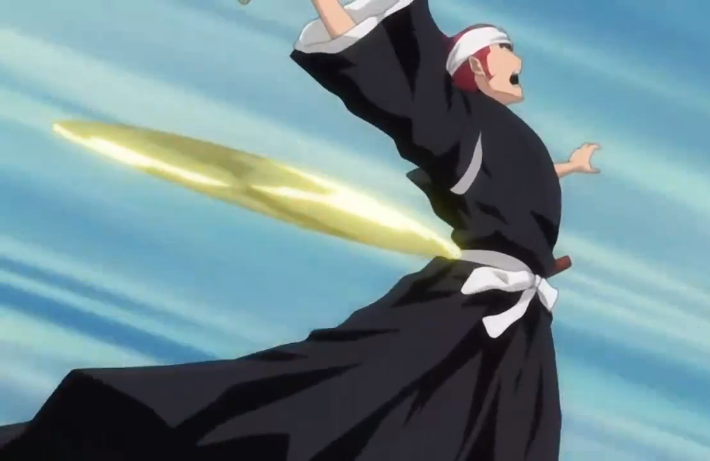
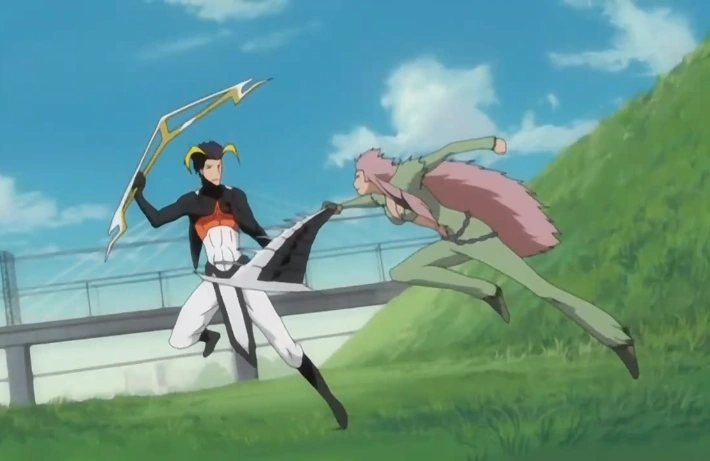
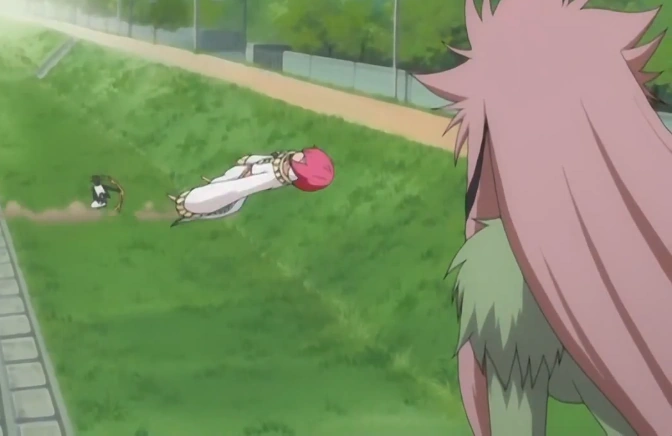
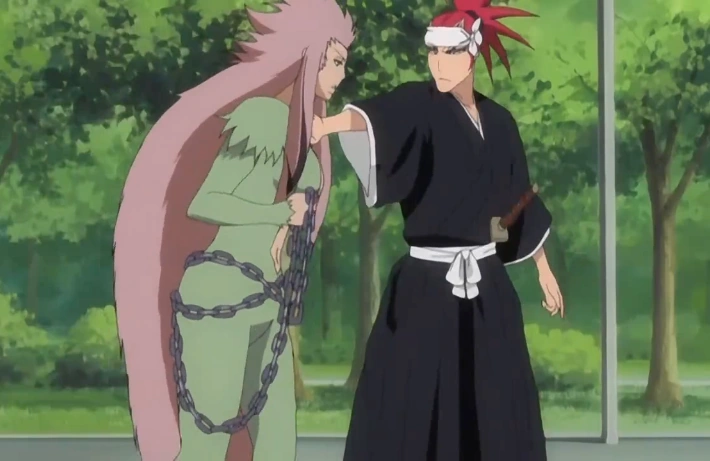
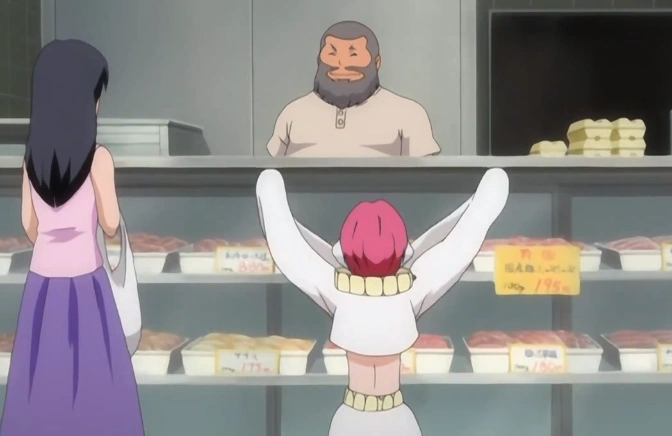
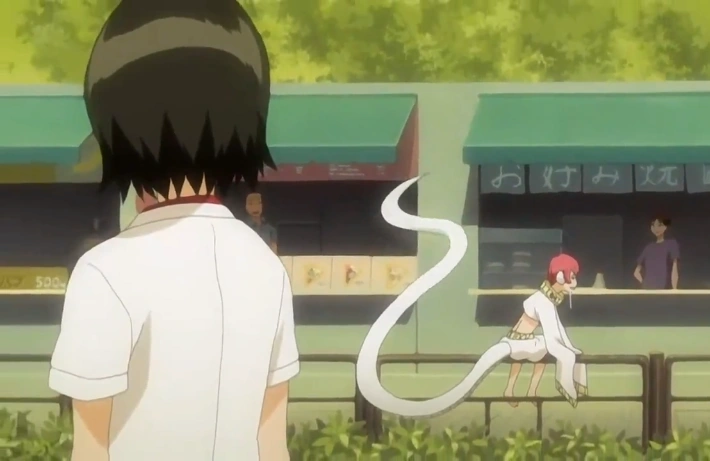
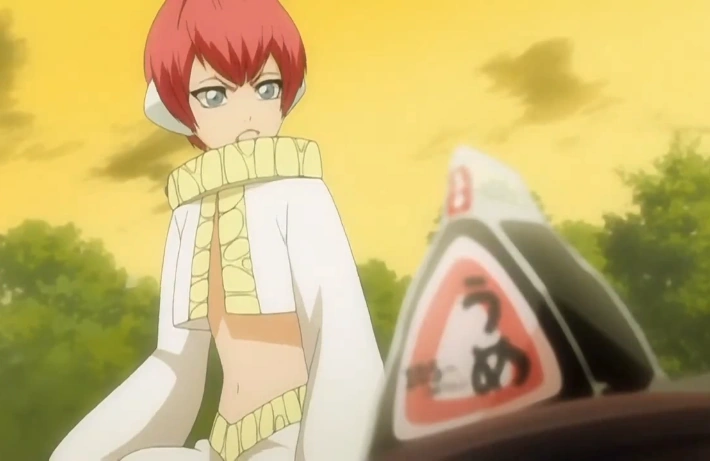
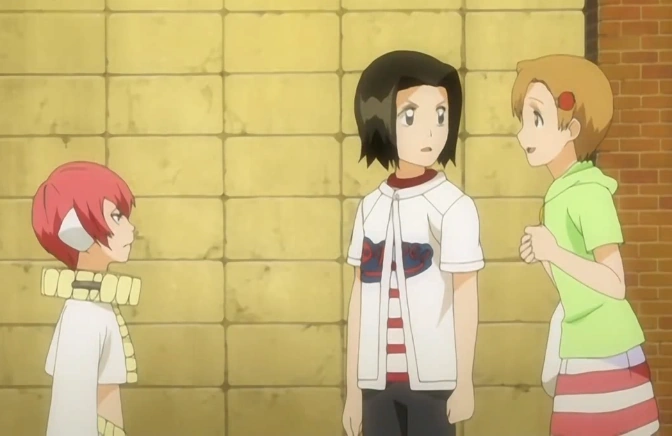
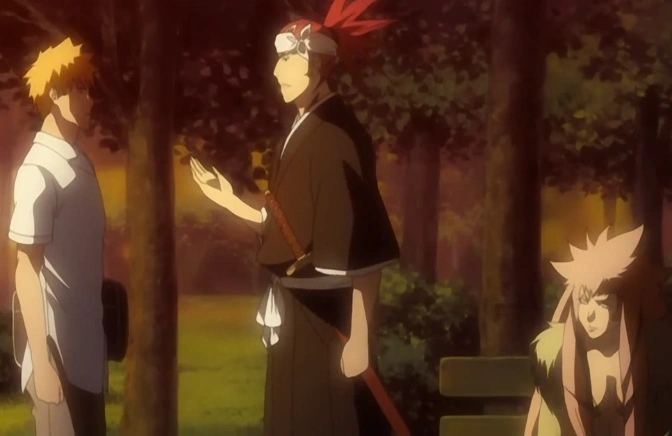
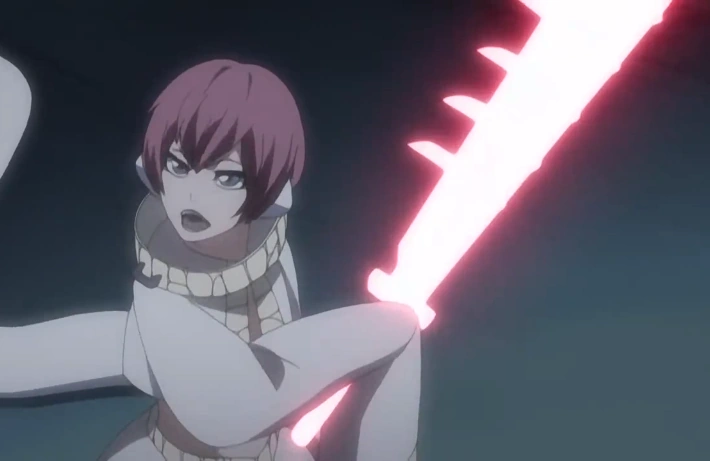
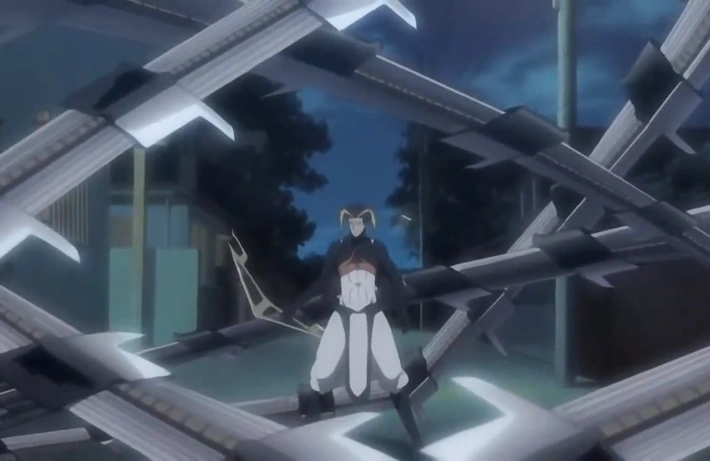
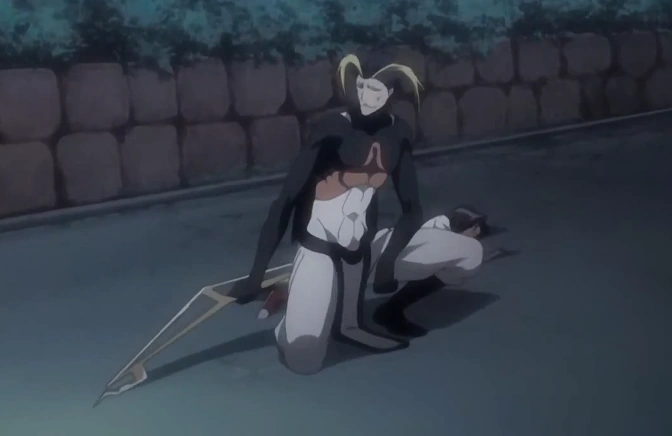
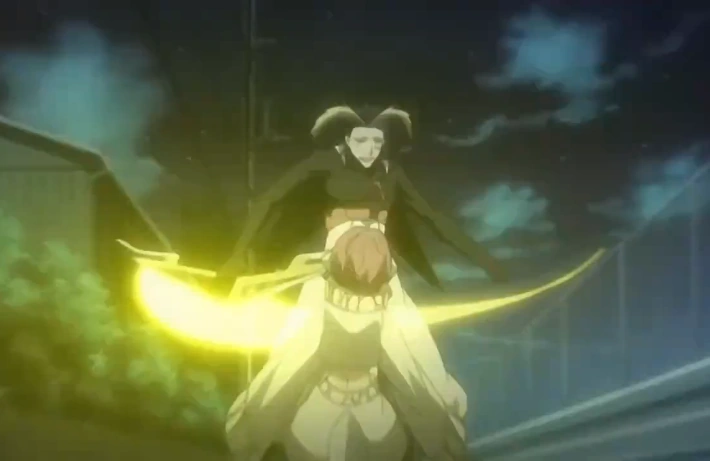

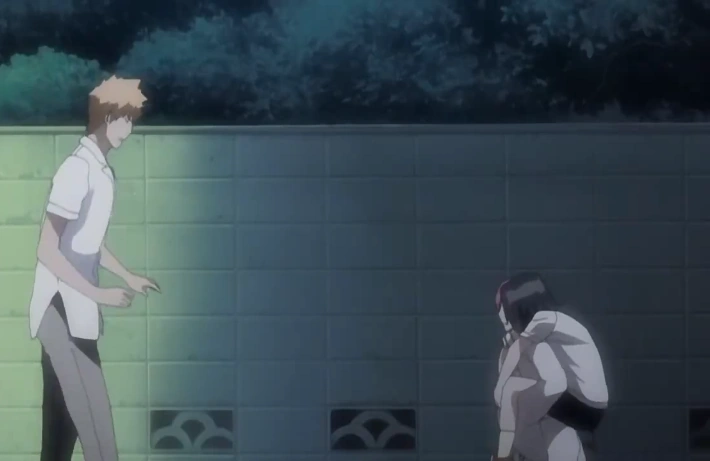


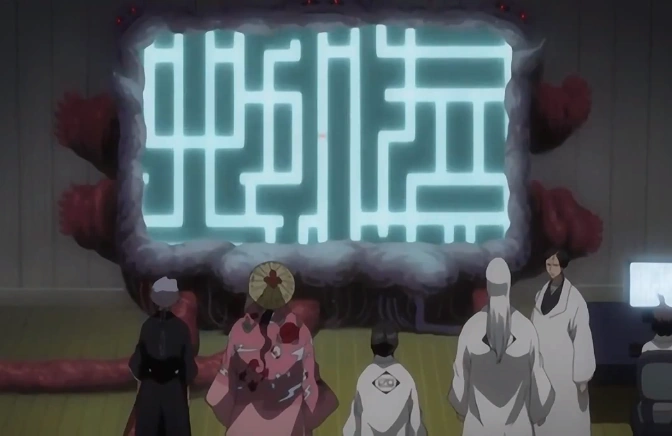
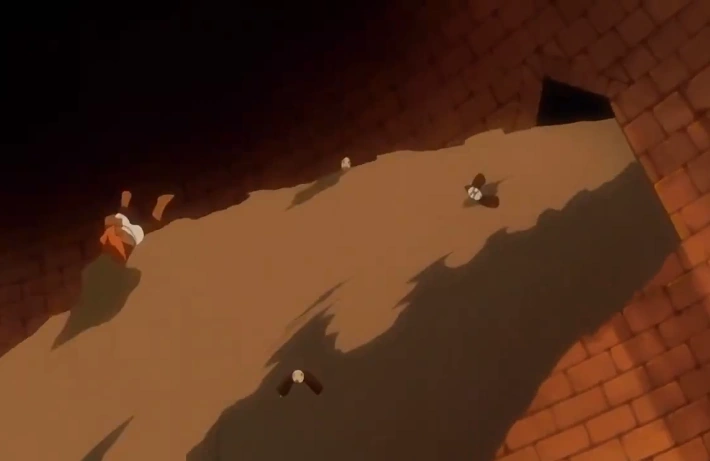
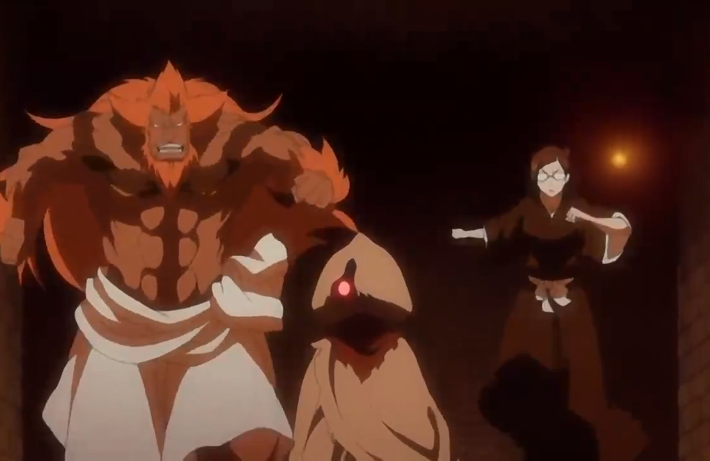
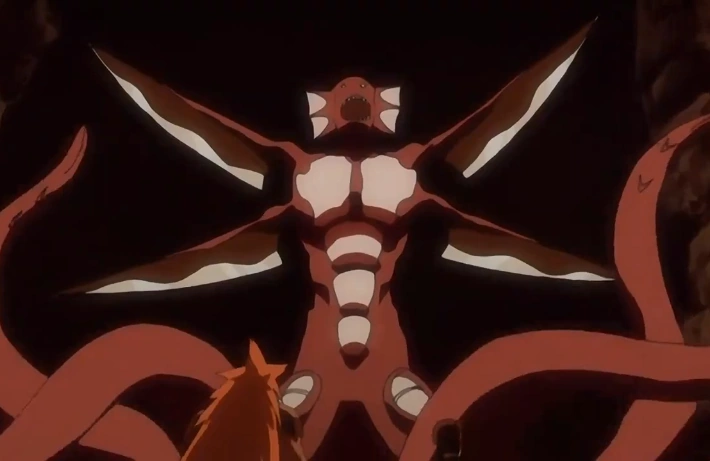
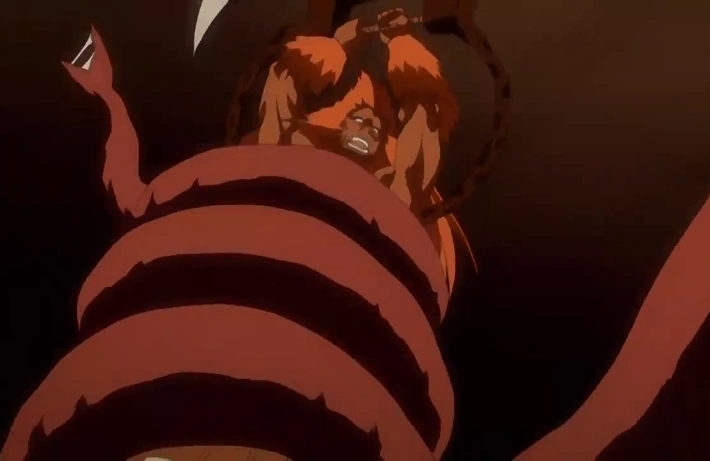
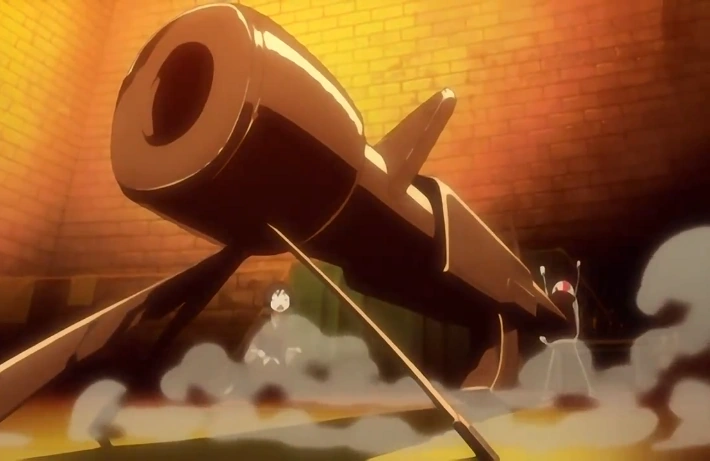
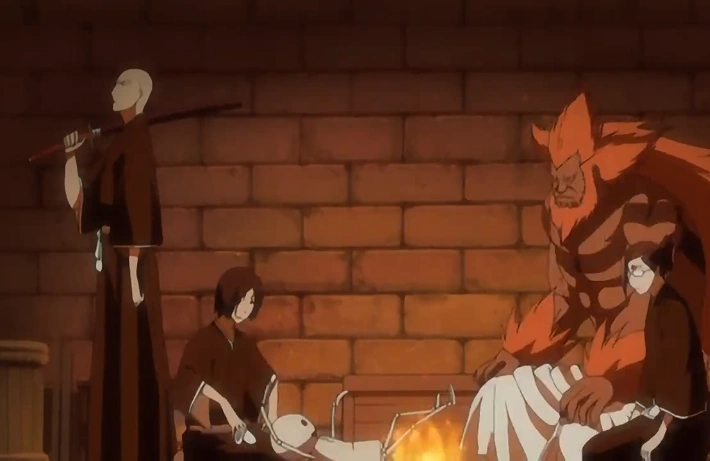
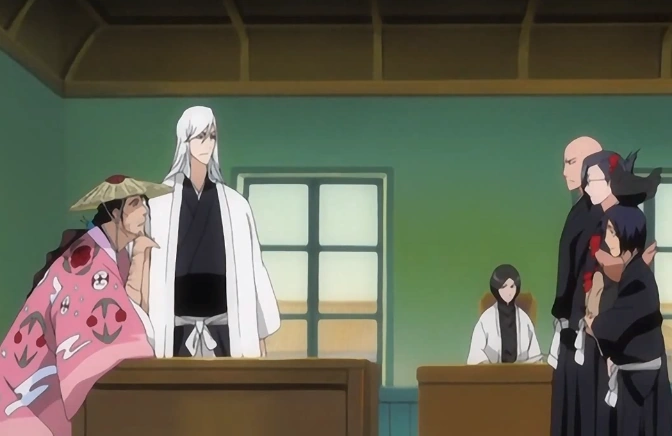
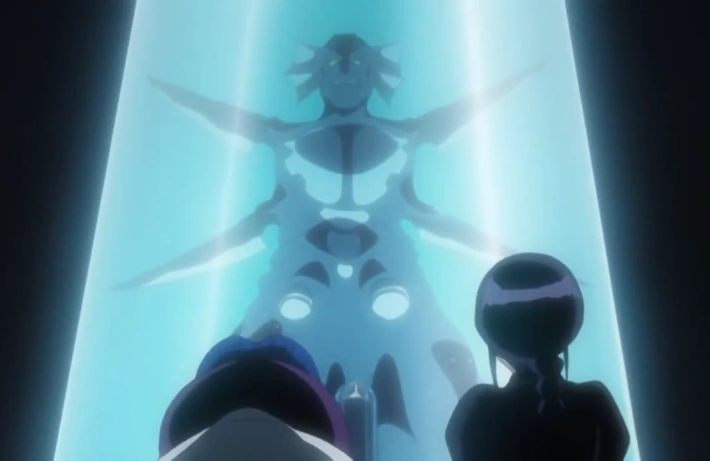
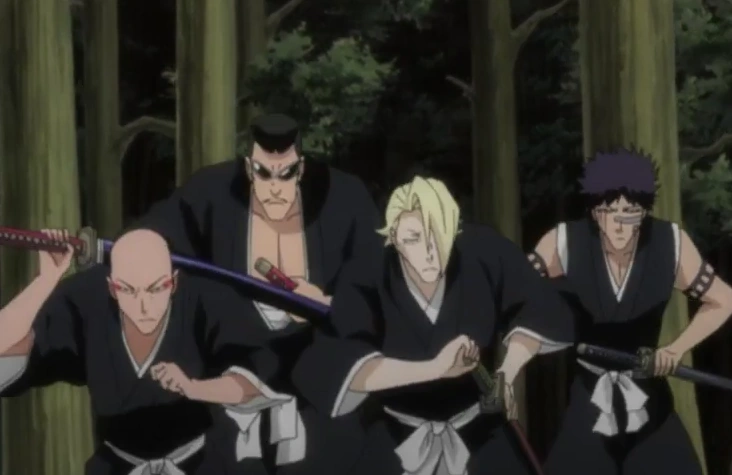
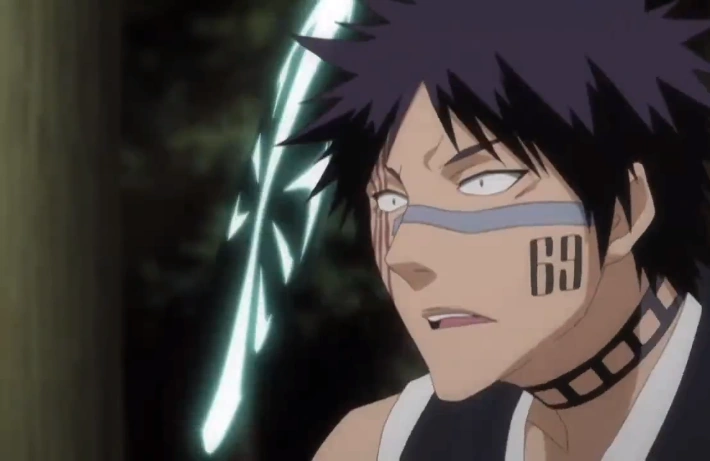
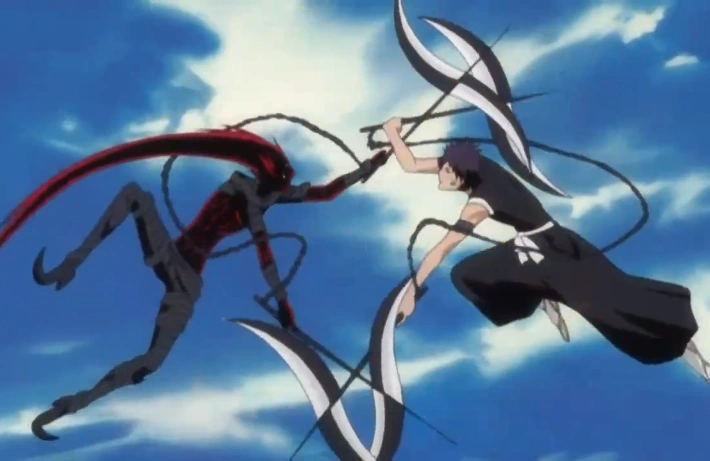
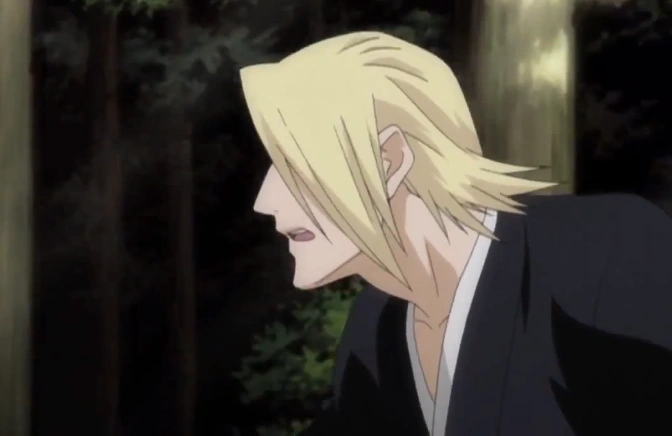
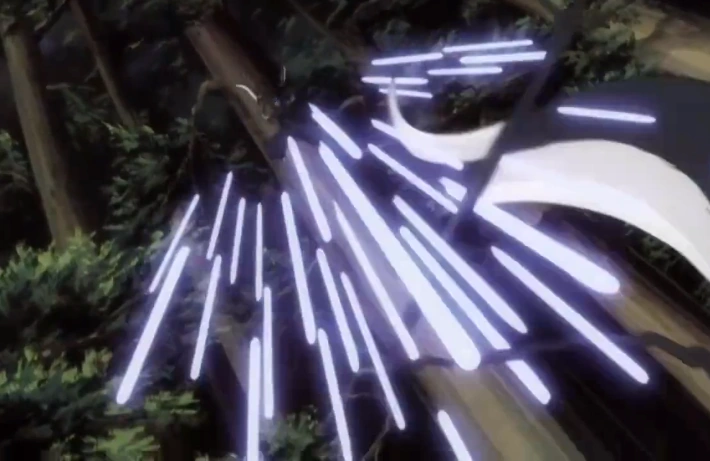
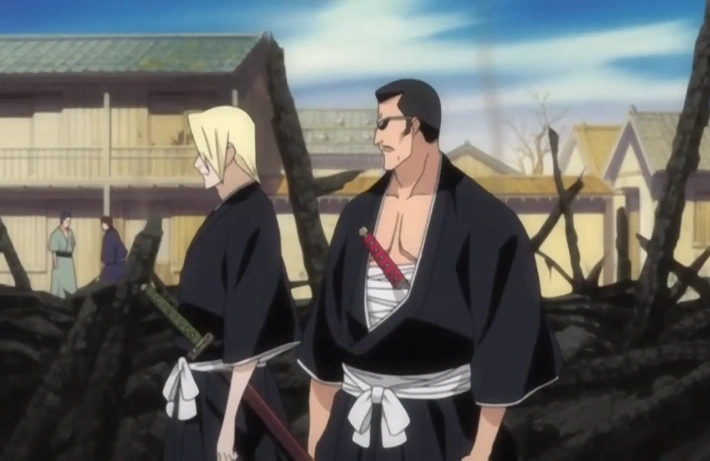
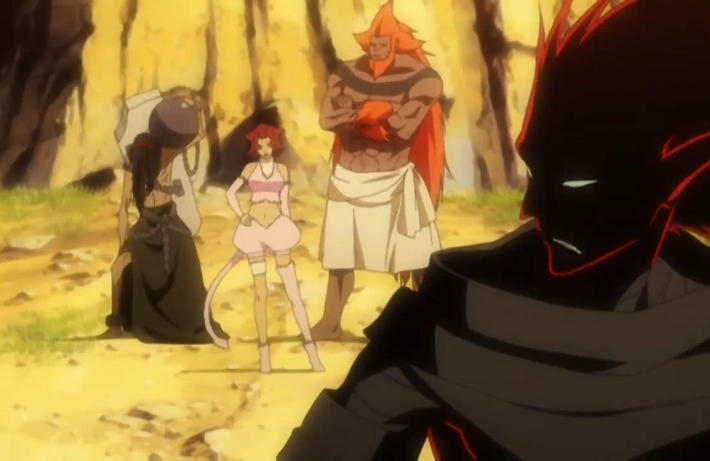
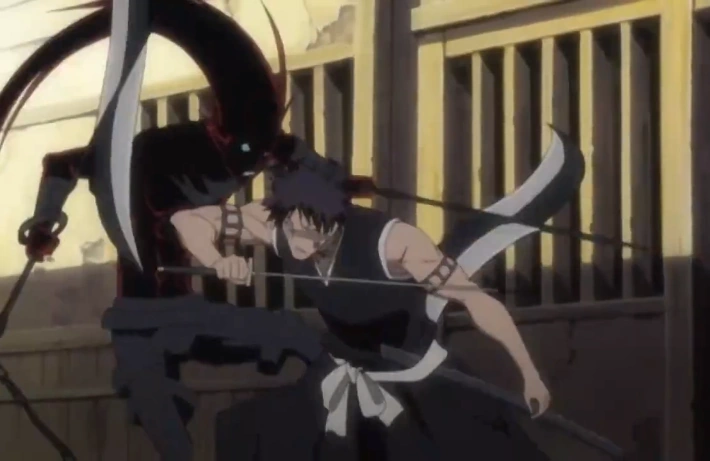
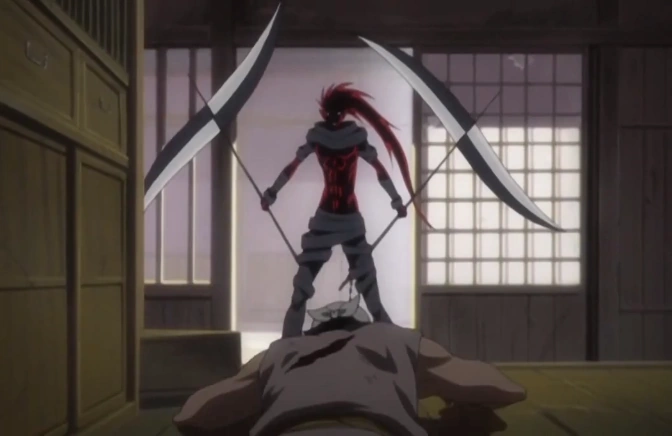
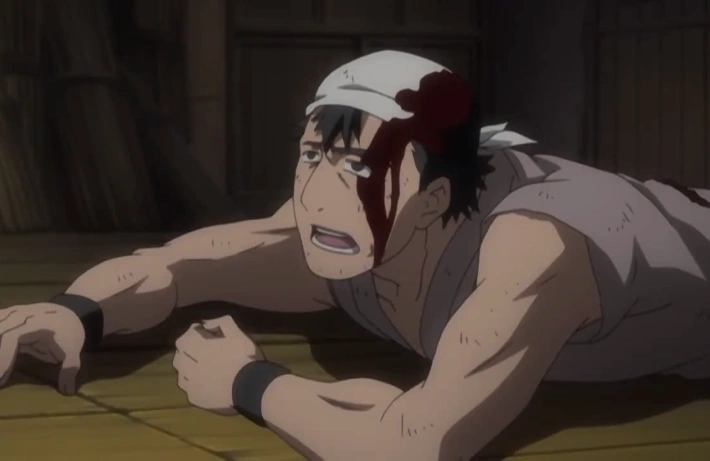
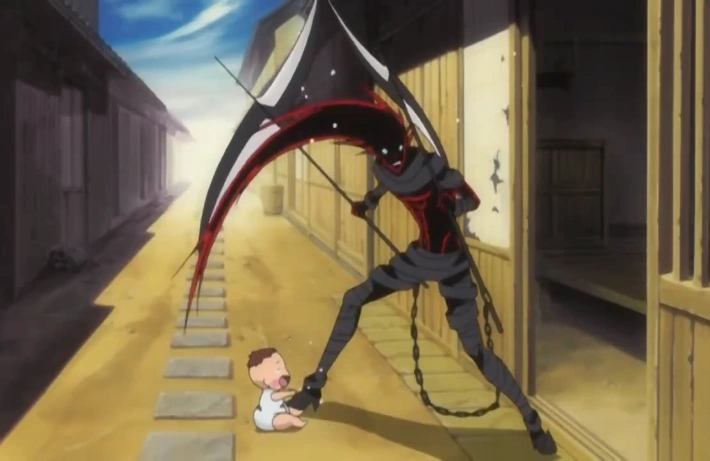

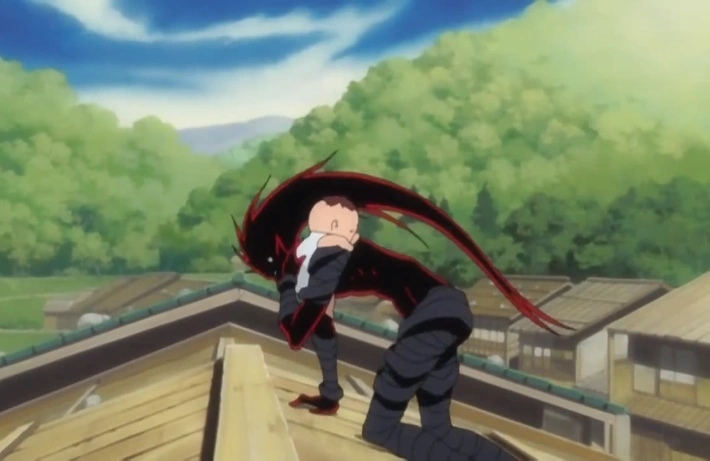
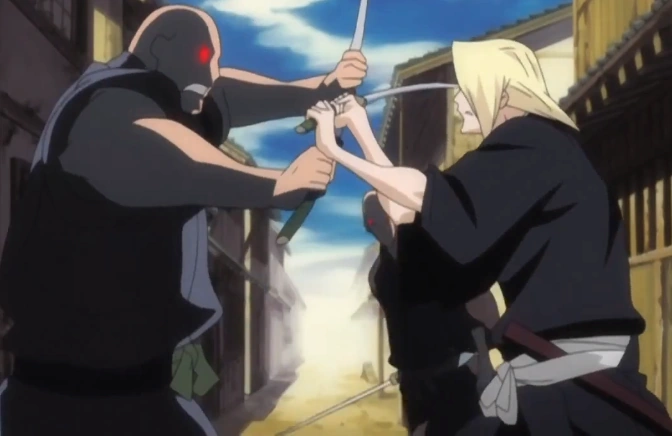
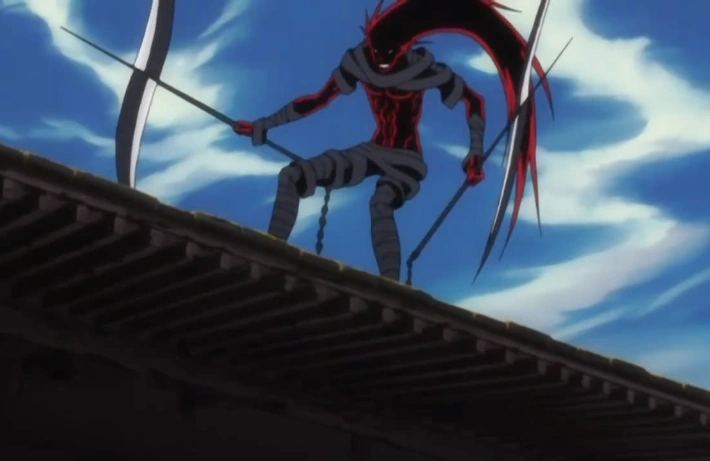
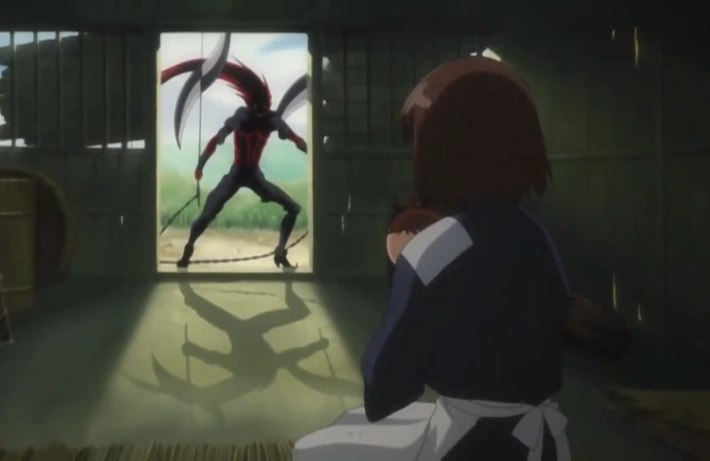
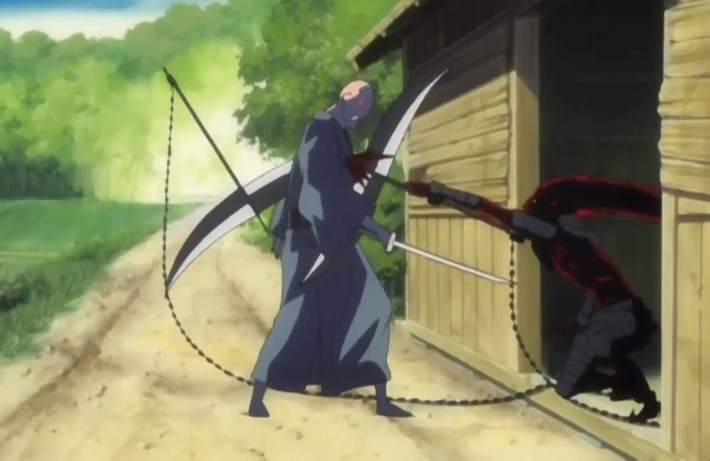
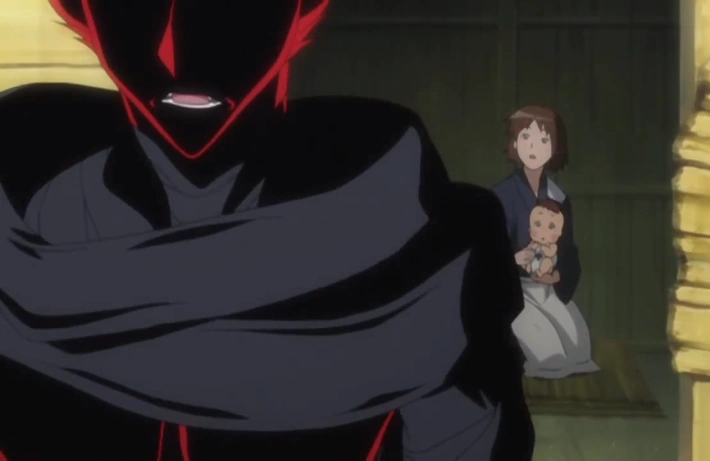
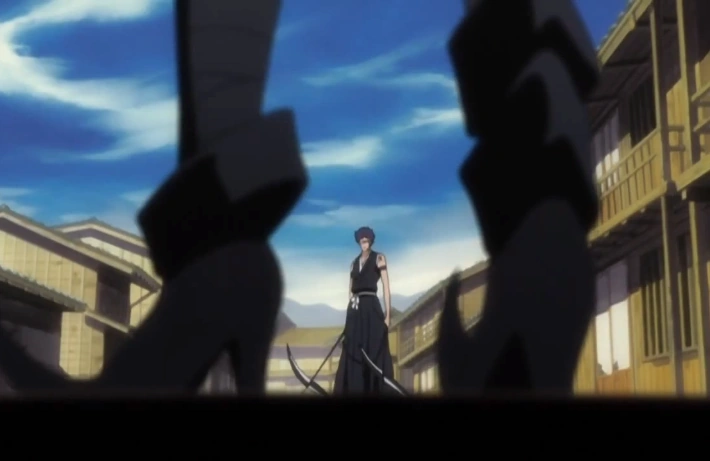
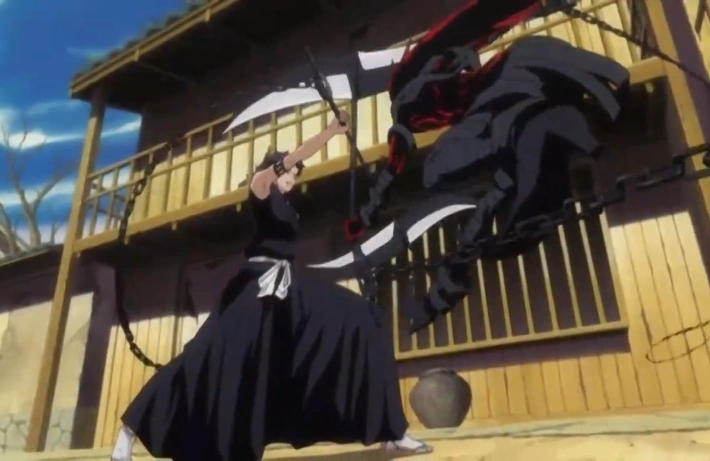

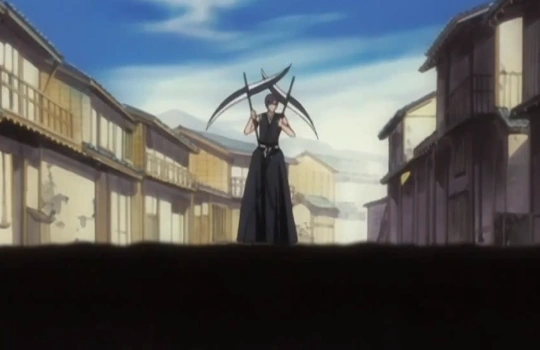
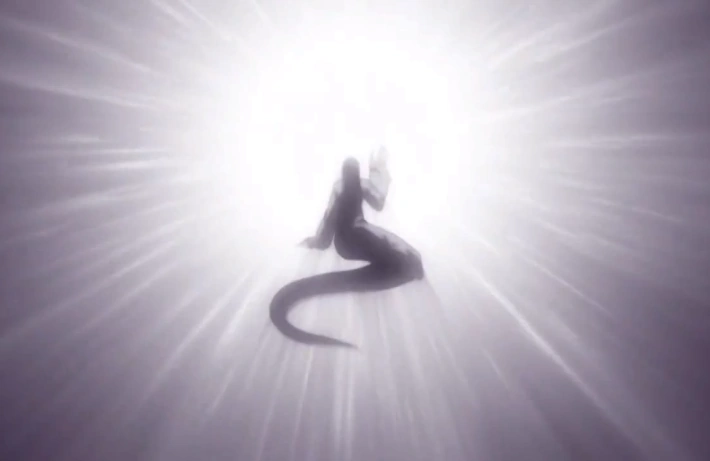
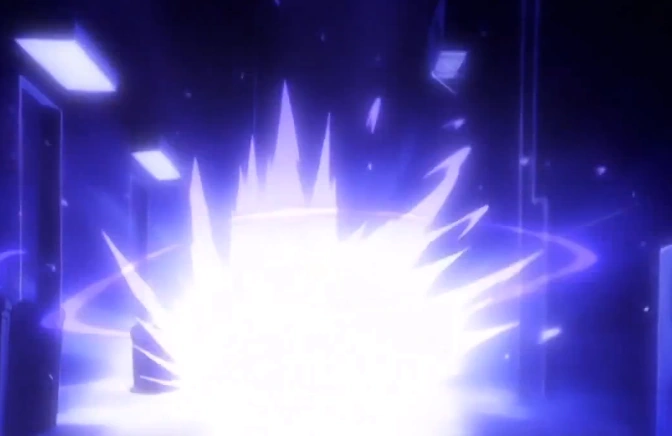
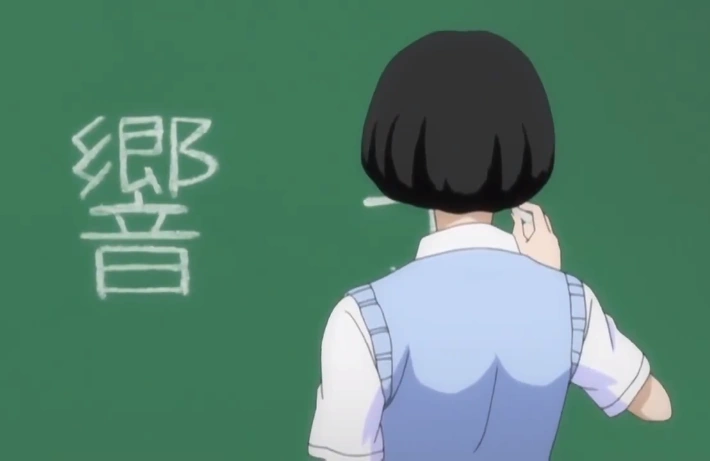
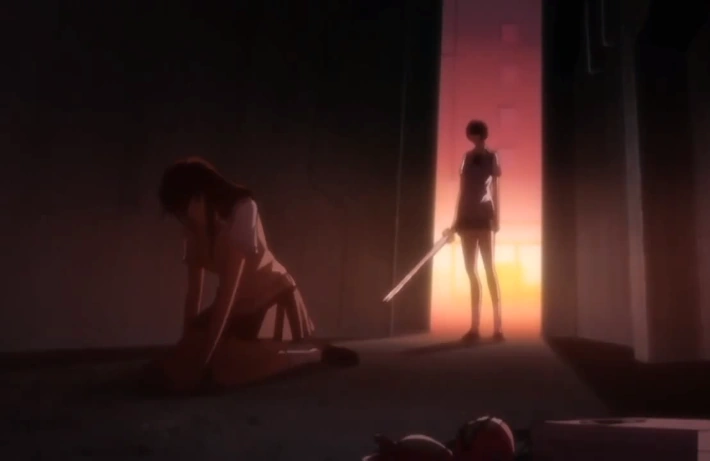

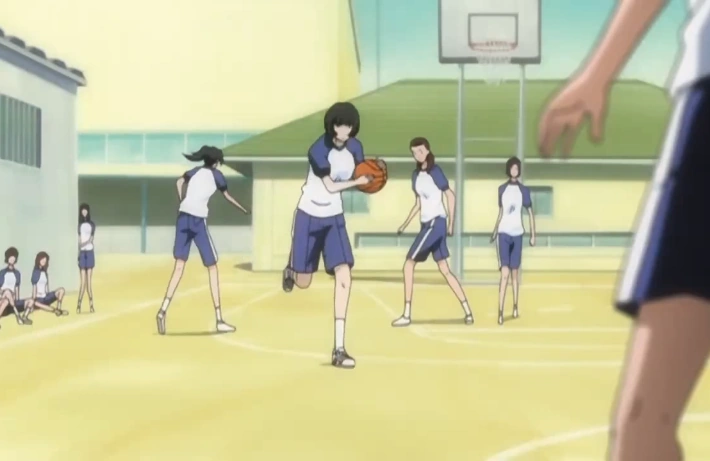
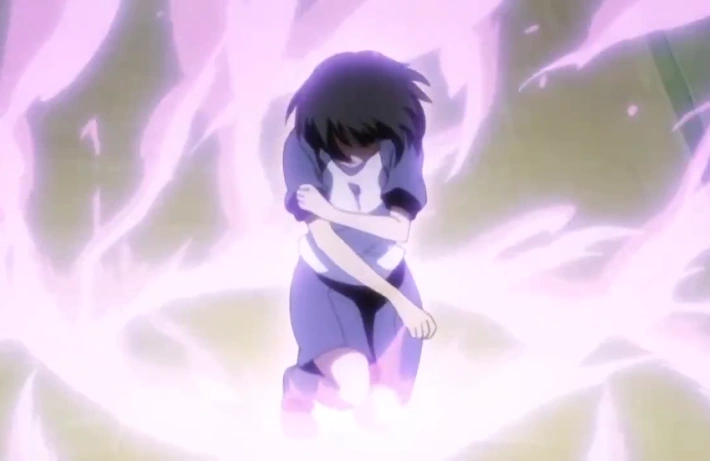
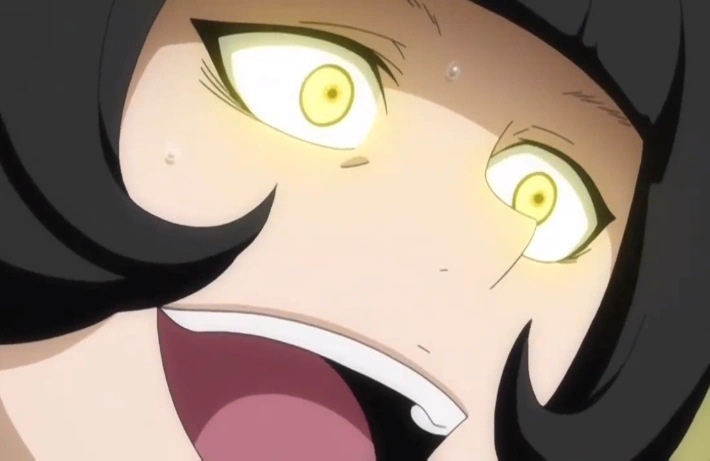
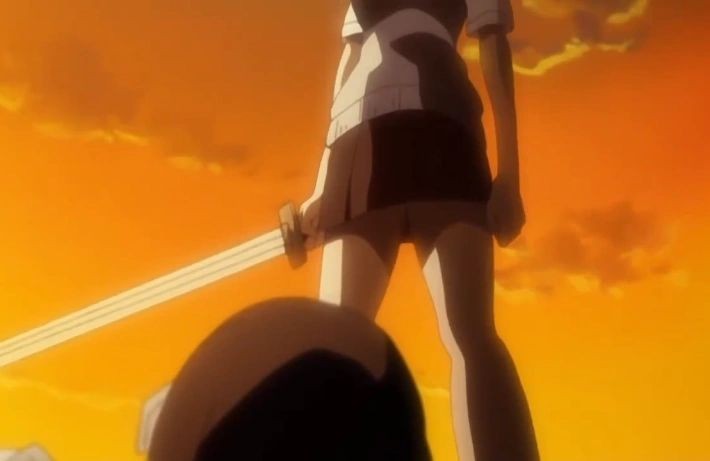
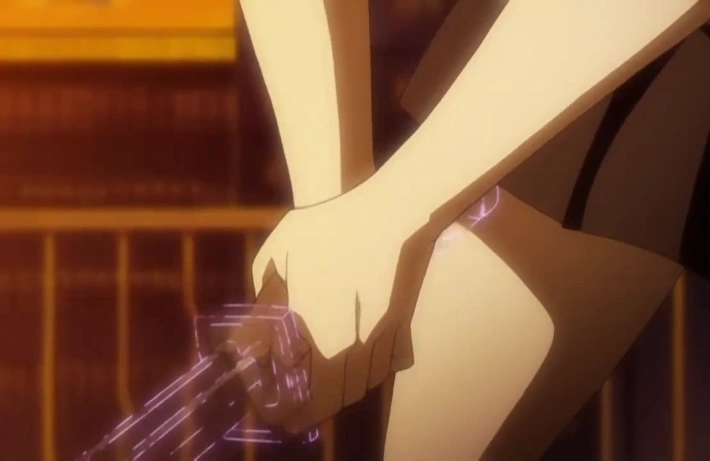

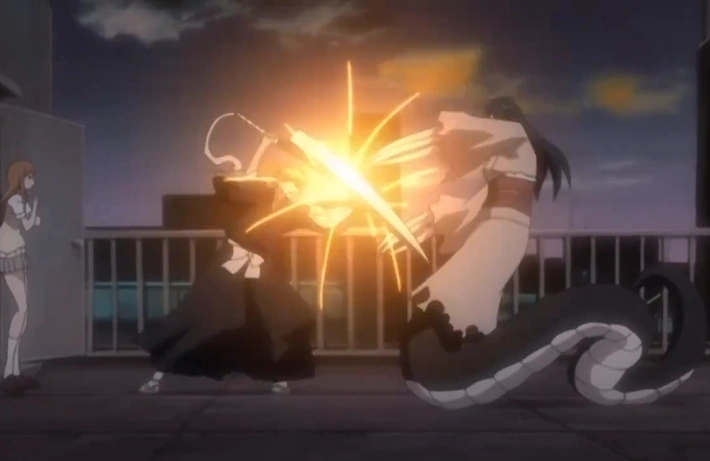
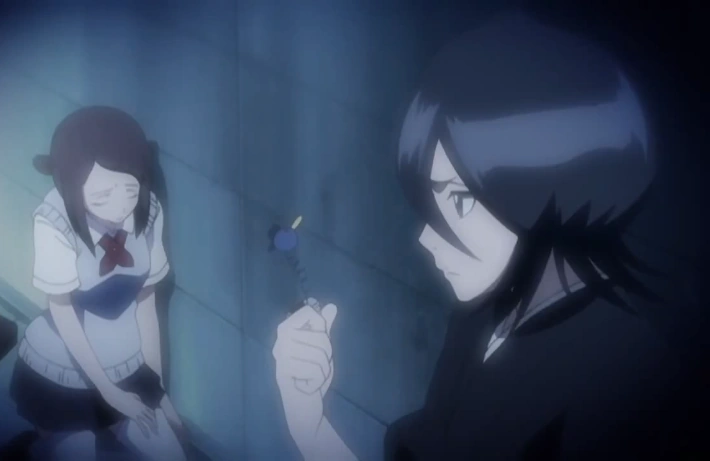
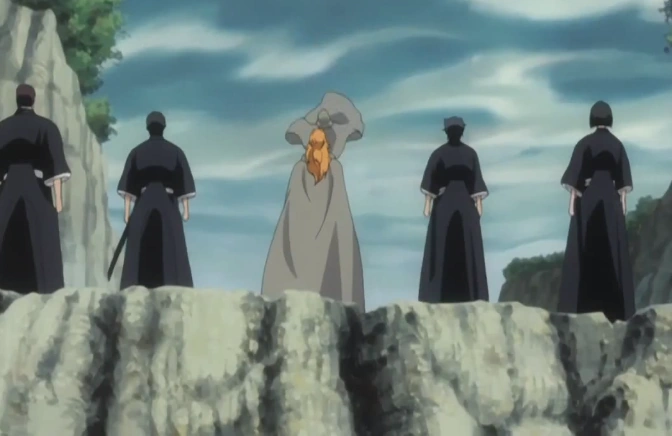
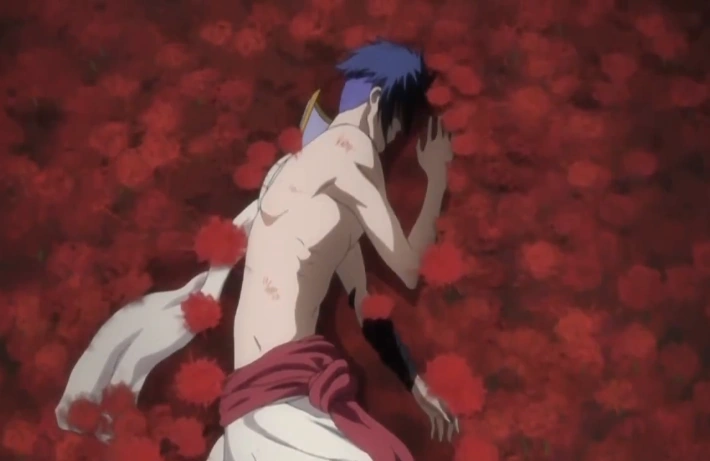
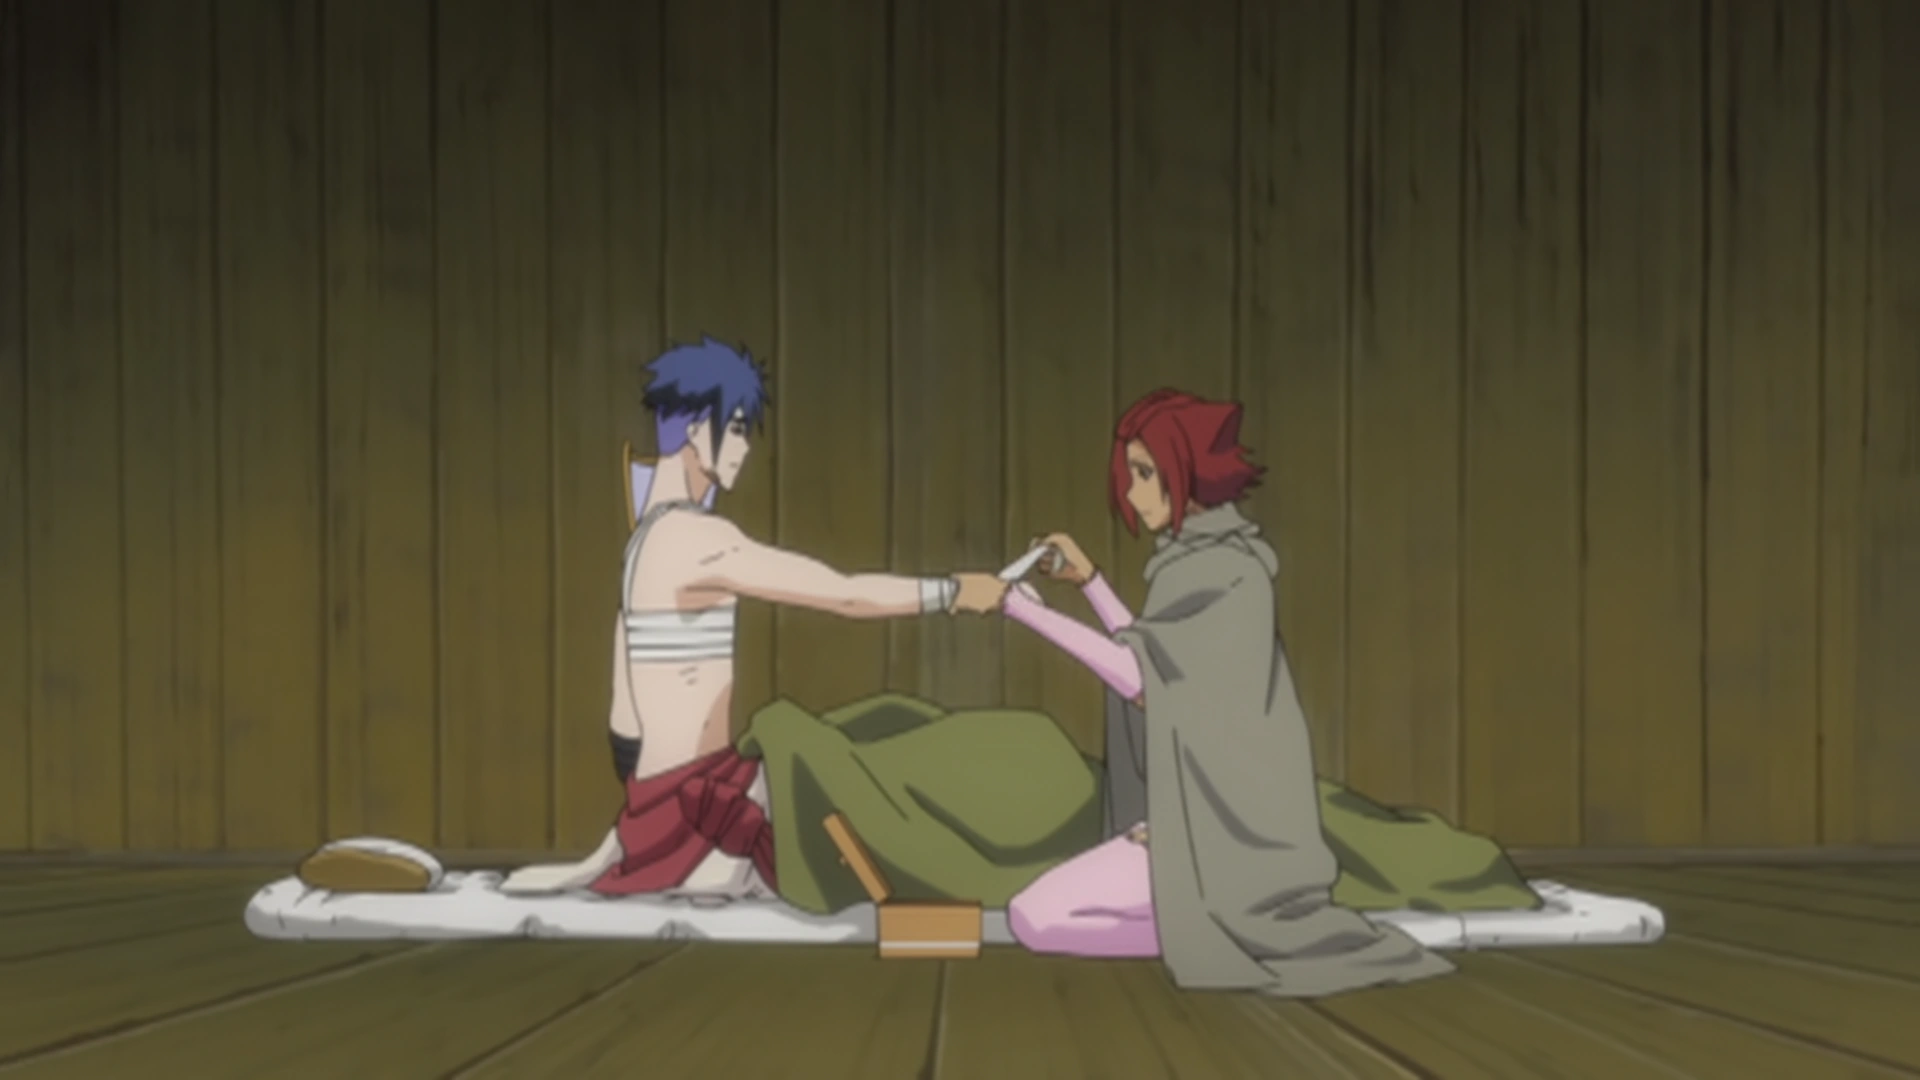
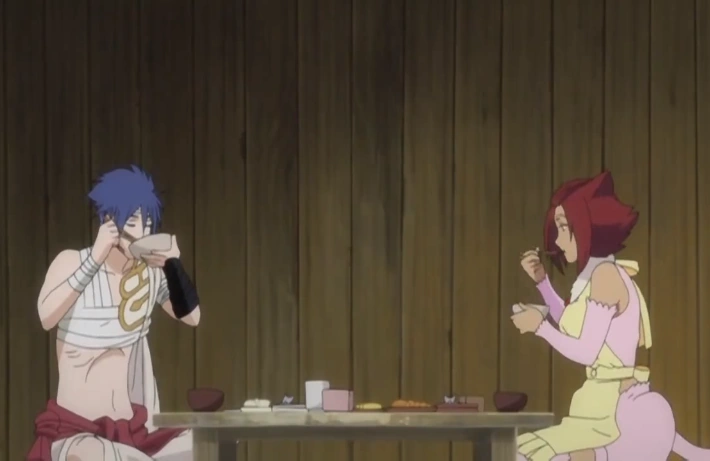
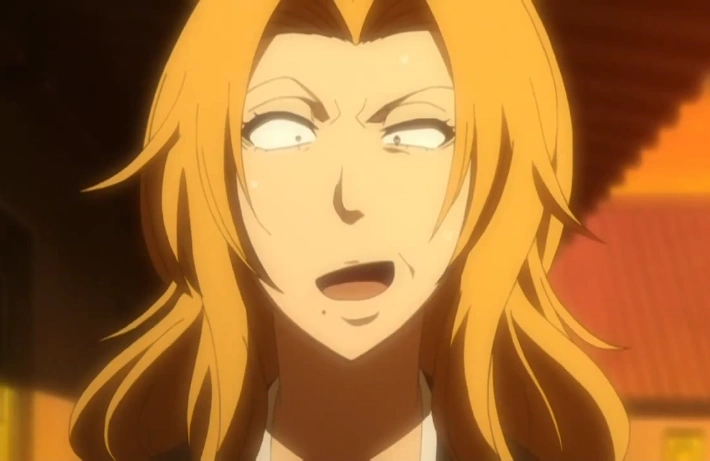
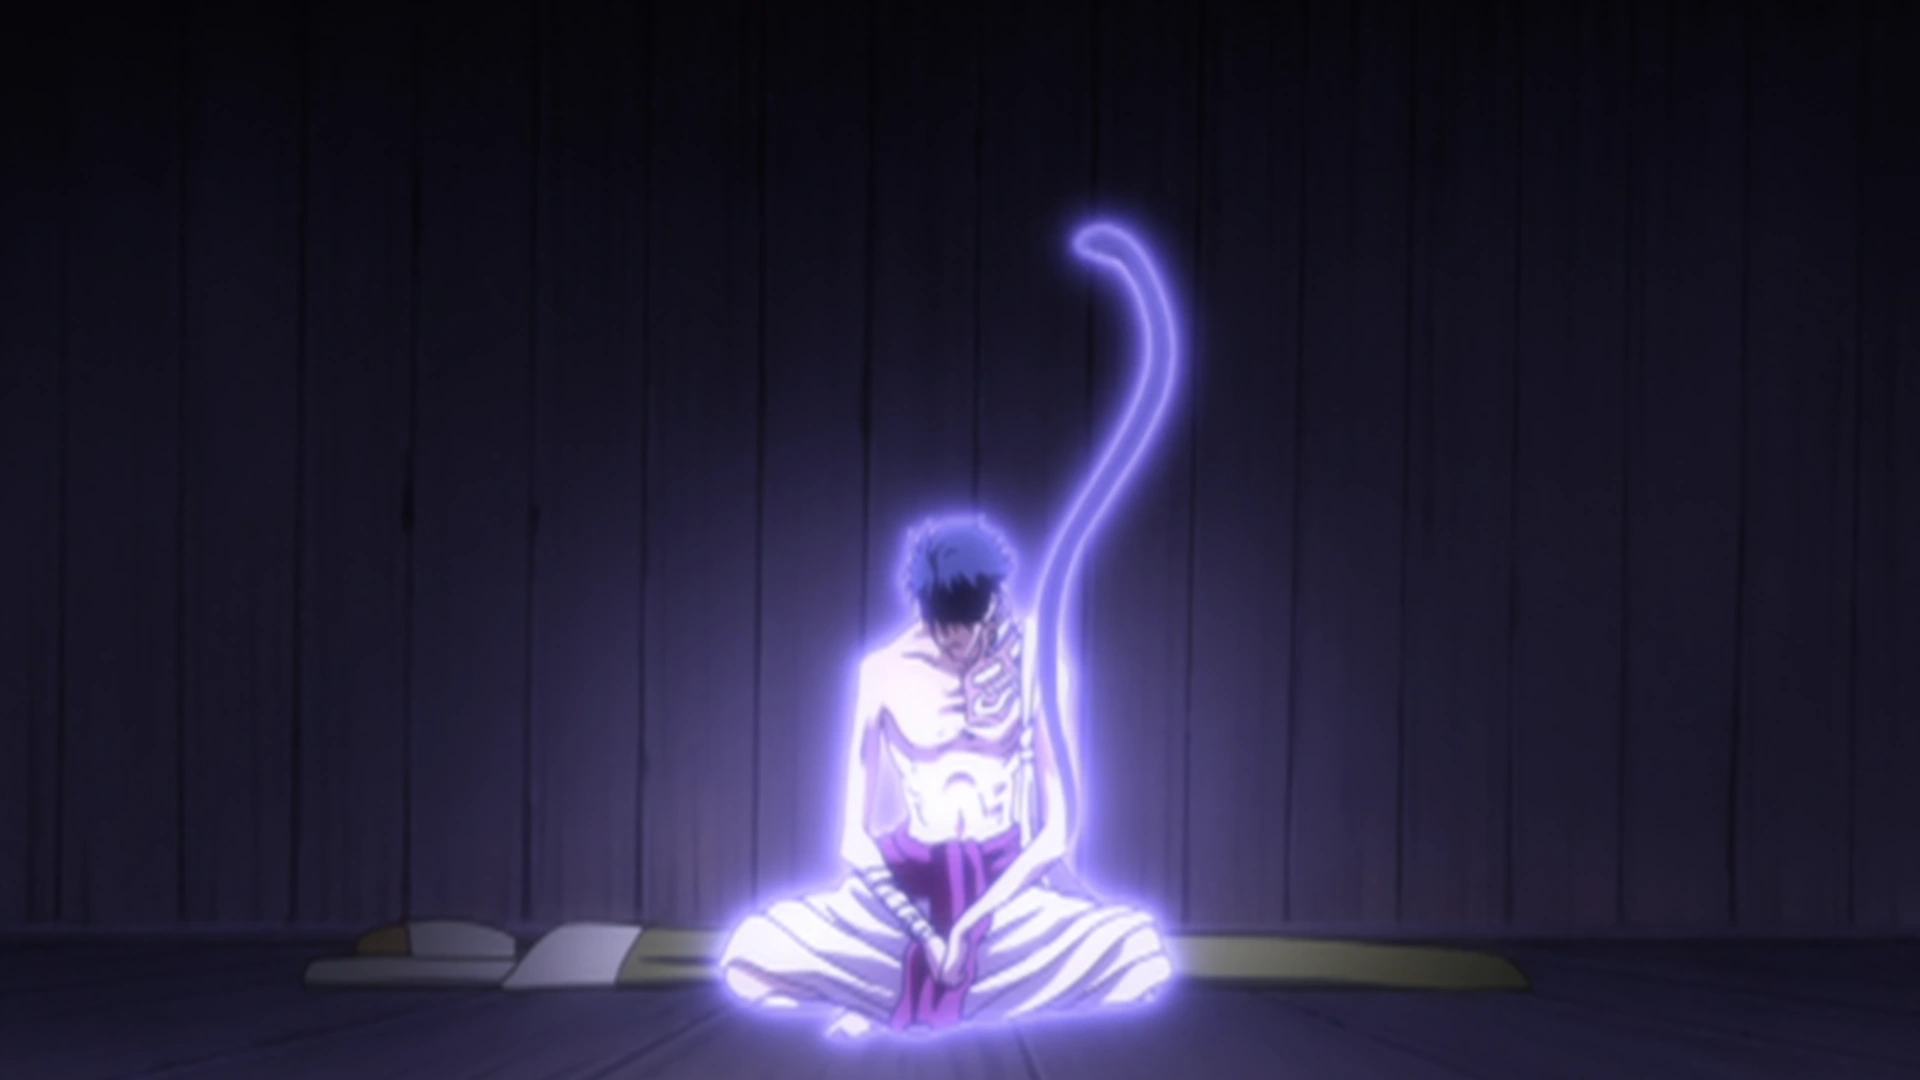
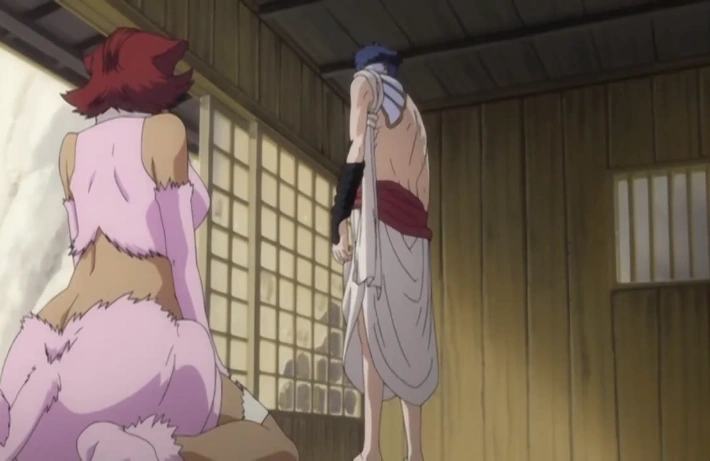
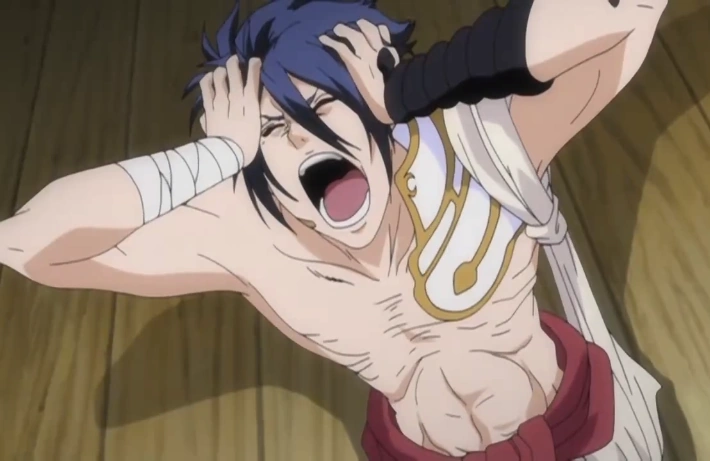

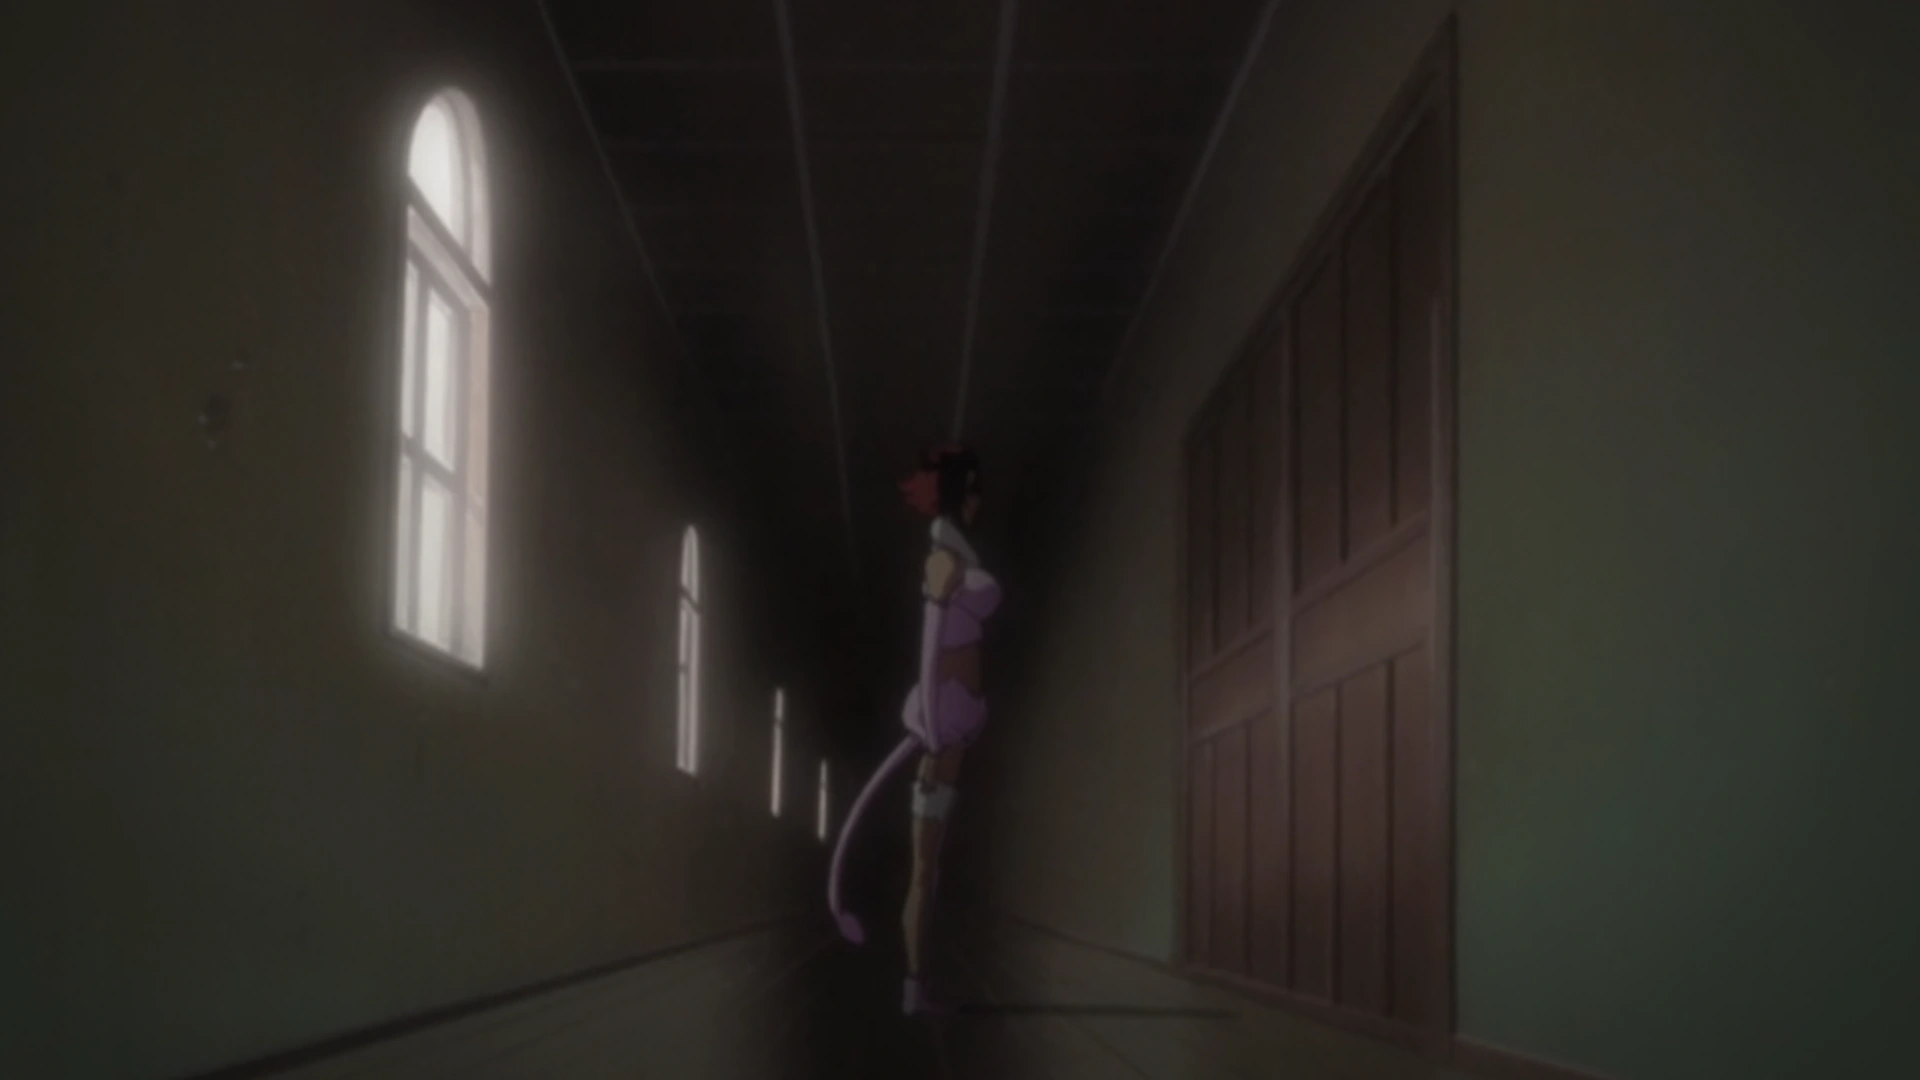
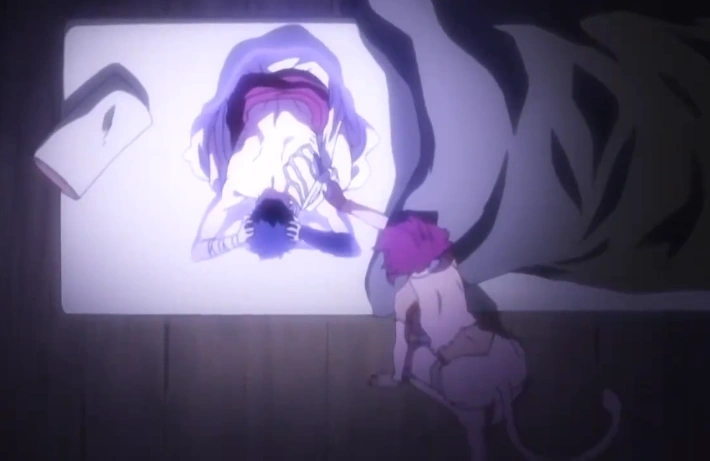
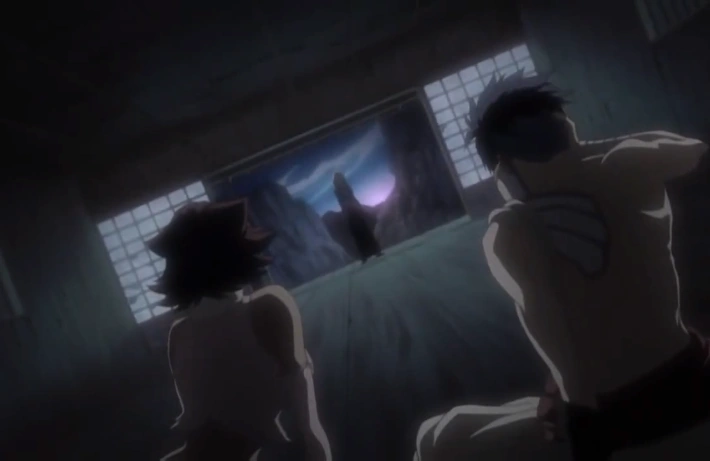
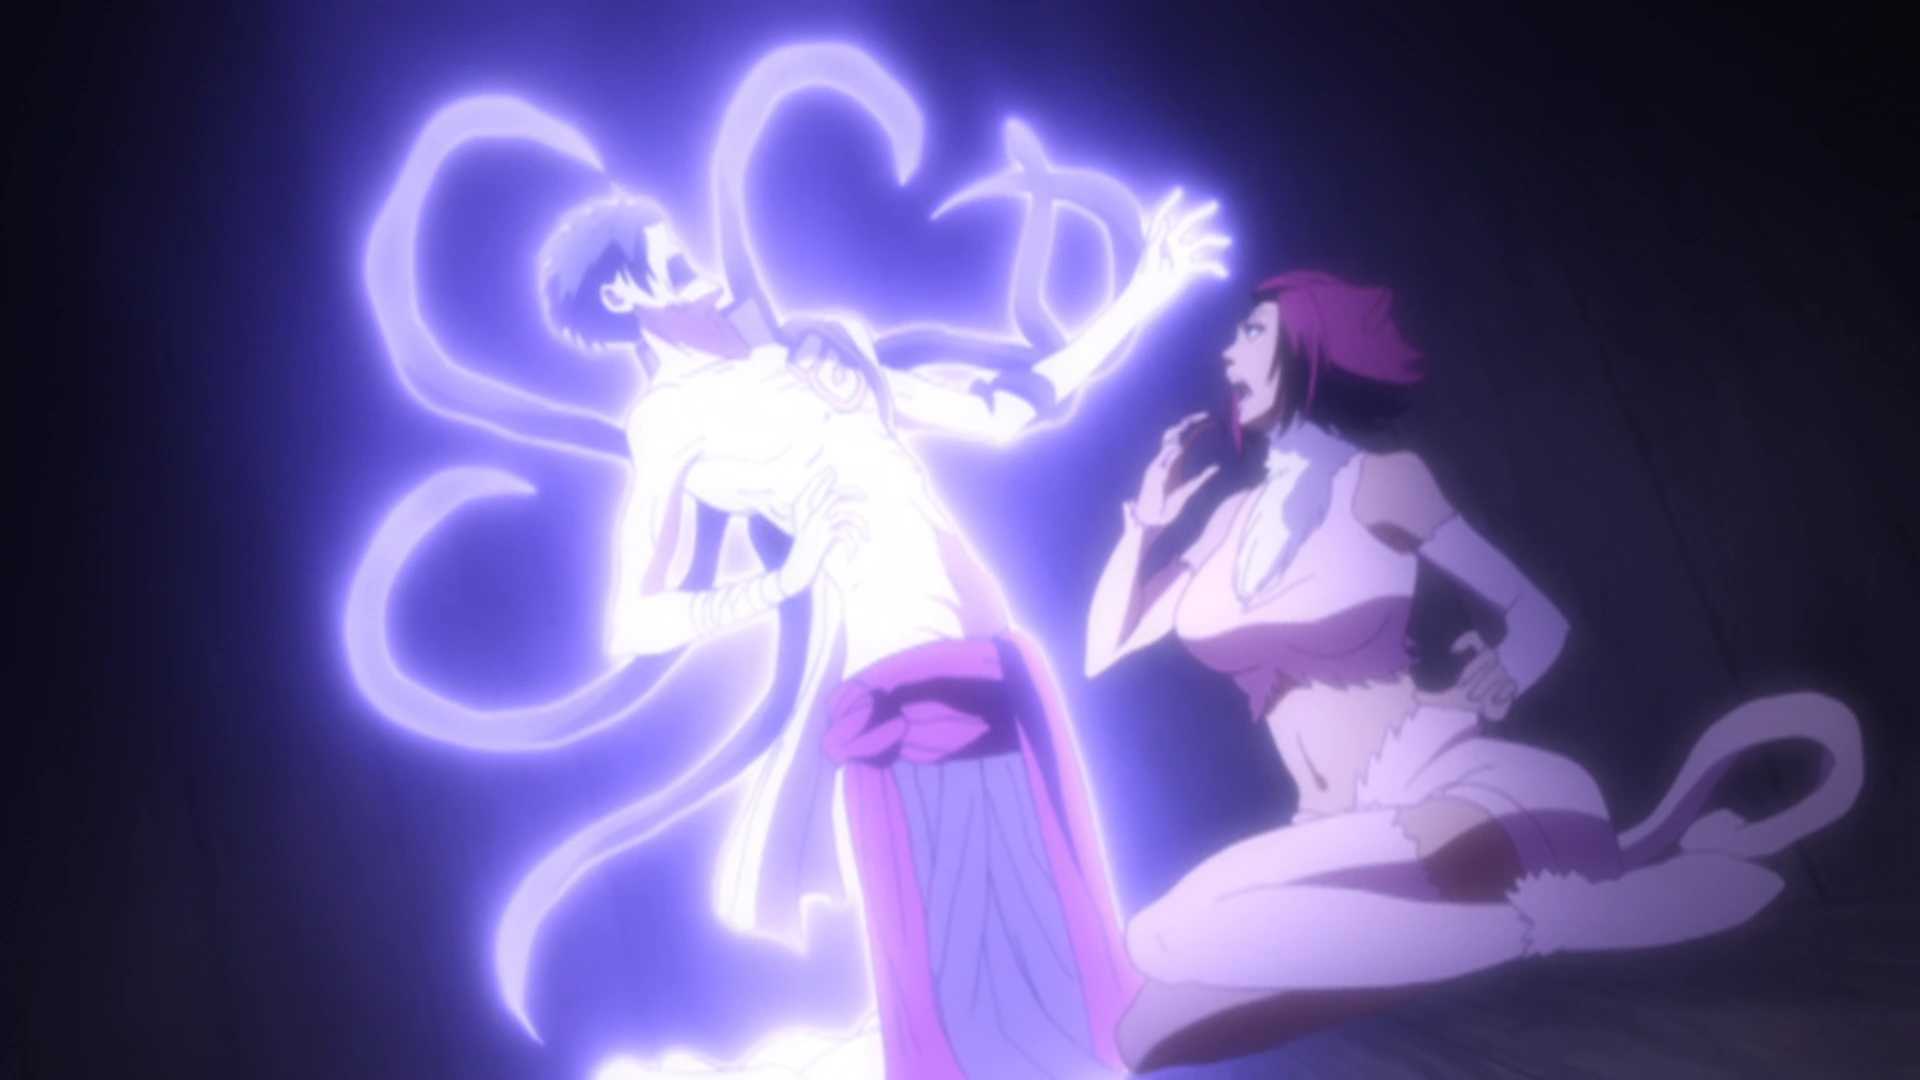
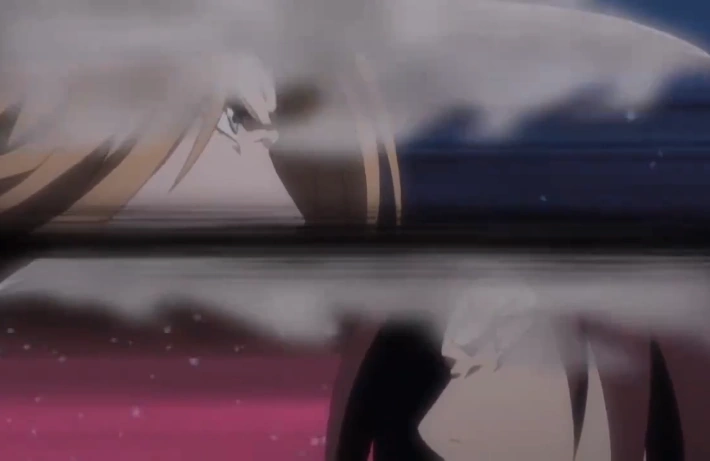
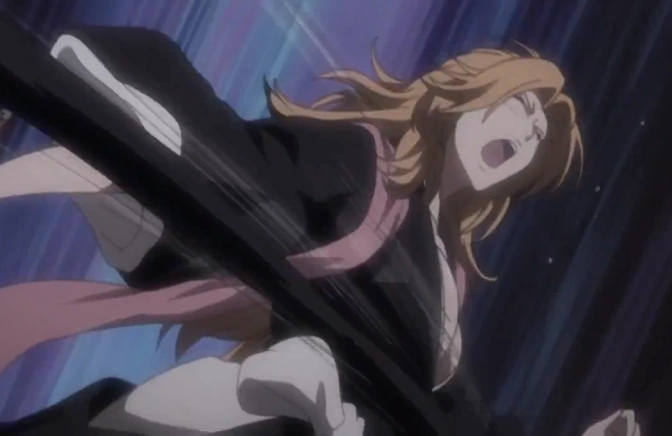
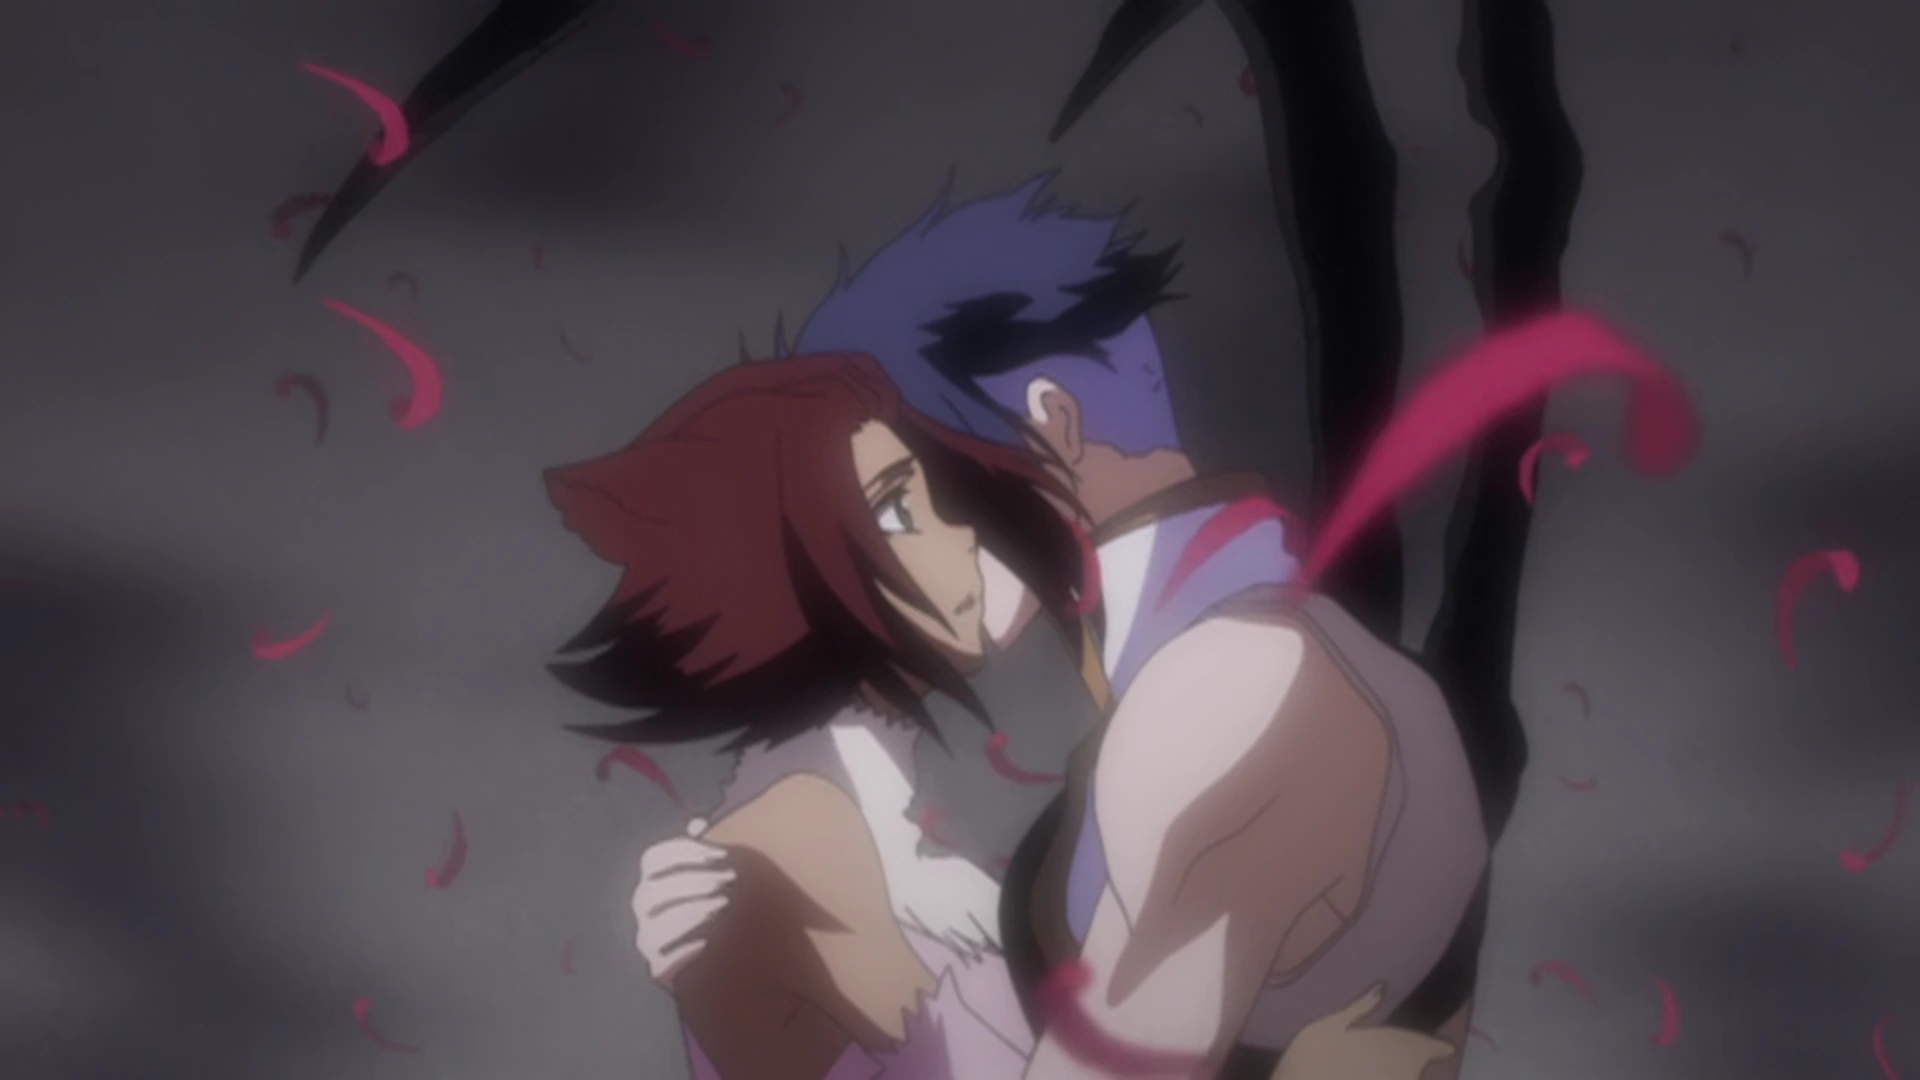

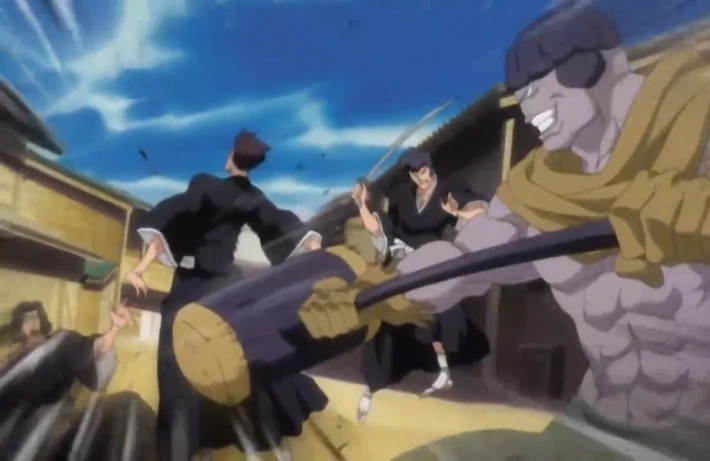
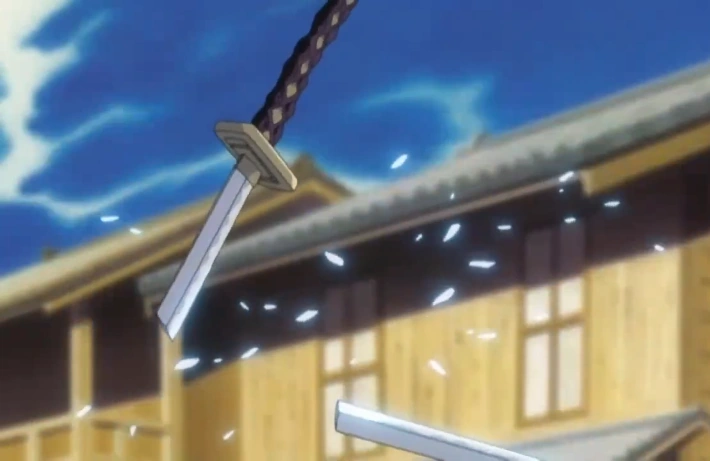
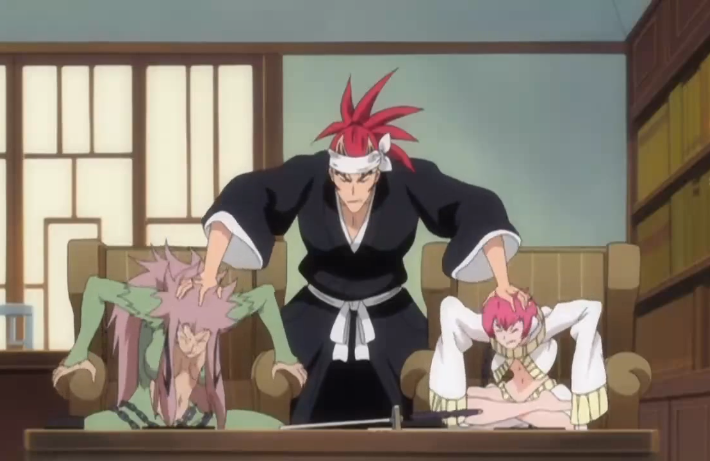
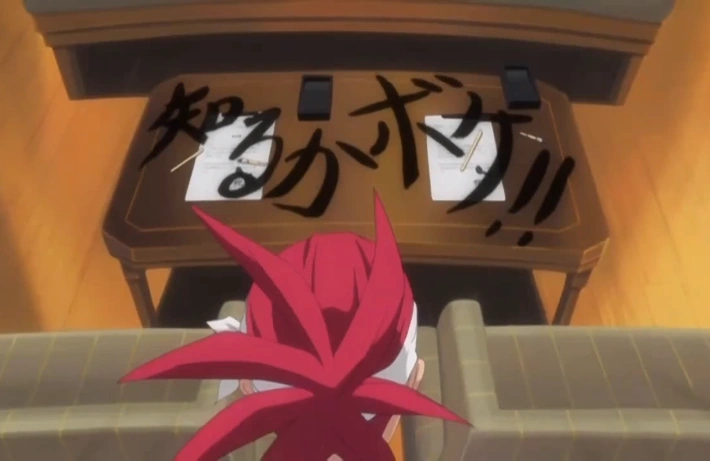
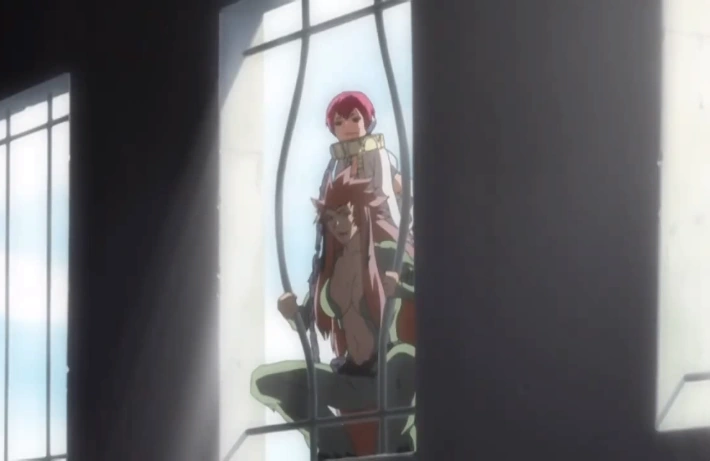
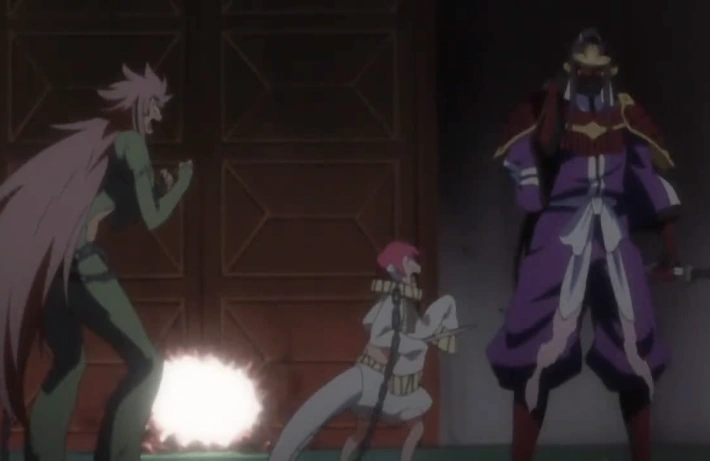
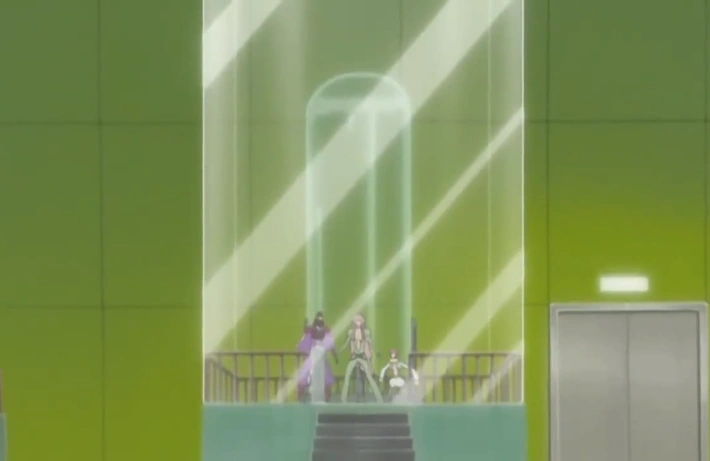
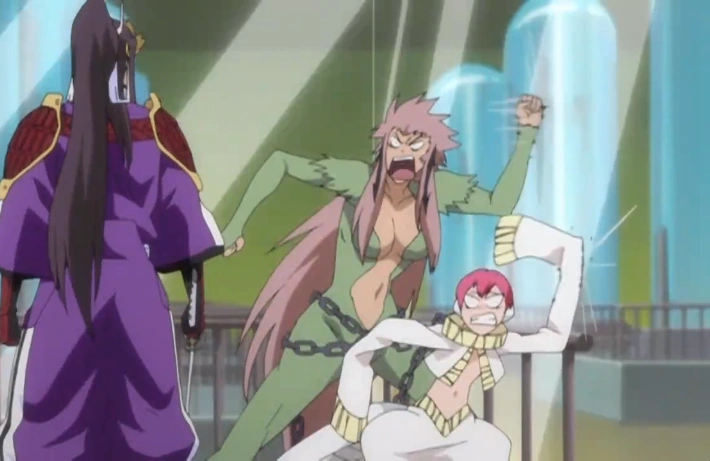
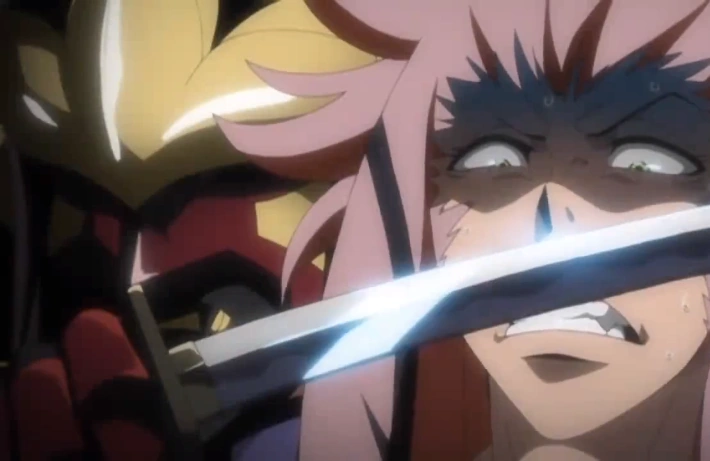
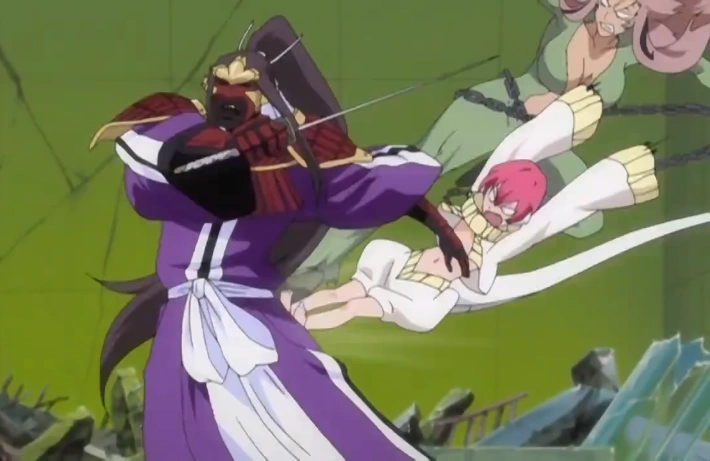
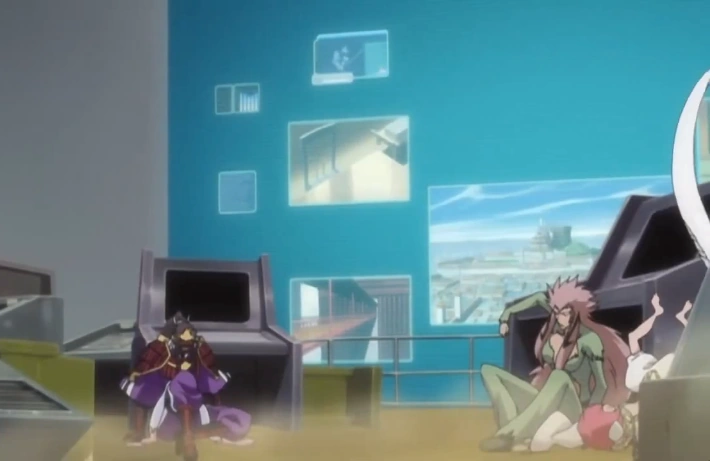
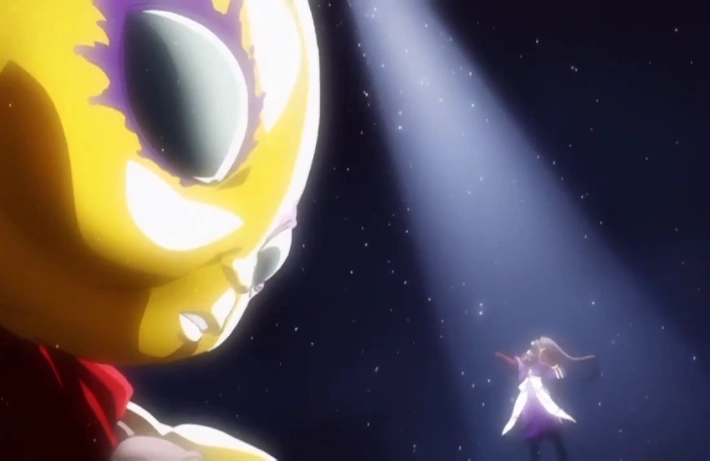
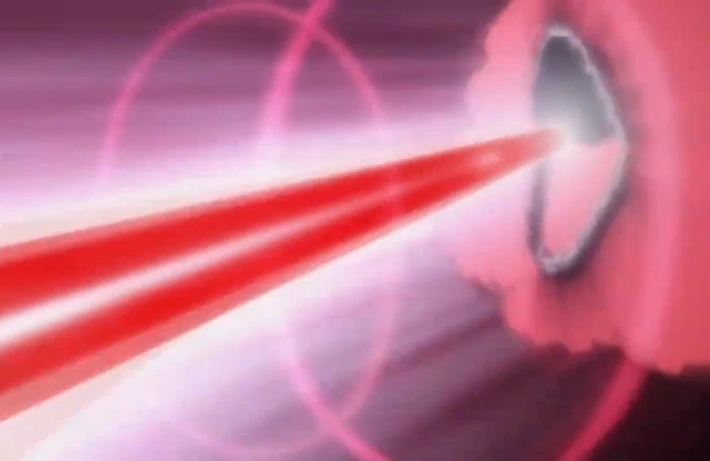
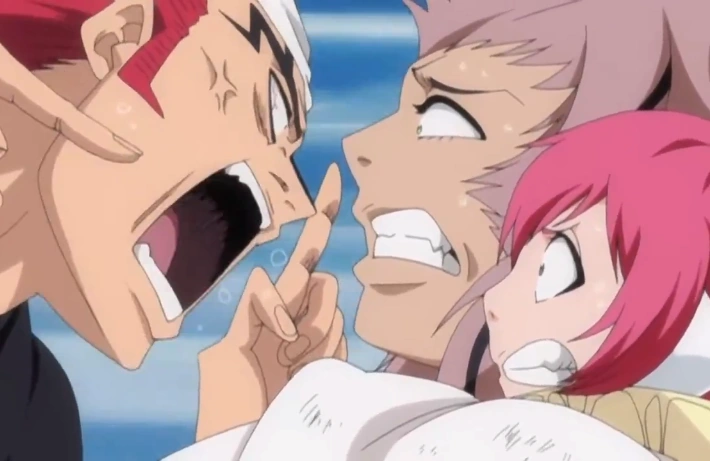
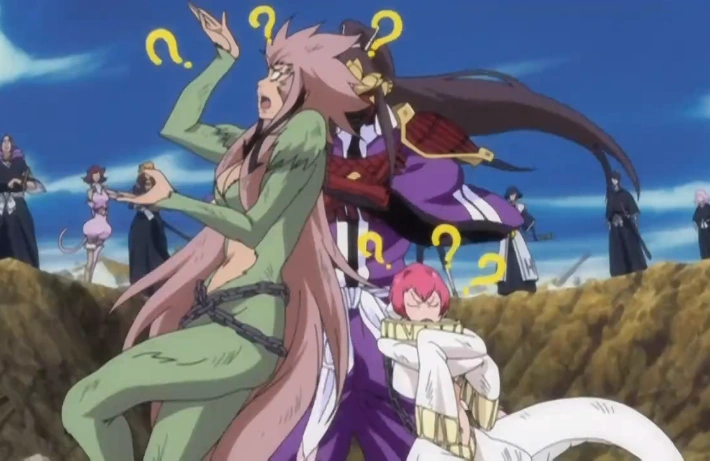
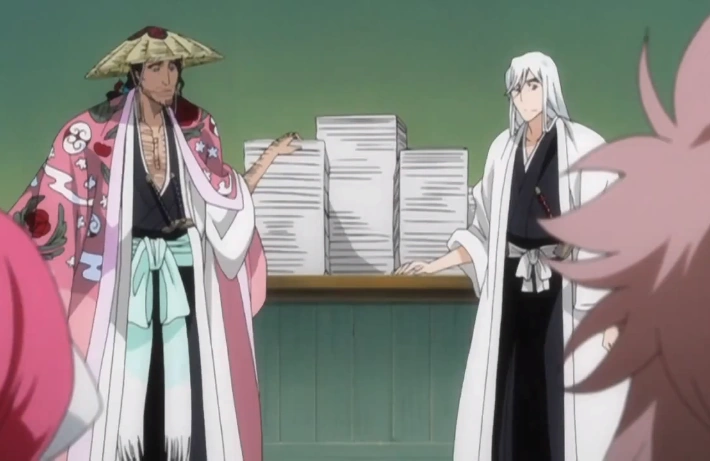
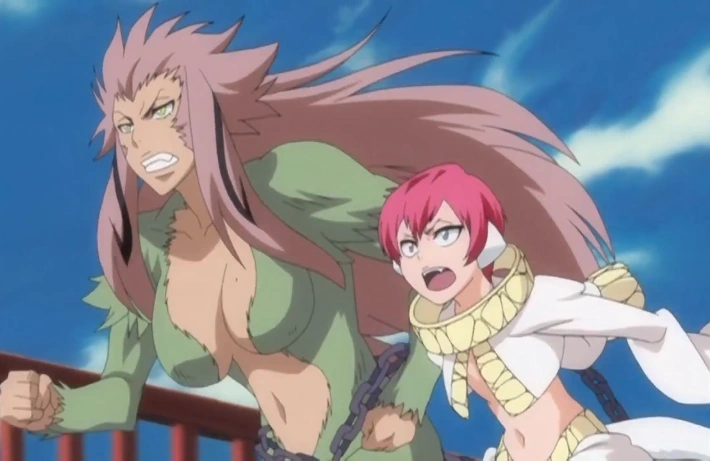
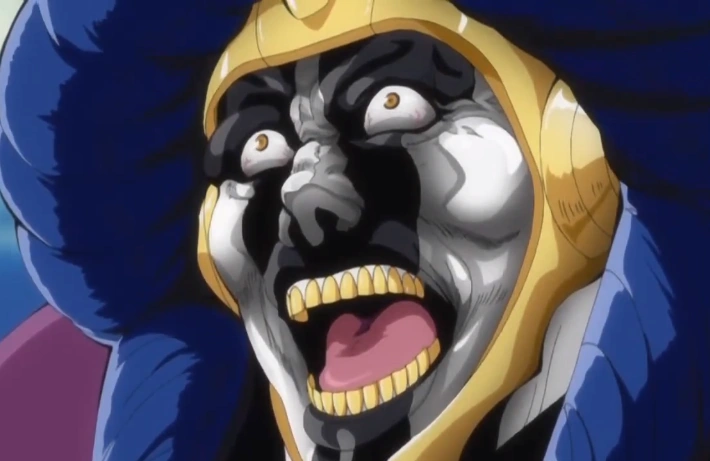
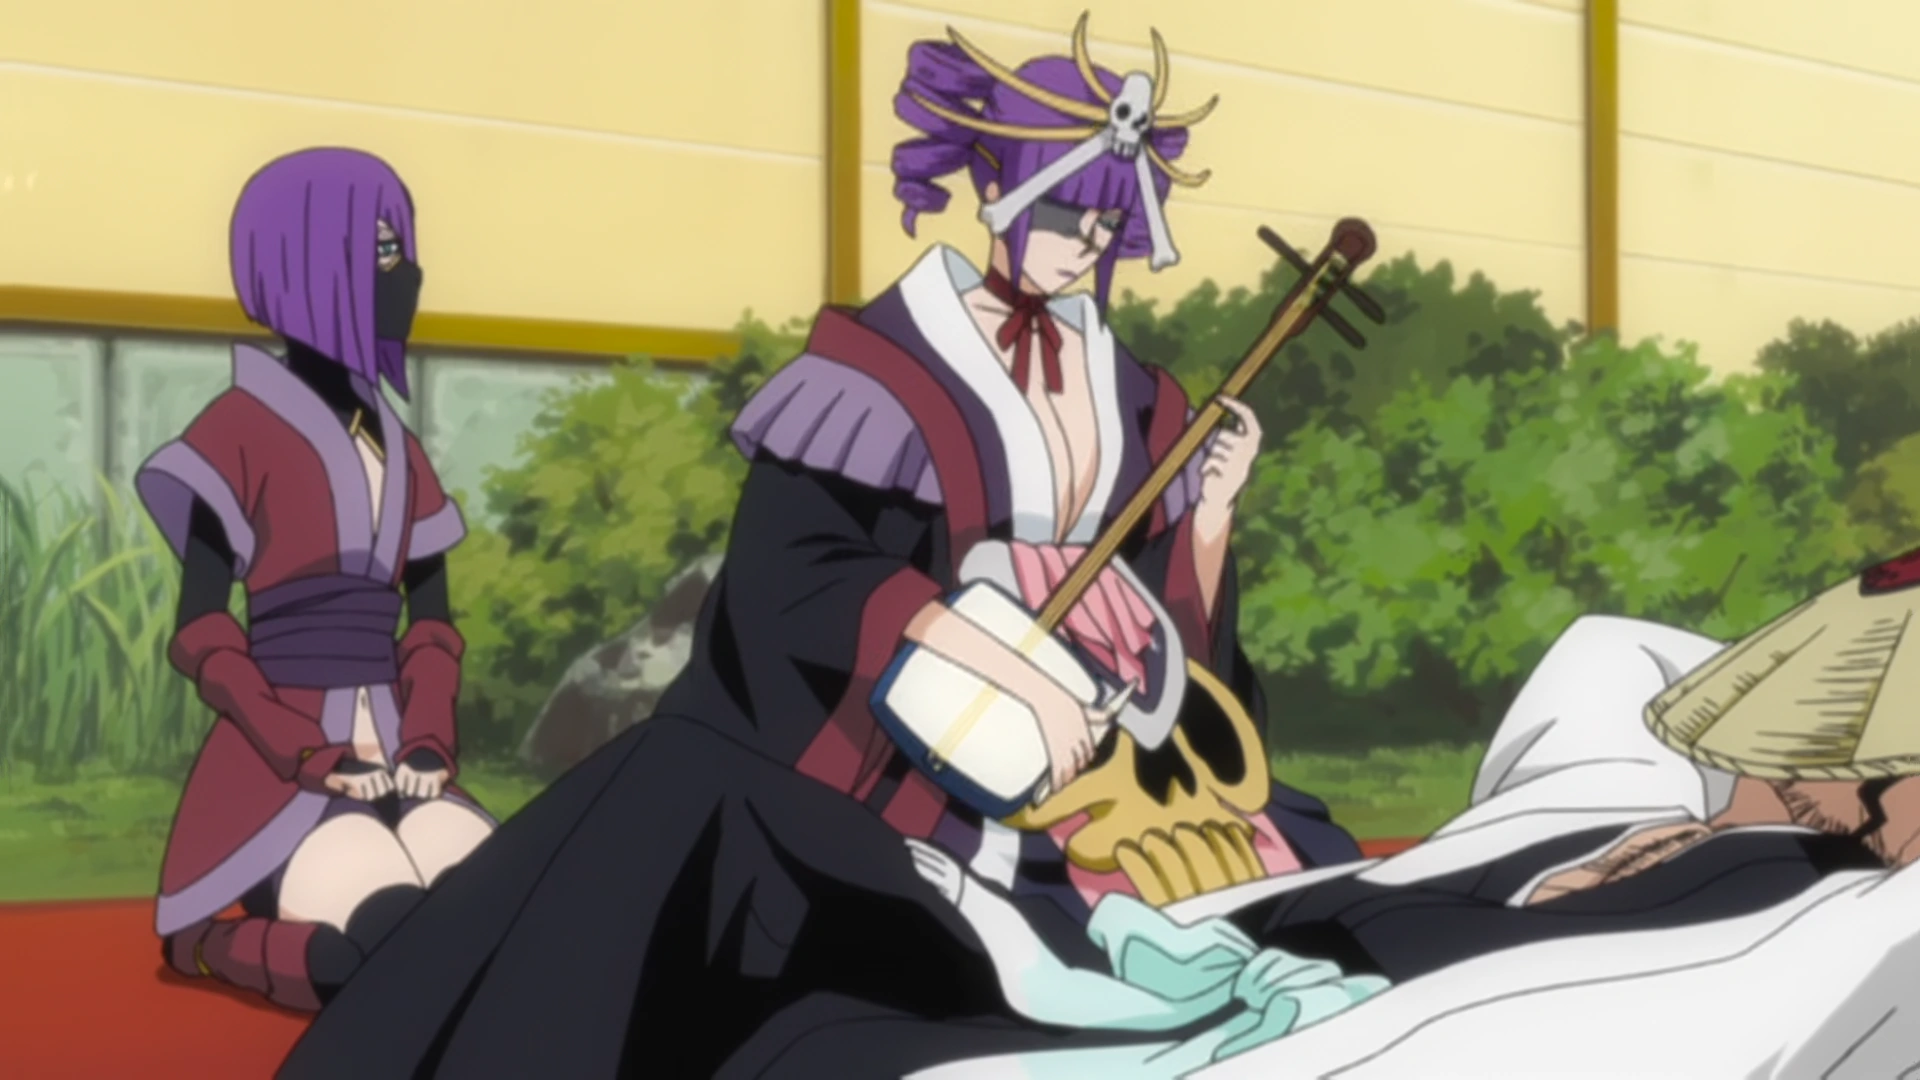
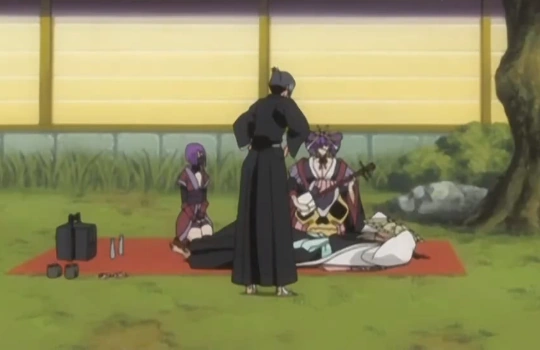
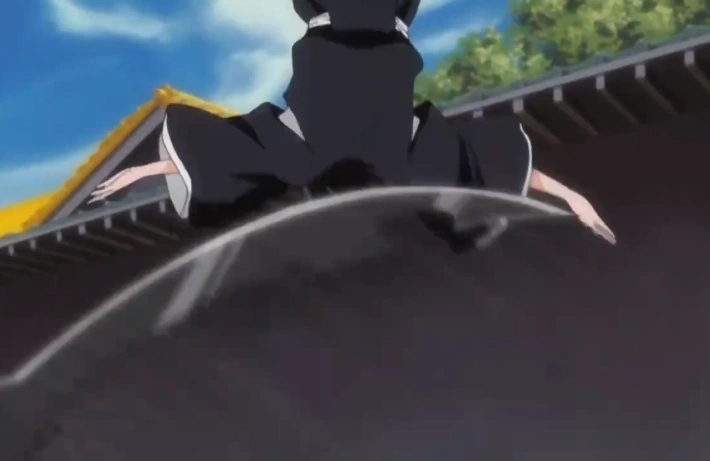

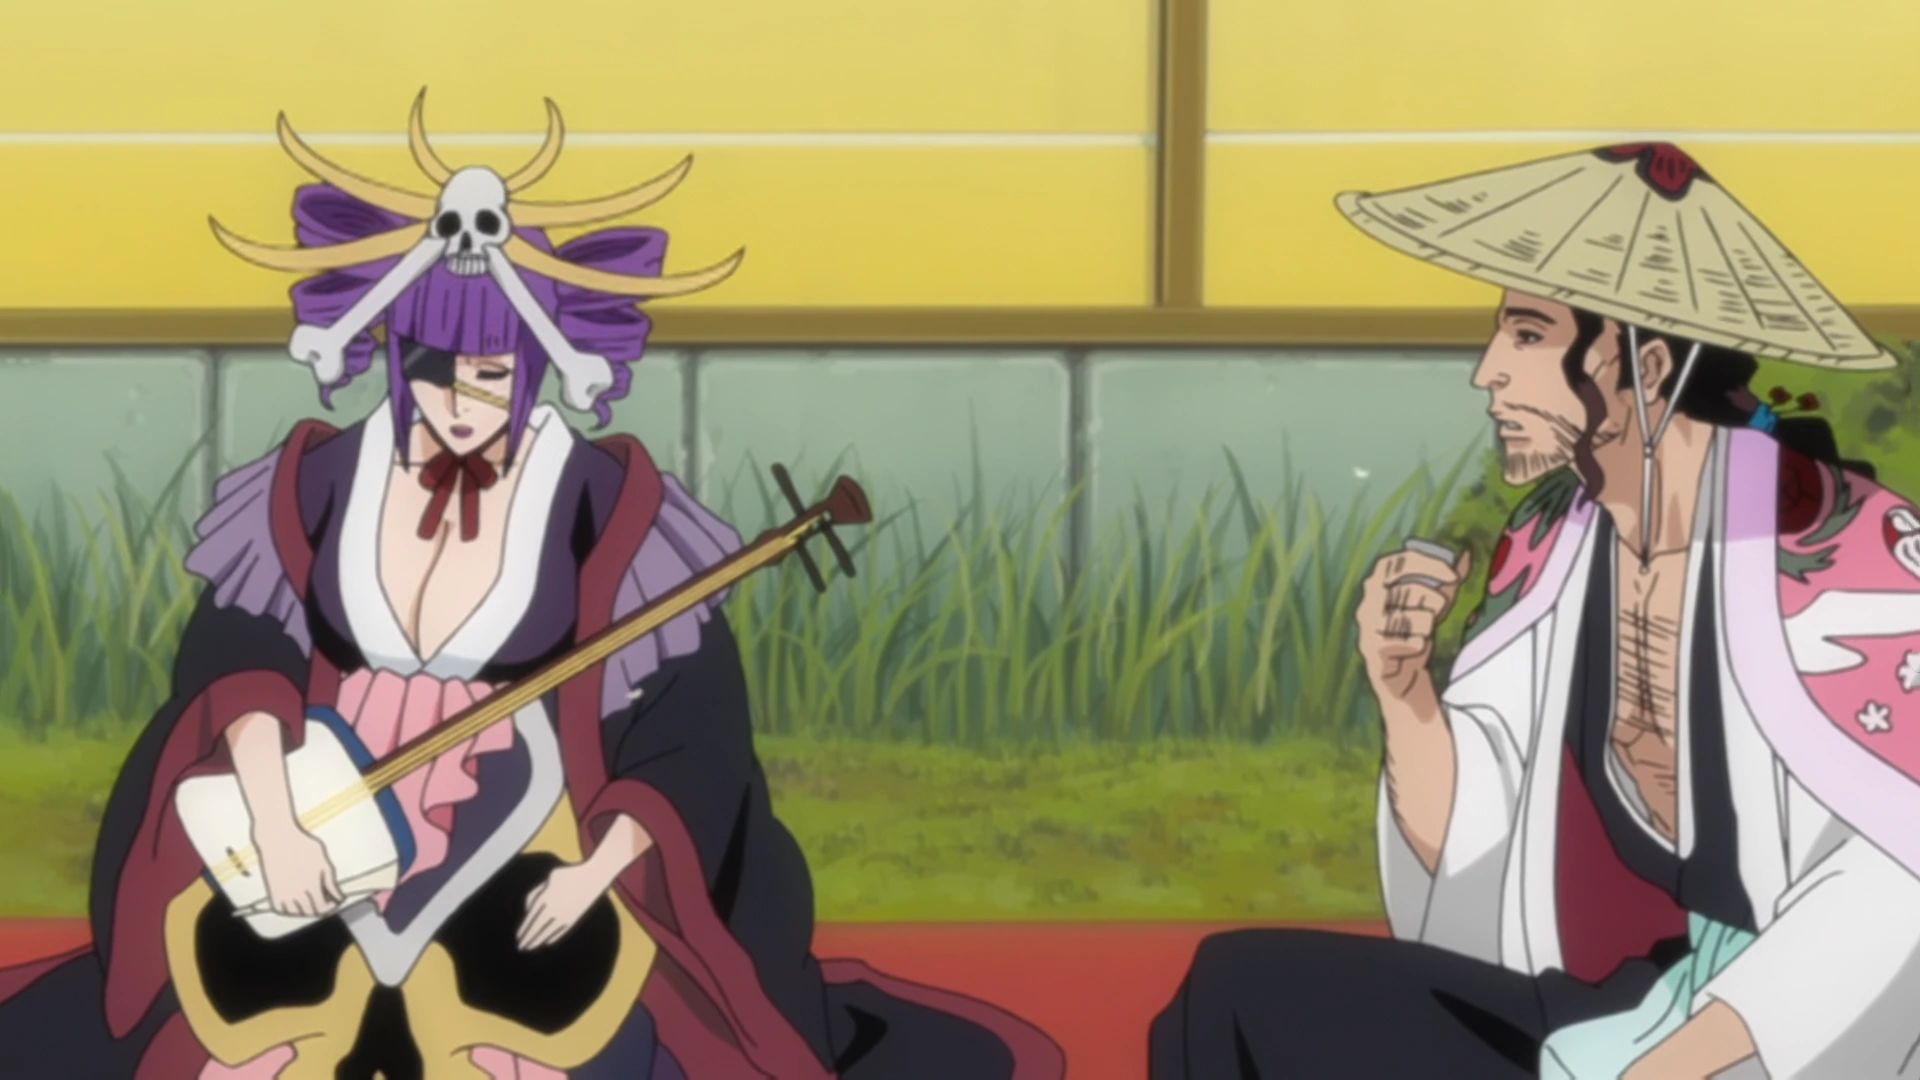
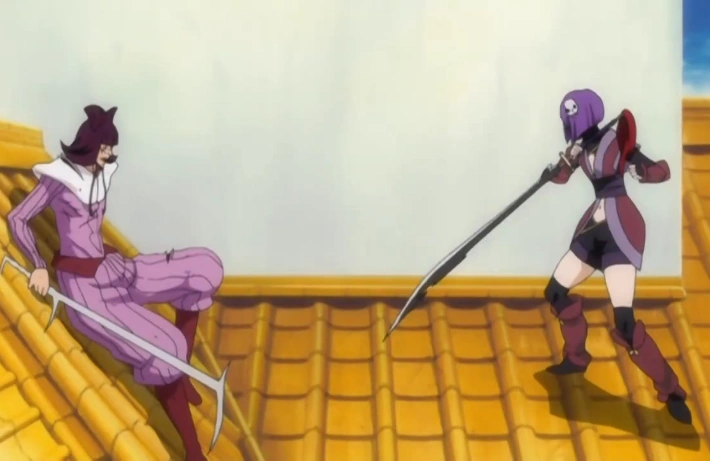
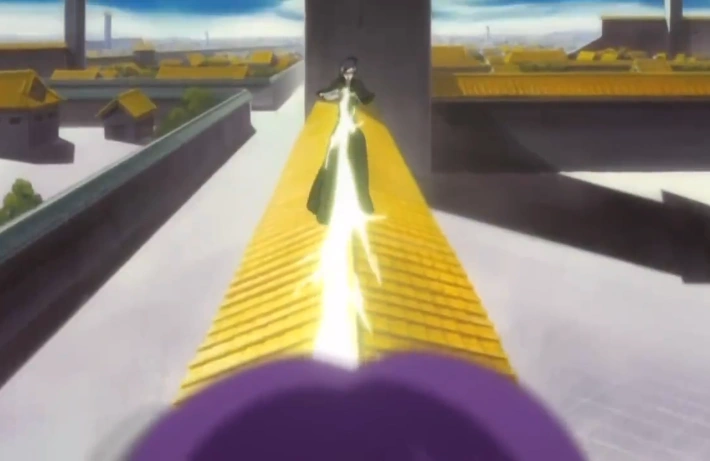
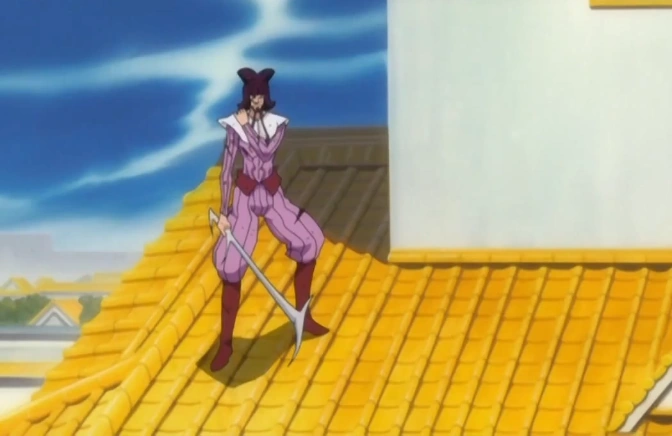
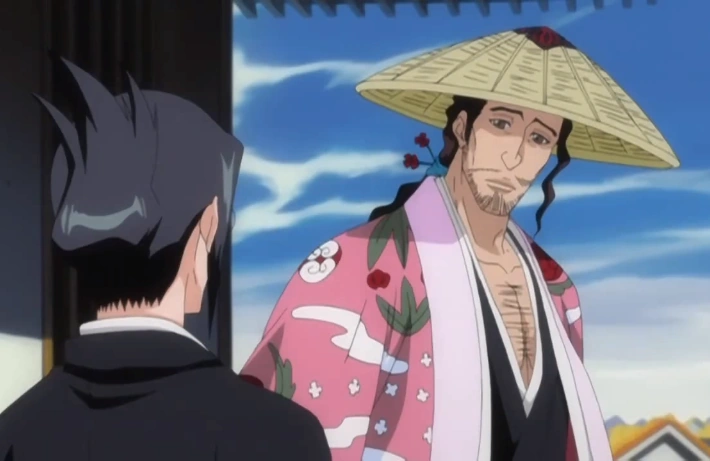
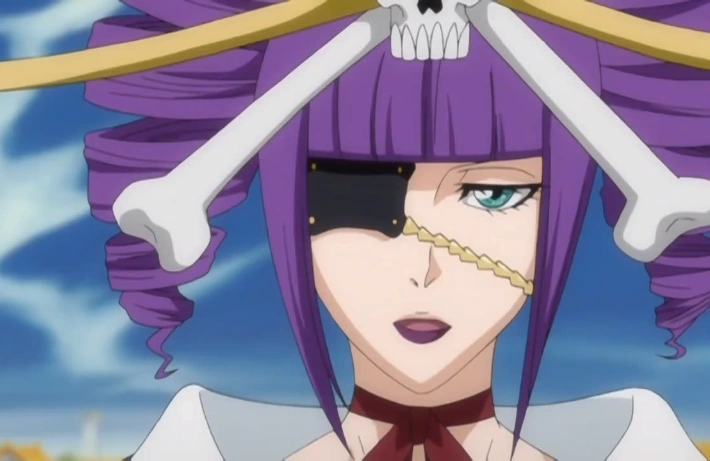
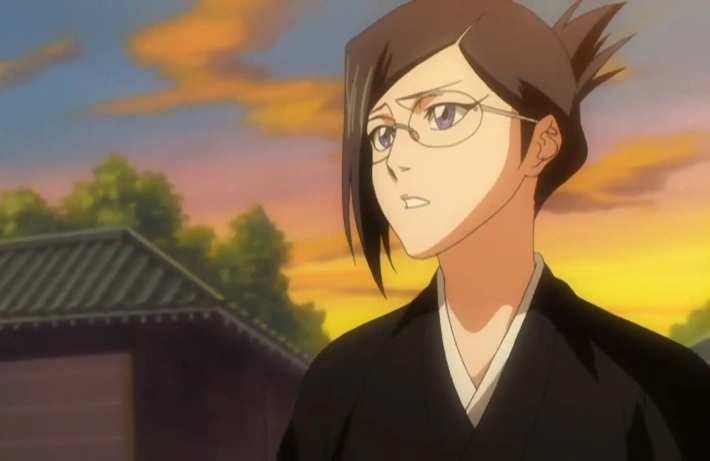
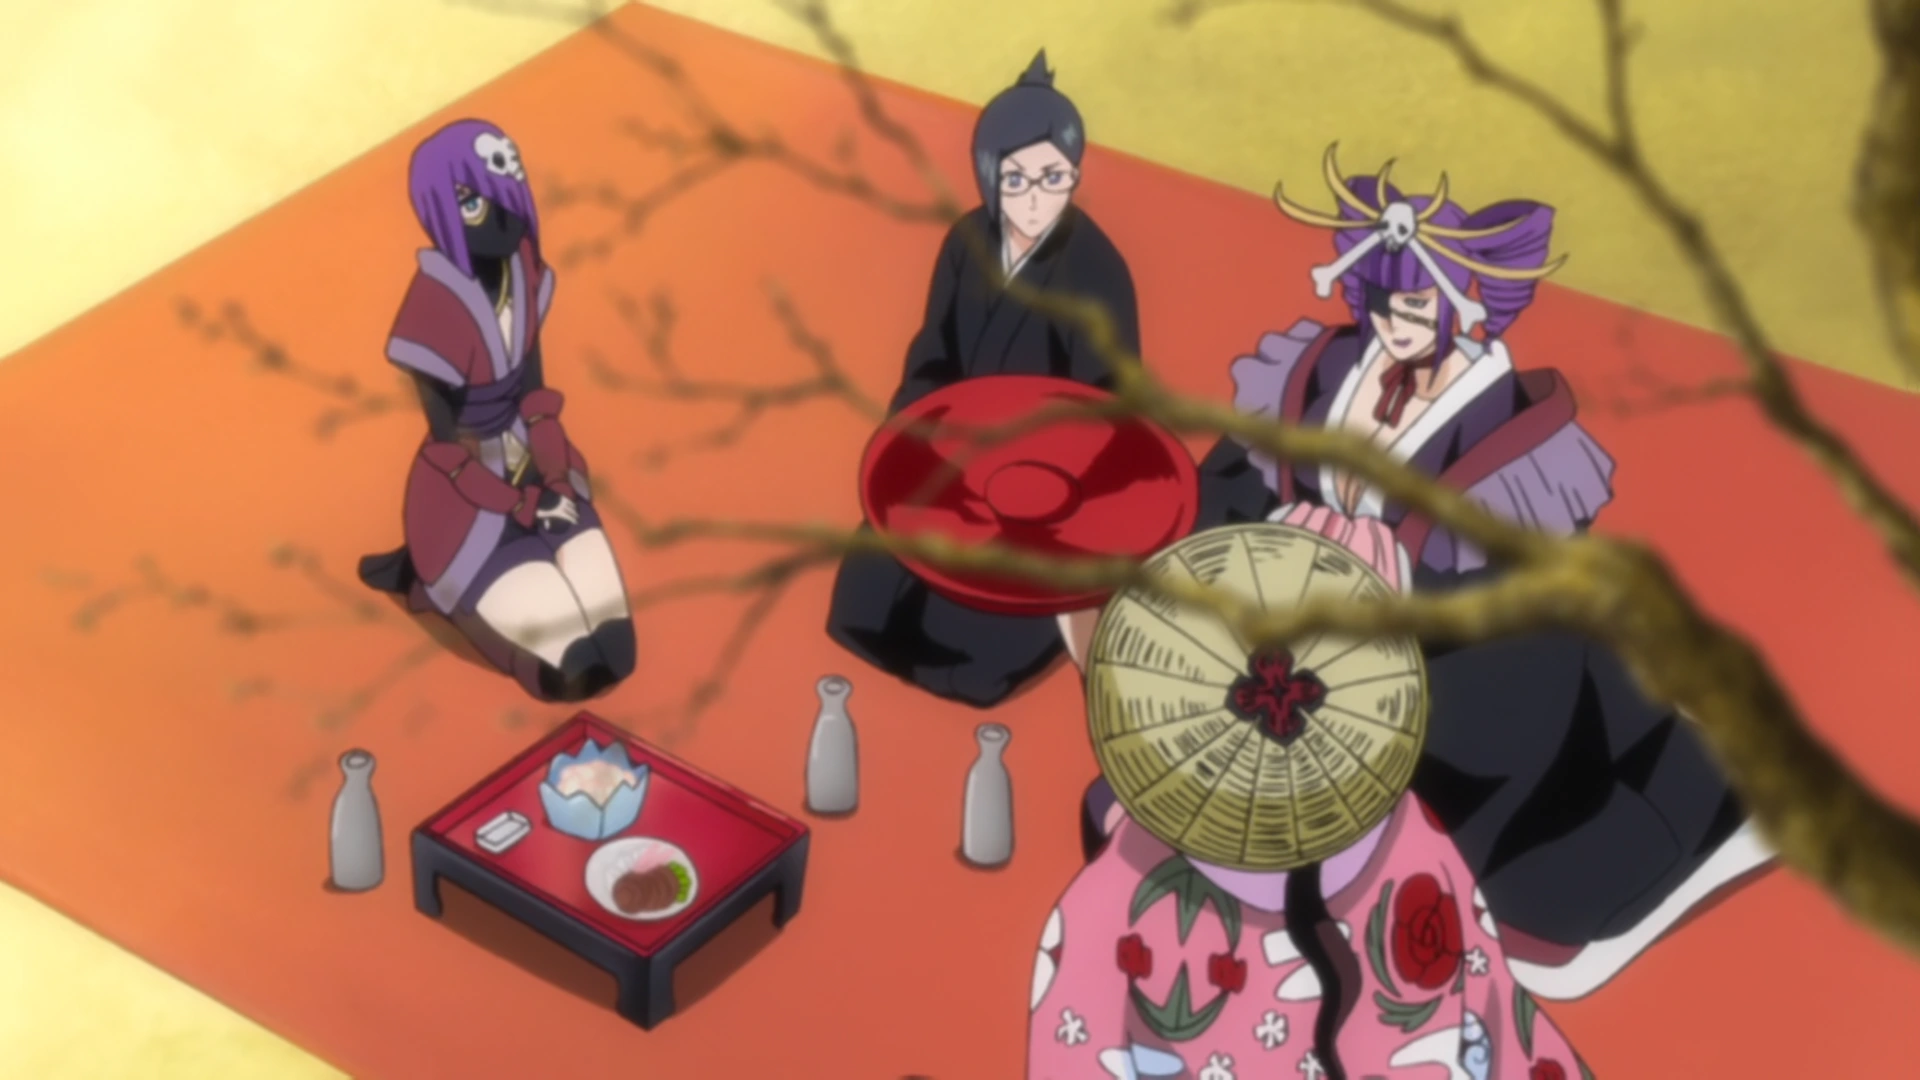
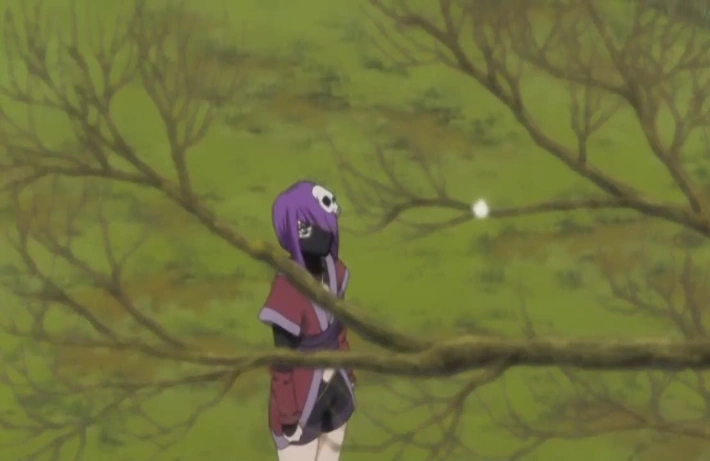
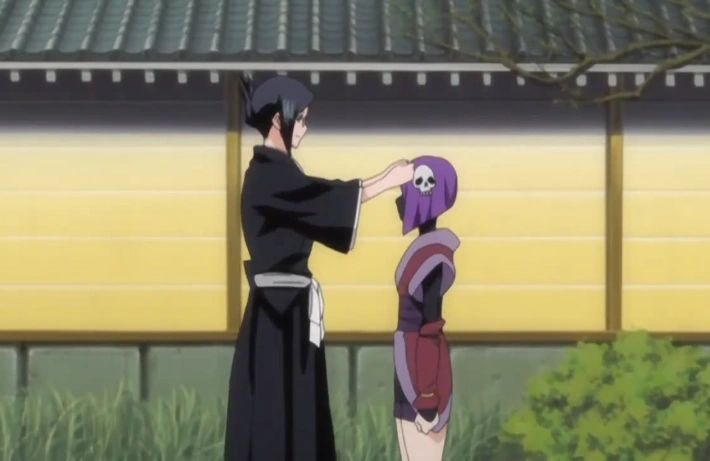
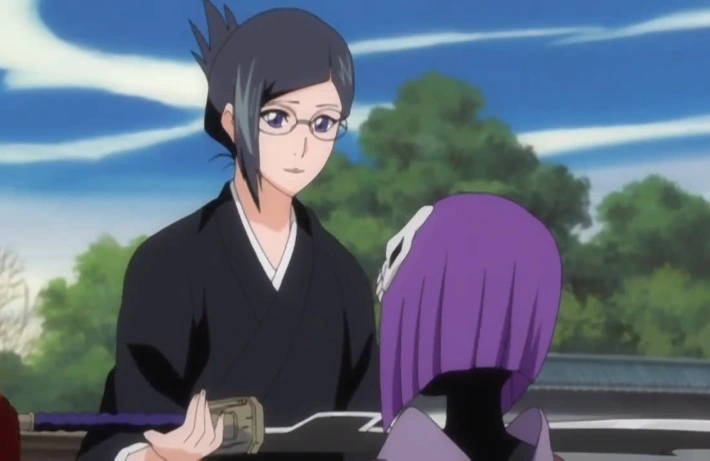
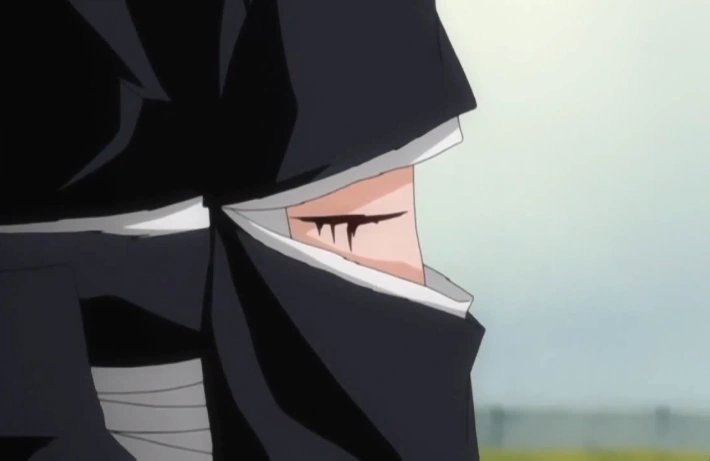
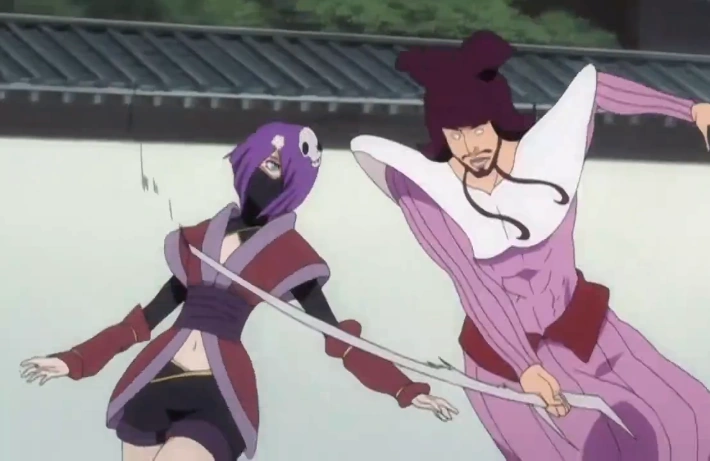
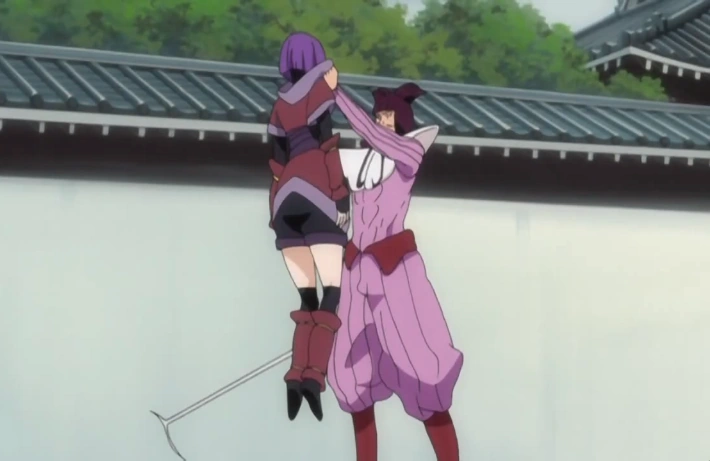
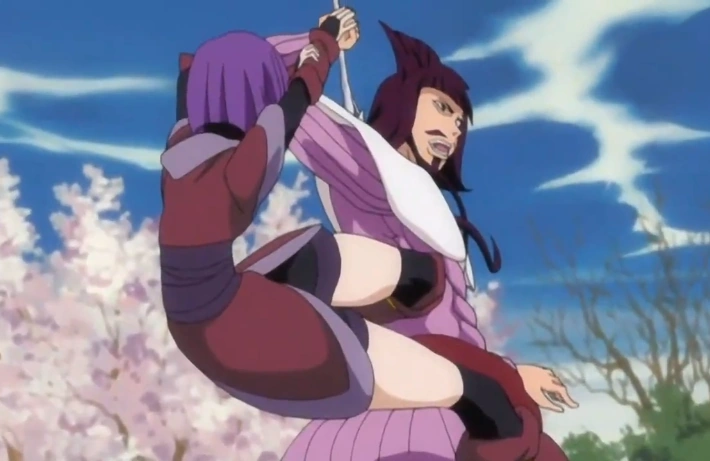
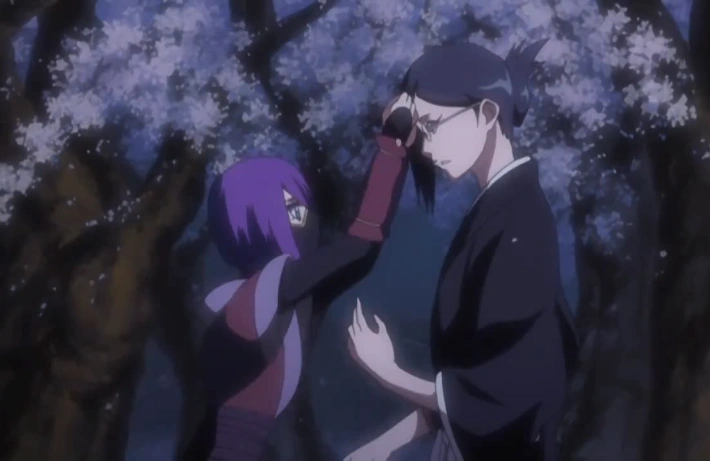
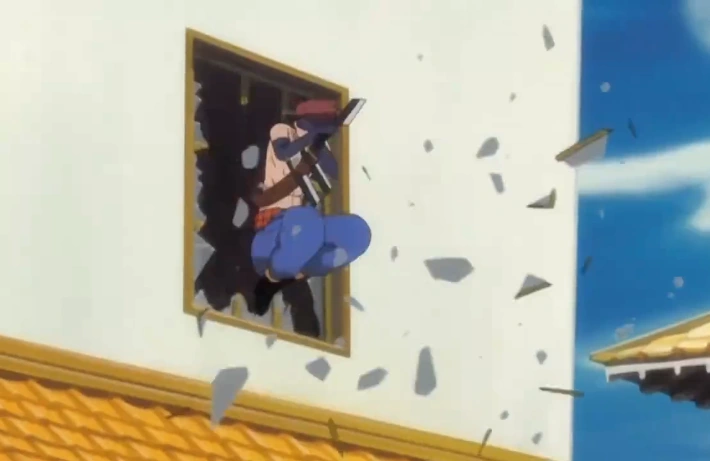
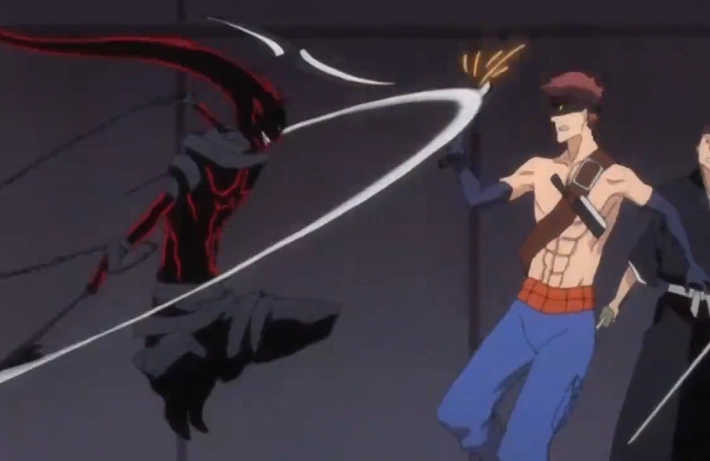
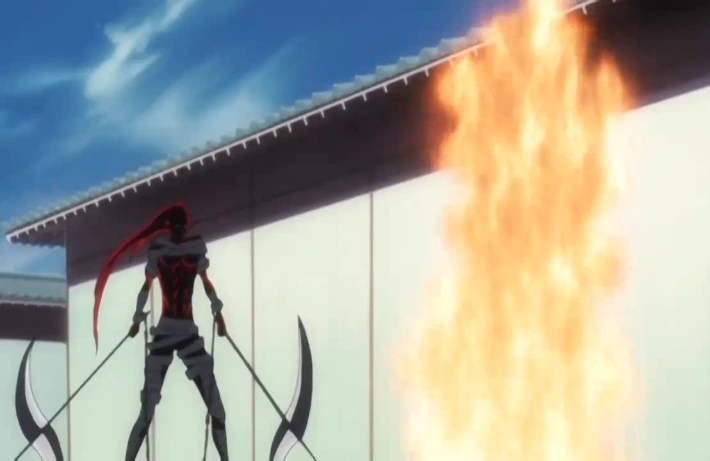
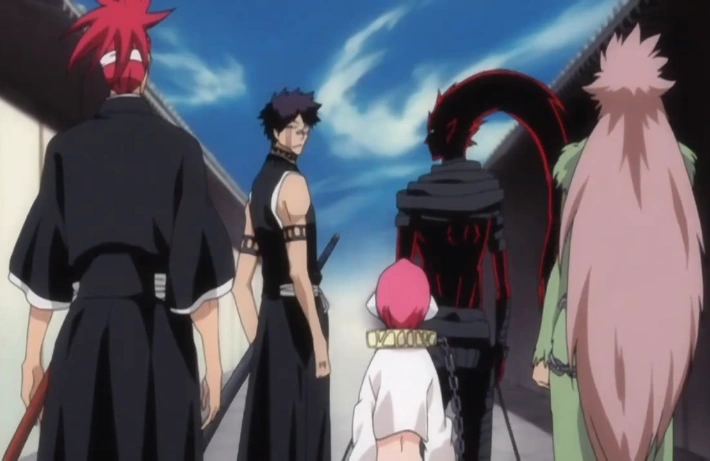
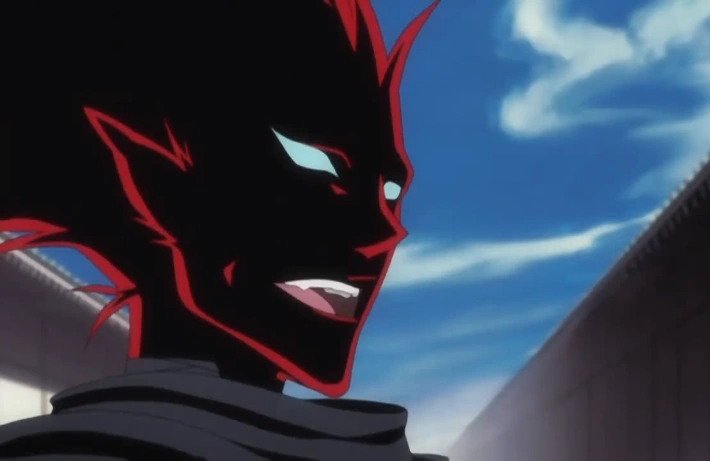
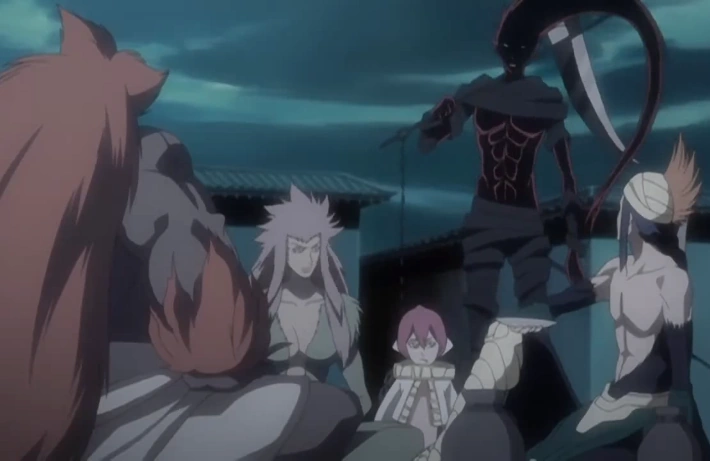
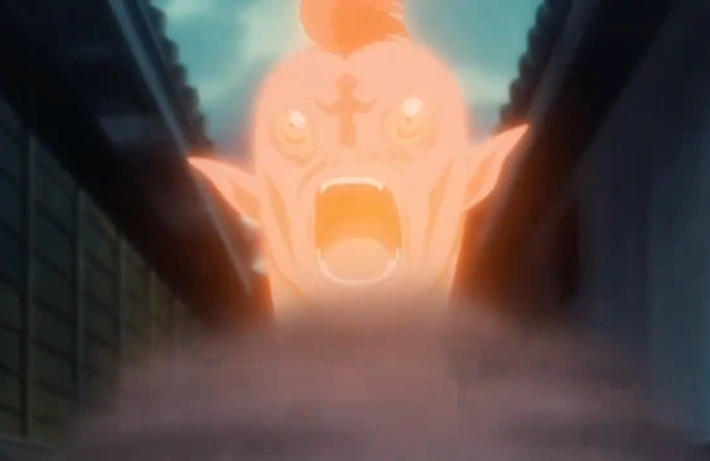
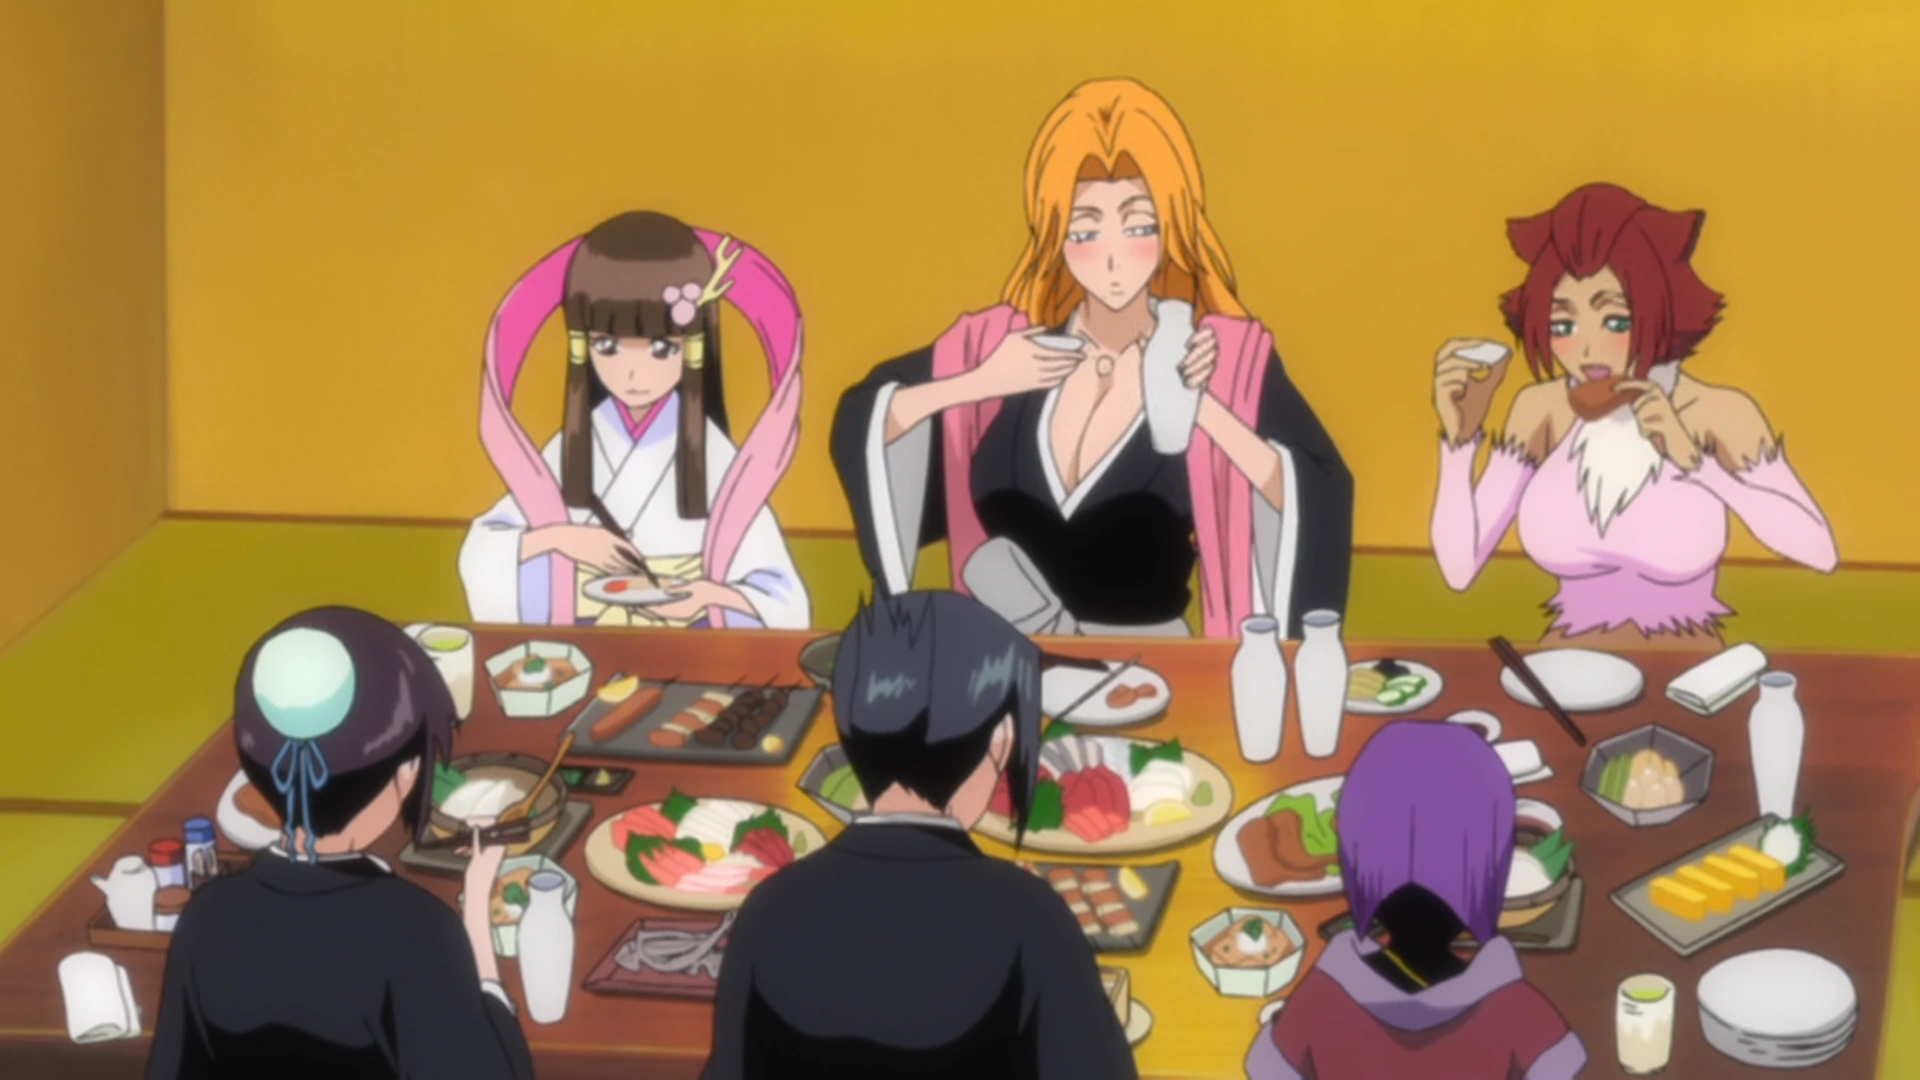
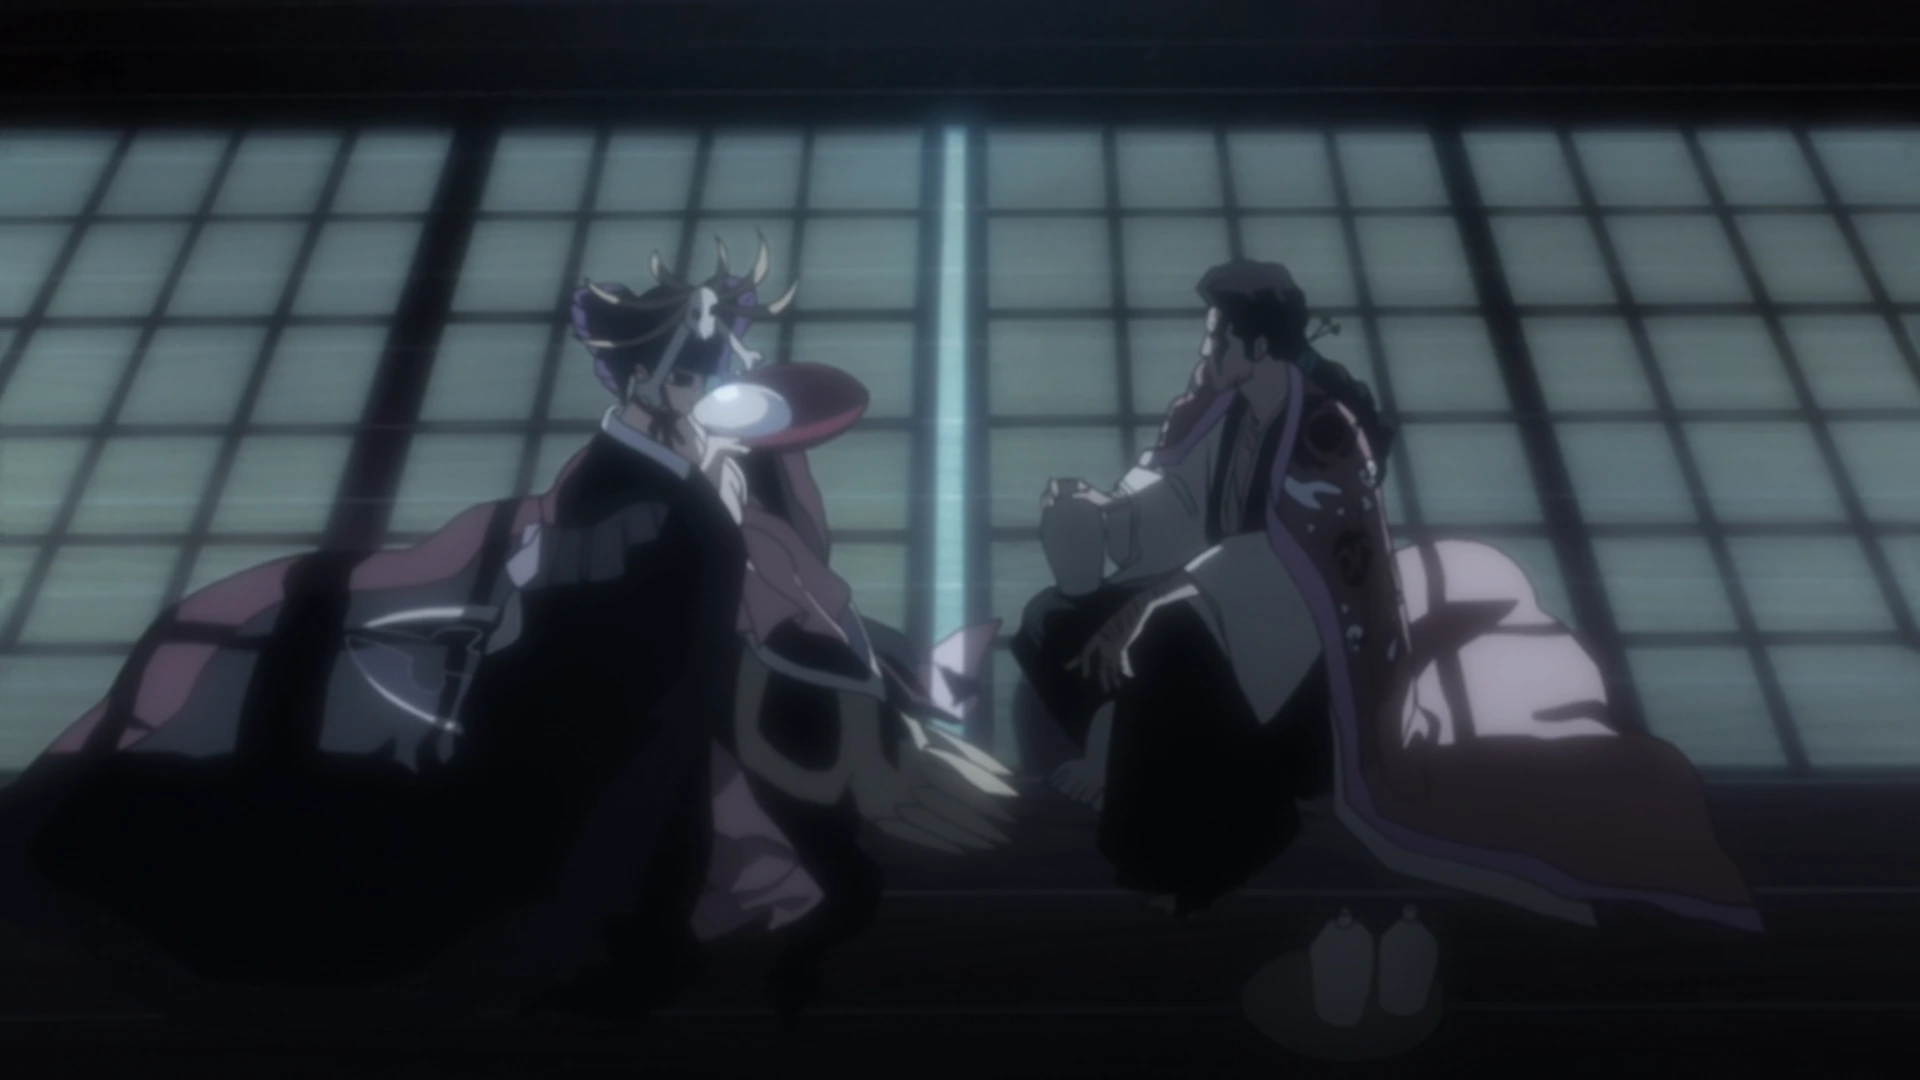
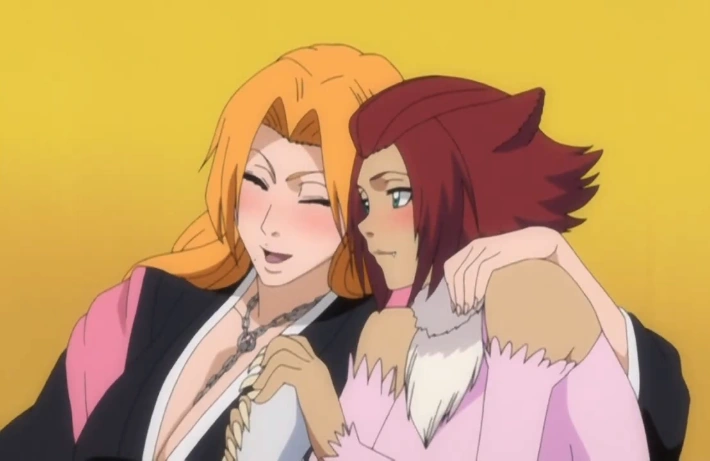
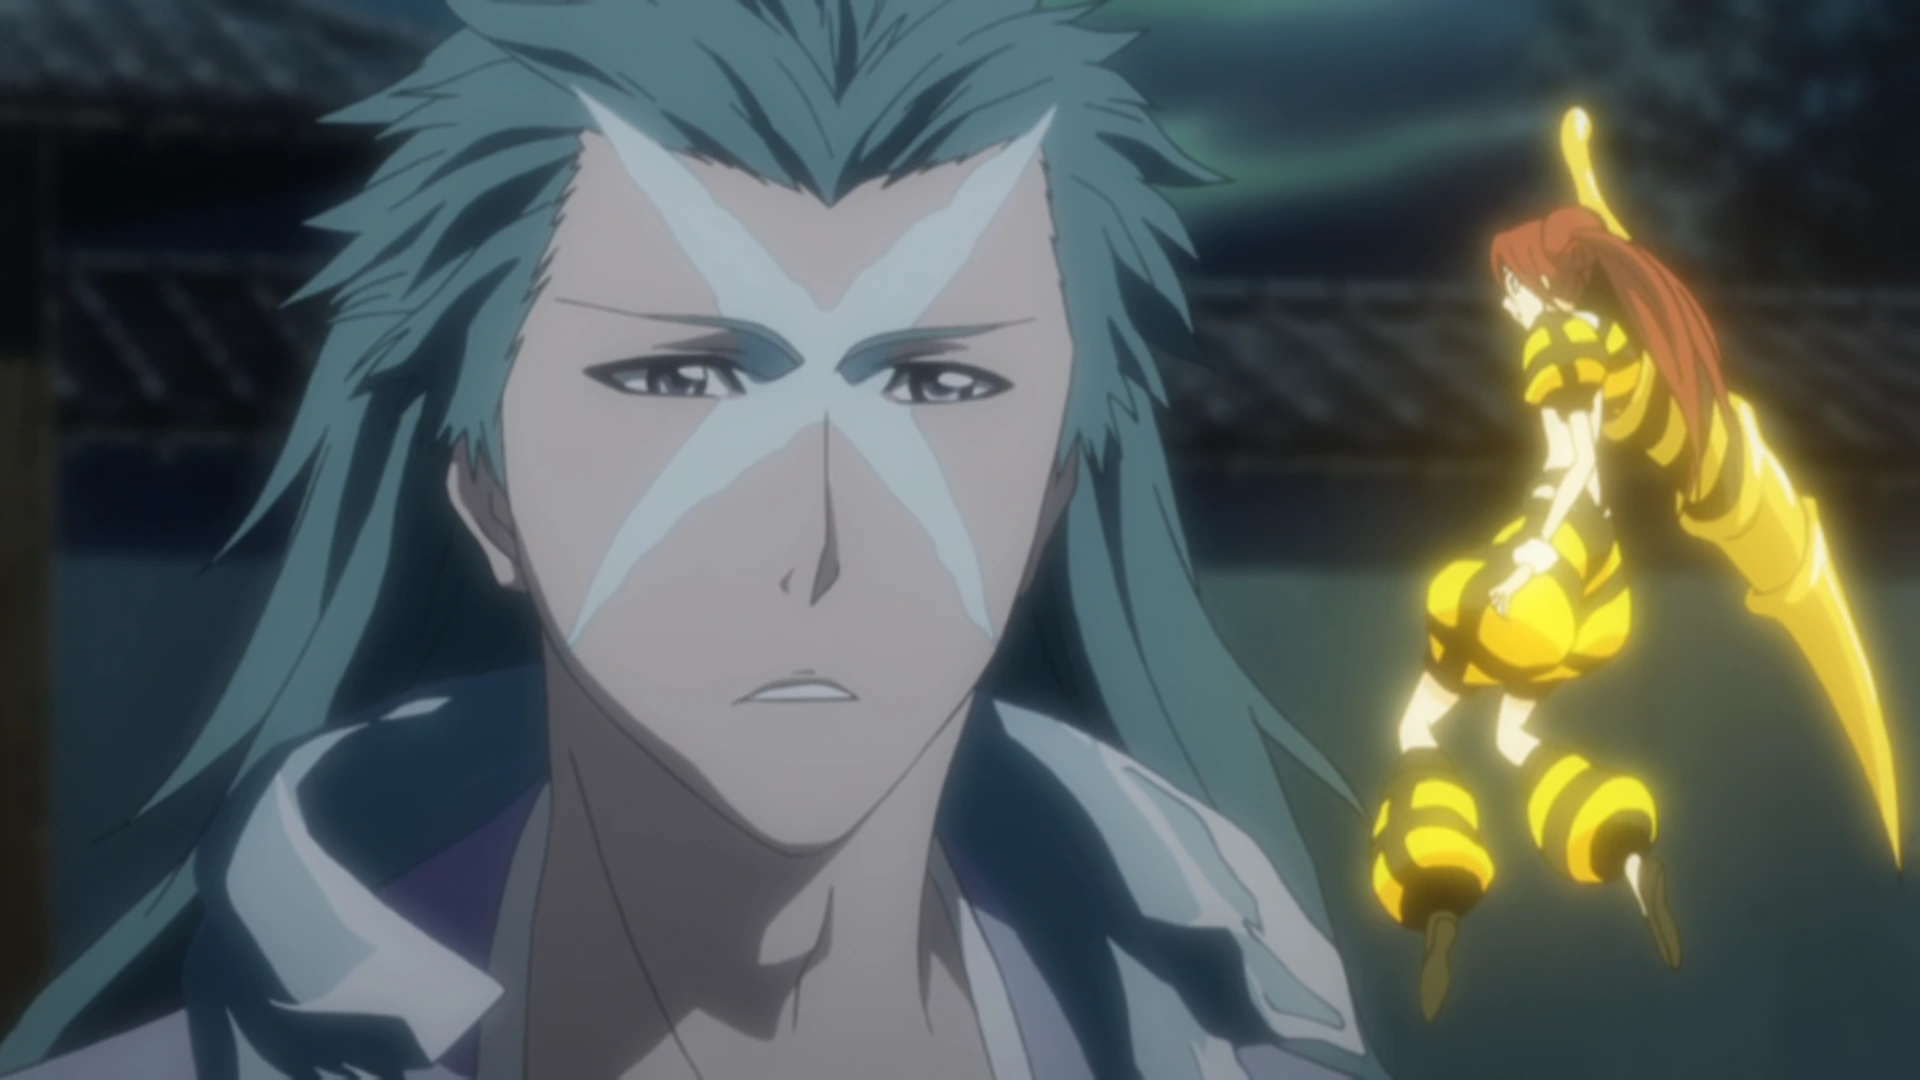
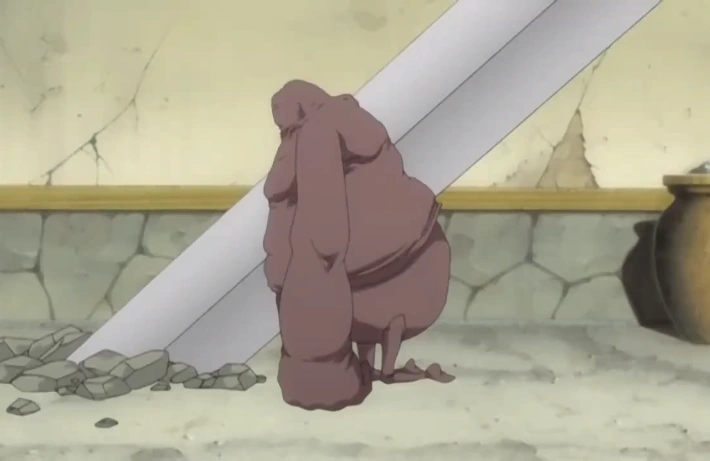
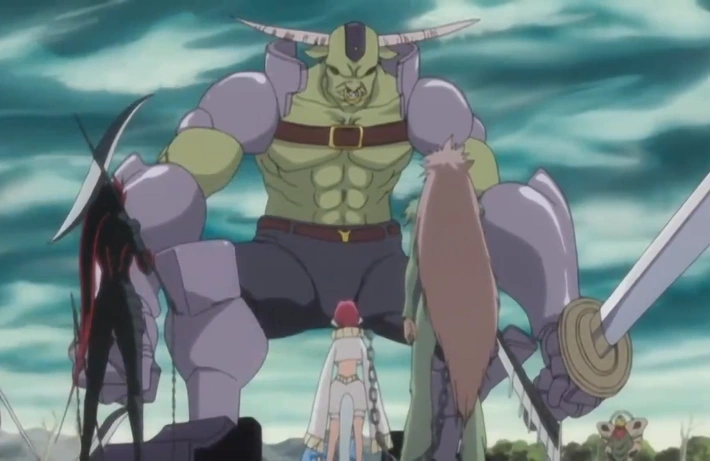

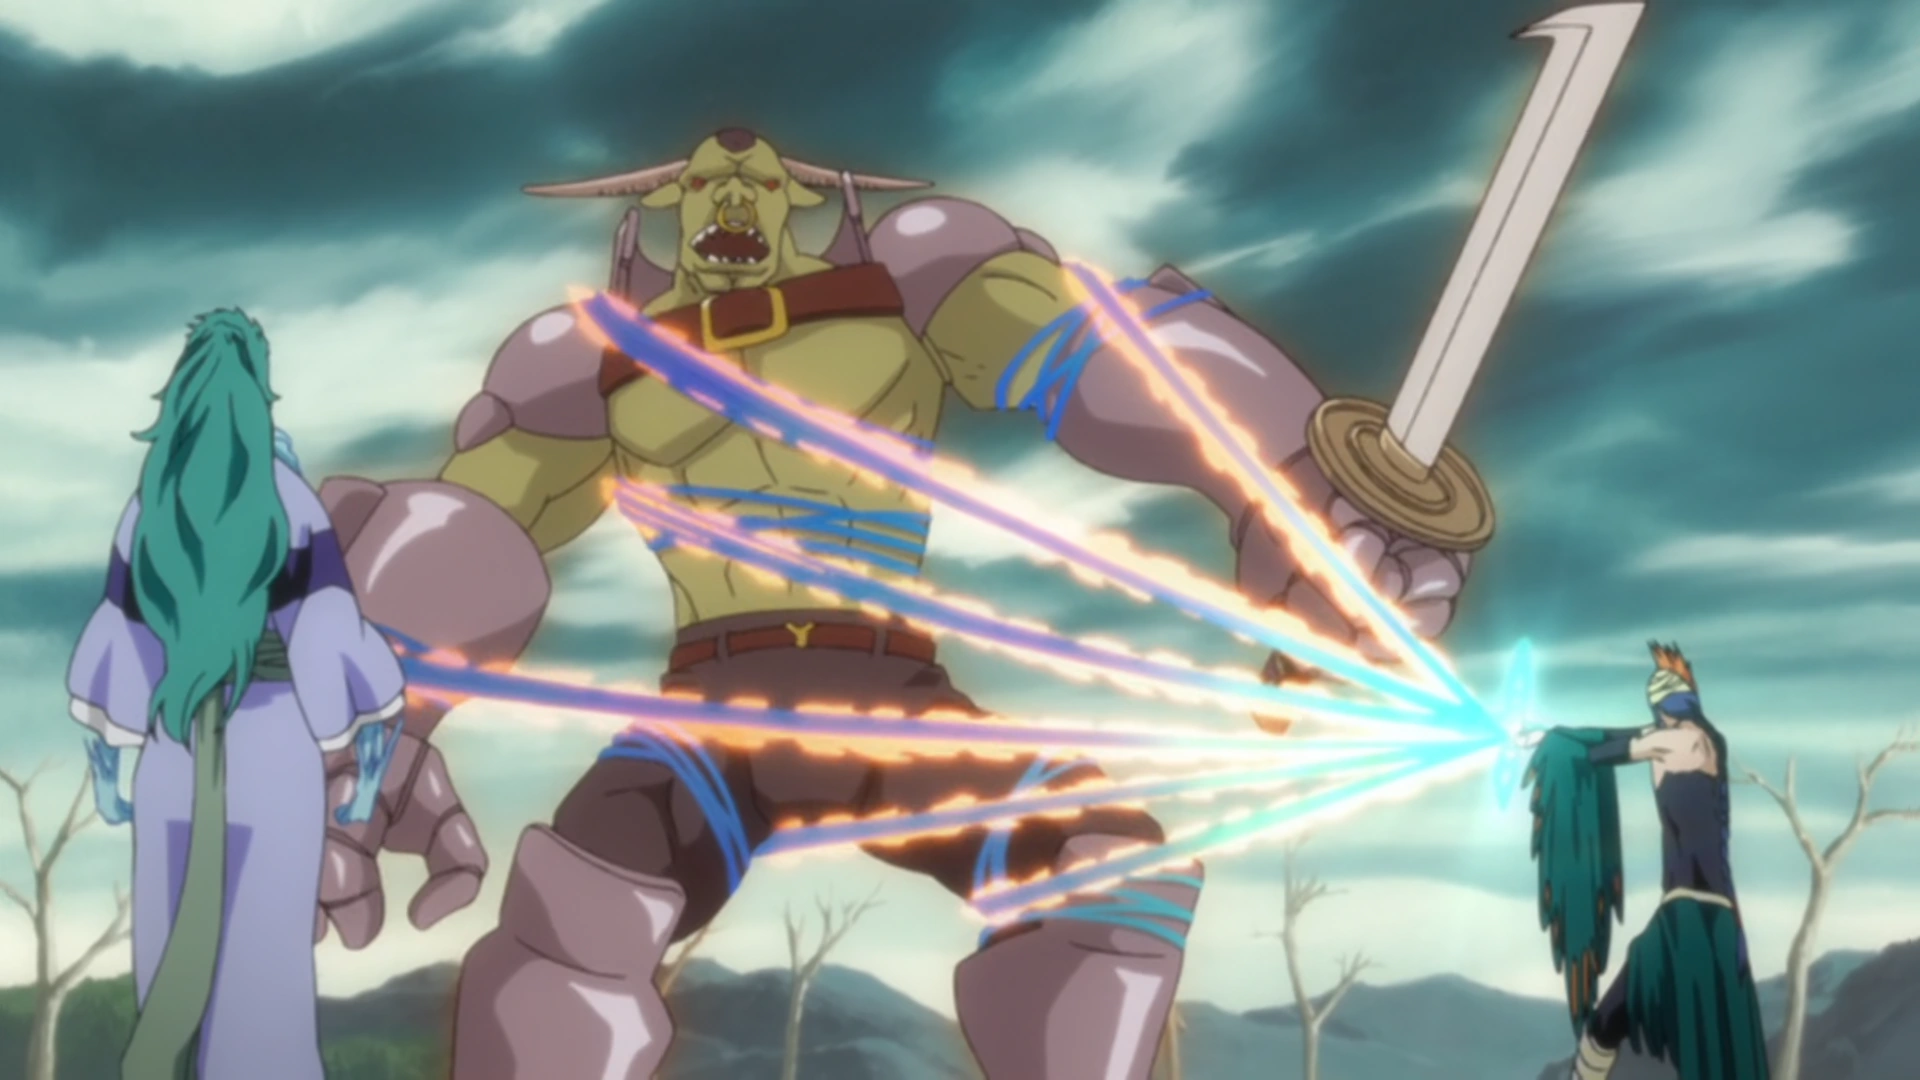
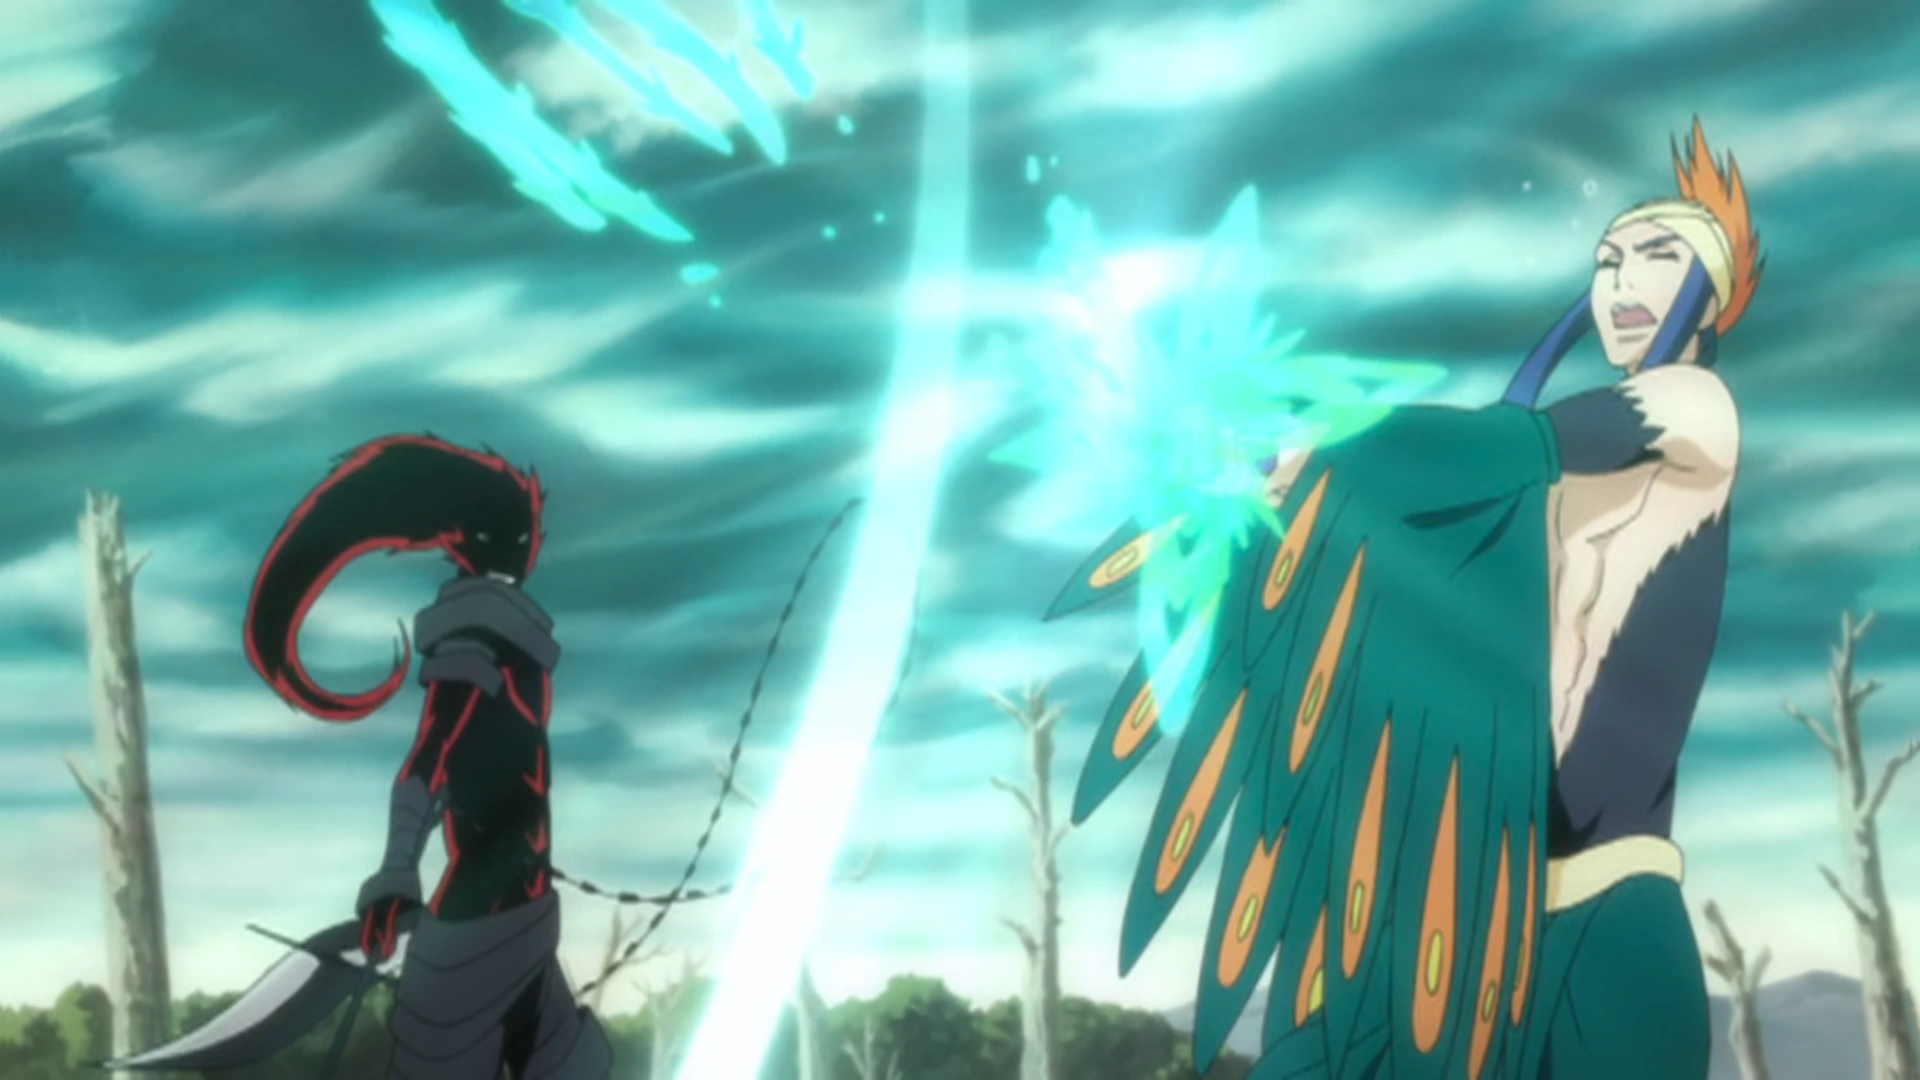
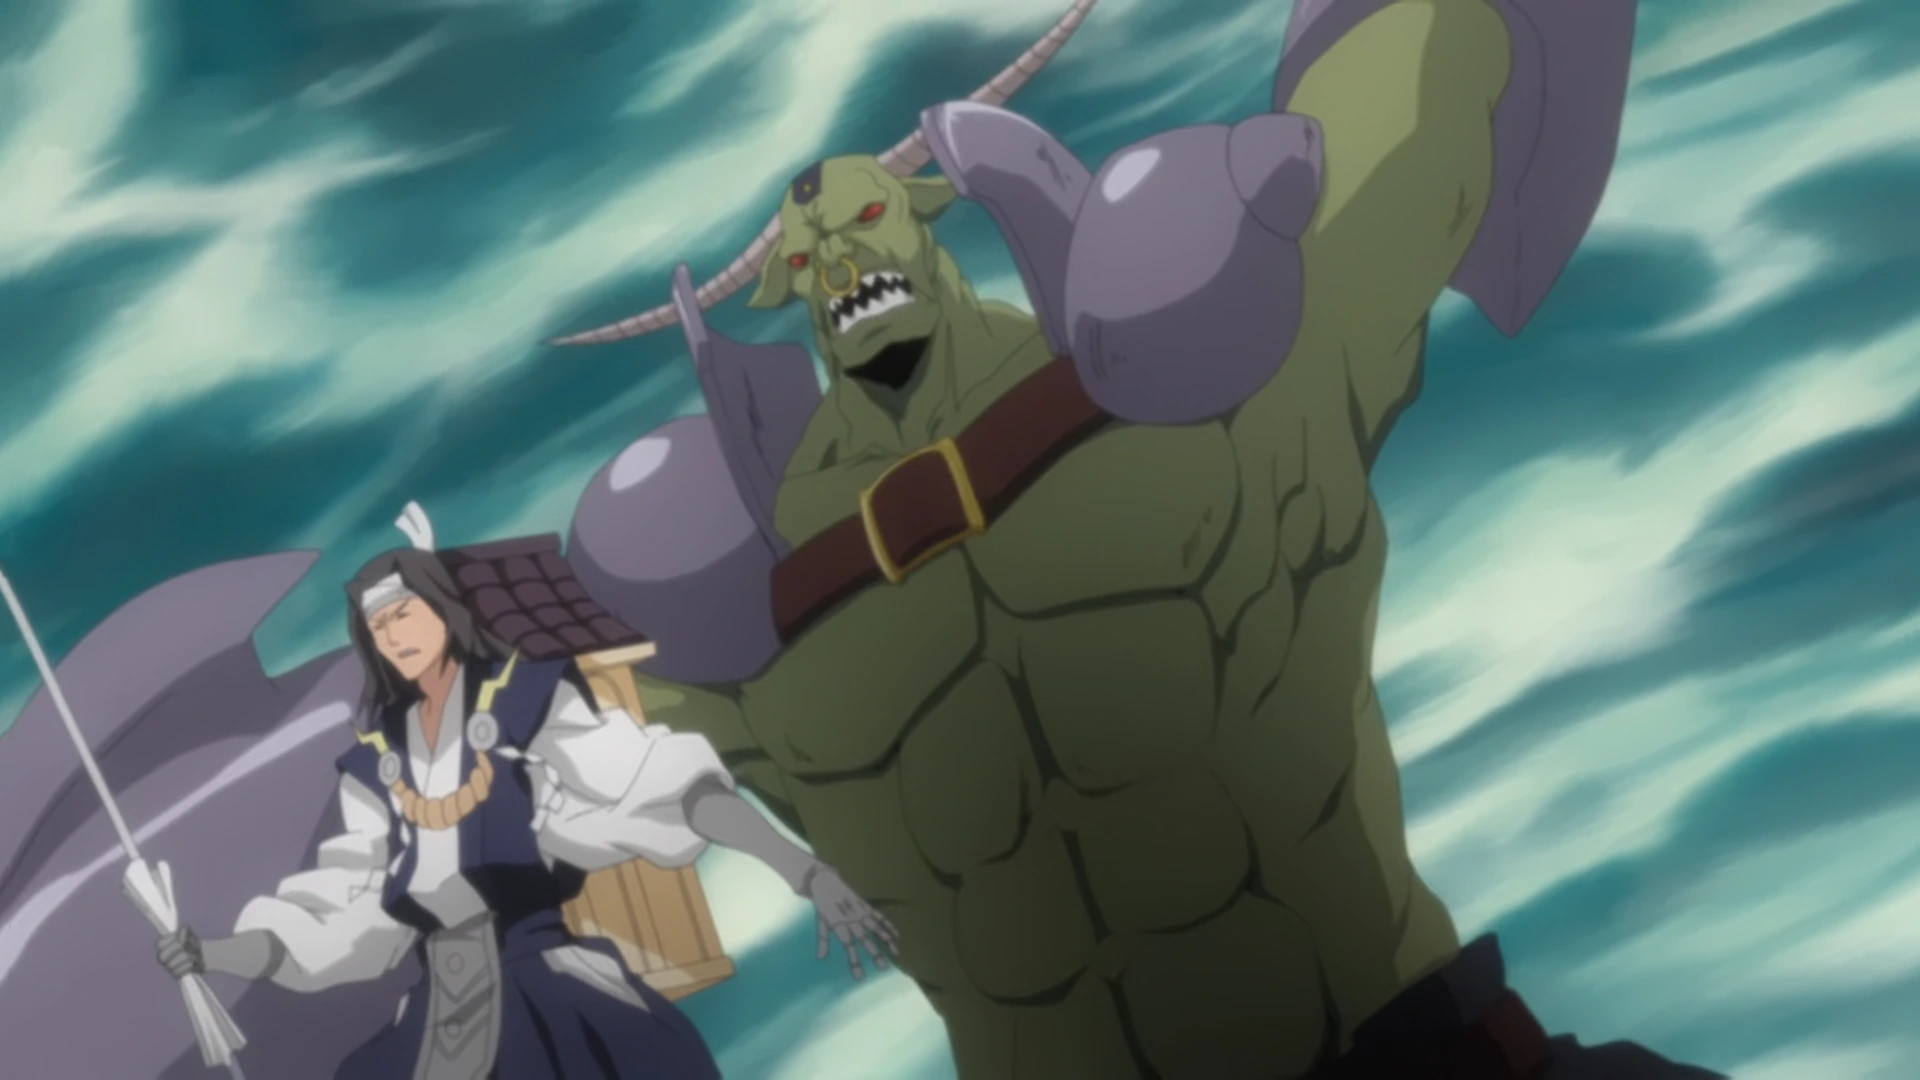
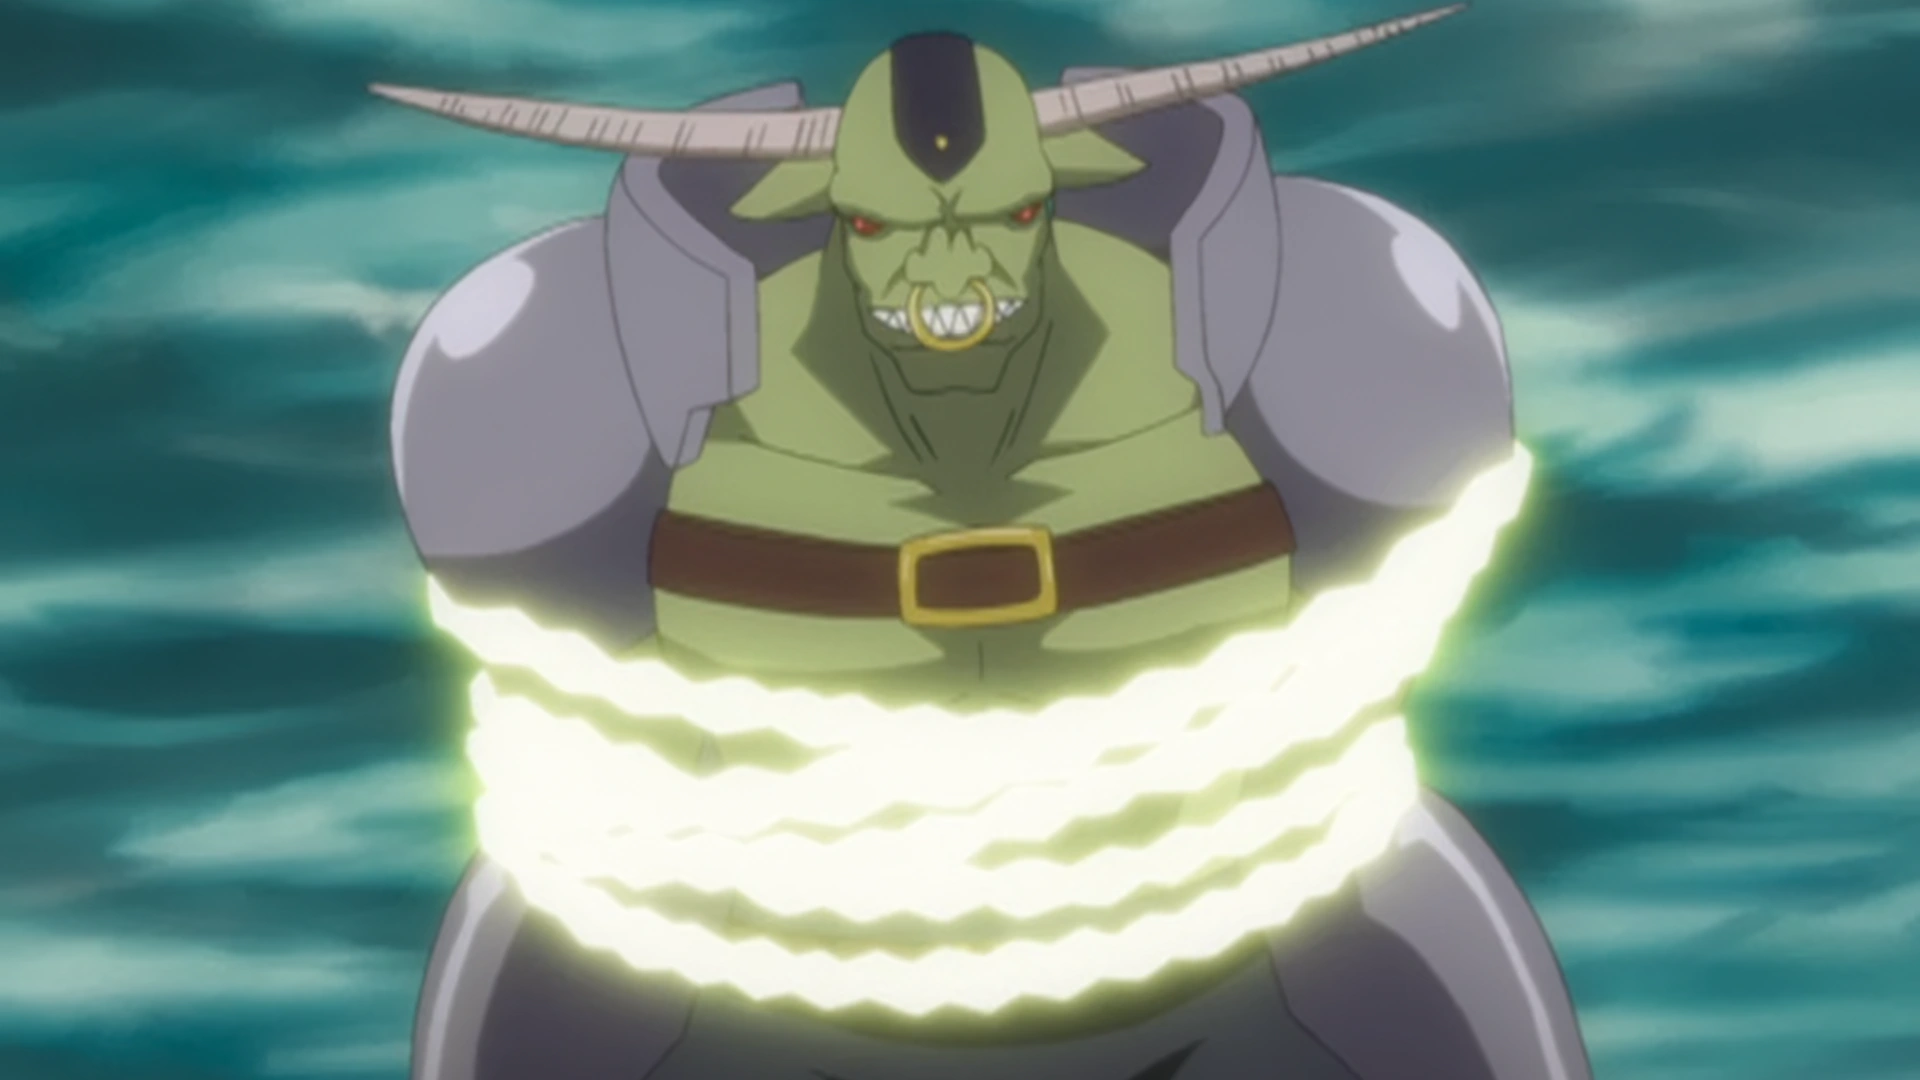
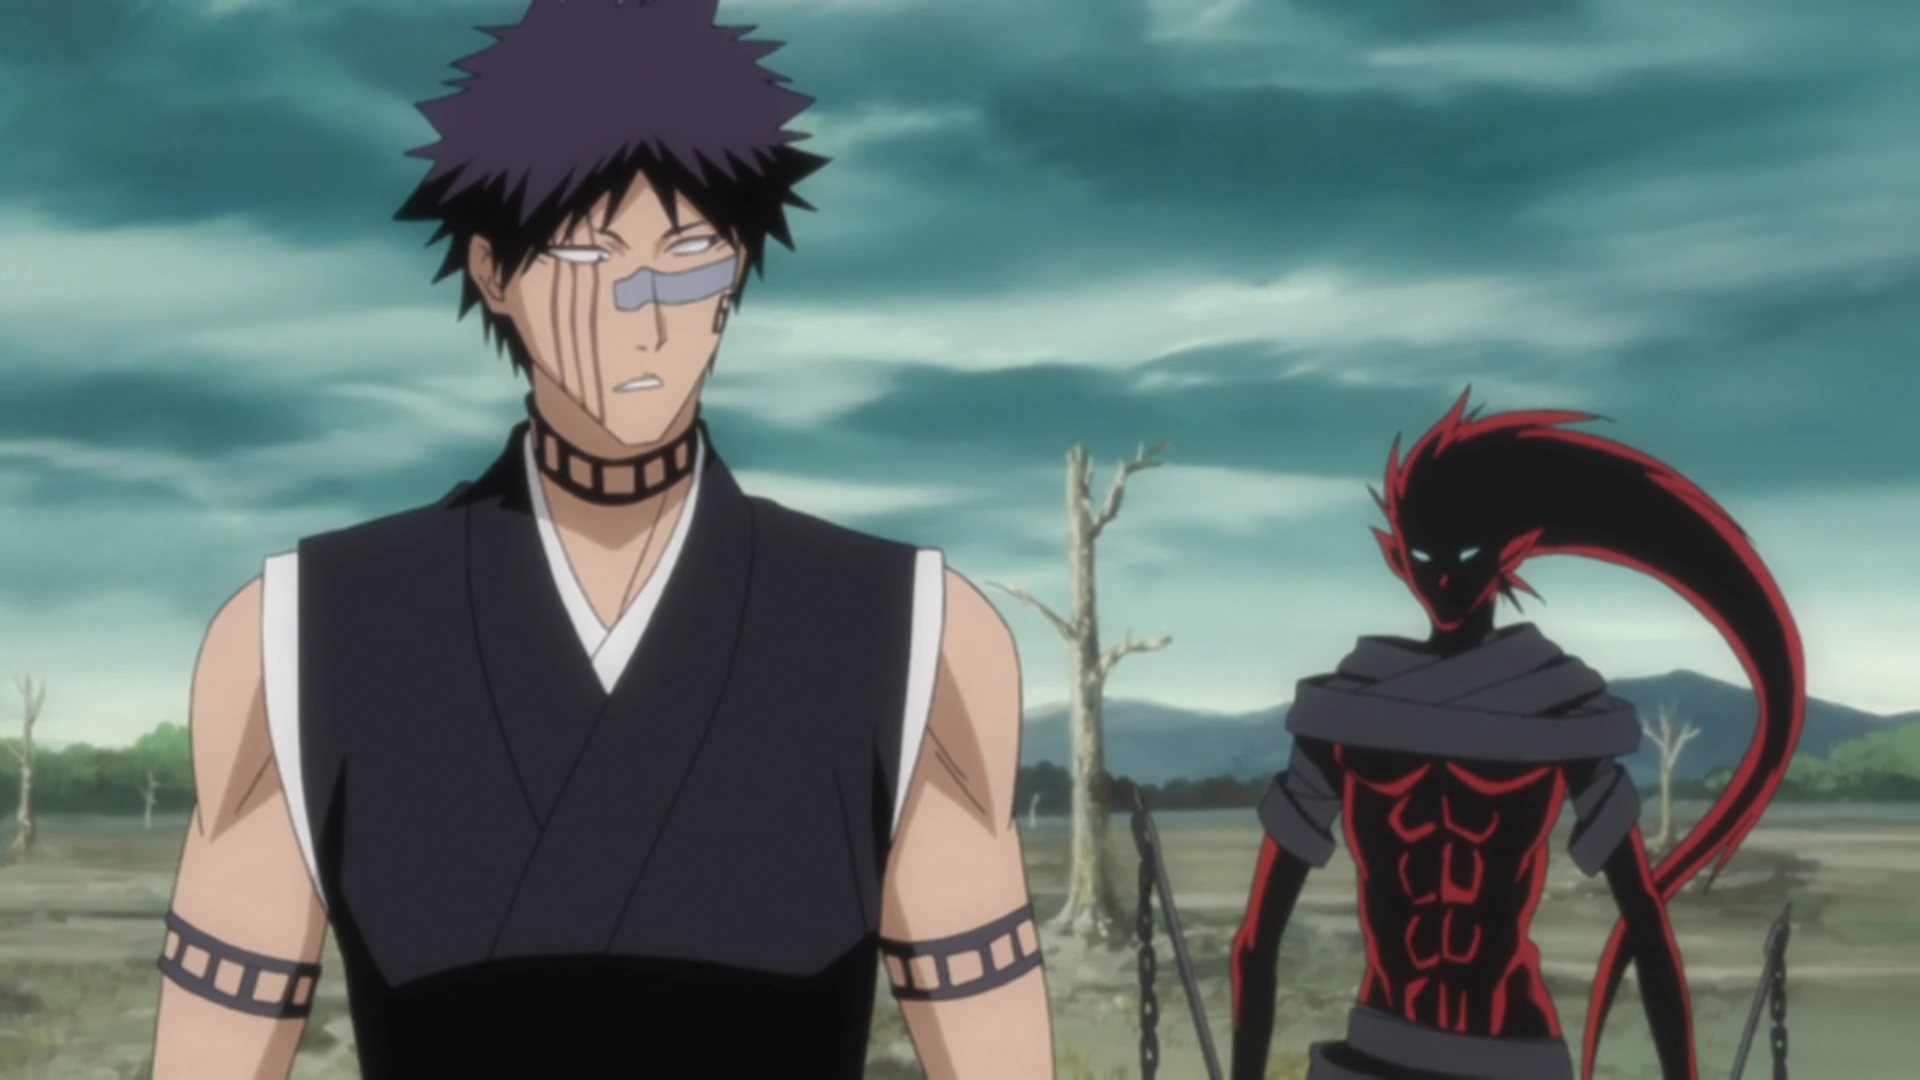
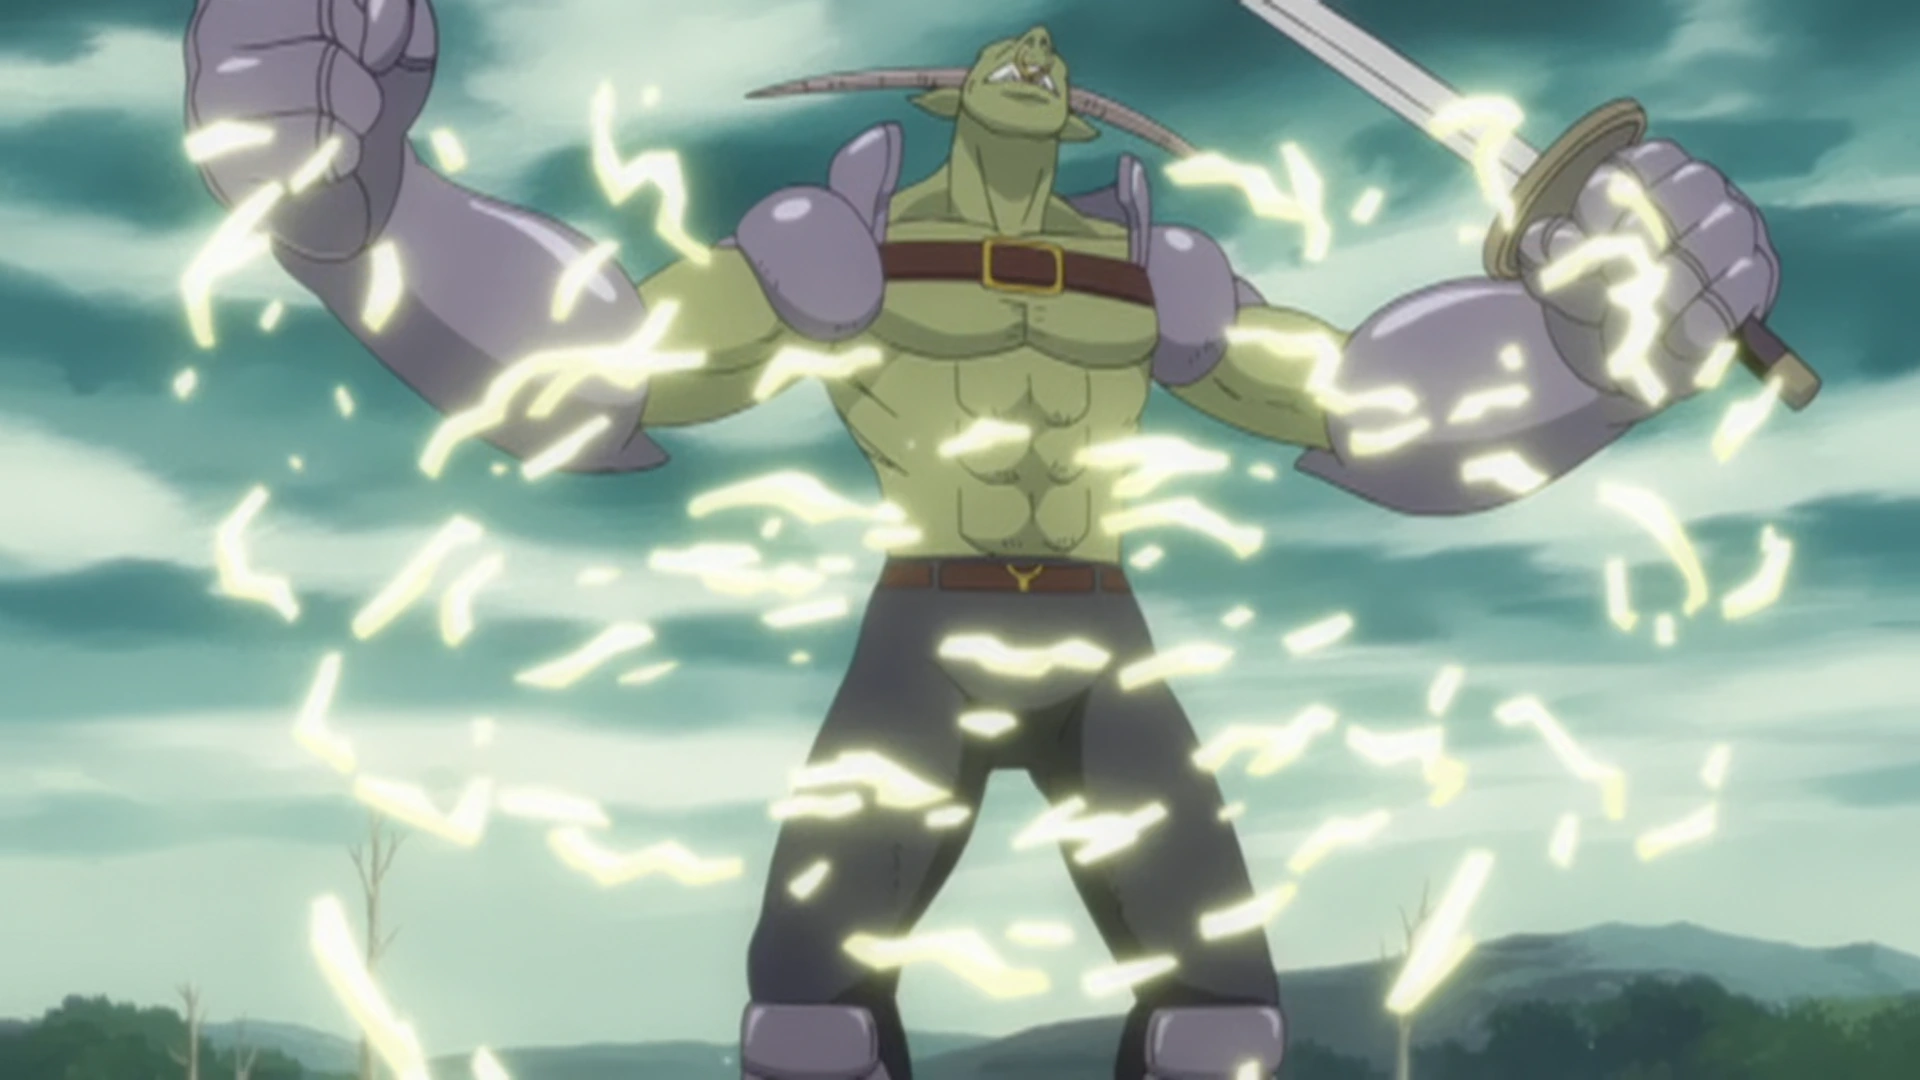
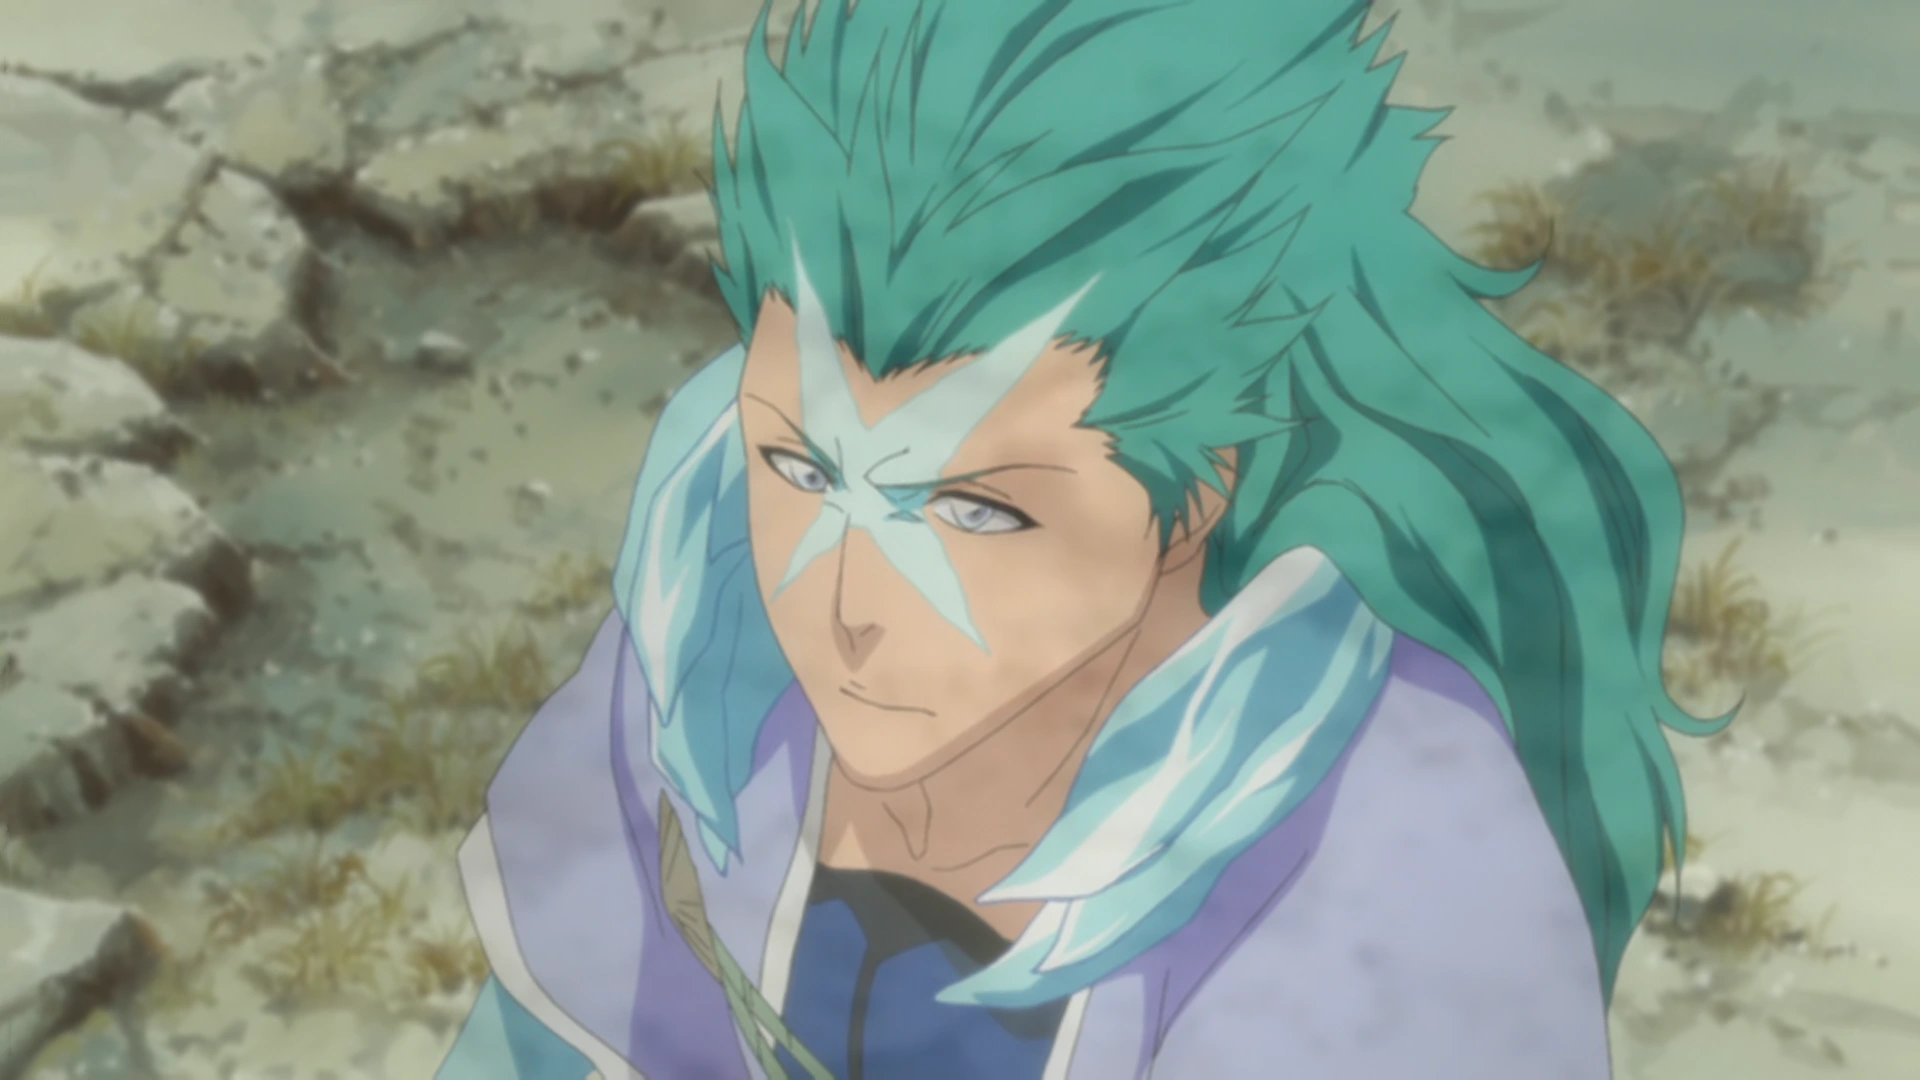
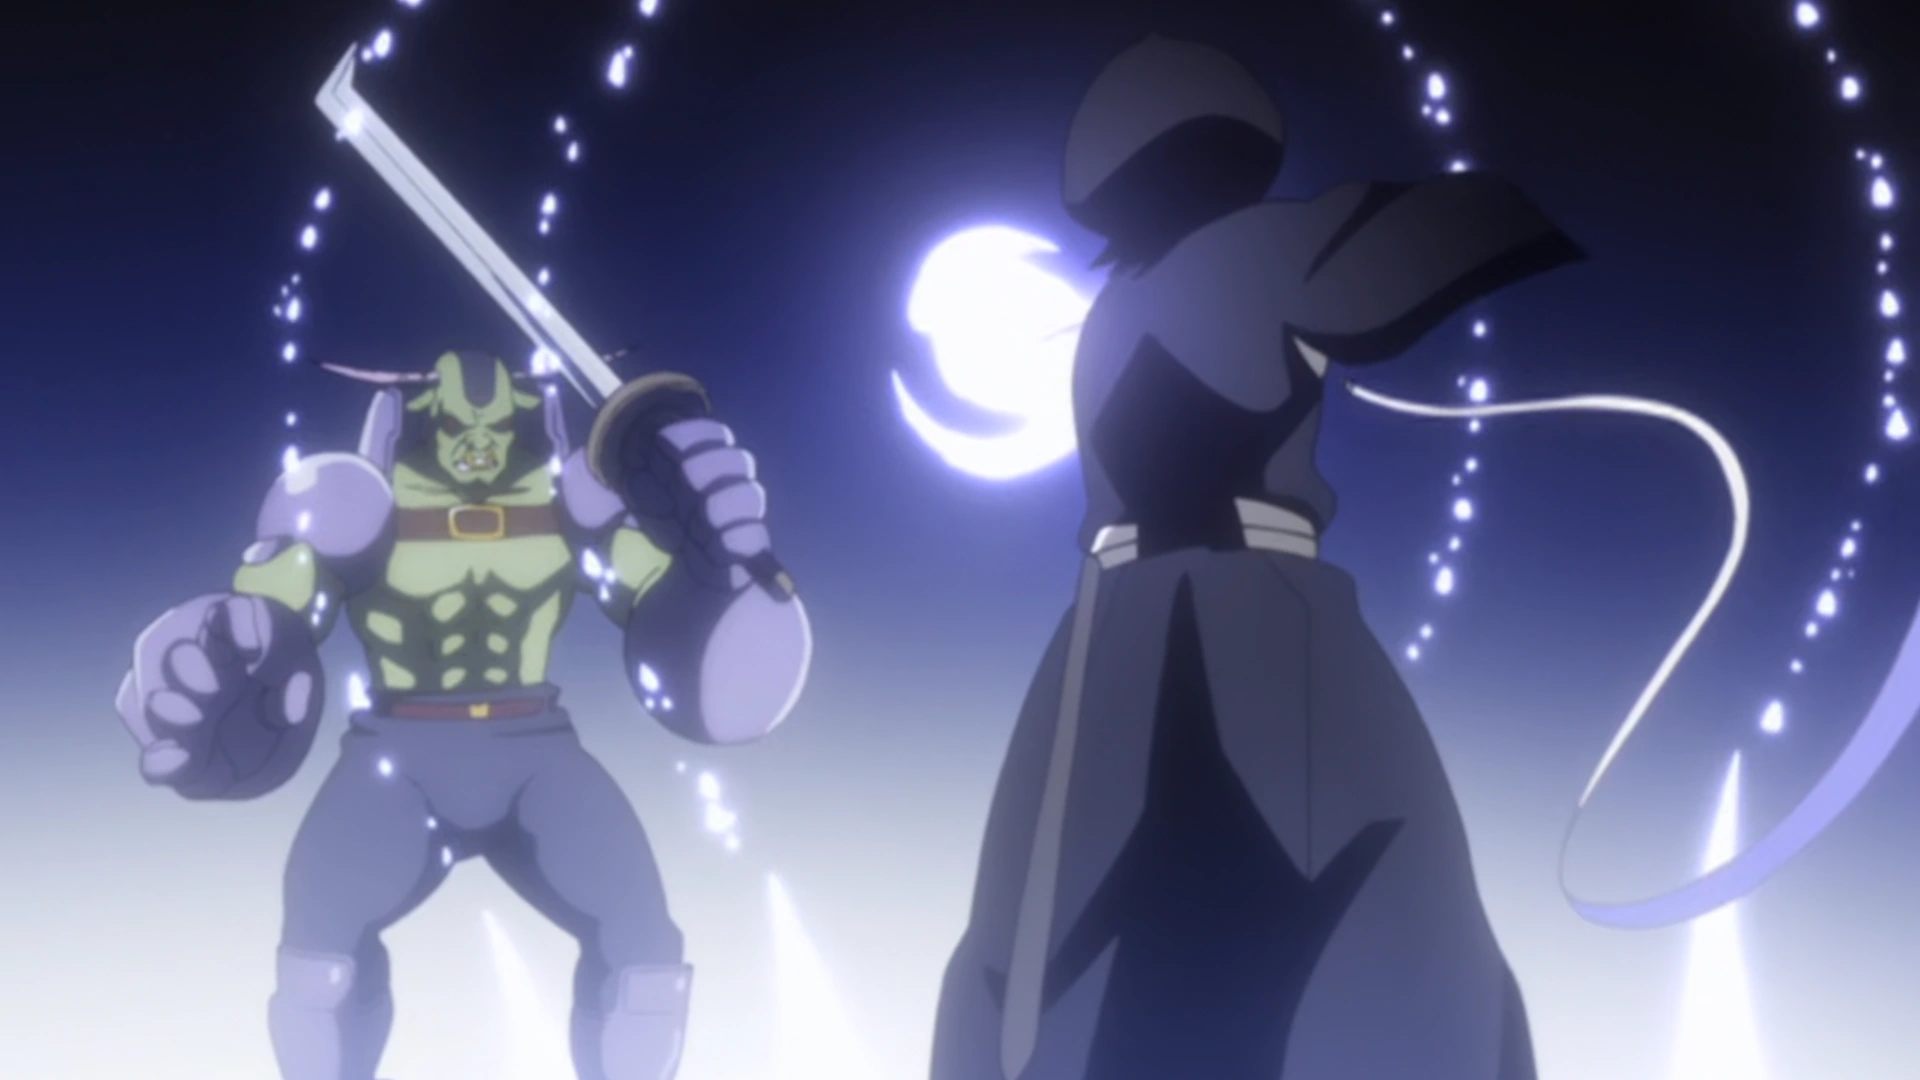
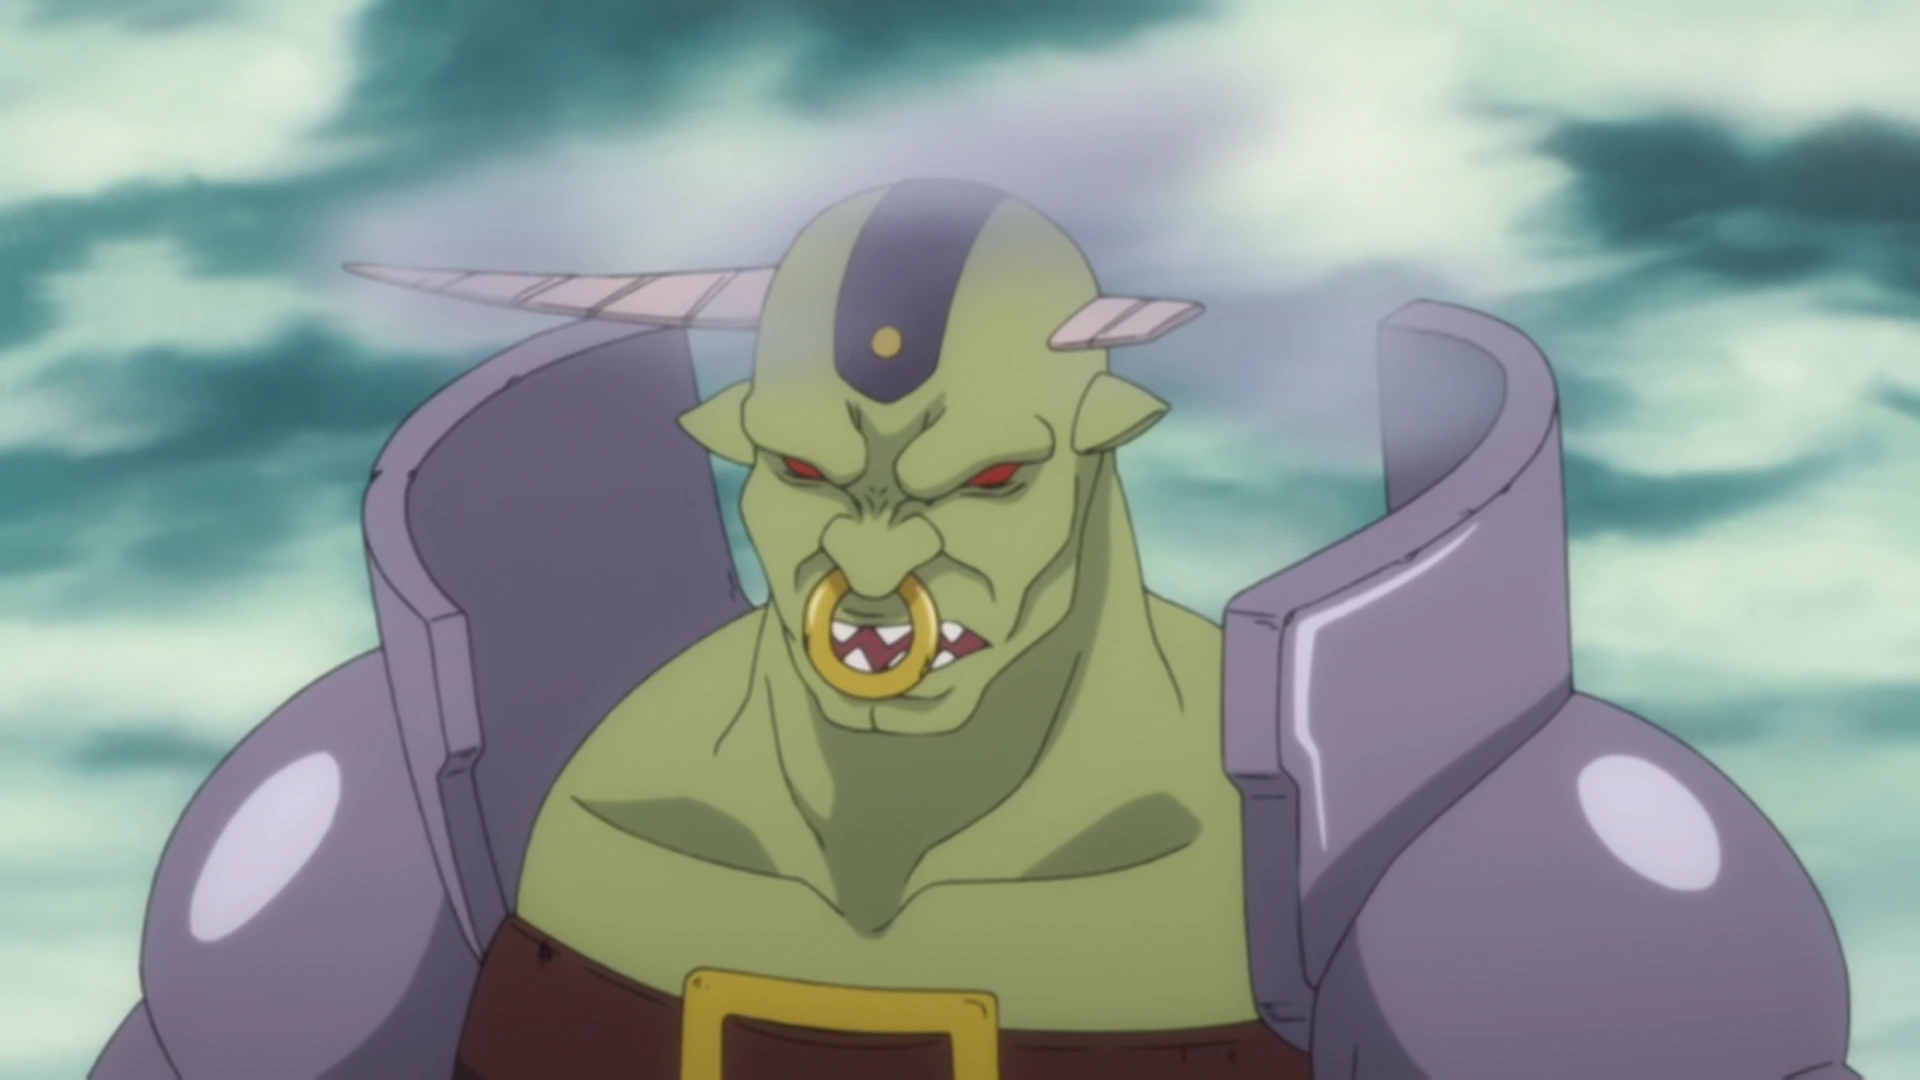

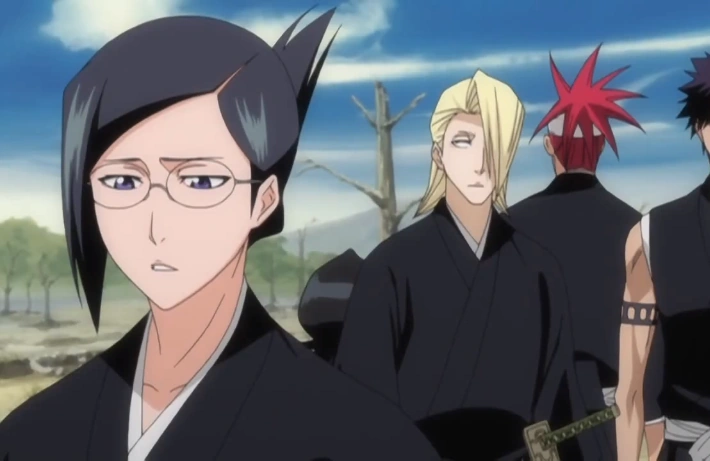
.jpg)
.jpg)